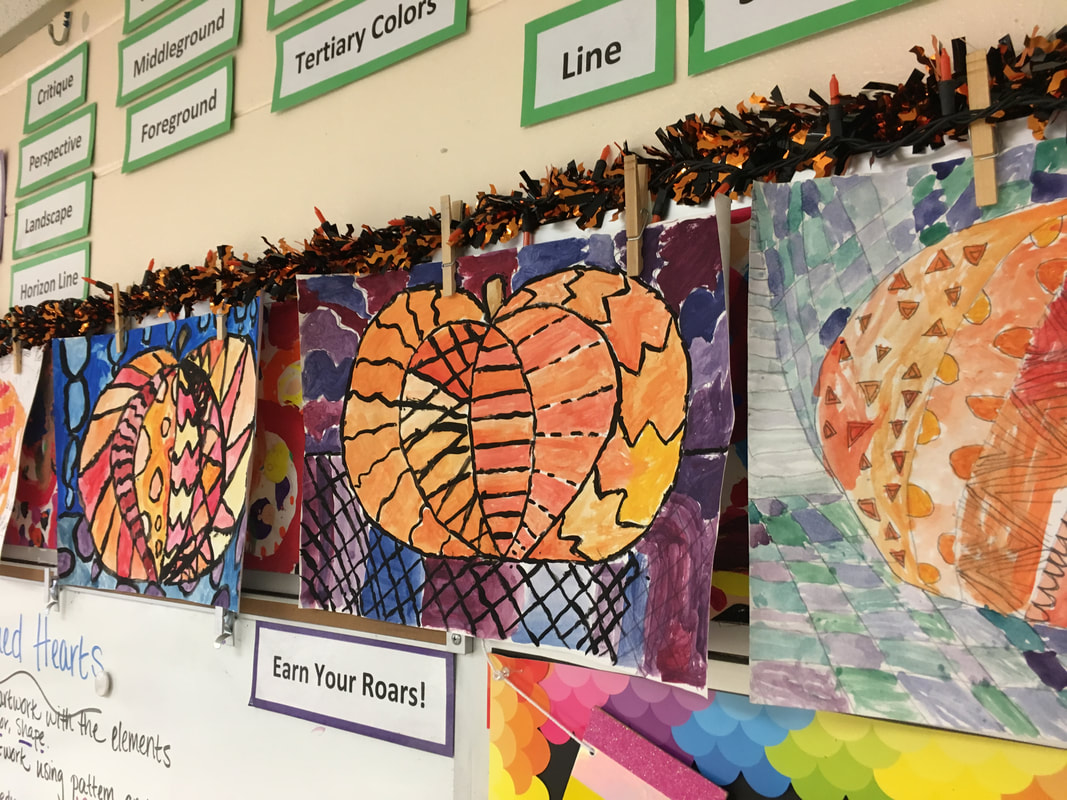
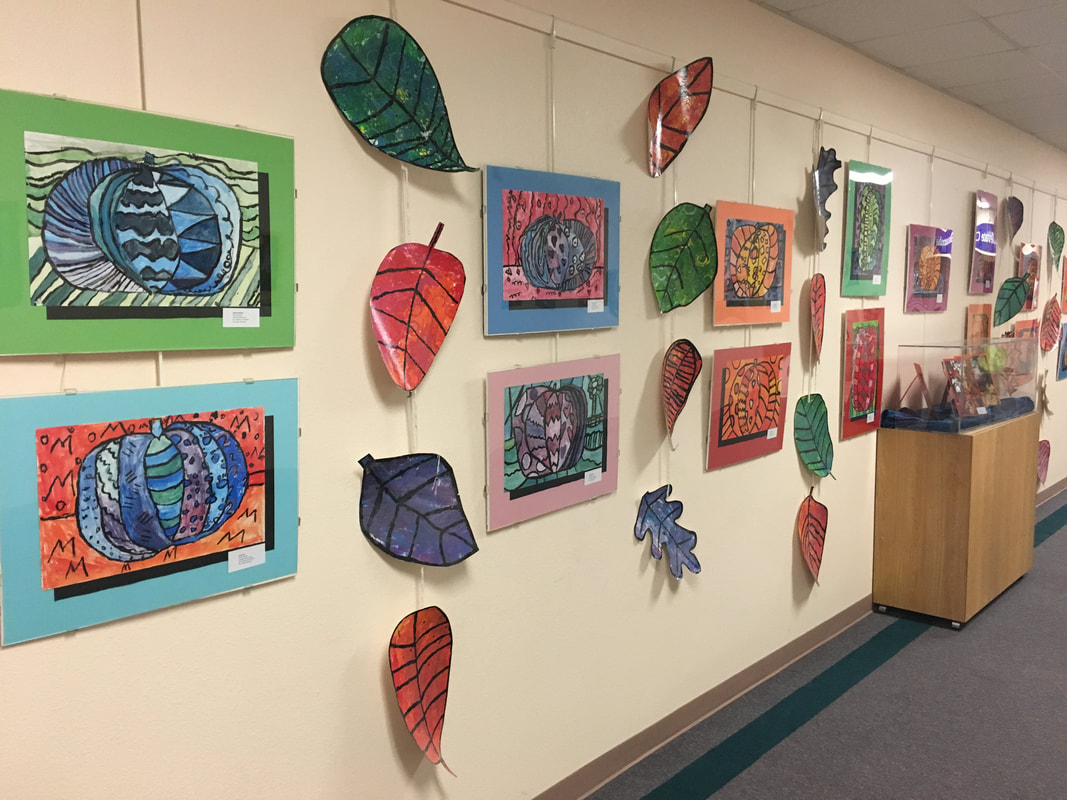
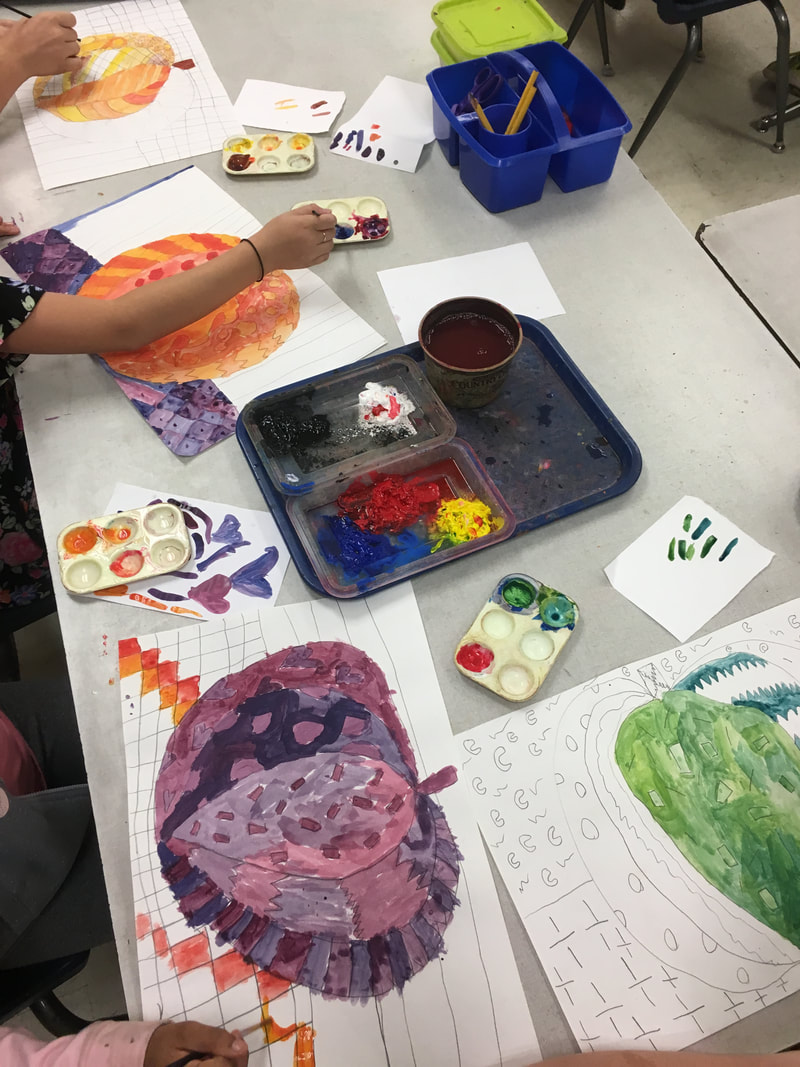
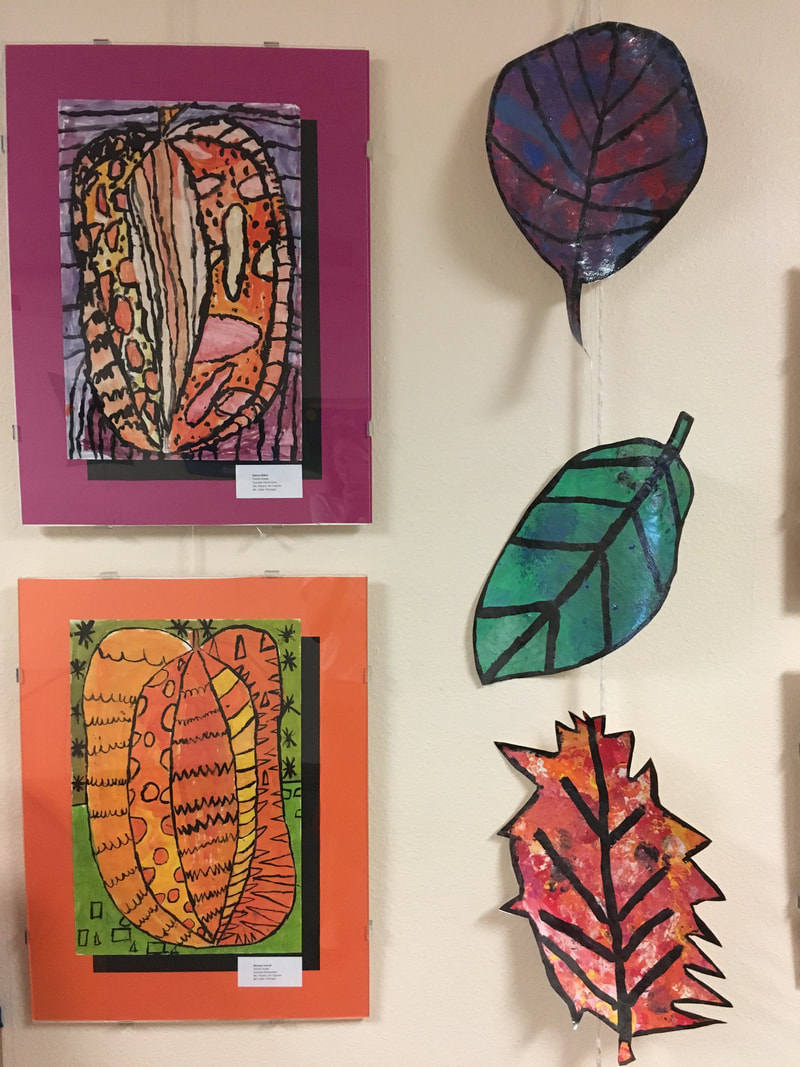
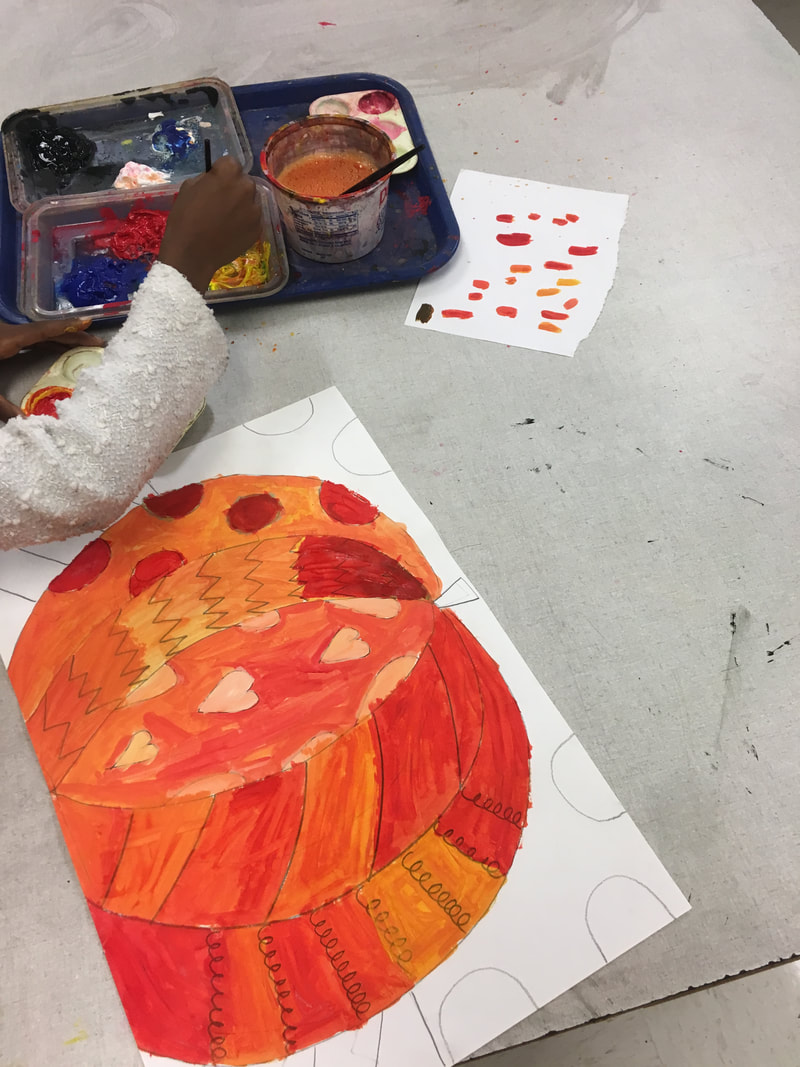
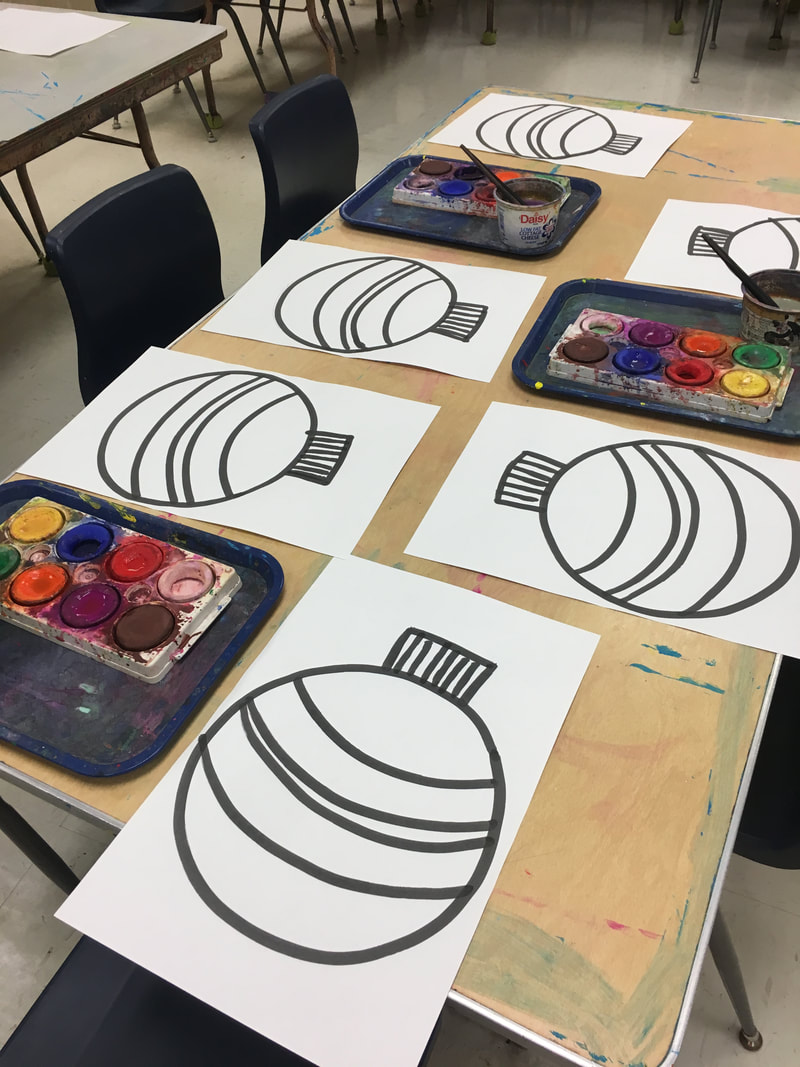
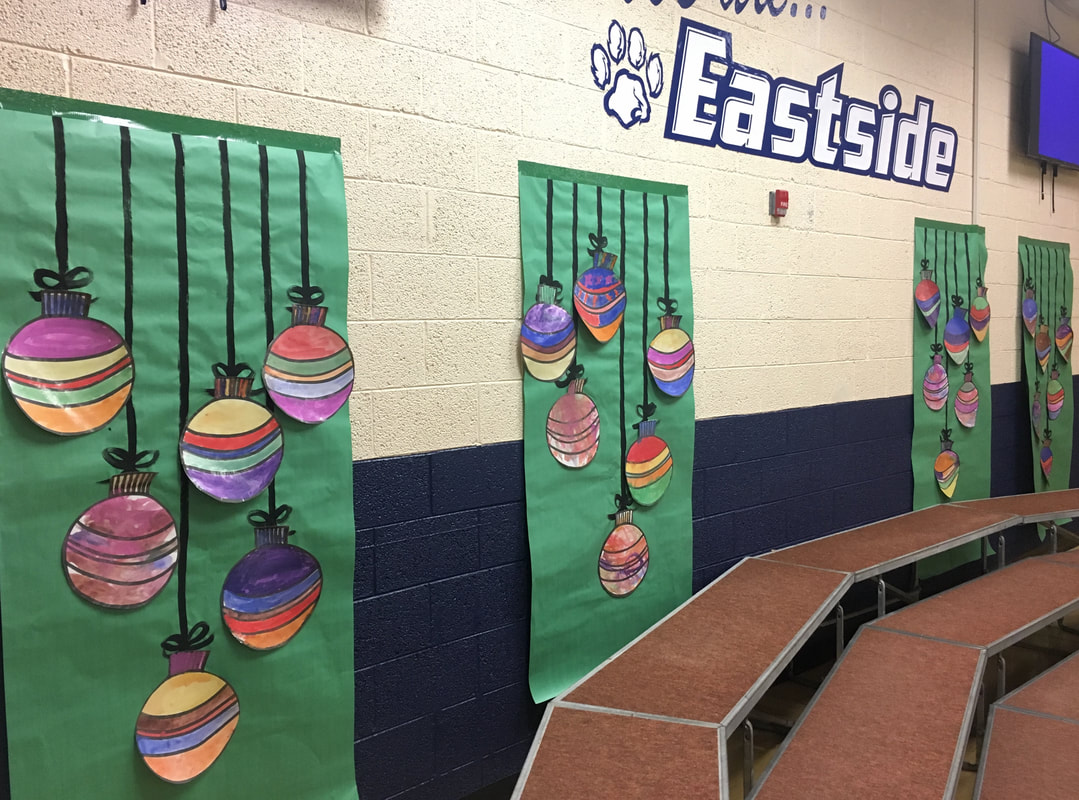
 Wanted to brag on my fourth and fifth grade students! They created these amazing pumpkins back during the second quarter. I like to do this lesson every other year as my main painting lesson for the upper grades. It takes quite a few weeks and great focus from my students, but they are so proud of their final artworks. It combines all of the painting skills they have been developing in the younger grades into one big lesson. This year, I displayed over twenty of these colorful pumpkins in the school district building during my school's assigned month. Lesson here. 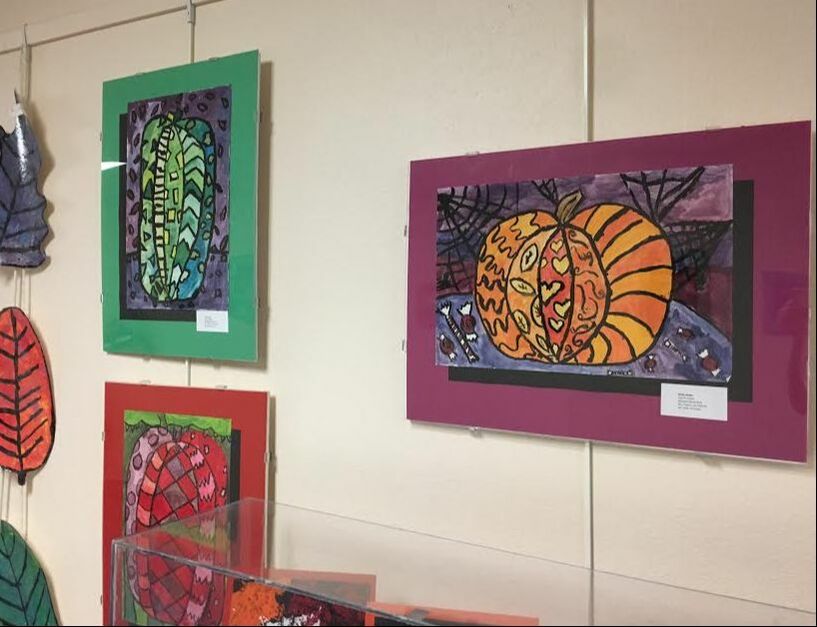
0 Comments
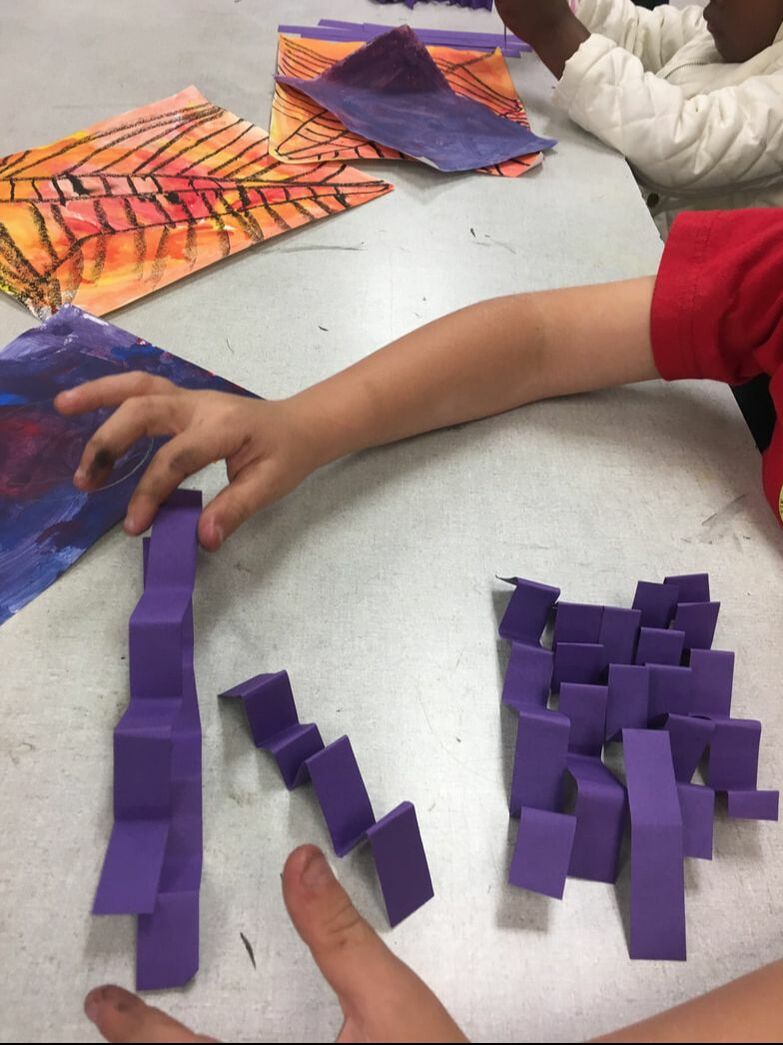
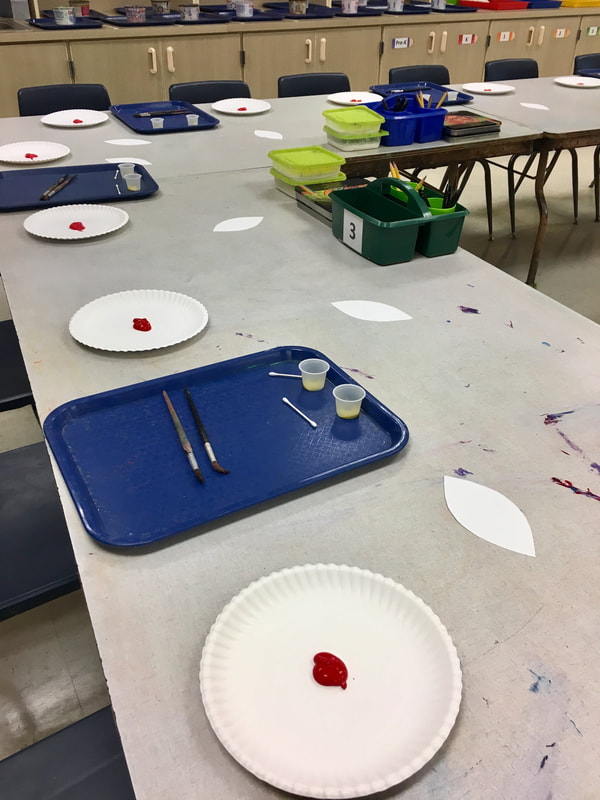
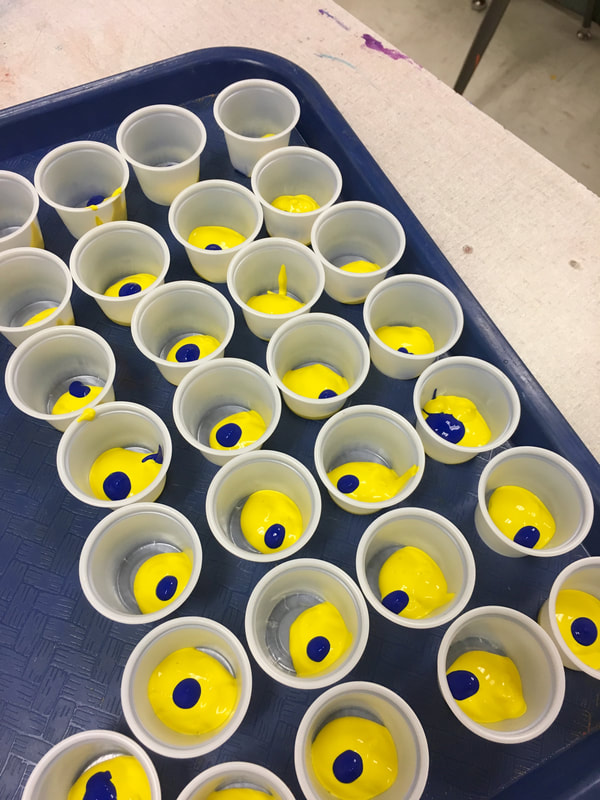
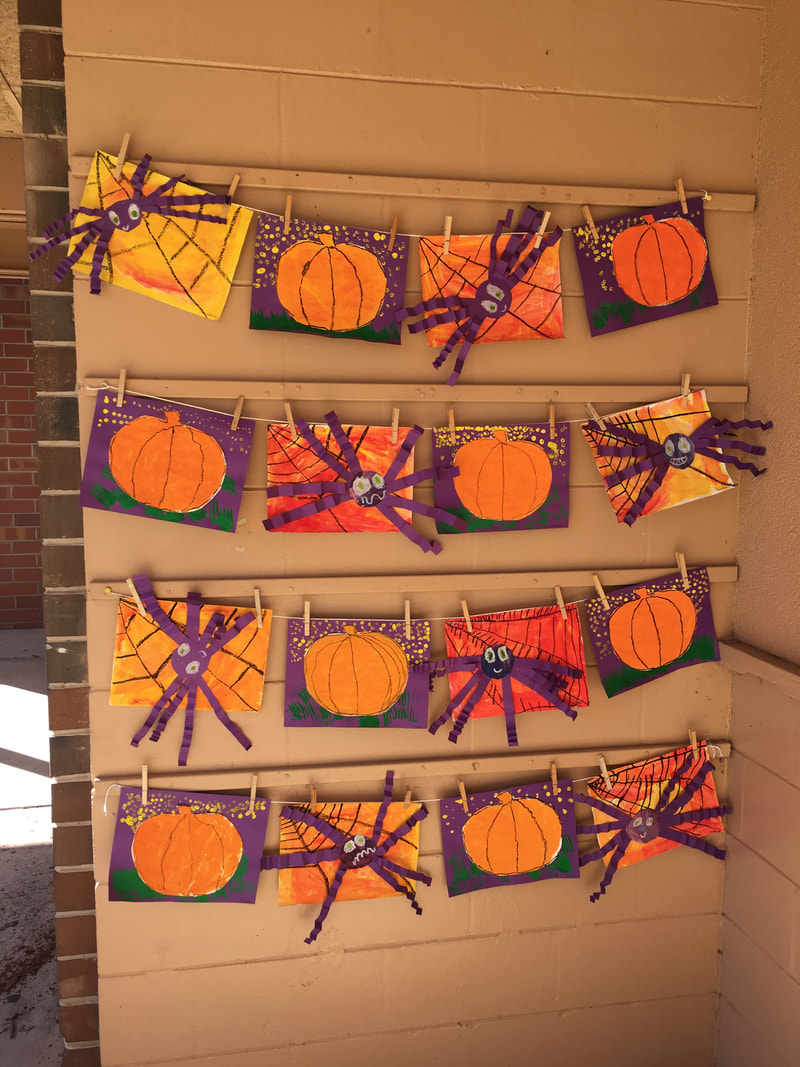 Secondary color spiders were made by kindergarten. Pumpkins were made by pre-k. This was a new lesson for kindergarten this year! I was searching for a lesson for early October where we could review all of the secondary colors. We did the orange and purple and was I satisfied with having just two represented in the work, but realized we could make the eyes green with oil pastel! Perfect! We created a simple orange painted paper for the background and a smaller painted paper in purple for the spider body. A few of my classes got weeks behind, so we just used purple construction paper for the bodies. For the webs, we created three diagonal lines from one corner with black oil pastel. Then we made small straight lines, filling in one section at a time. We did this all step by step together and by the end I was much better at teaching it. All of the spider webs turned out wonderful. I love all of their beautiful mark making. Creating an accordion fold was more challenging than the webs, but again, by the end I was much better at teaching it. Even if all of the legs weren't perfect, they did it and they were proud of their work. On the last day of the lesson, we made the sweet little faces and glued everything together. I loved all of the creative faces they made! I will definitely encourage more of that next year. The littlest kids always make the greatest faces on their little characters! I honestly wasn't sure how this lesson would go because of the web (I usually don't do this much guided drawing) and the accordion folding, but my kids did so well! It was a great lesson to review line types, secondary colors, mixing and painting skills, and cutting and gluing skills. This lesson took four 45 minutes classes, which was longer than I expected, but I think it taught so many great skills and the results were worth it.
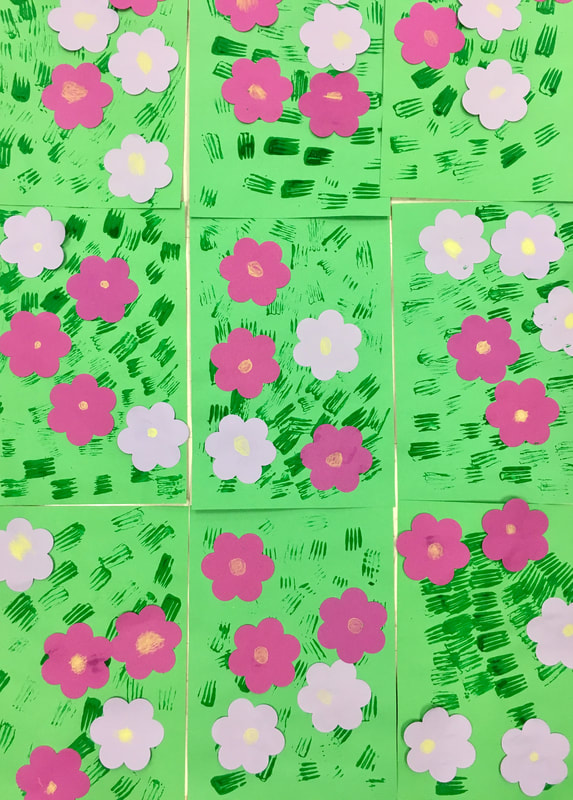
I LOVE seeing my youngest students! I see them during my one open block once a week because I believe it is best for the students to start coming to special area classes and being exposed to new things. And they are the most wonderful kids to work with! Every process is magical and they love the opportunity to explore and create. My pre-k and ESE pre-k classes come to art together for a thirty minute block. Total, I have thirty students ages three to five and multiple teachers and aids to help with this group. I try to focus mostly on fine motor skills, exposure to materials, and experimenting with materials. Product usually comes together with display, adding a frame, or drawing or cutting out a simple shape. And often product just doesn't matter! These are my favorite lessons from the first half of the school year!
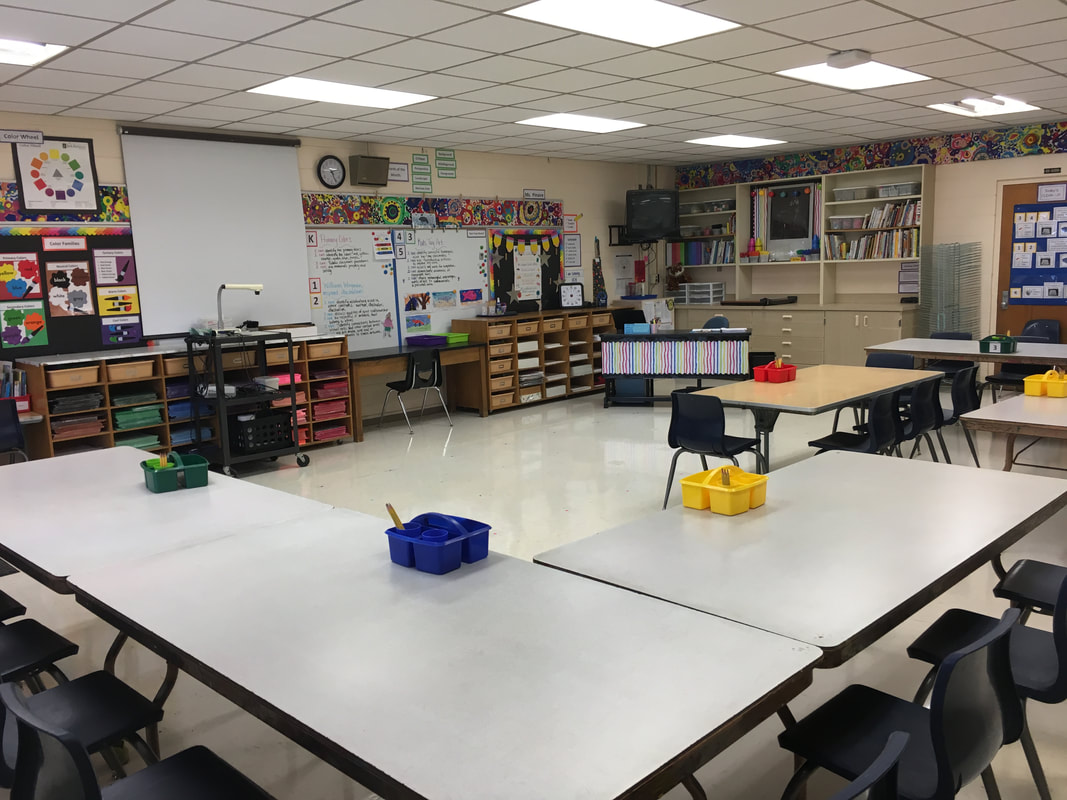
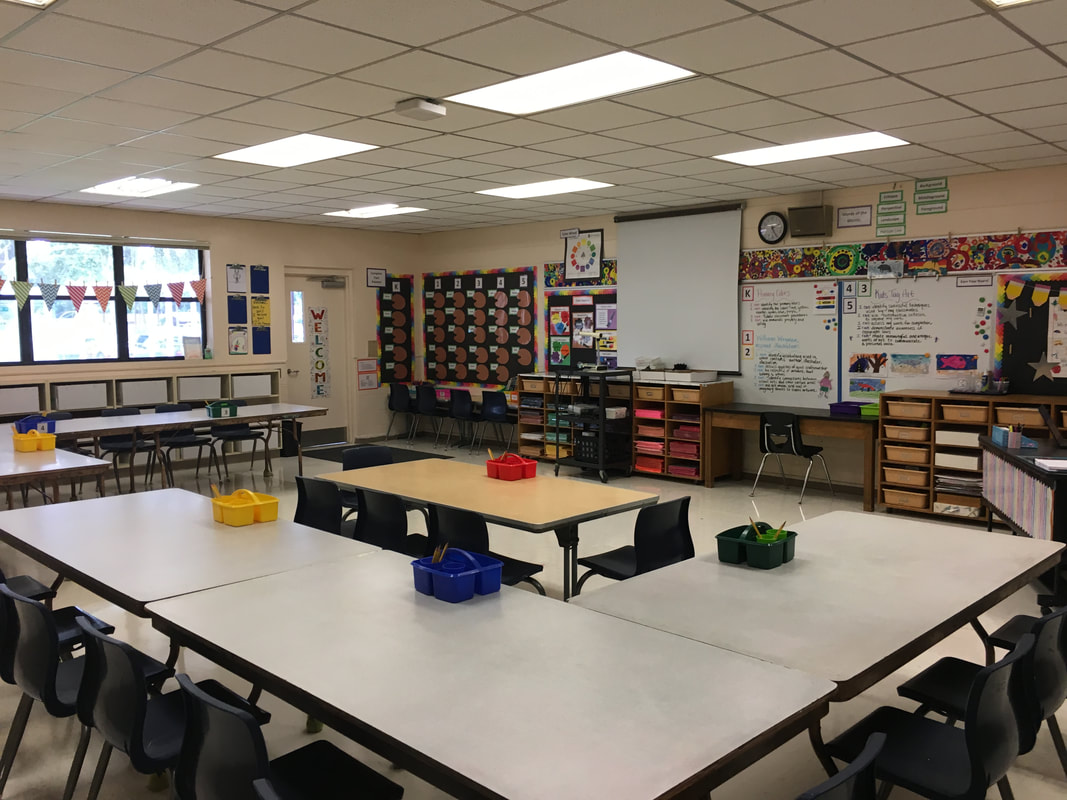
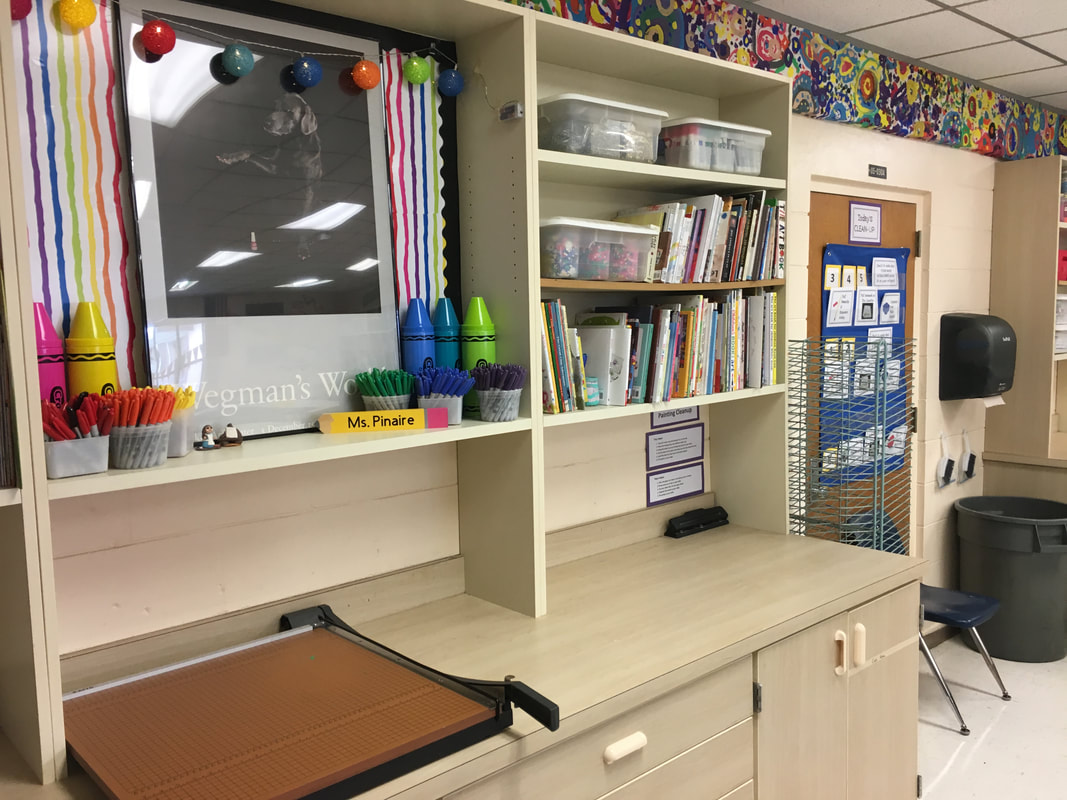
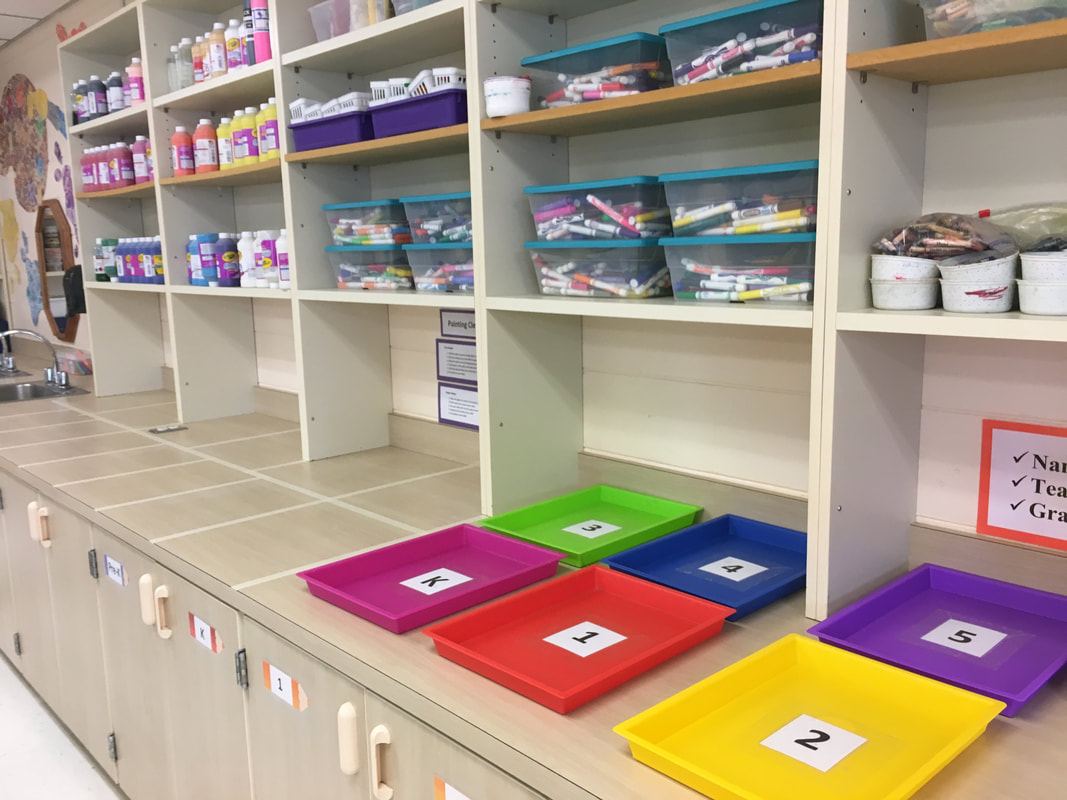
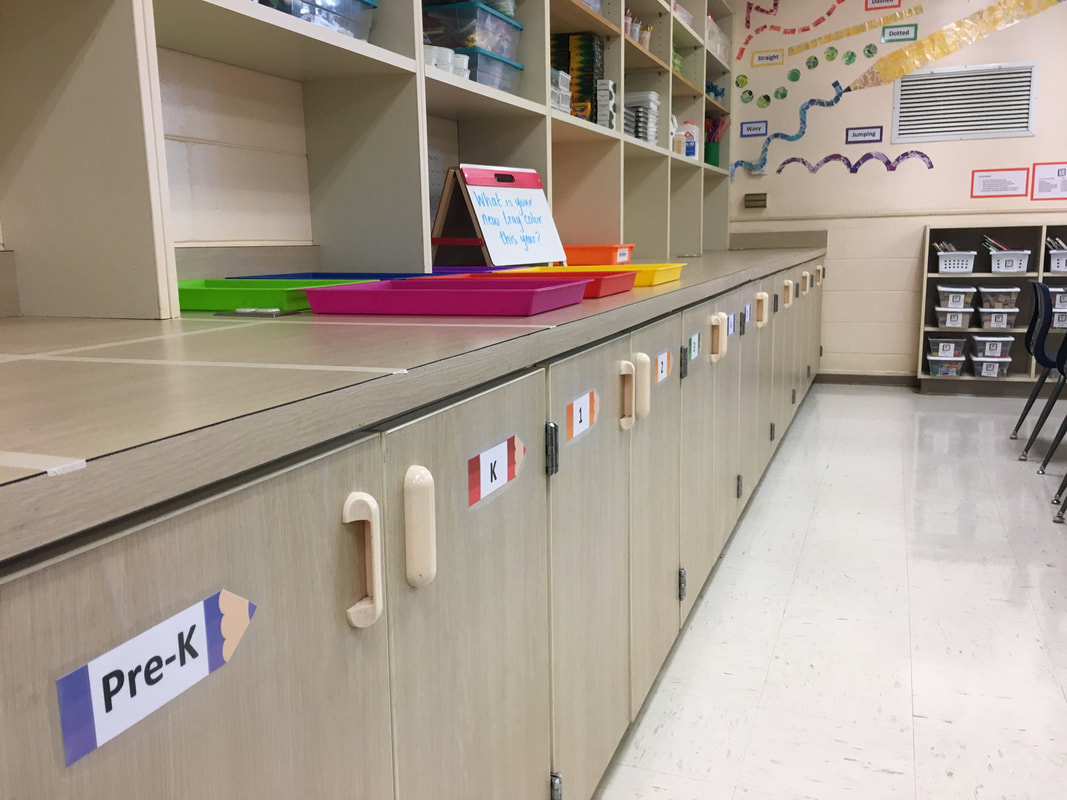
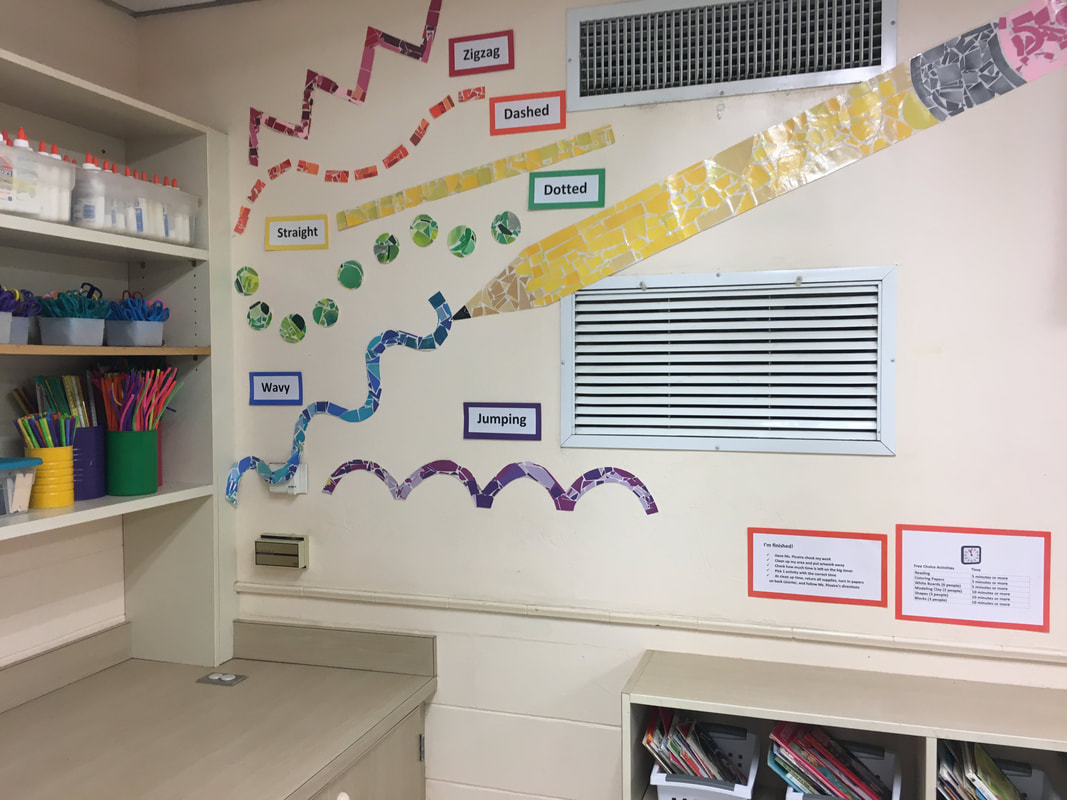
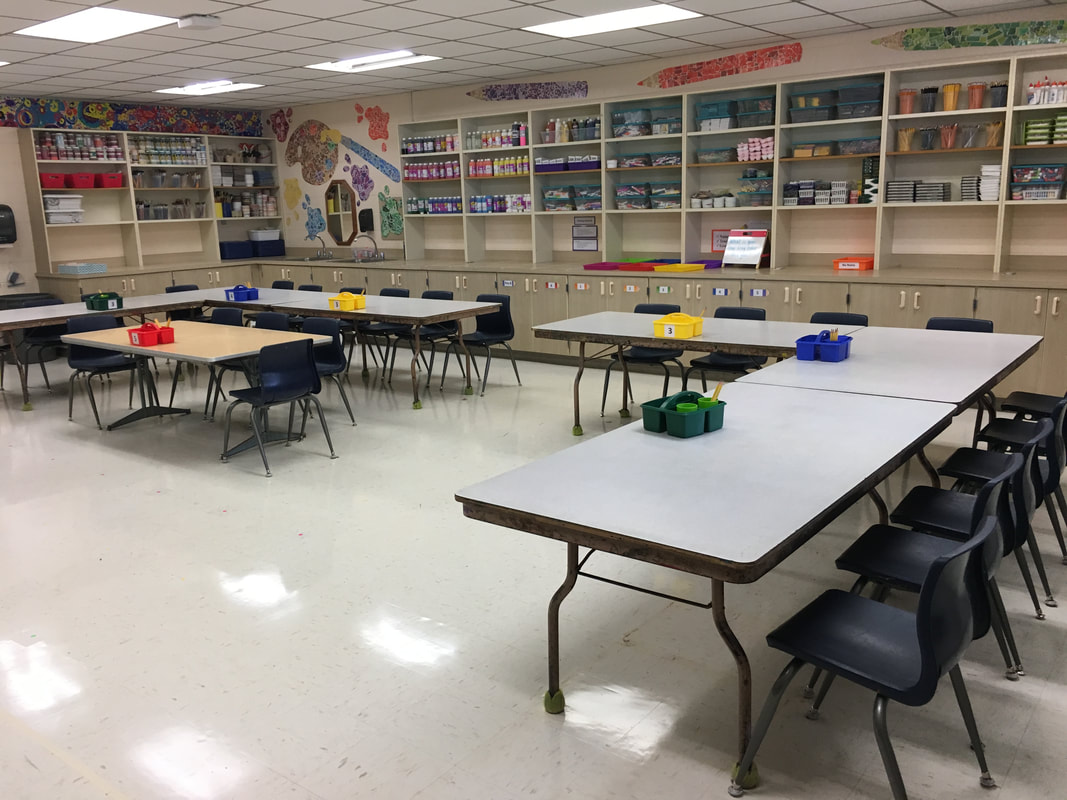 This is my seventh year in my little art room and my seventh year teaching! I love beginning a new school year and making things new and exciting for my students. I try to make a few purposeful changes each year to help things go smoother in the classroom. This year, I'm focusing on cleanup procedures and having my students be more independent during cleanup time. I'm also expanding on what my students can do when they finish lessons early, again focusing on independent work. For cleanup, I am assigning basic clean up jobs, like paper collector and table supply organizer by colors that correspond to assigned seats. Students can view their weekly jobs on a pocket chart near our Today's Cleanup chart with visuals for cleanup. So far, about half of the classes are really getting it, but some are having a hard time staying at their table for cleanup or doing only their cleanup job. I think all this will take time and practice, but it will be worth it in the long run. I always want to give my students opportunities to be independent and not need to hear specific, repetitive instructions from me on a daily basis. This year, students will have opportunities to create with drawing books, blocks, modeling clay, white boards, and other activities based on how much class time is left when they finish their work. I want to avoid the quick free draw that ends up in the trash. This was inspired by Cassie Stephens' free choice art area. So far, teaching these new procedures to my upper grades has been fairly simple and successful. I started introducing blocks, shapes, modeling clay, and books with my younger early finishers last year, so I think it will go well this year, too. I'm excited for the little changes in the art classroom this year and for all of the things we will create and learn.
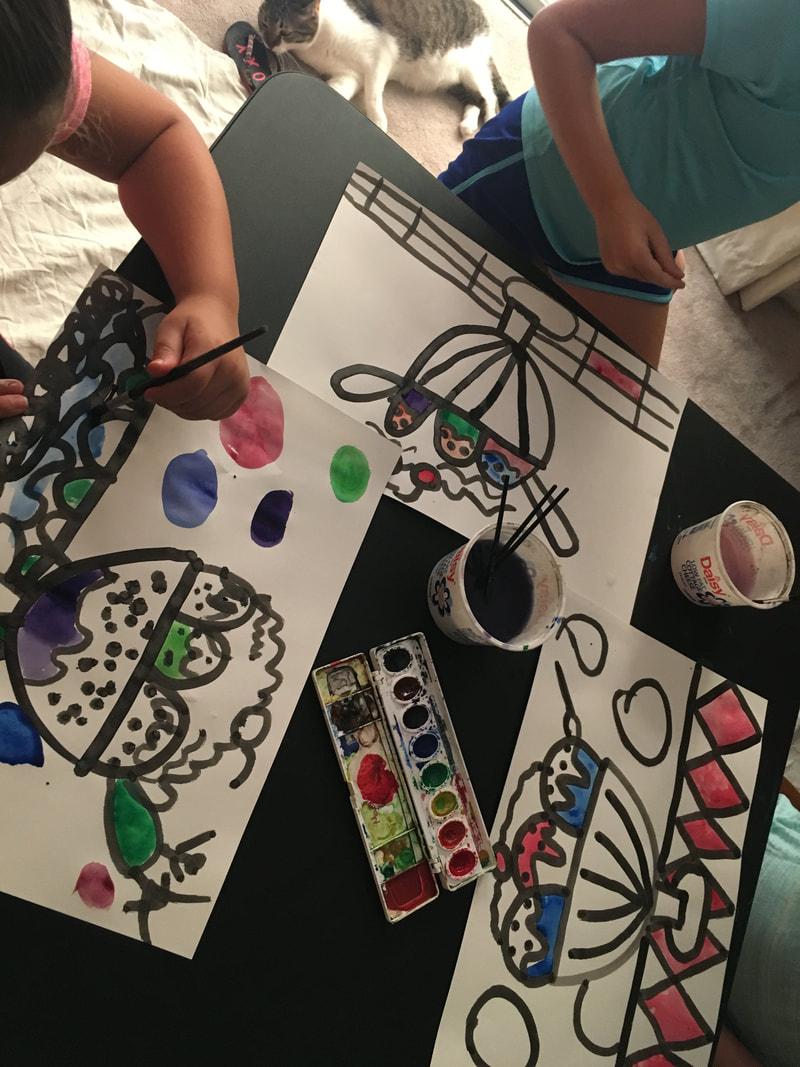
  CD printing inspired by Art with Mrs. E (https://www.instagram.com/p/BfLn9Lilqka/)
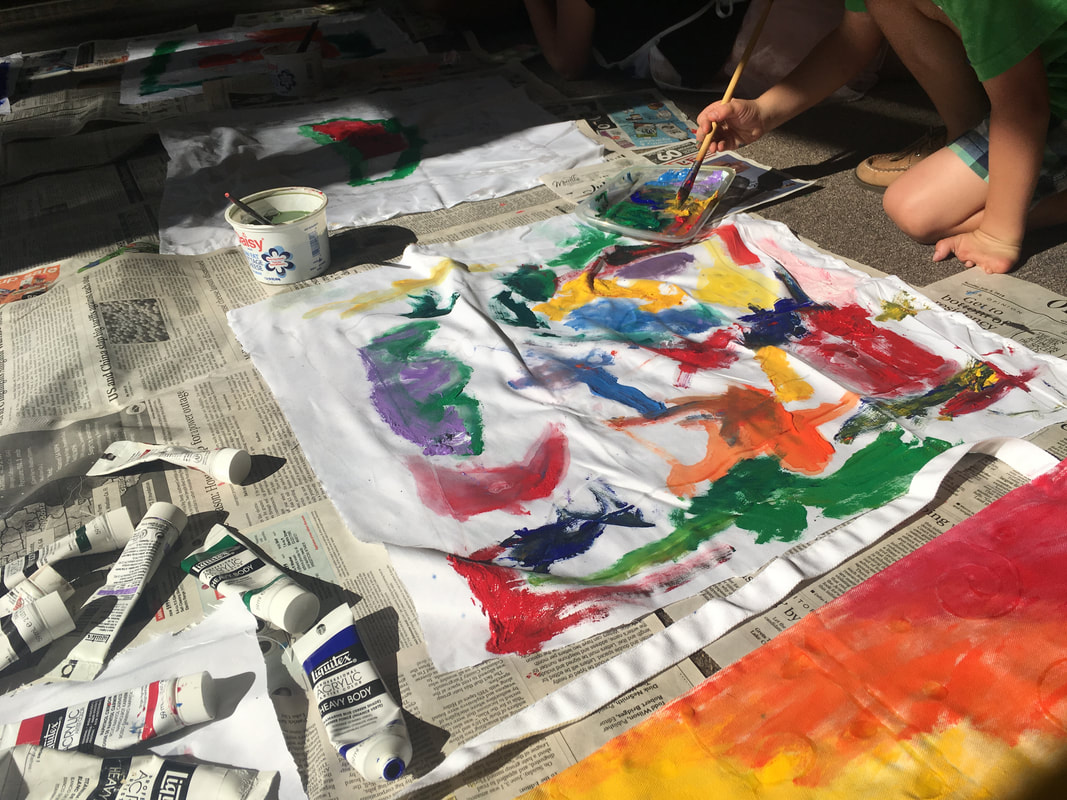
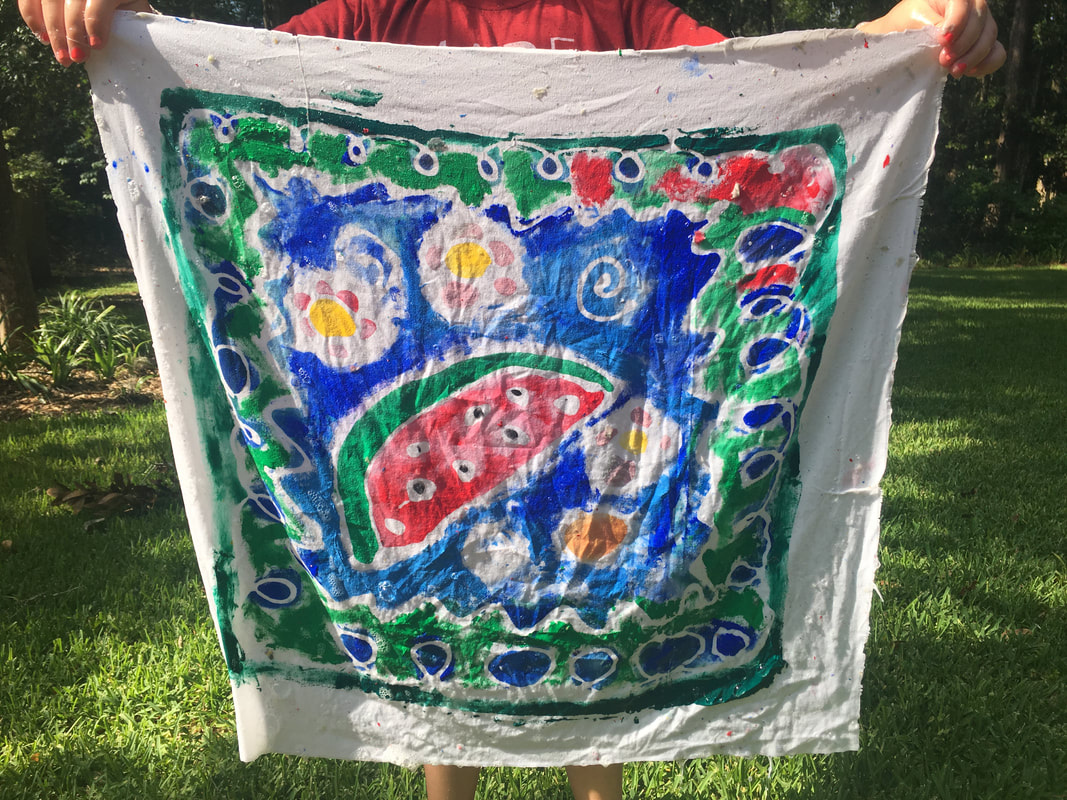
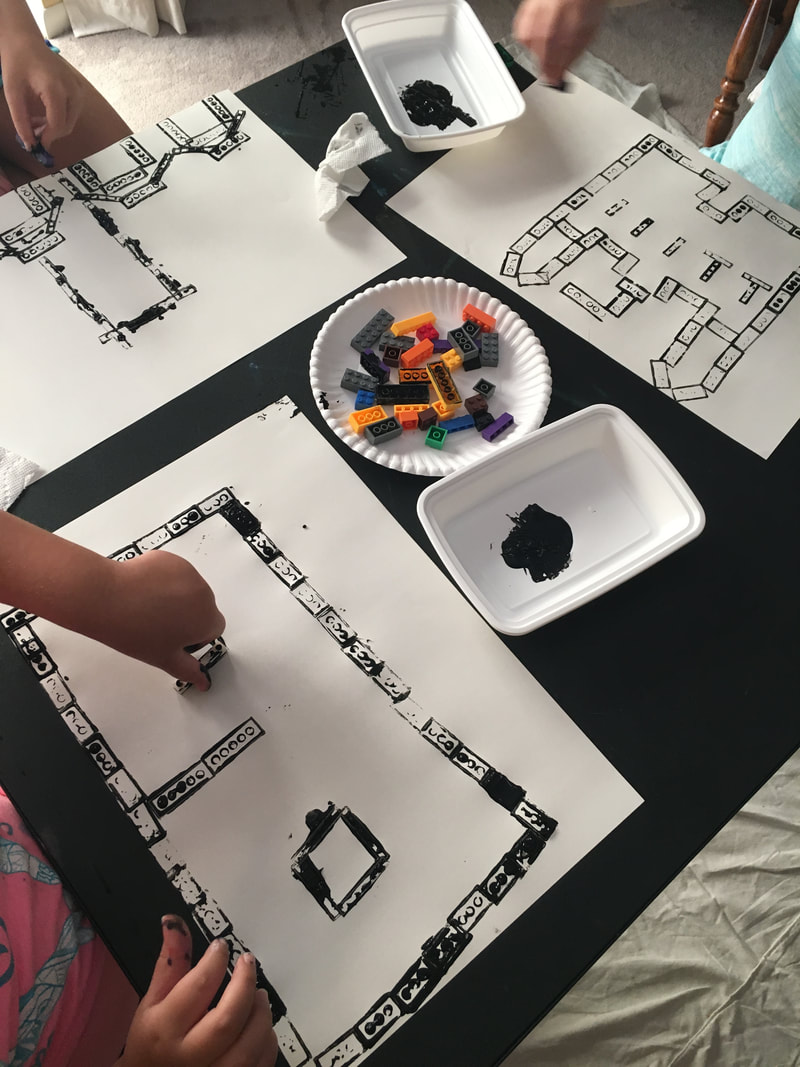
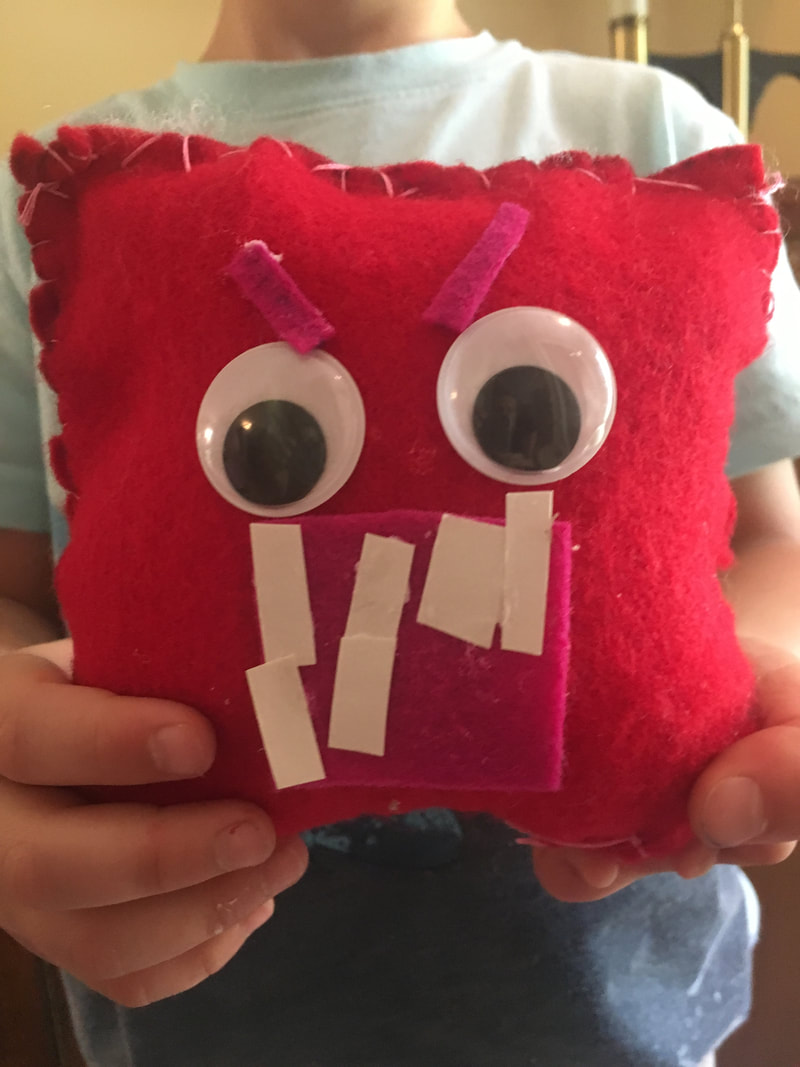
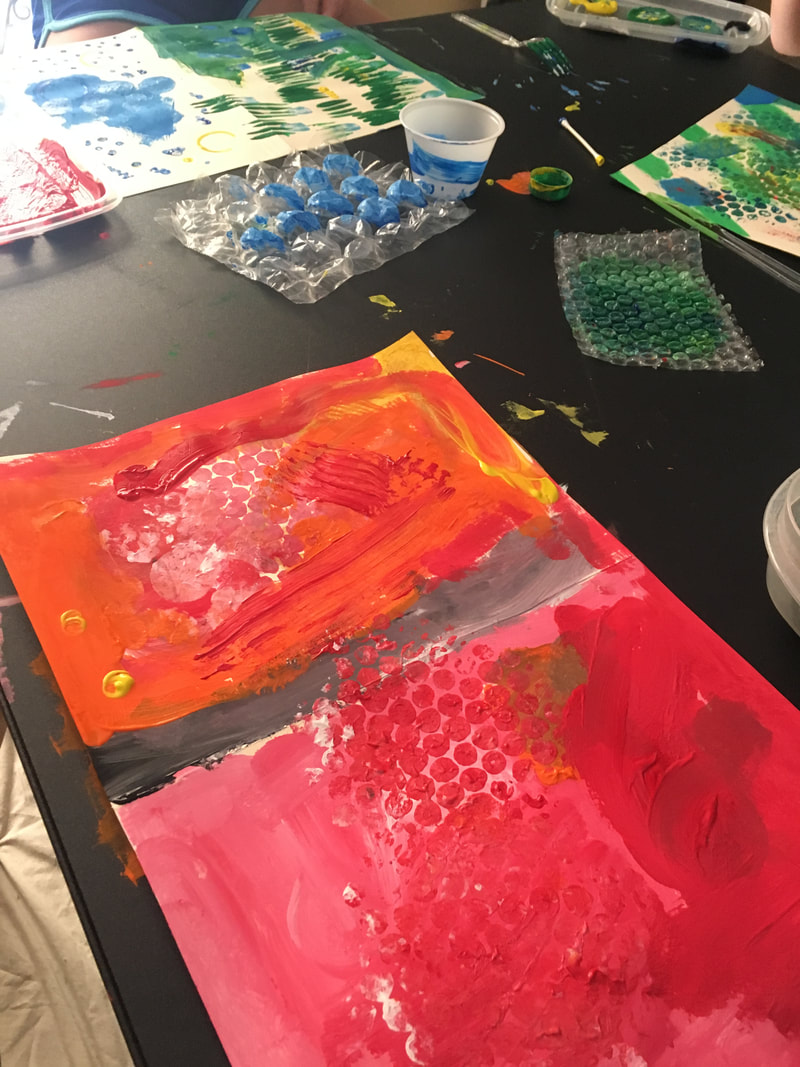
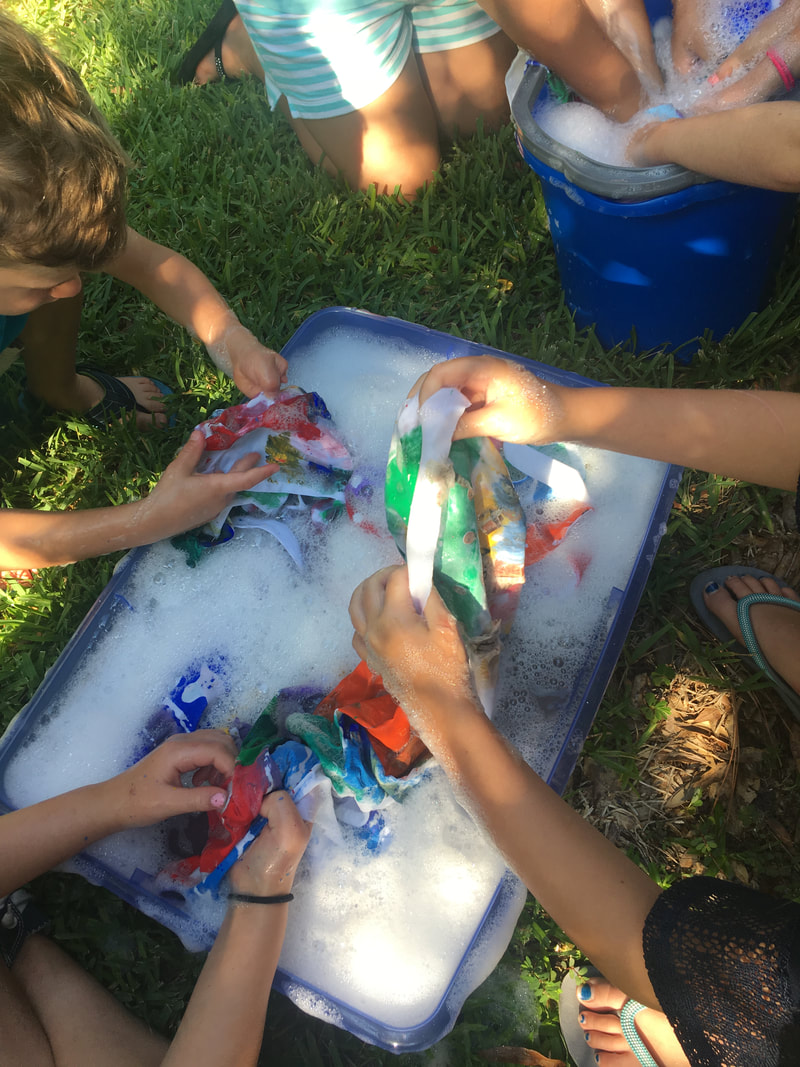
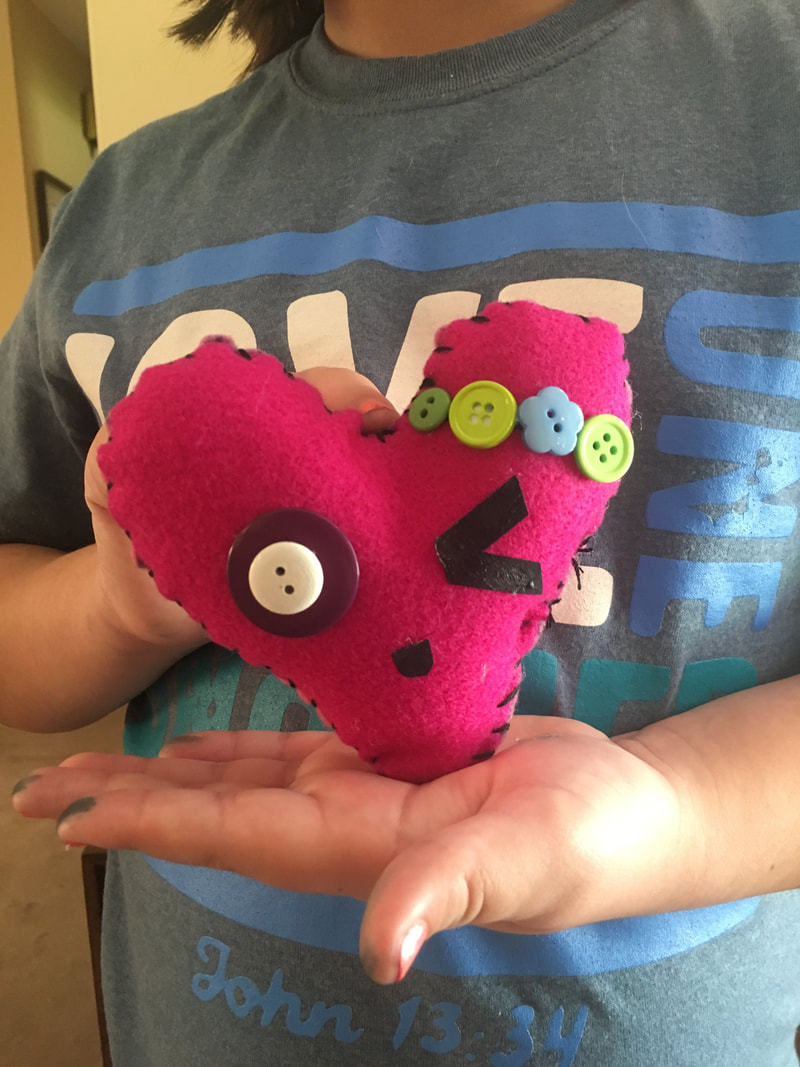
This is my second year teaching a summer art camp from home. It's a great opportunity to try out new materials or ideas and to teach lessons that I can't do in my classroom because of budget, time, or class size. This year, I had students ranging from entering kindergarten to fourth grade. This is what kept us busy: Sketchbooks, bingo dauber painting, washable glue batik, CD printing, sewing, color mixing with frosting, and LEGO printing.
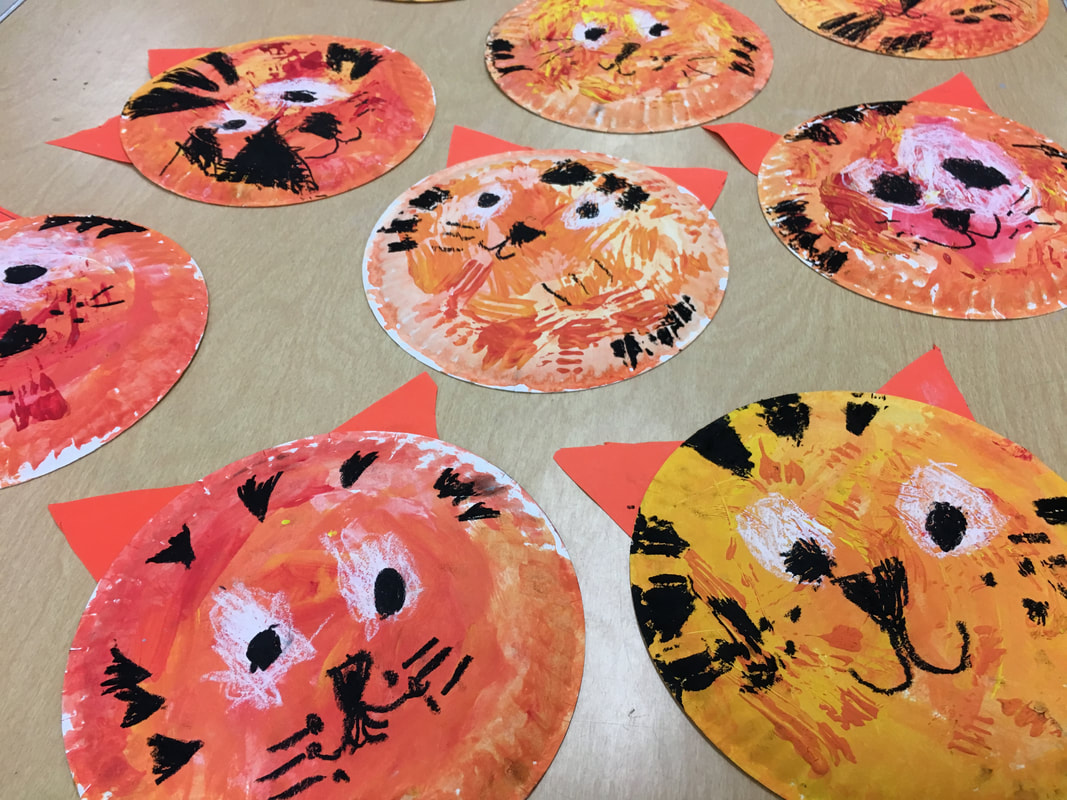
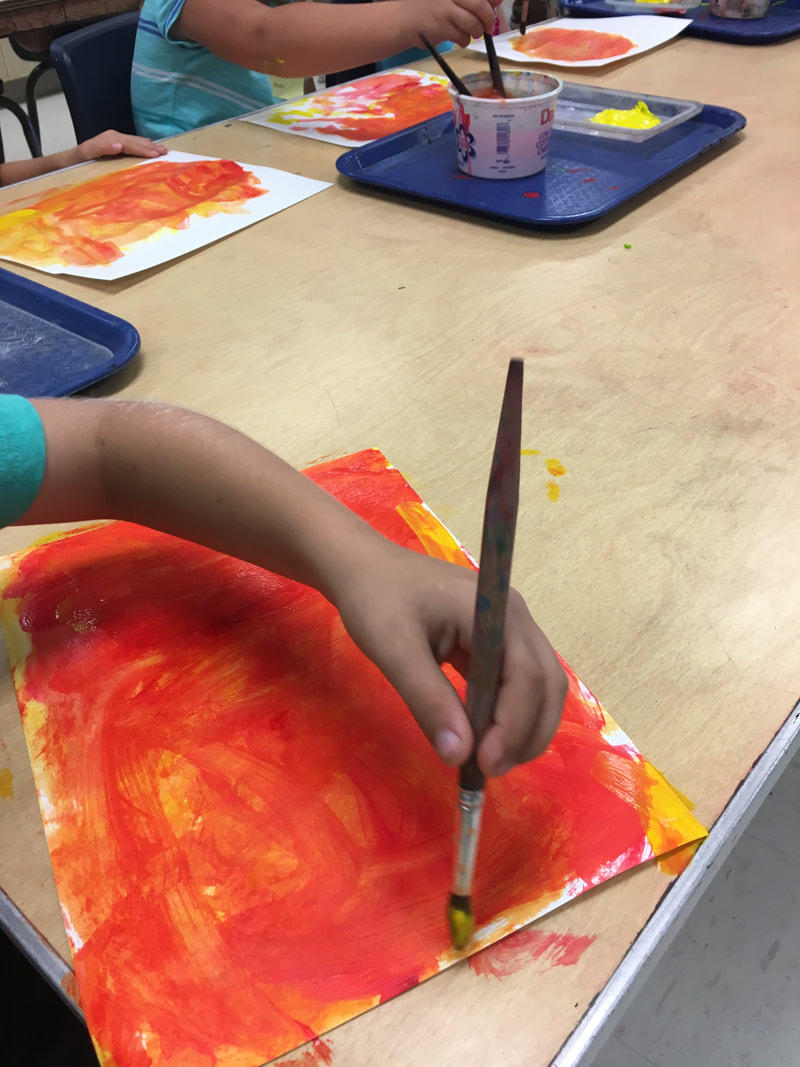
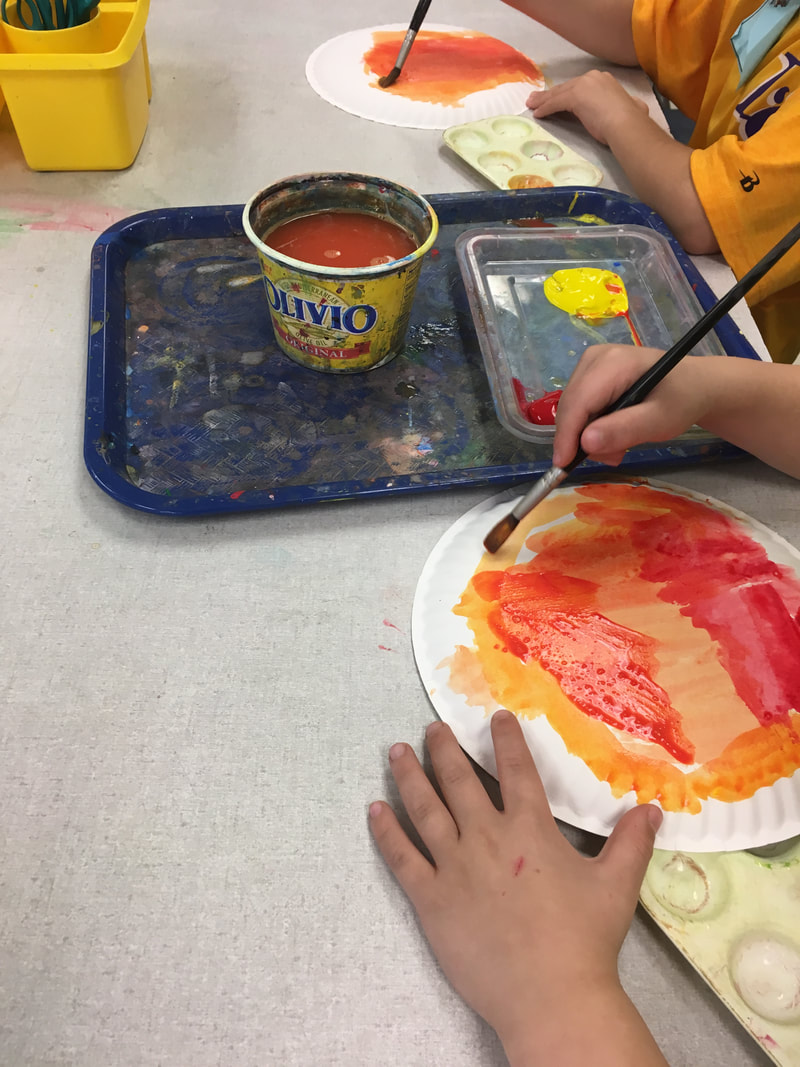
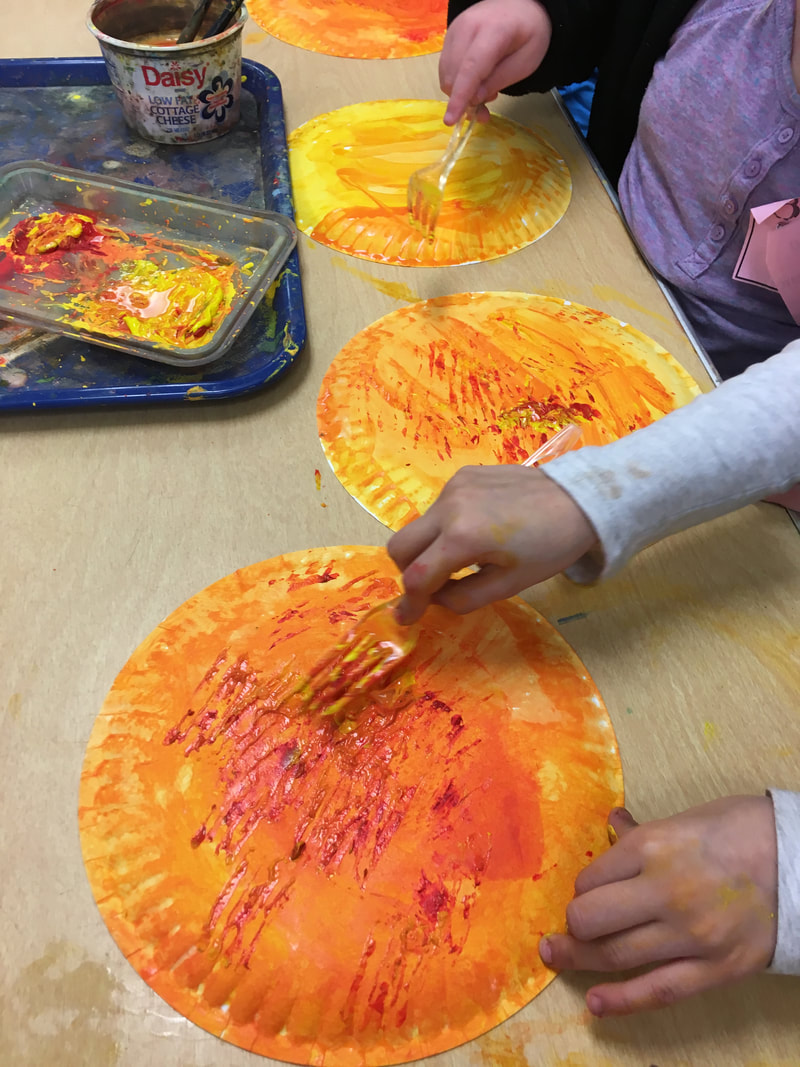
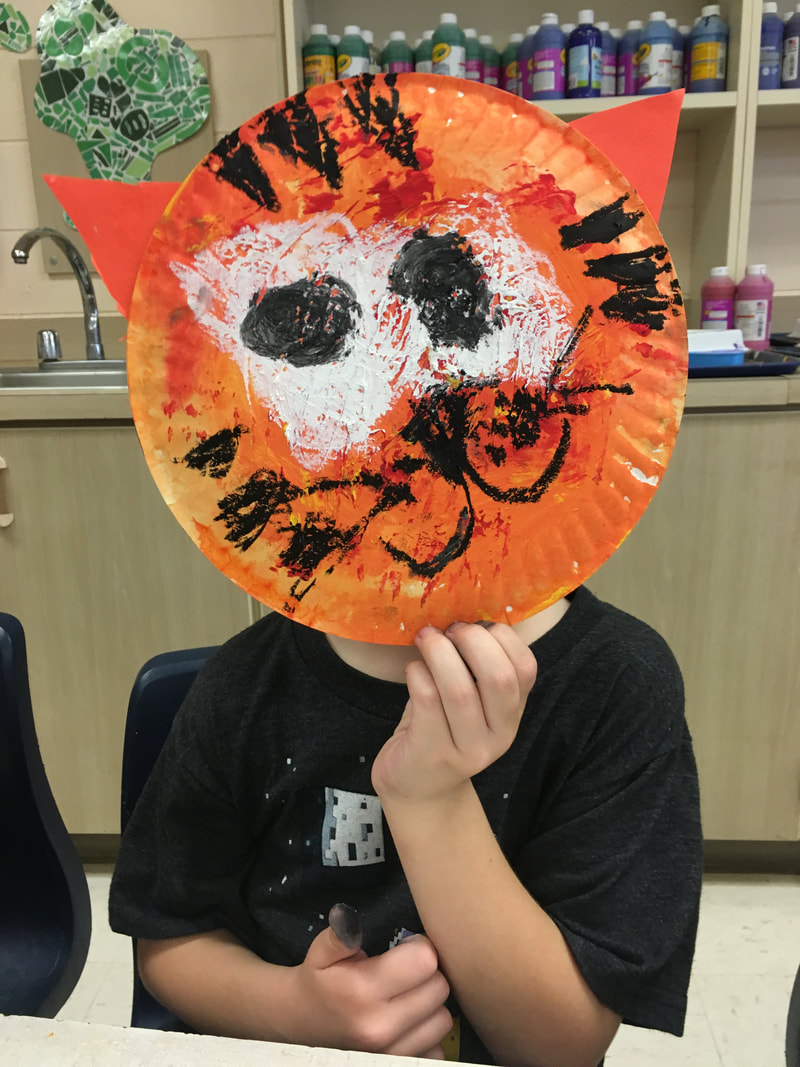
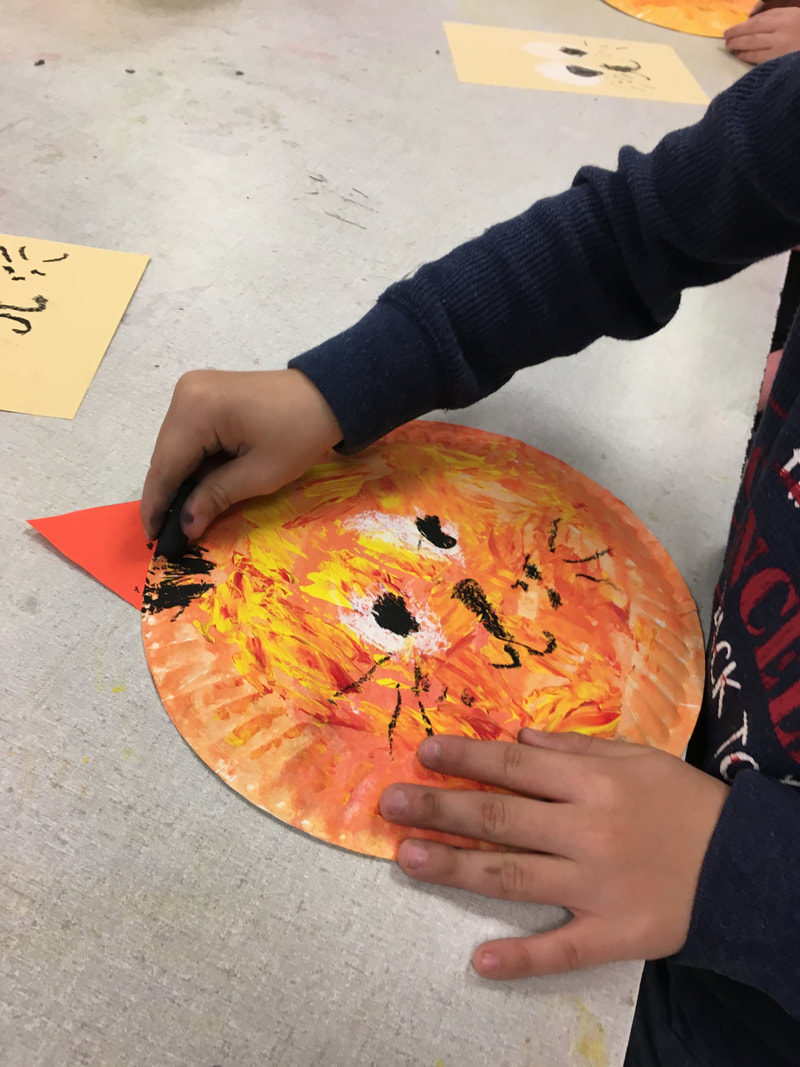
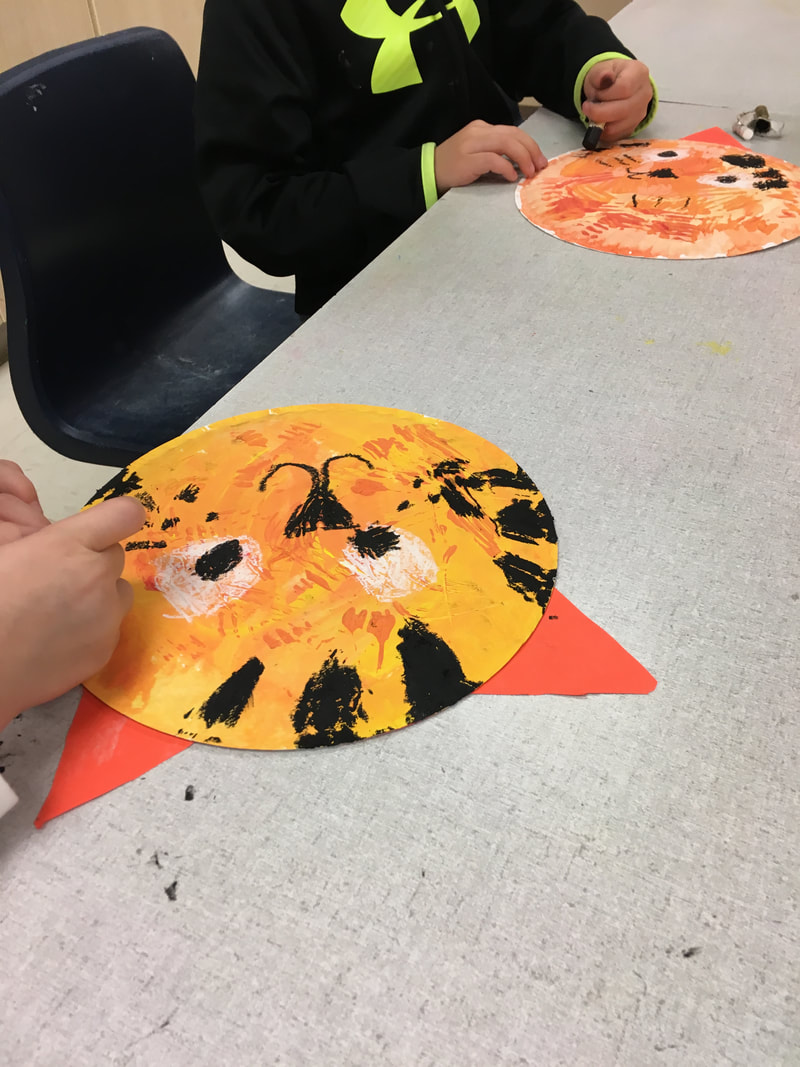
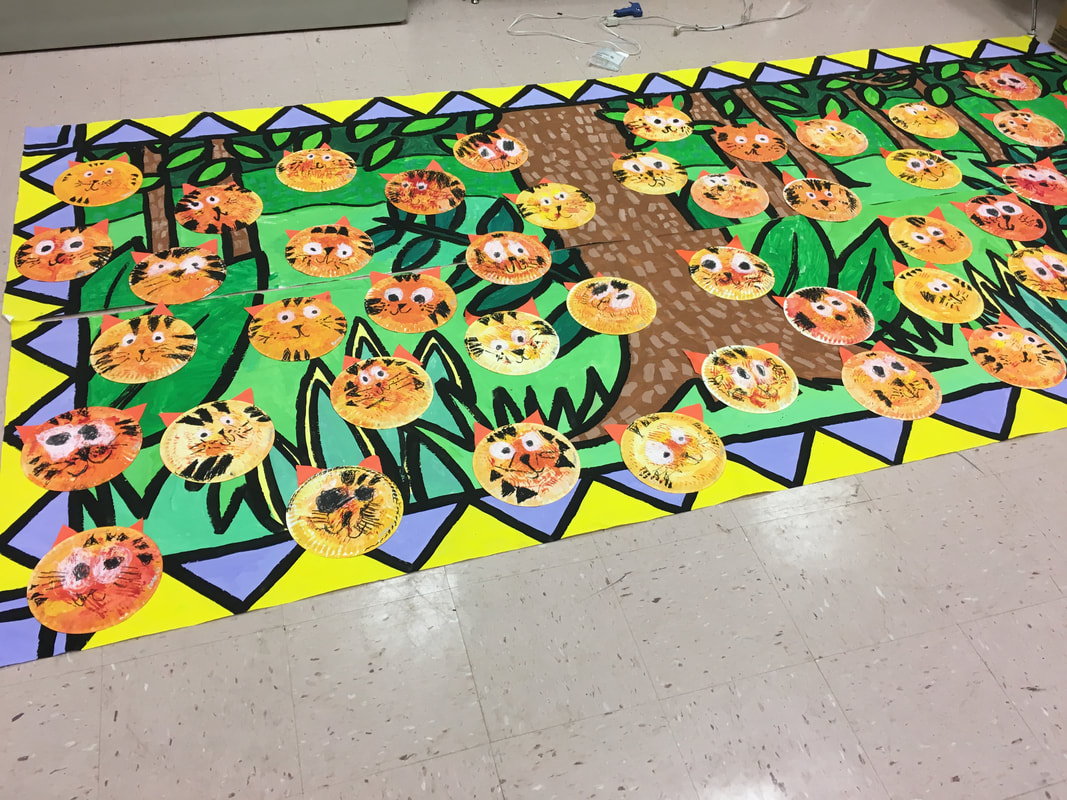
This is easily one of the most adorable projects we've ever done. My littlest artists create the cutest faces, so I always love having them make sweet little animals. This year, it was baby tigers since we are the Eastside tigers! First, we created orange together and painted the paper plates. They continued to make orange on their own as needed. Then, we added texture to our tigers by printing with plastic forks with the red, yellow, and orange paint. We made a "tap, tap, tap" sound to avoid smearing paint with the forks. After the tigers dried, we cut out and glued the ears. Then, we added the face and stripes with oil pastel. I have students first practice the face on piece of scrap paper. We do this step by step and then again step by step on the paper plate. In previous years, I had them practice faces on the back of their plate, but I think they do better when they can see their first try when they draw the face again. These tigers were used in our mural for the Night of the Arts.
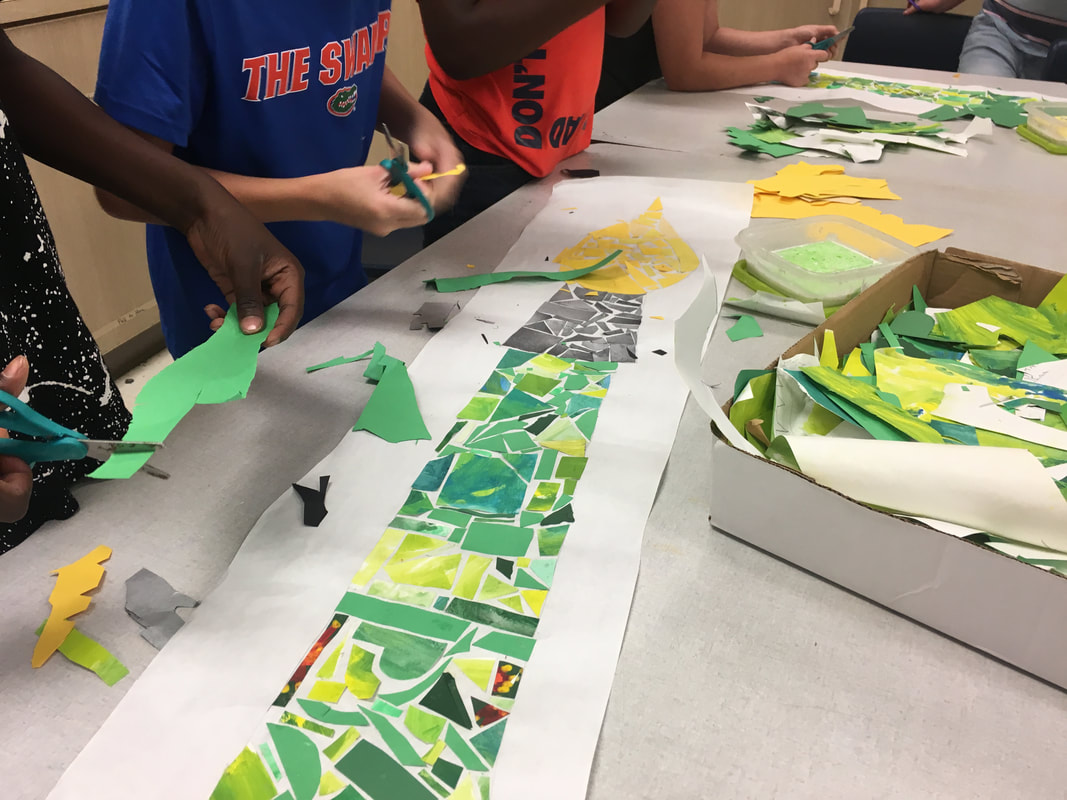
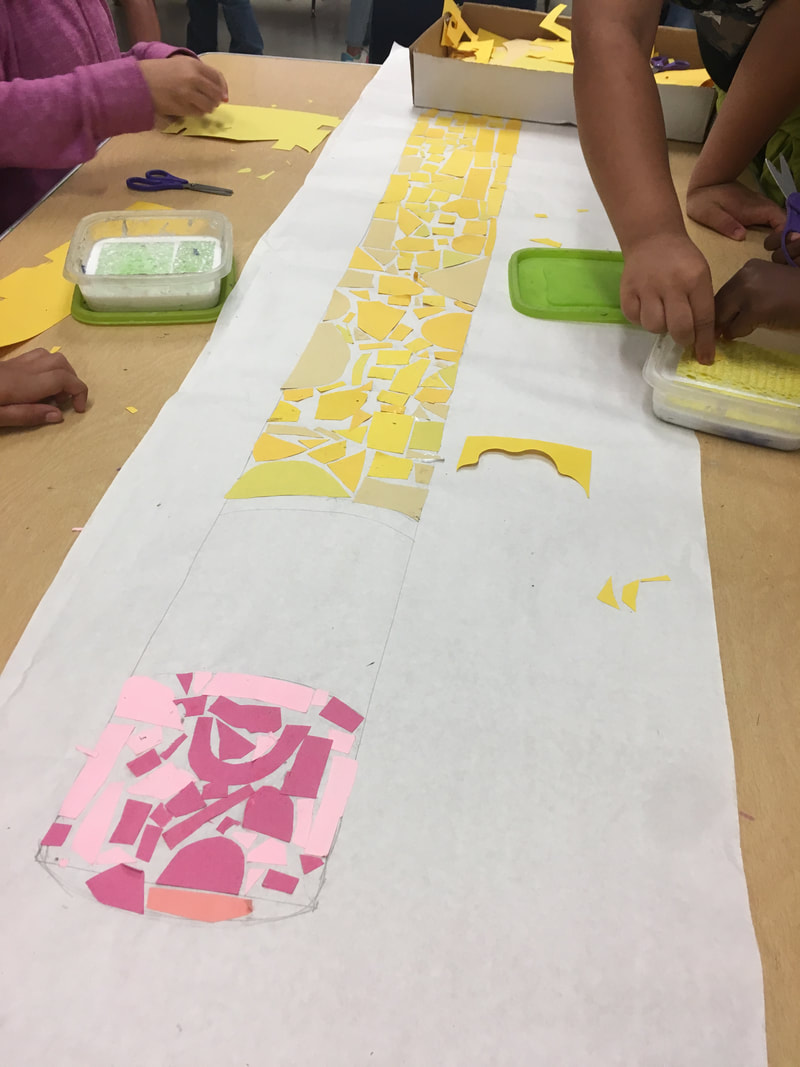
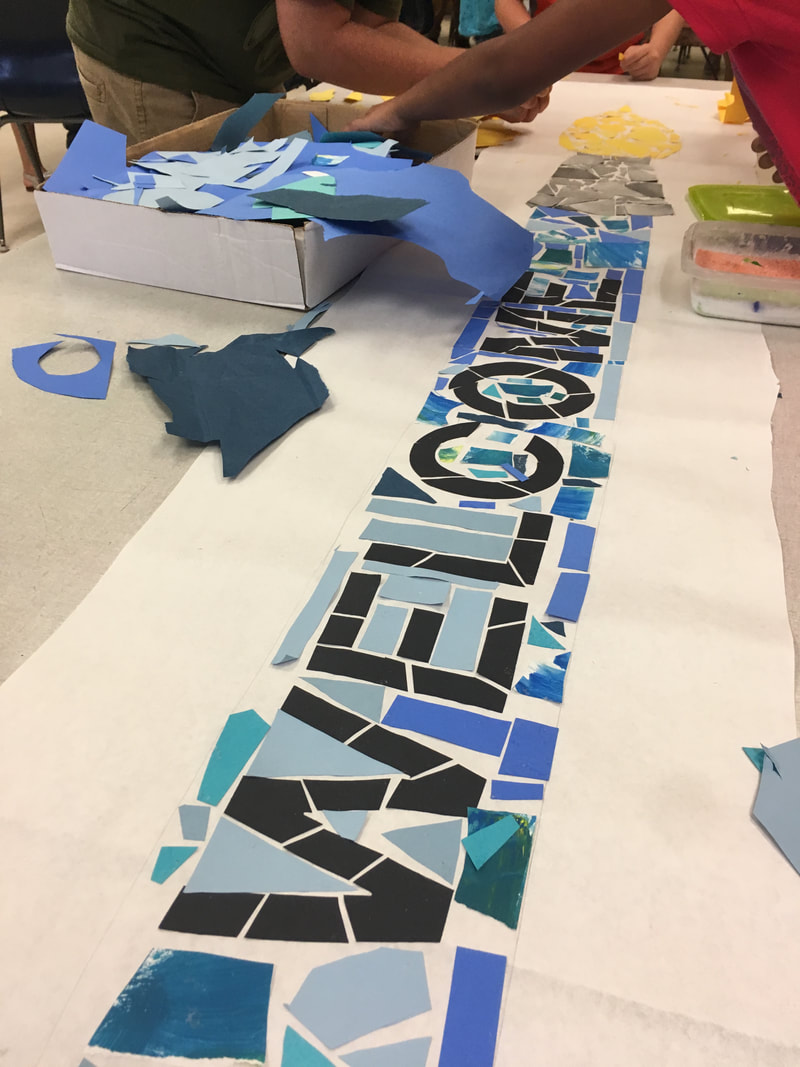
For the past few years, creating mosaics with paper has been the final project for my upper grades. It gives them a chance to work on something together and still learn and create after they have taken all of their own art home. It's also great to do during testing because I get some classes more than others, so a project with more steps and benchmarks is difficult. Classes can work on the mosaics once or three times and it still works out.
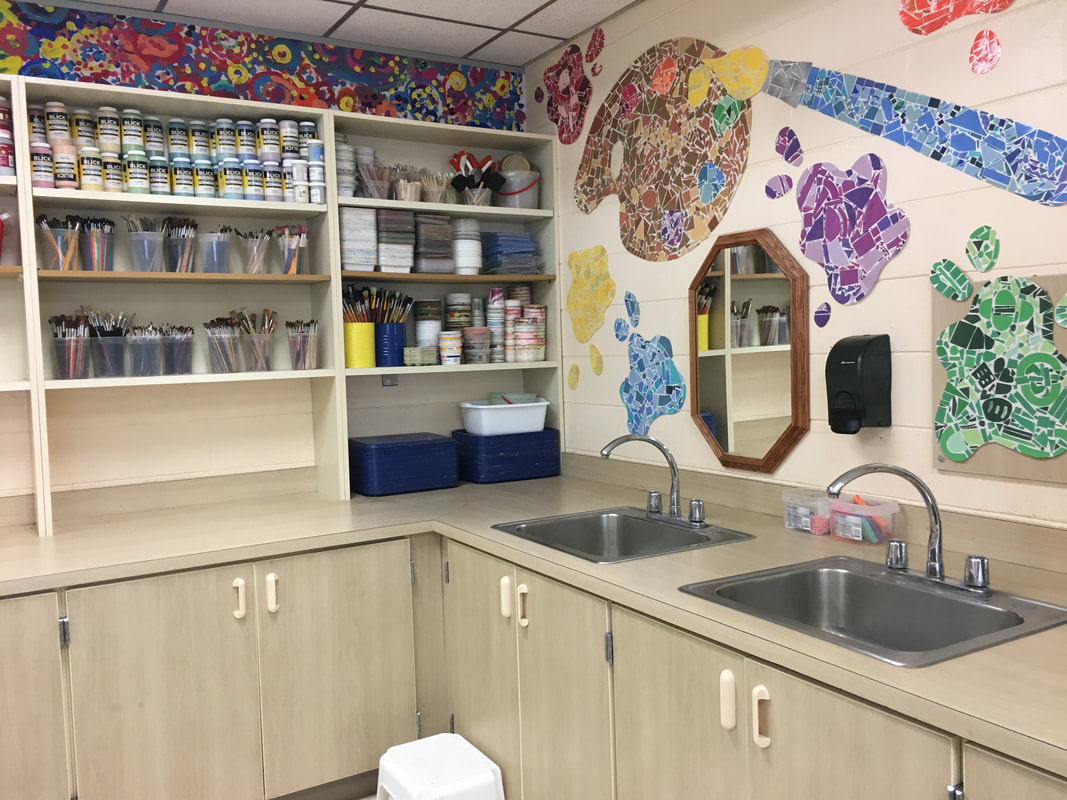
I show examples of murals in Florida and then demo how we are going to make them out of paper (LEAVE SPACES between pieces and pretend it's a puzzle). Then I pull out the scissors, glue sponges, and my scrap paper boxes organized by color and we get to creating! When the mosaics and complete, I cut them out and laminate them. They will be hung in the classroom next year! I love having student work already in the classroom on the first day of school. It's their space to learn and create and I want it to look and feel like that. This year, I showed artwork by Elizabeth Pawle when teaching embroidery to my first graders. They adored her and her use of bright colors and interesting shapes and stitches. I would even catch them talking about her when they were working. "Who is Elizabeth?" I asked. "You know, Elizabeth Pawle!" They asked me to send her pictures of their work, so I had to, and I received the greatest response. My little ones were overjoyed! Please go see her gorgeous work on her website! 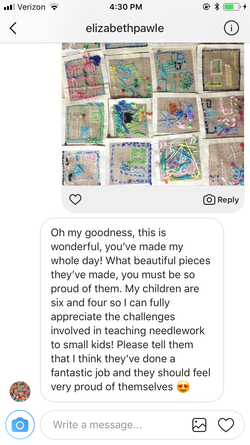
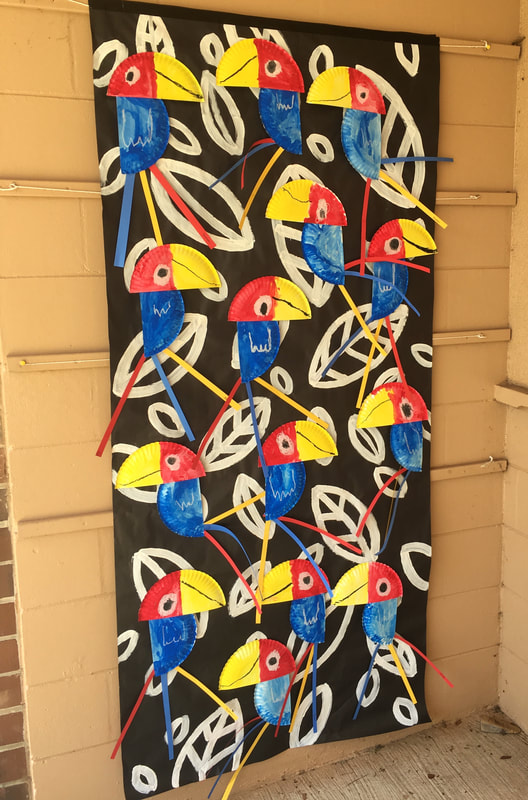
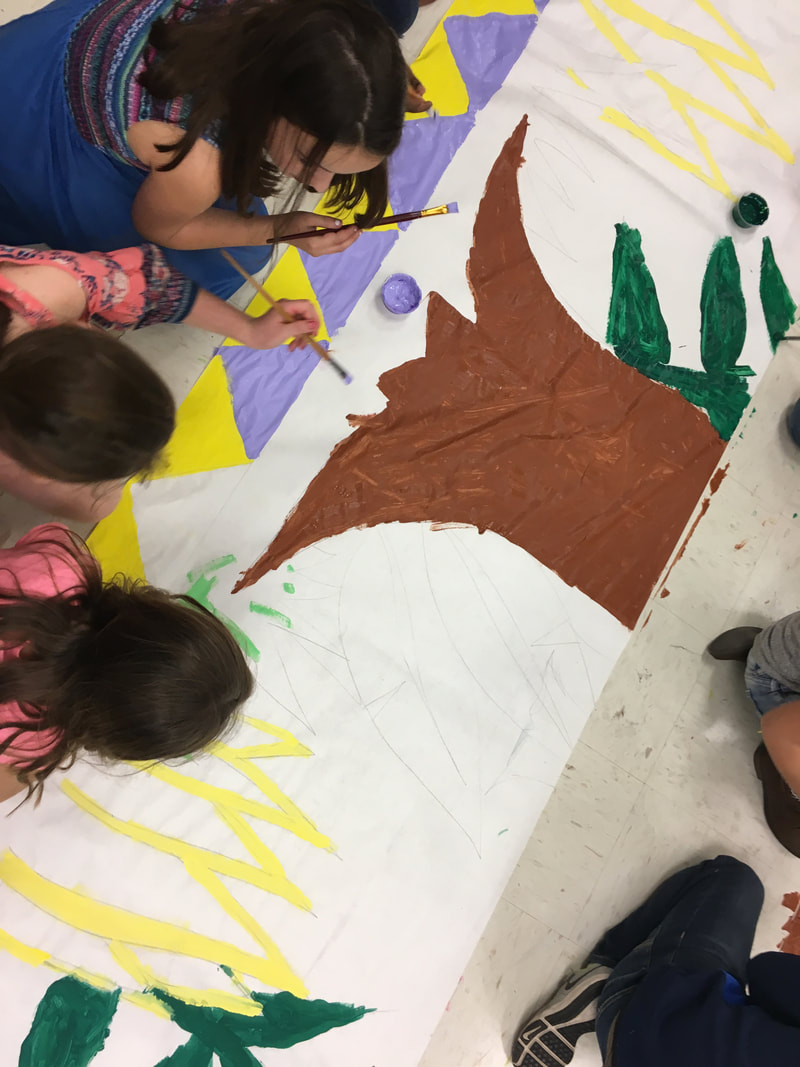
 Our mural is always my favorite part of the Night of the Arts! I love that it makes a big impact and that so many students take part in it. Third graders worked together to create the background. I drew the design in pencil and they filled it in. I pulled small groups to work on parts of the mural, and when they were done with their area, they would go work on a mural worksheet I created. By the end, some classes were able to all be working on the mural together. Those are the best moments! But I also had one class that was not able to participate because of behavior and they worked on an alternative individual painting. Kindergarten created their cute little tigers a few weeks earlier. I hot glued them to the mural when they were finished. I learned in previous years that tape just doesn't cut it! When the show is over, all of the tigers were still attached, so I pulled them off and the background was thrown away.
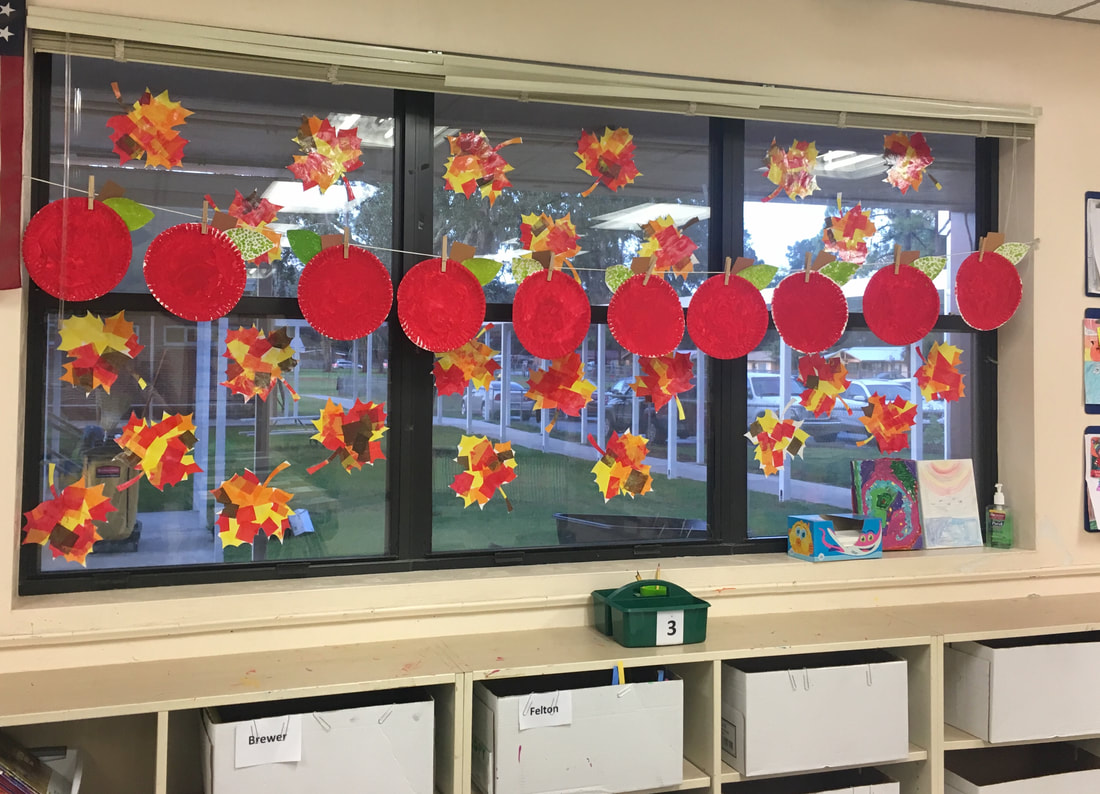
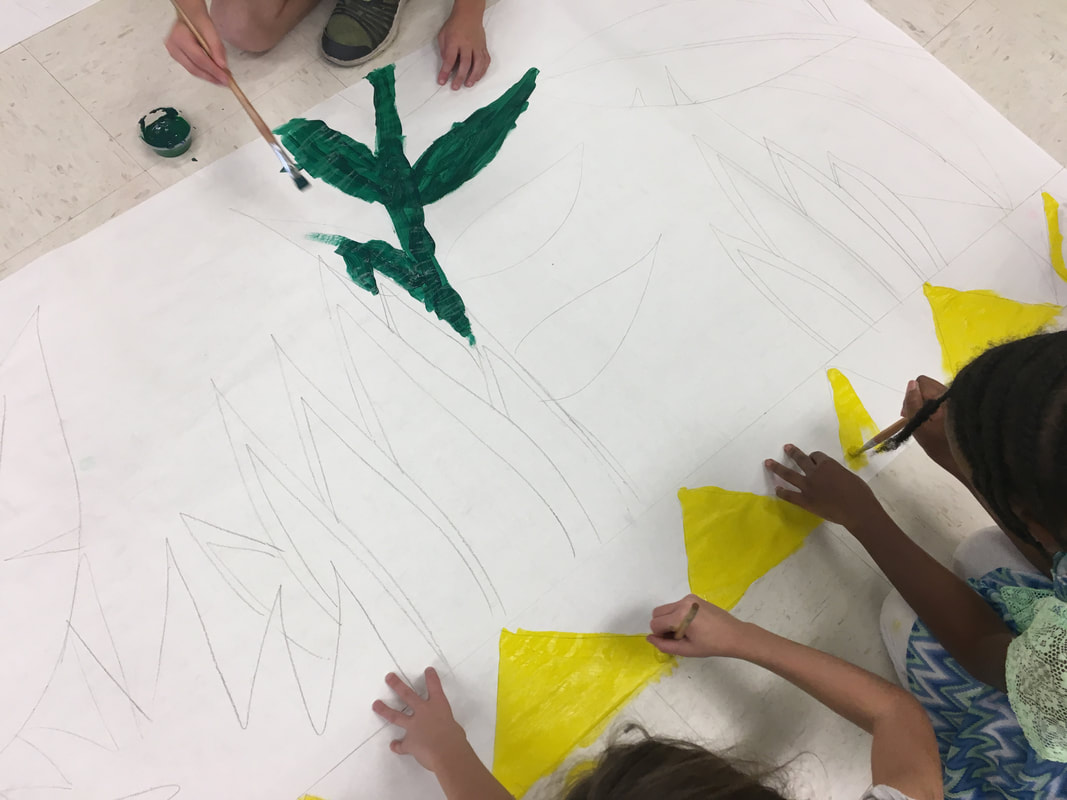
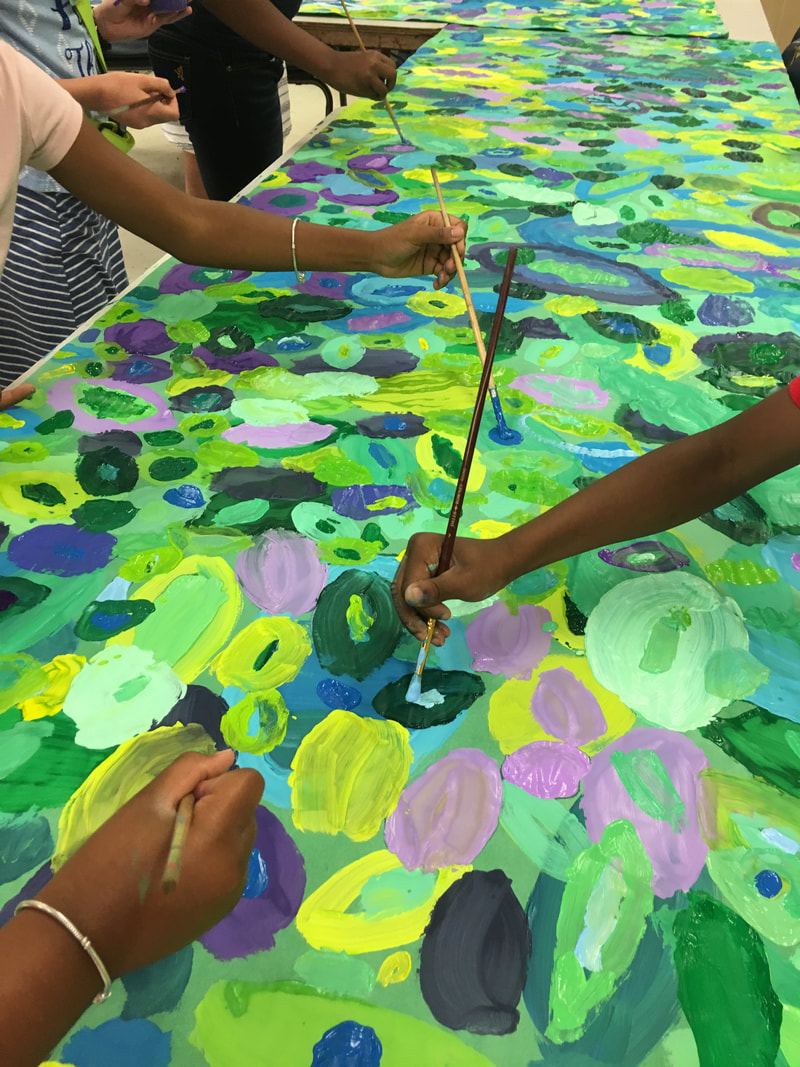
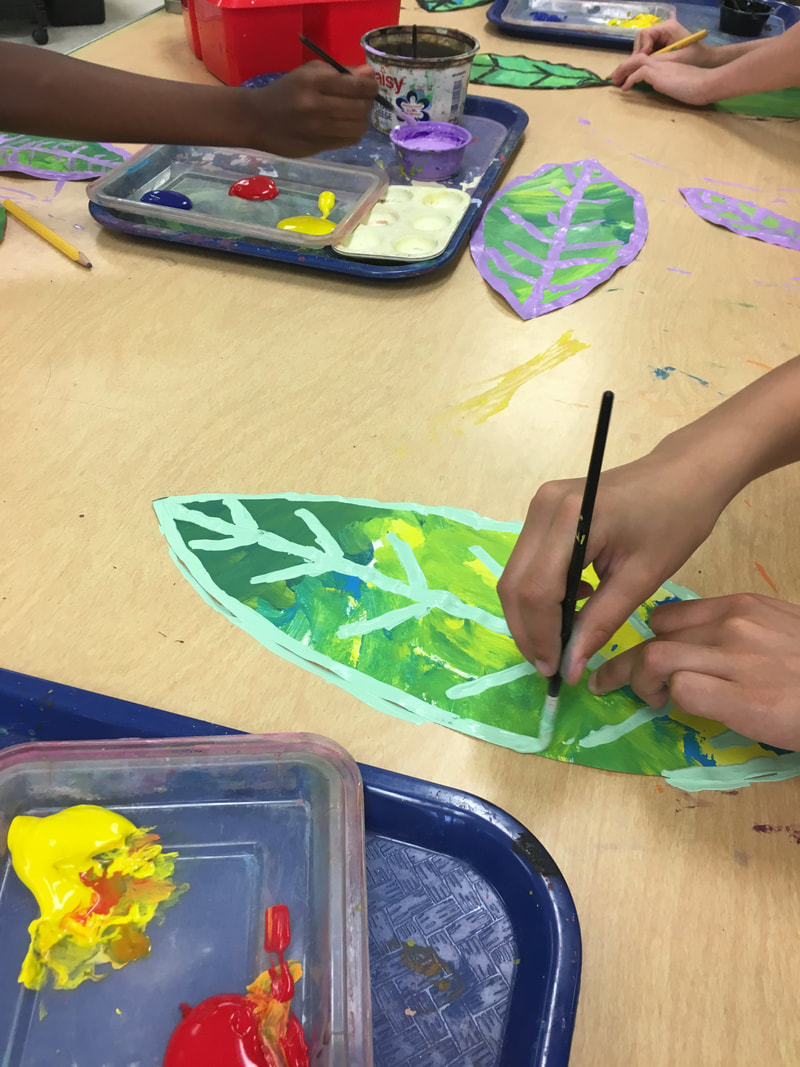
This year, students also created giant leaf paintings and individual leaves to use as decoration for the Night of the Arts. The large paintings were used to cover tables and to hang with artworks. The smaller leaves filled in tables and were used on the cards with the teachers' names. Third, fourth, and fifth made the large paintings by painting only leaf shapes (Rule #1), using only three colors and class (Rule #2), and working responsibly (Rule #3). They were able to walk around and change colors when they choose. I had a few second grade classes make 12x18 painted papers with green and third grade added the lines with premixed colors to the individual leaves. These were then laminated and used in the show. Students did not get to keep them since multiple students worked on each leaf. I saved them and may use them as classroom decorations in the future.
|
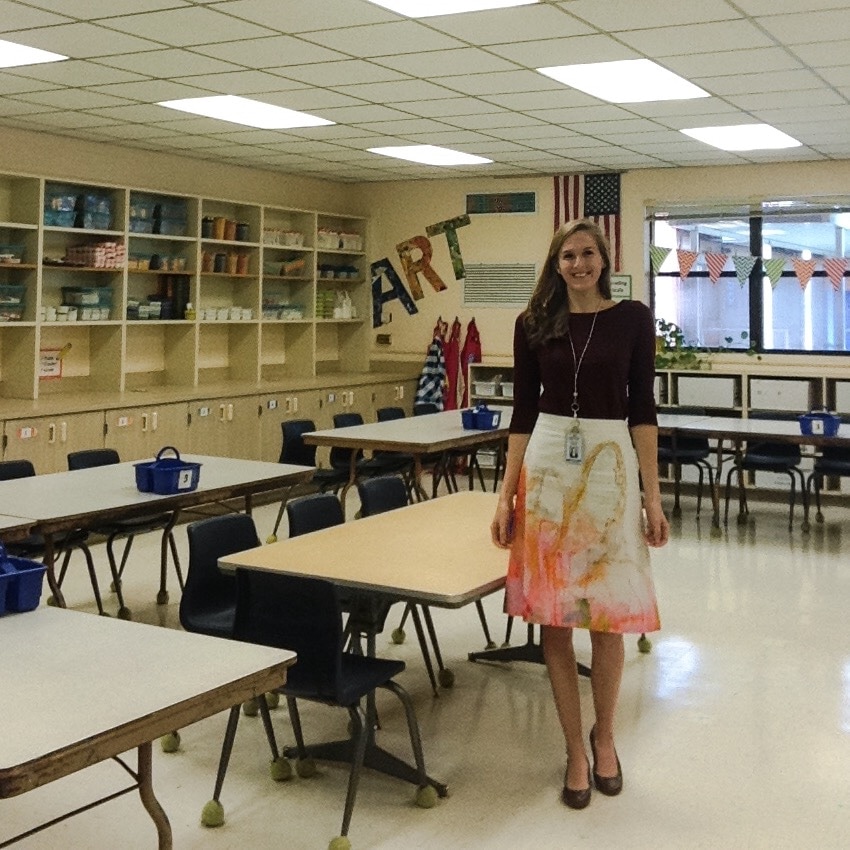
Madeleine PinaireI am an ninth year art teacher with degrees in Art Education from Flagler College and the University of Florida, living and working in northern Florida. Each week, I teach over six hundred students in grades kindergarten through fifth. Here you will find what we are learning virtually and in the art classroom! Archives
August 2020
Categories
All
|

 RSS Feed
