|
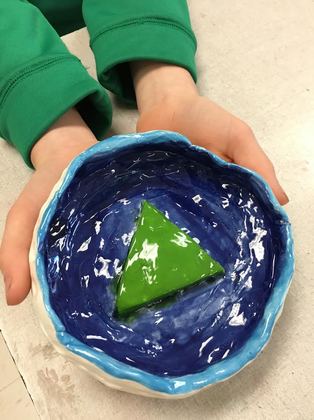
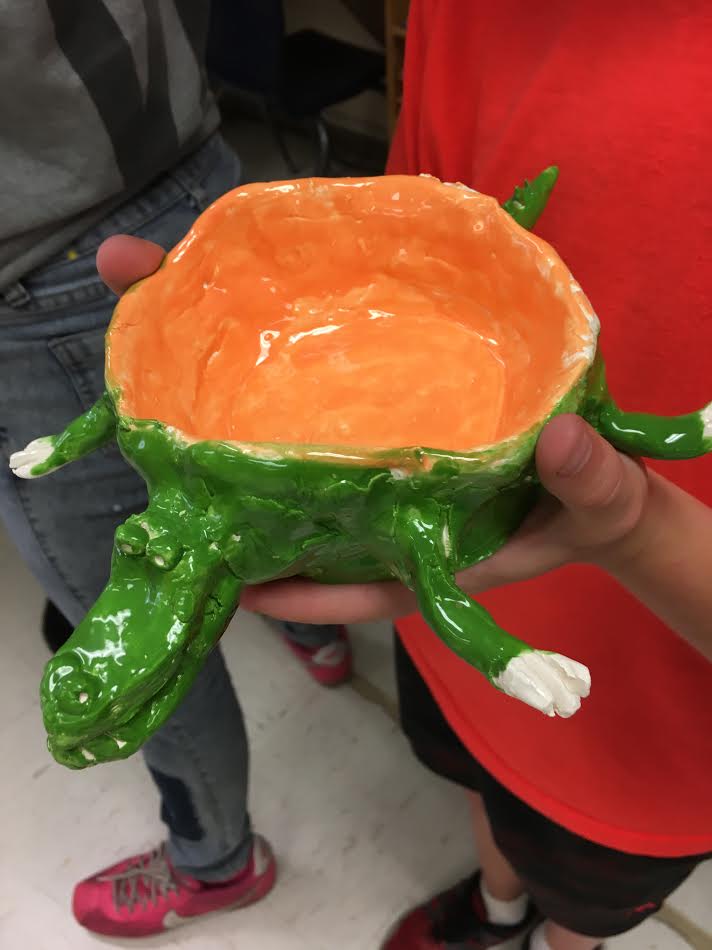
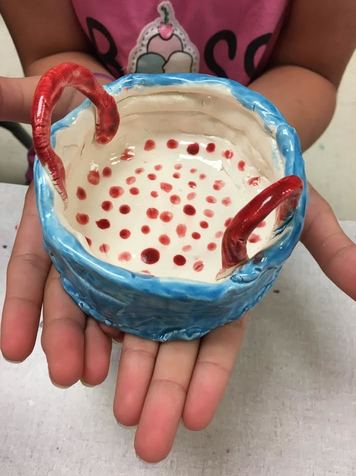
This is my second year of doing ceramics and it has been so much smoother this time around! I gave fourth and fifth grade students more time (three days for the coil pots and two for glazing) and changed the procedures for glazing.
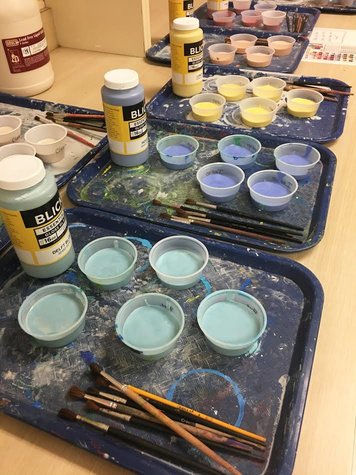
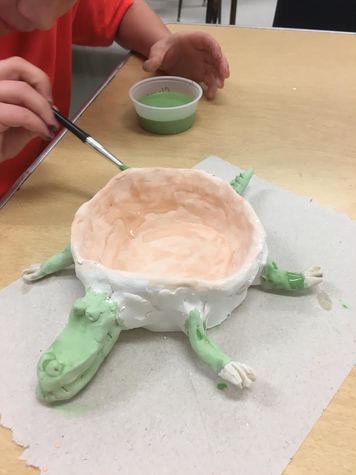
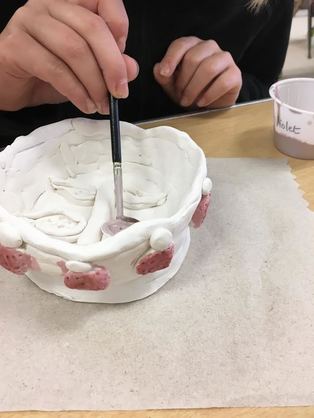
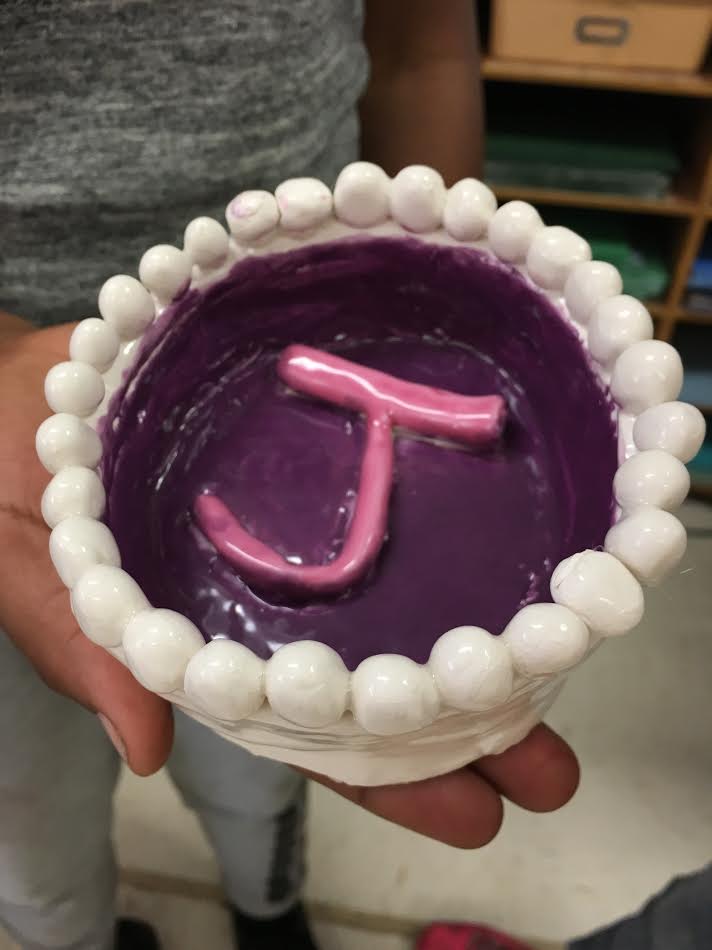
We began the coil pots together, creating a slab and cutting out a medium circle by tracing a plastic lid. Then, we made the first two coils and I made sure they attached them well. After that, the design was their own. I wanted them to make something personal that they loved, and I was so impressed their their work. The animal bowls turned out beautifully, so I think I may have students make animal coil pots in the future. For glazing, I had a counter set up with nine trays, each with labeled cups of a different color, brushes for each color, and the bottle of glaze. I also had a laminated picture from the Blick catalog taped to the counter to show how they glazes would look after firing. Students could get one color at a time with a brush from the tray (no rinsing brushes), do their three coats, and return the cup and brush. This worked SO WELL and we used less glaze than last year when I had the glazes on the students' tables. We had no issues with spilling or dropping cups of glazes. I love having opportunities for students to be independent, so I will definitely be doing this again next year.
0 Comments
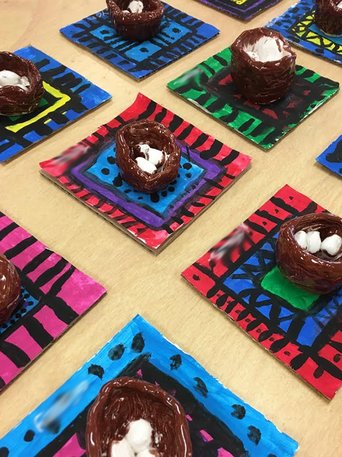
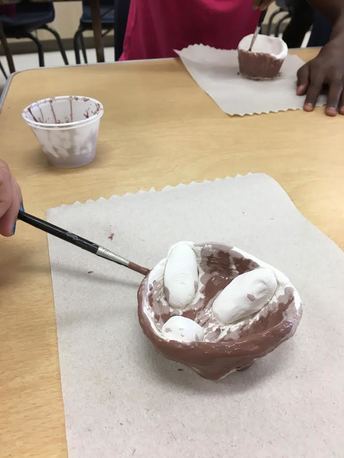
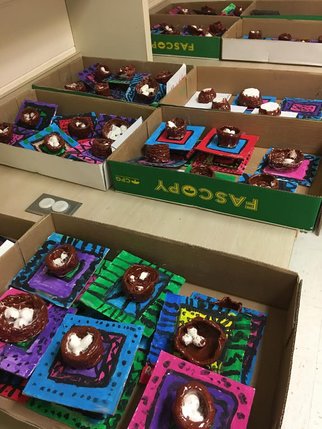
Sweet bird nests from third grade! I don't have the space to do clay lessons with more than three grade levels, so third grade is the first time students at my school use clay. This lesson is simple and teaches basic skills, so it is perfect for a first clay lesson. It would be great for even younger students. Creating the nest and eggs takes one day and glazing takes just one more.
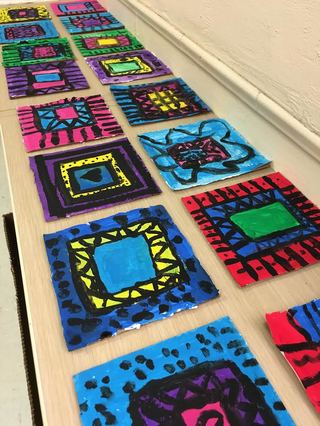
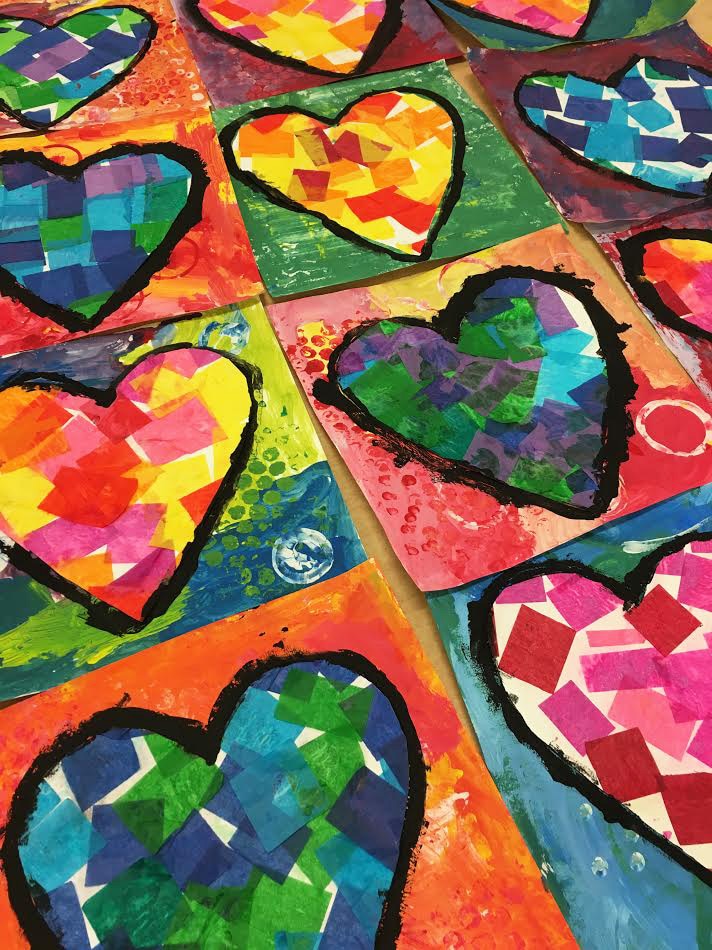
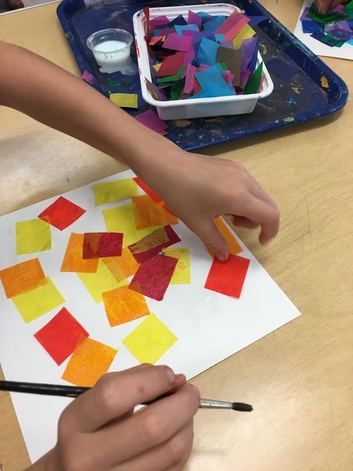
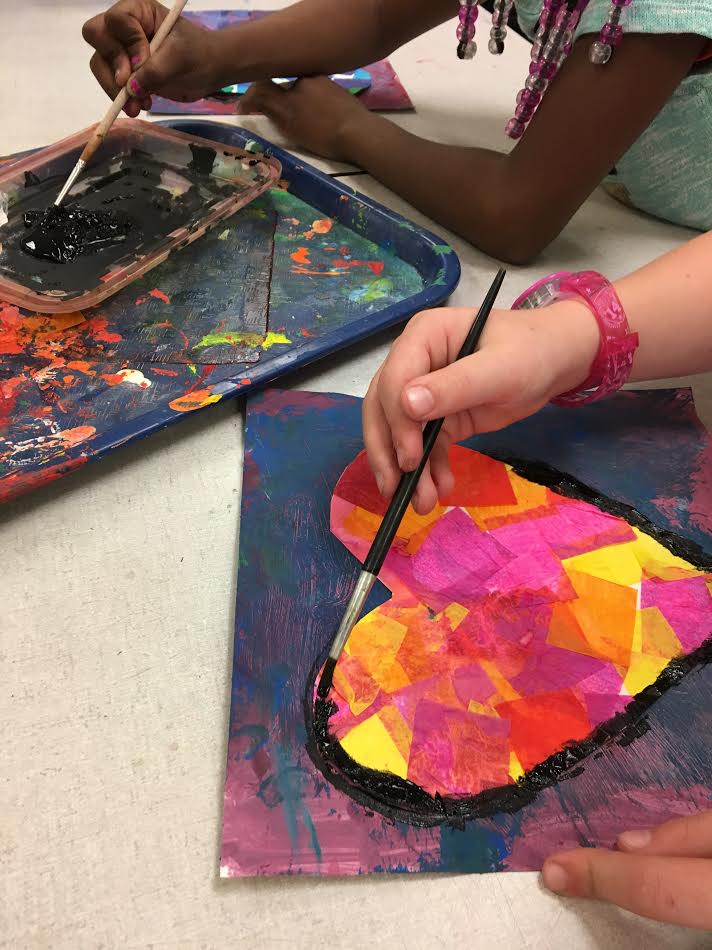
Since these pieces are being displayed in the Night of the Arts, I had students make little 5x5 inch tiles with cardboard. This gives their work some color and is a place for their name. We glued a white piece of paper to the cardboard, painted the background colors in "windows" we drew, and added pattern with black paint. They did a fantastic job! I just put a tiny drop of hot glue under the nest and the artwork is ready! First and second grade students made these beautiful hearts! Together, we made a chart of warm and cool colors and used the chart to help sort the tissue paper squares. It took one 45 to do this and fill a 9x9 inch paper with the tissue paper. They LOVED this part of the project! I was surprised by how much each class enjoyed working with the tissue paper.
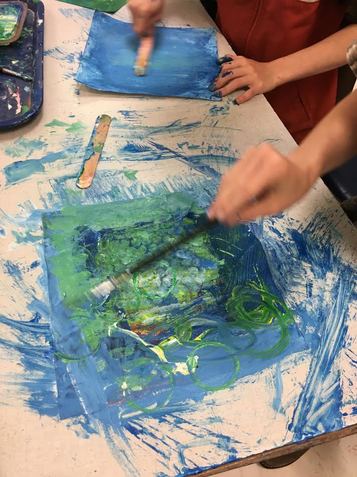
On the second and third days of the lesson, students made the painted papers and created new ways to use tools (scrub brush, medicine cups, Popsicle stick, bubble wrap, etc.) to make texture. Second grade continued to focus on warm and cool colors. I had first grade students pick a secondary color for their painted paper. To finish, we traced a heart on the back of the tissue paper piece and glued it to the painted paper. Then, we practiced our good painting techniques and added the black border around the hearts. My first graders were so great with this step! Now to get the first grade hearts ready for the Night of the Arts in a month! |
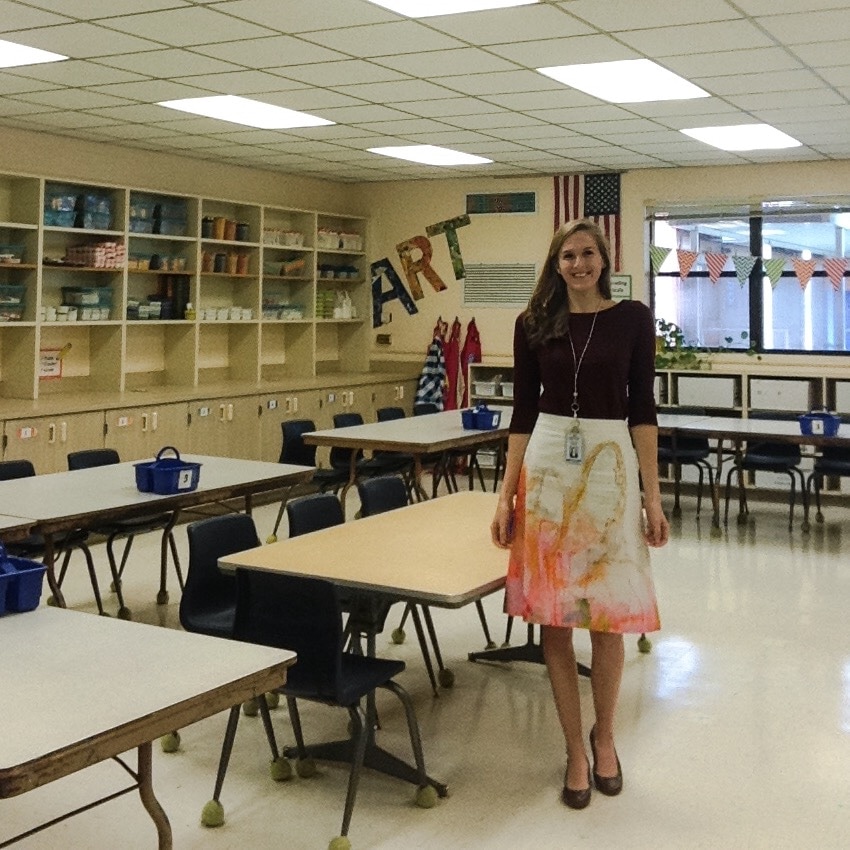
Madeleine PinaireI am an ninth year art teacher with degrees in Art Education from Flagler College and the University of Florida, living and working in northern Florida. Each week, I teach over six hundred students in grades kindergarten through fifth. Here you will find what we are learning virtually and in the art classroom! Archives
August 2020
Categories
All
|
 RSS Feed
