|
This is the third year that I have held a small summer art camp at my home. Many of the lessons that I teach over the summer, I use the next year in the classroom. I love the opportunity to try out lessons for the first time and teach a few things that just aren't practical in a classroom setting.
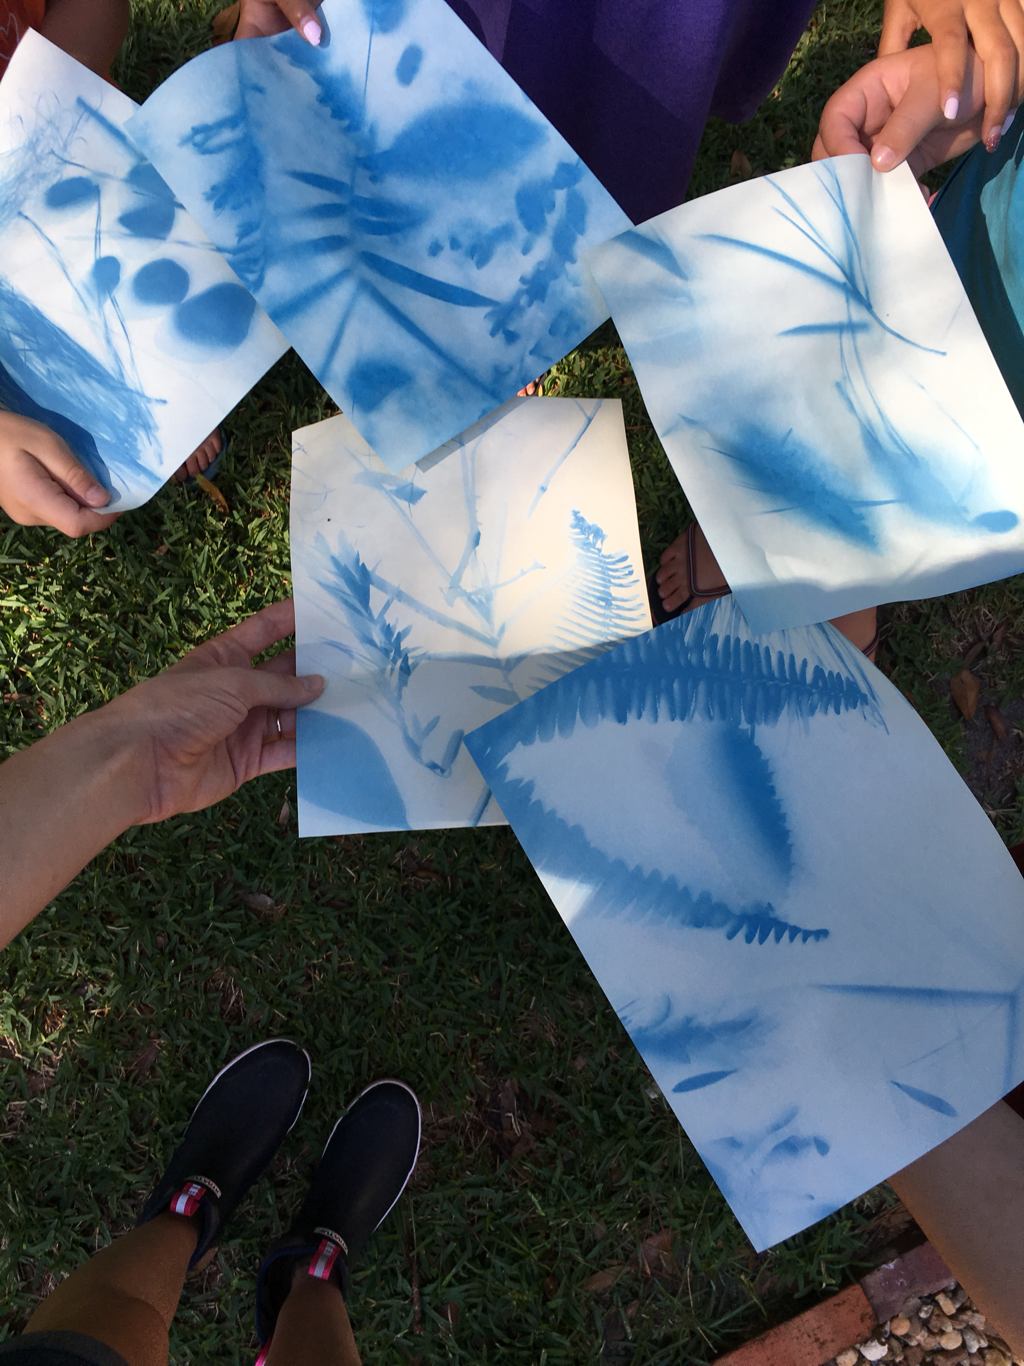
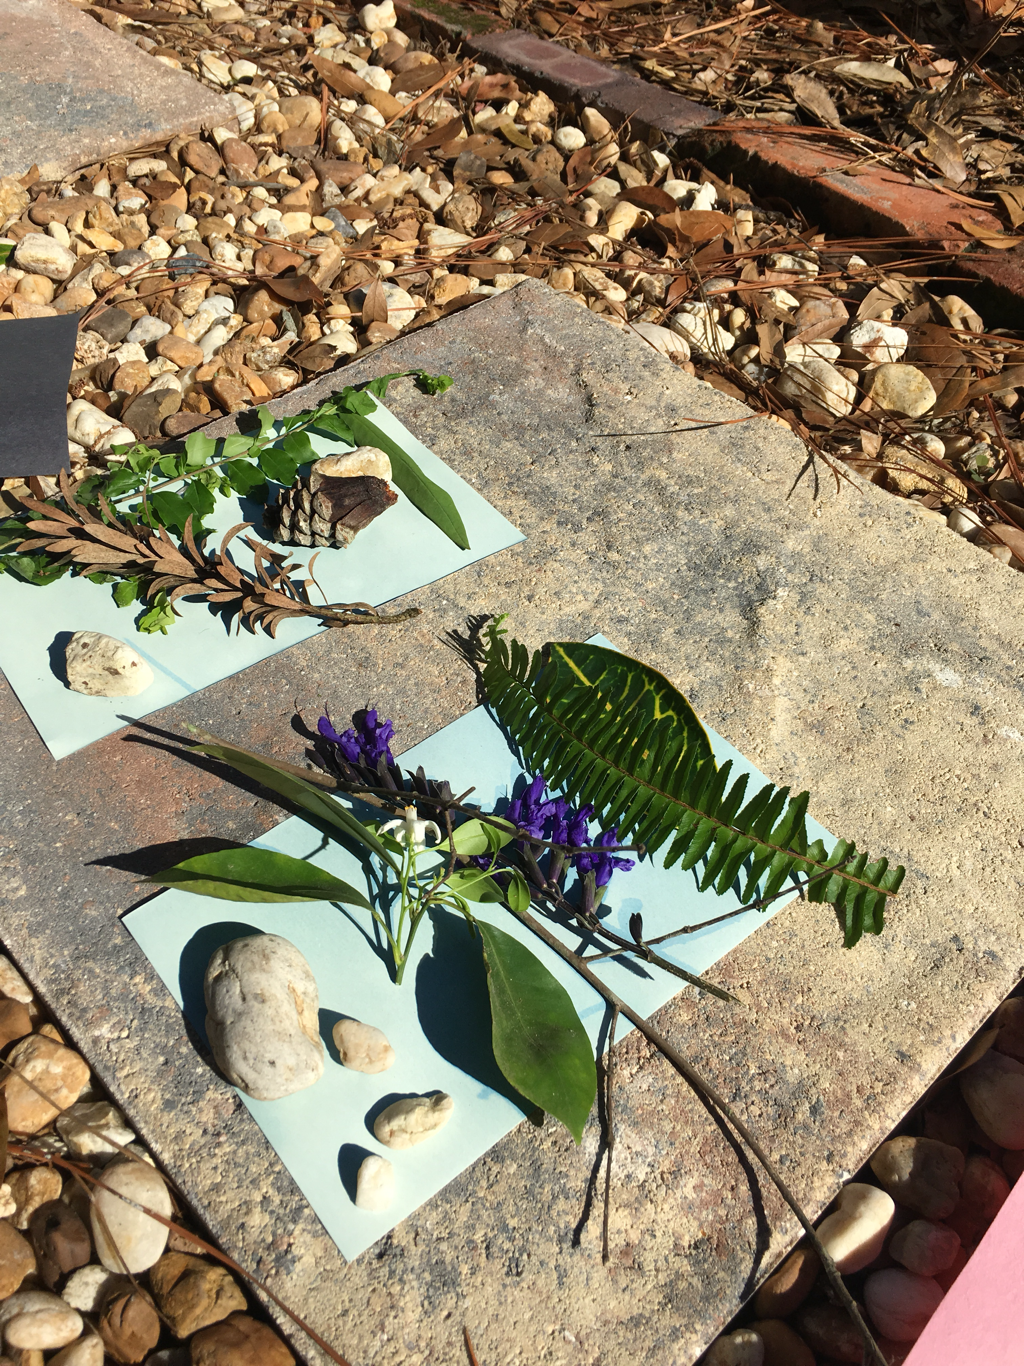
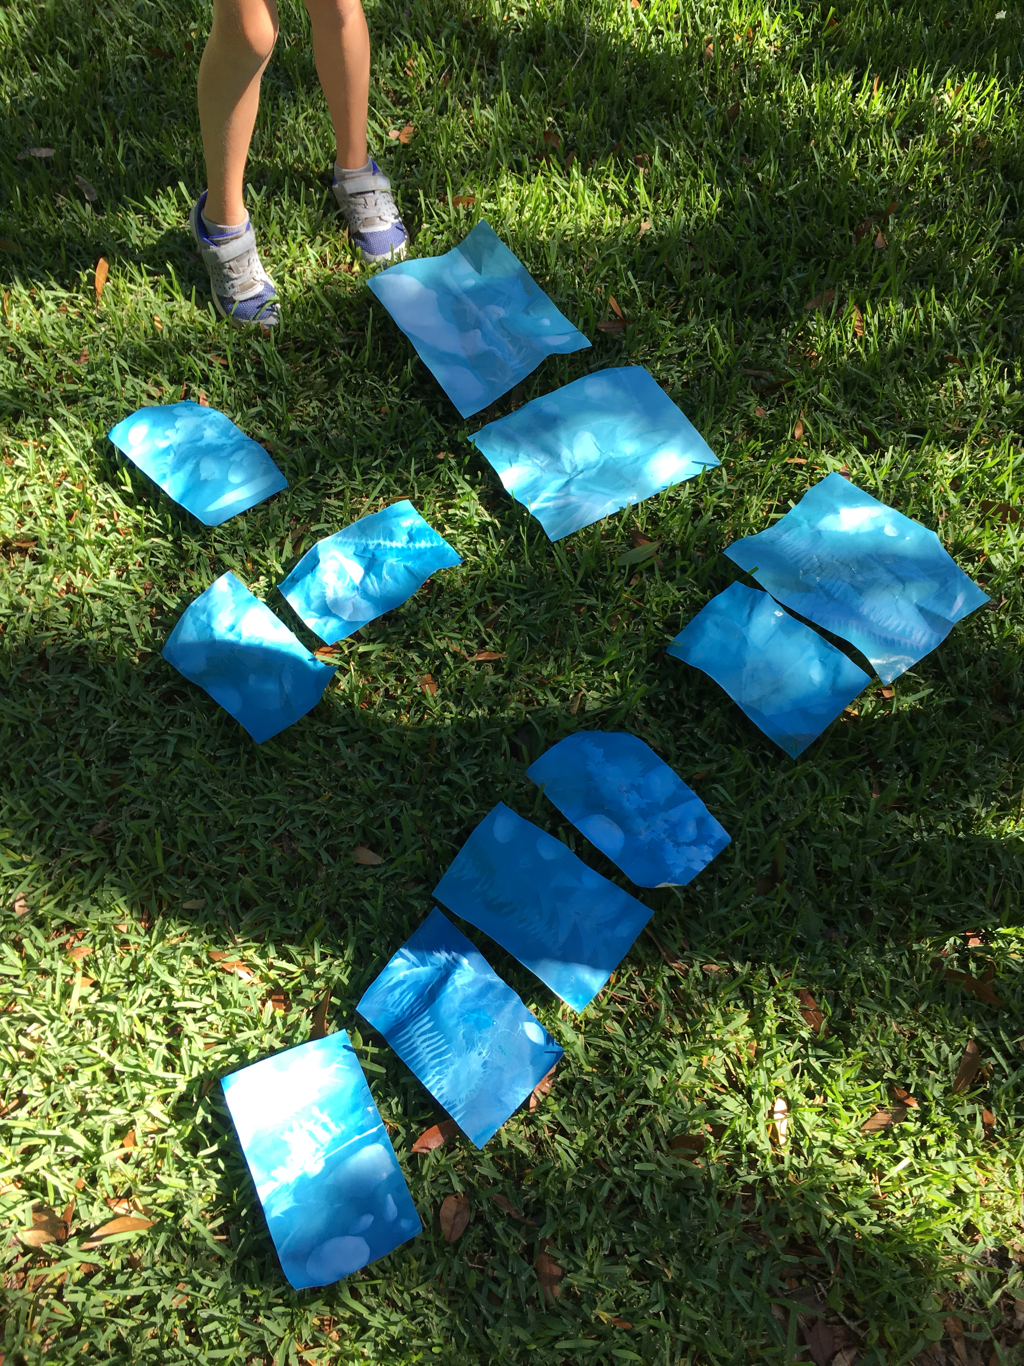
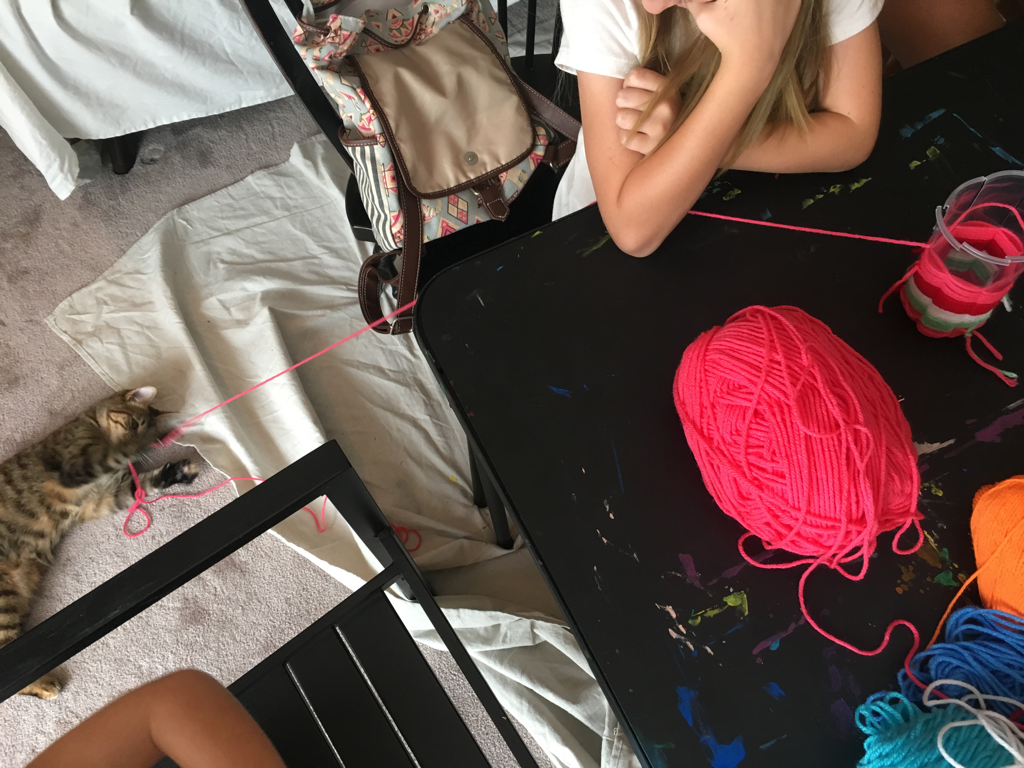
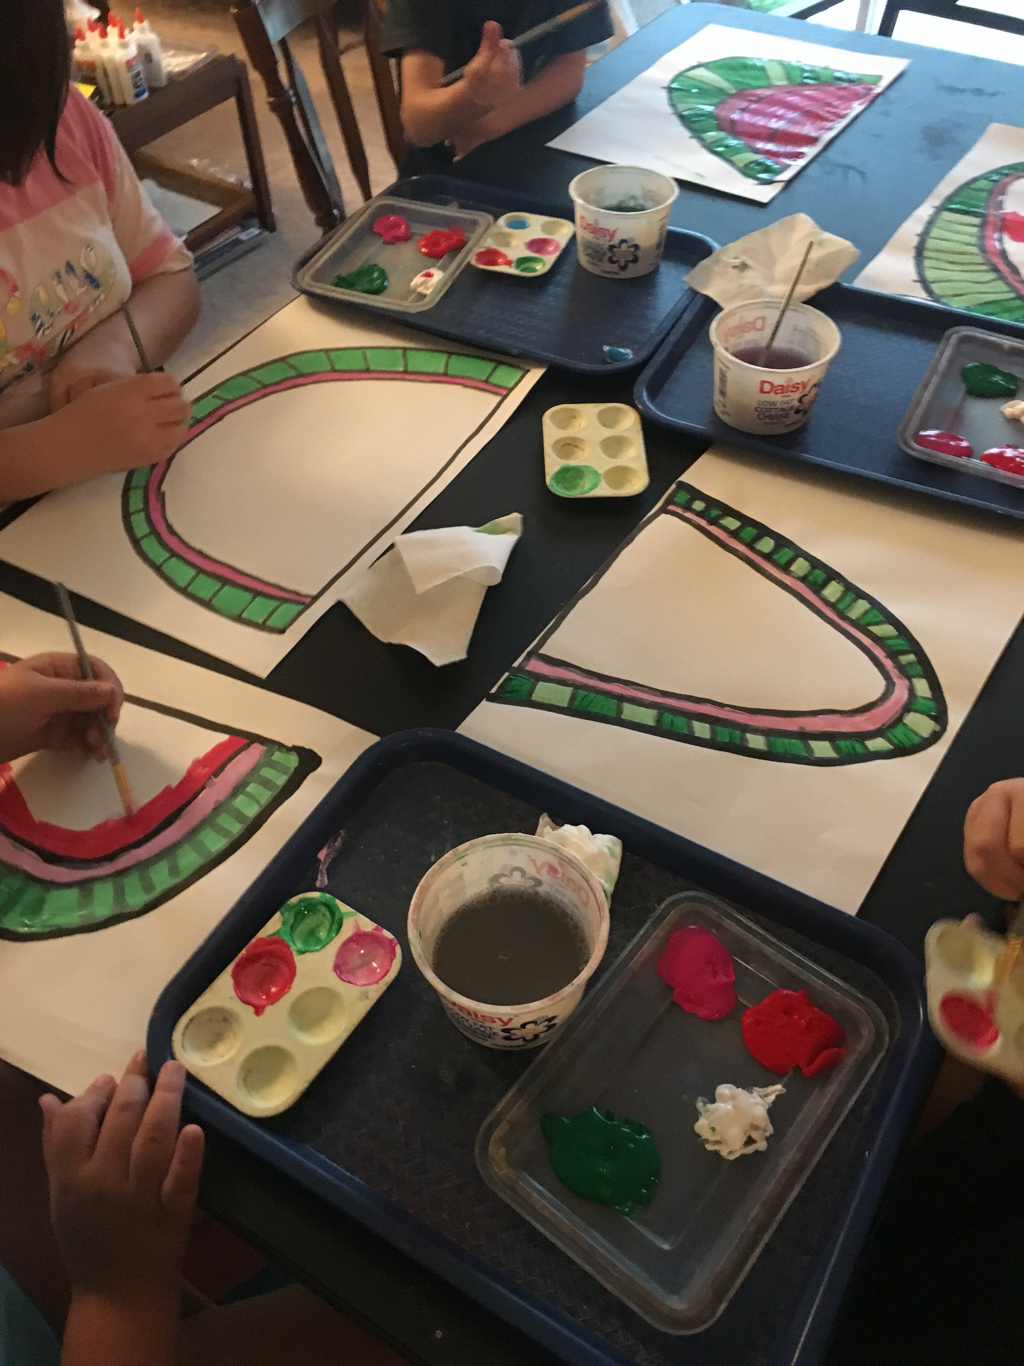
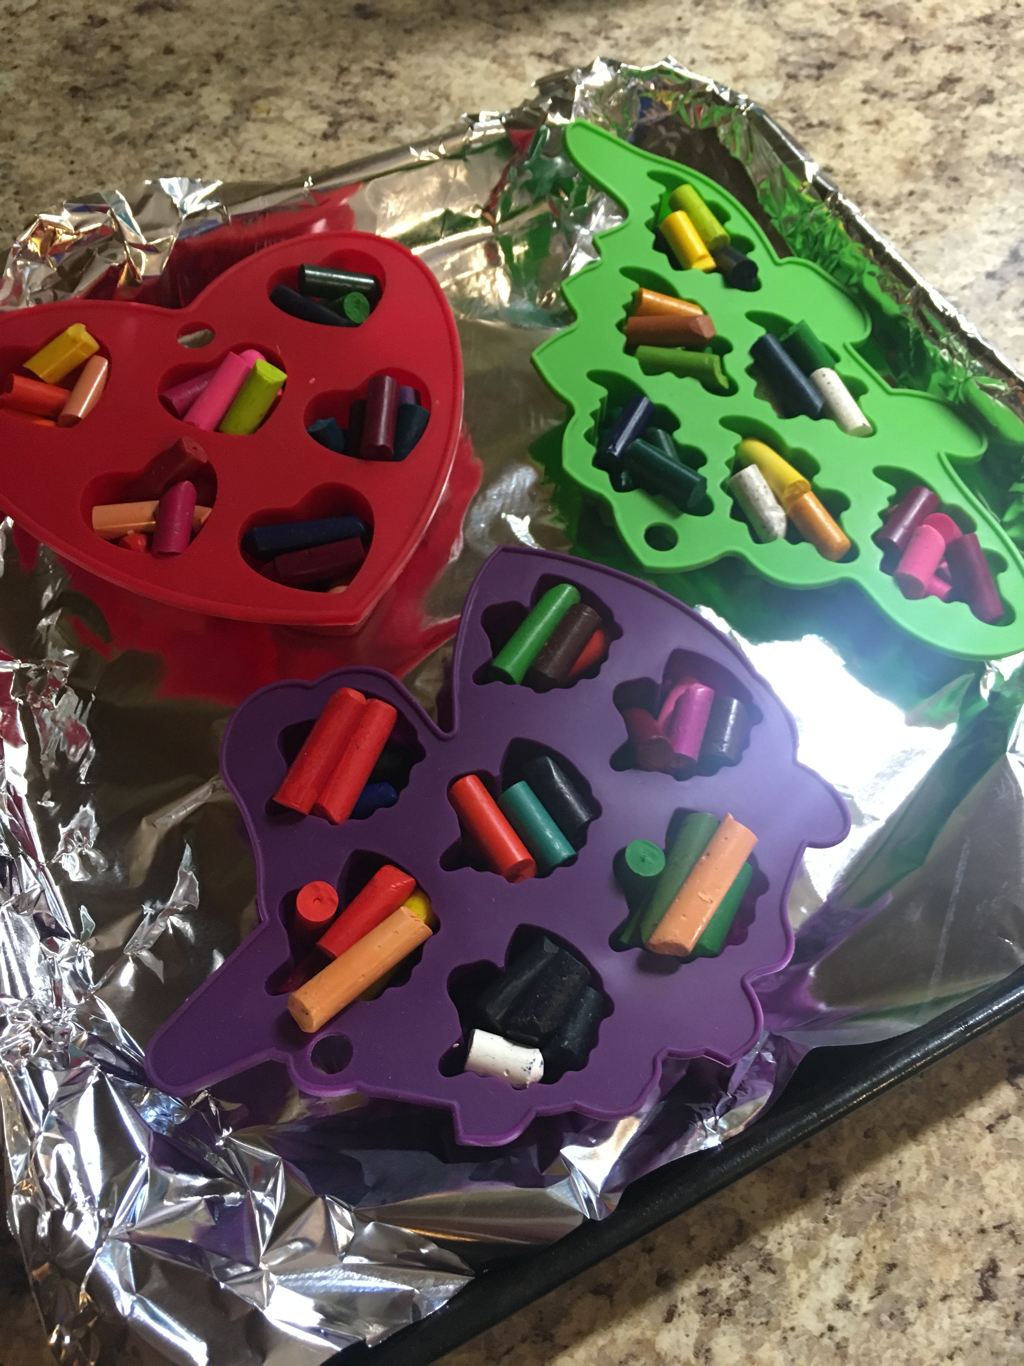
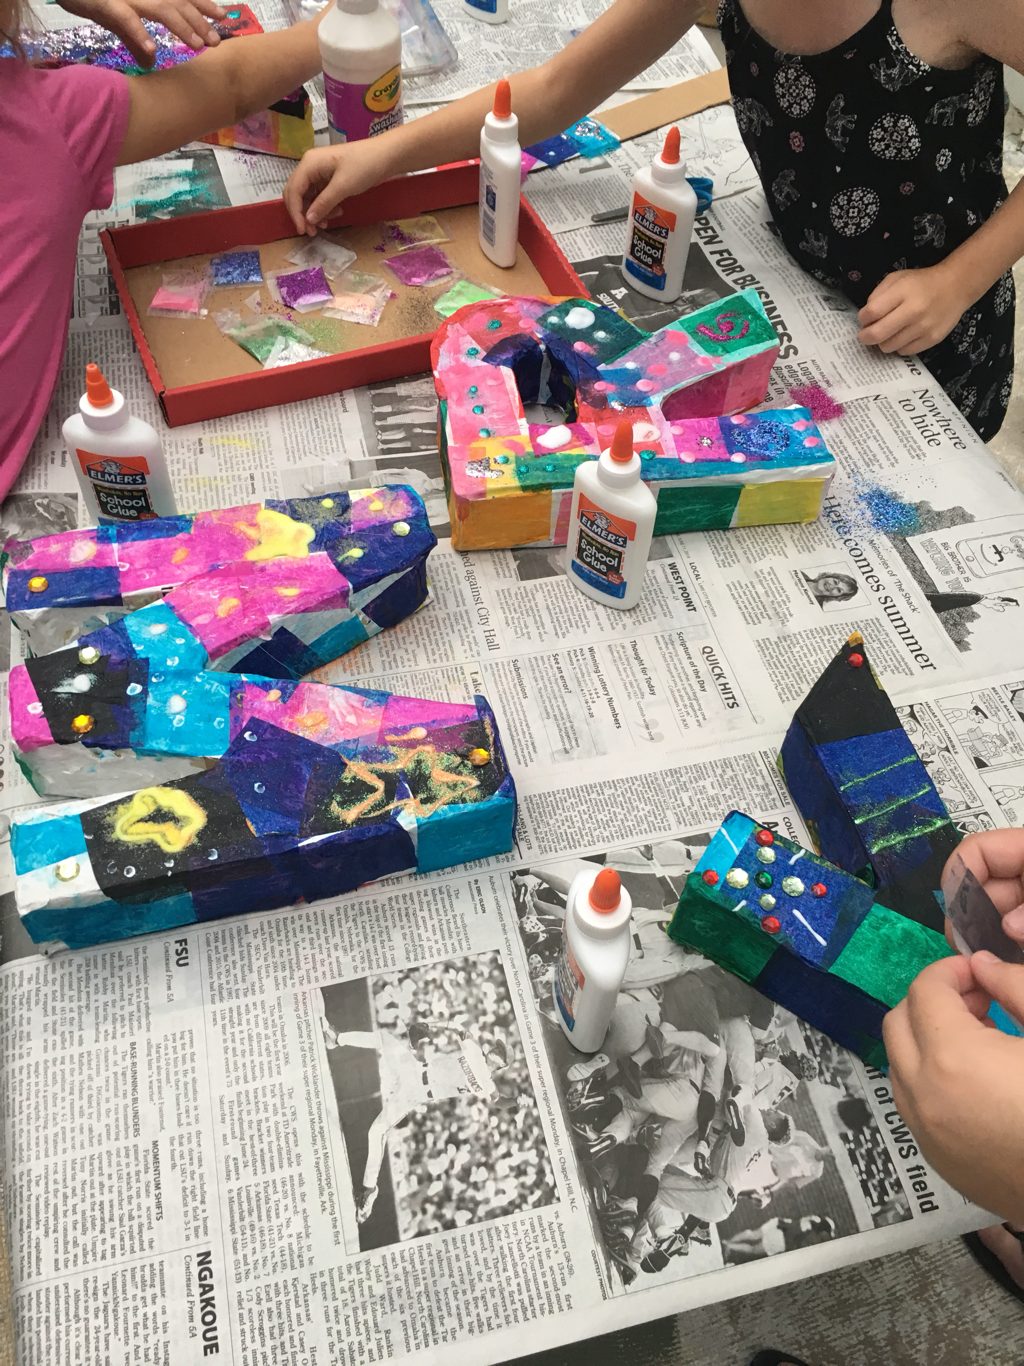
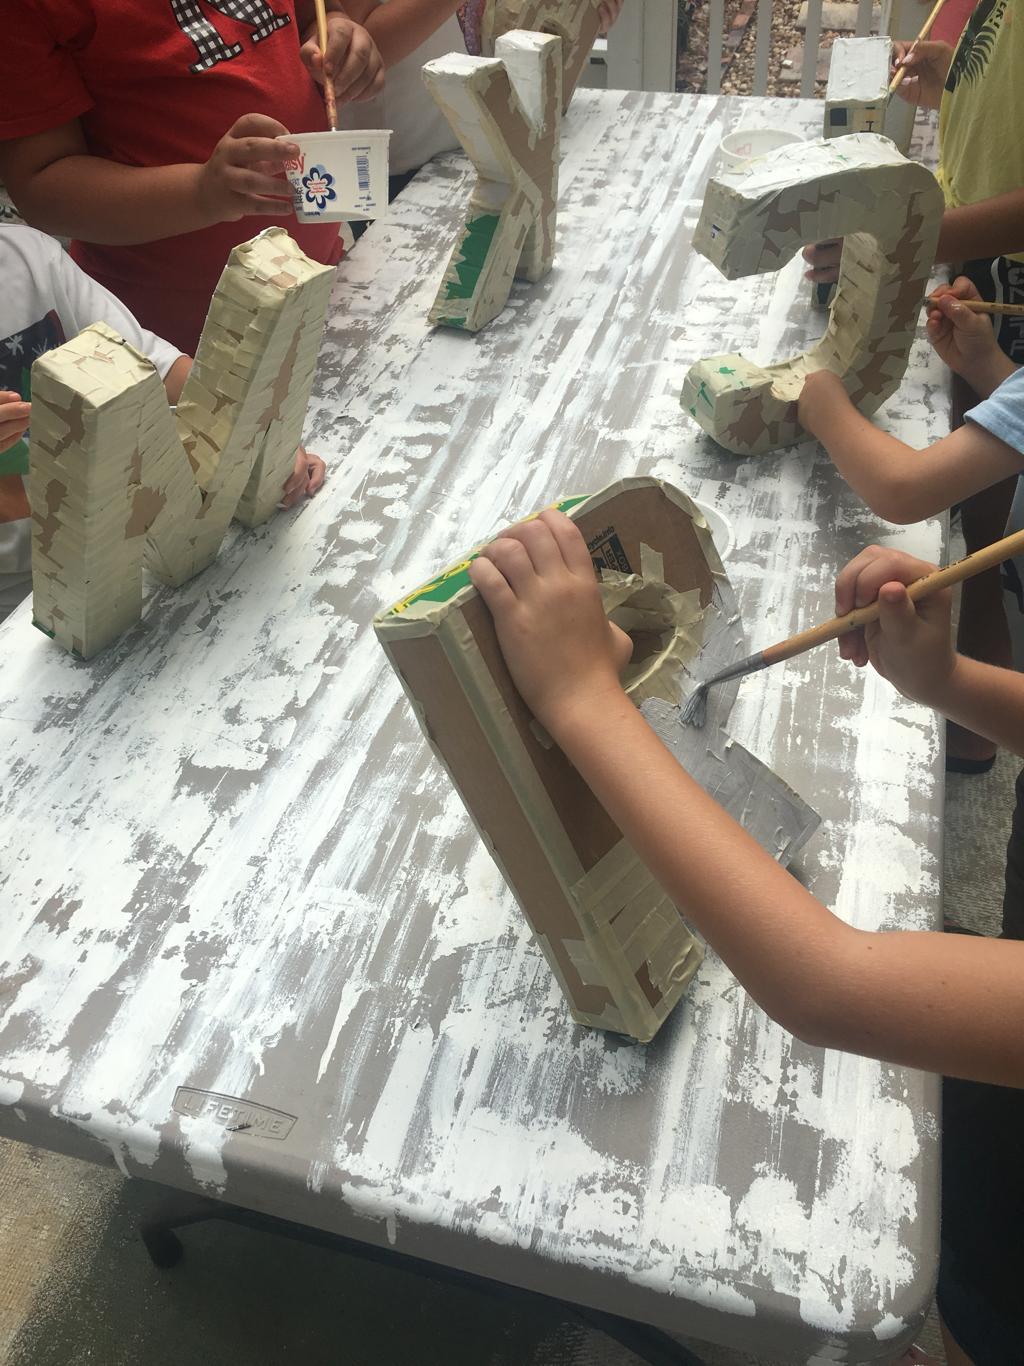
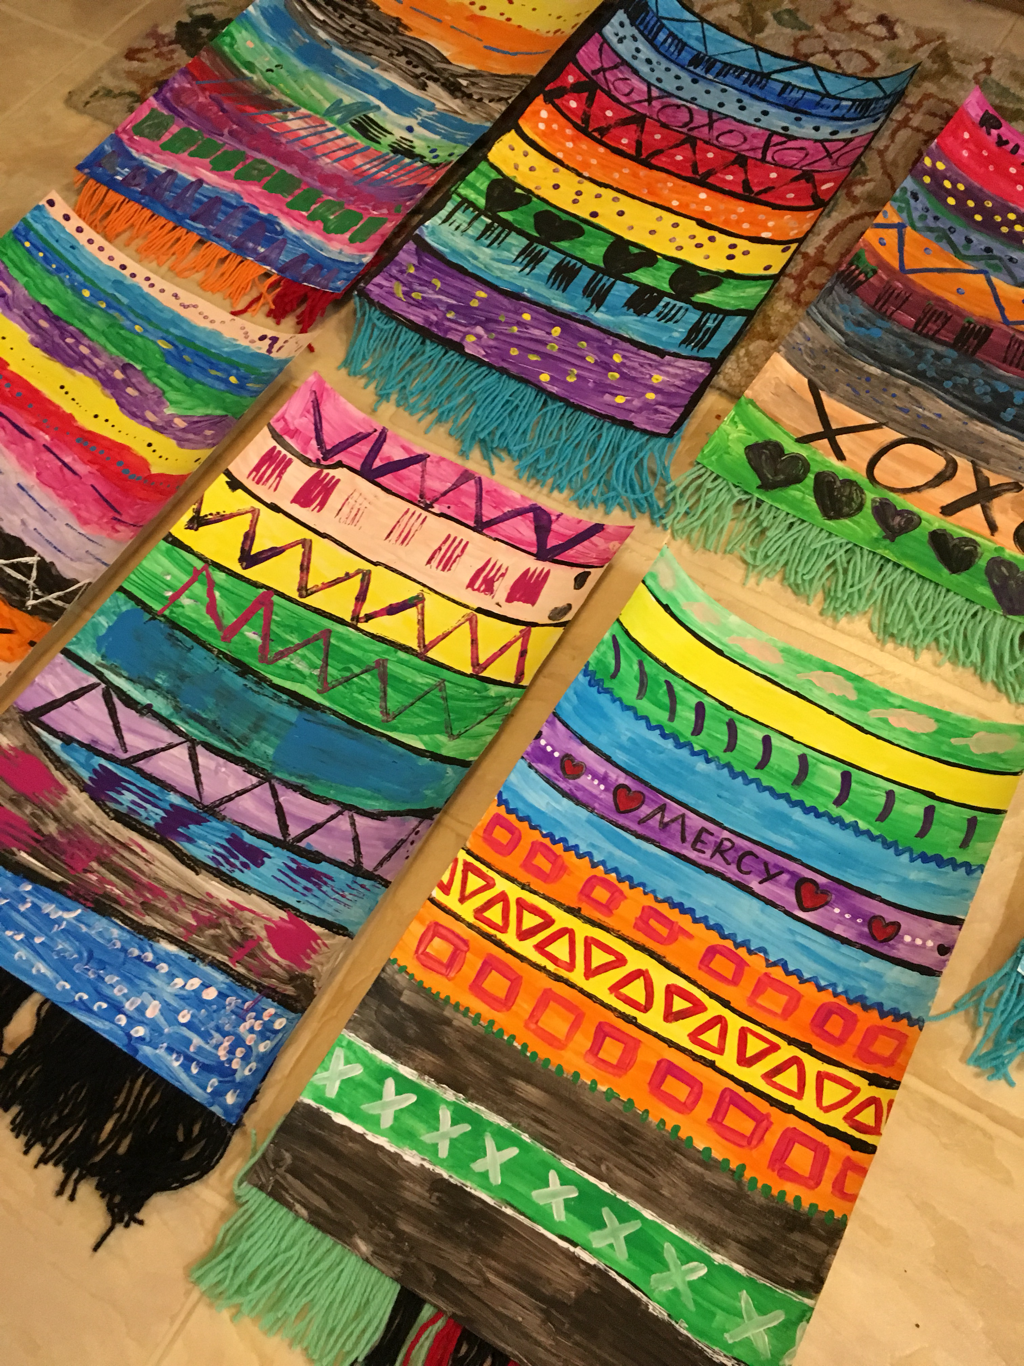
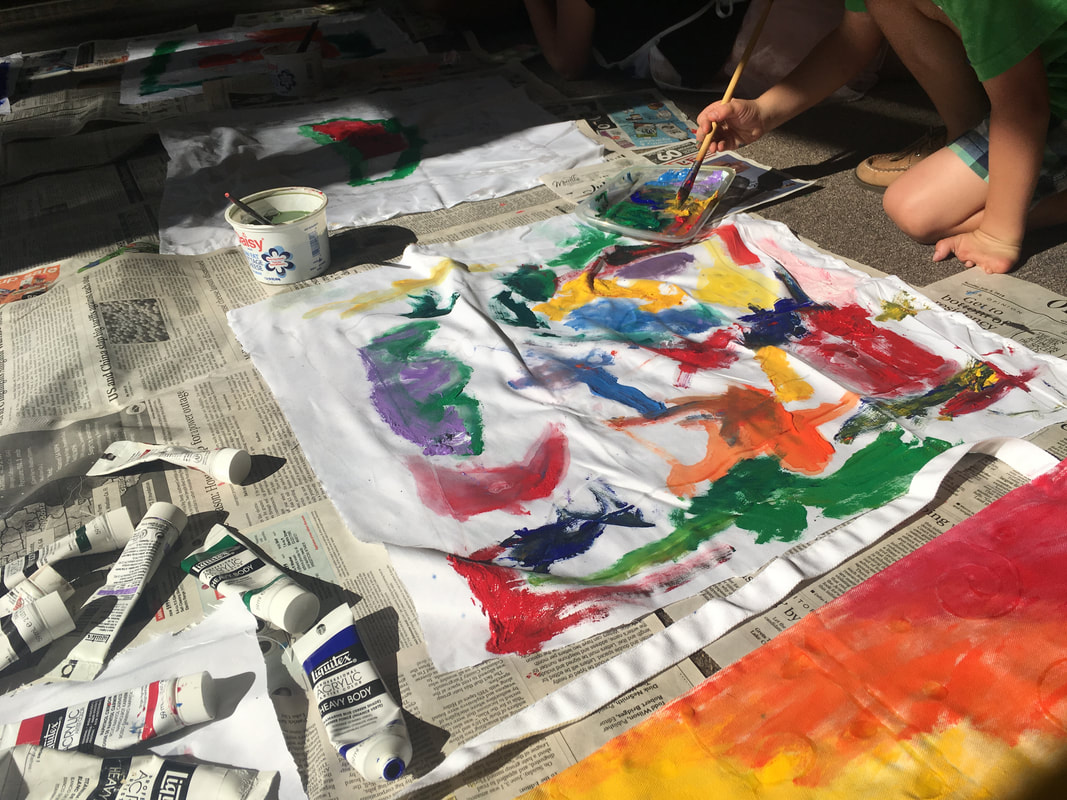
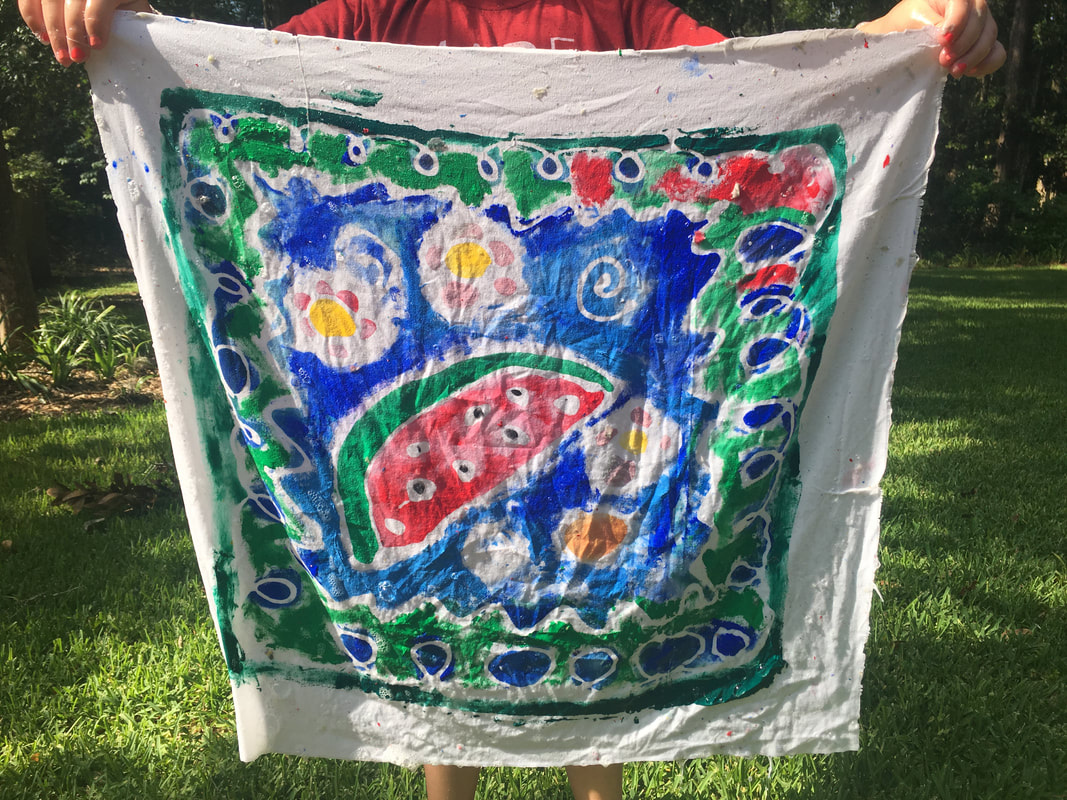
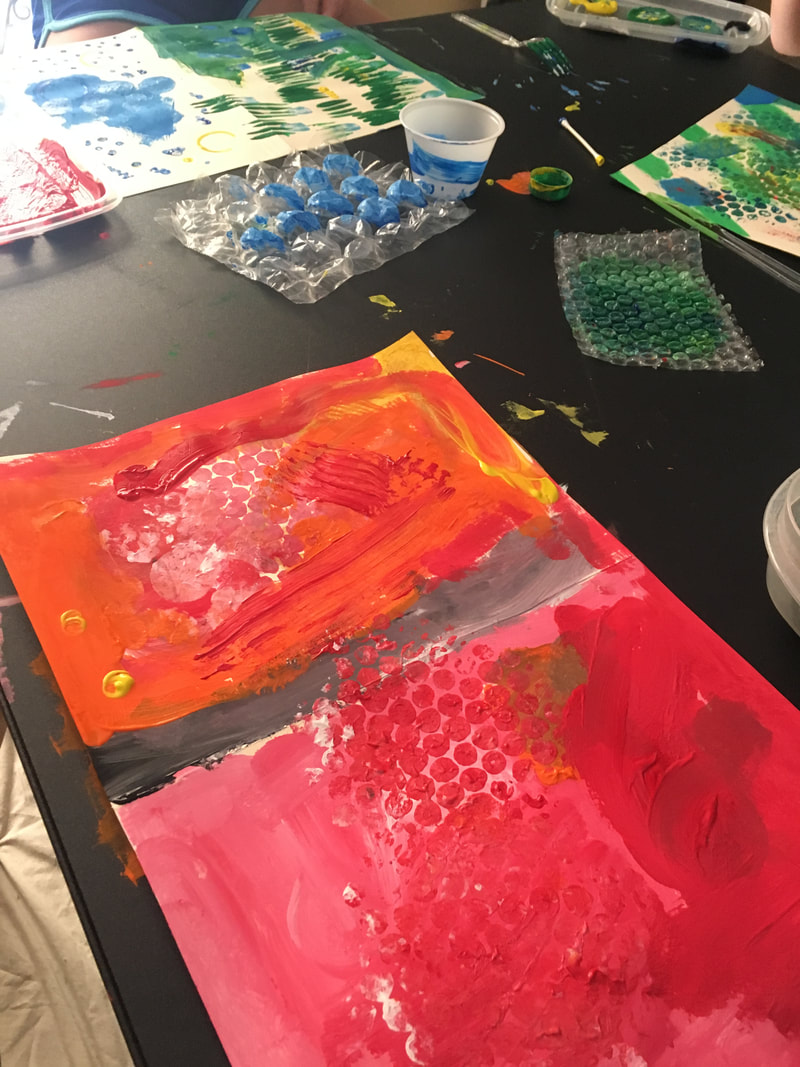
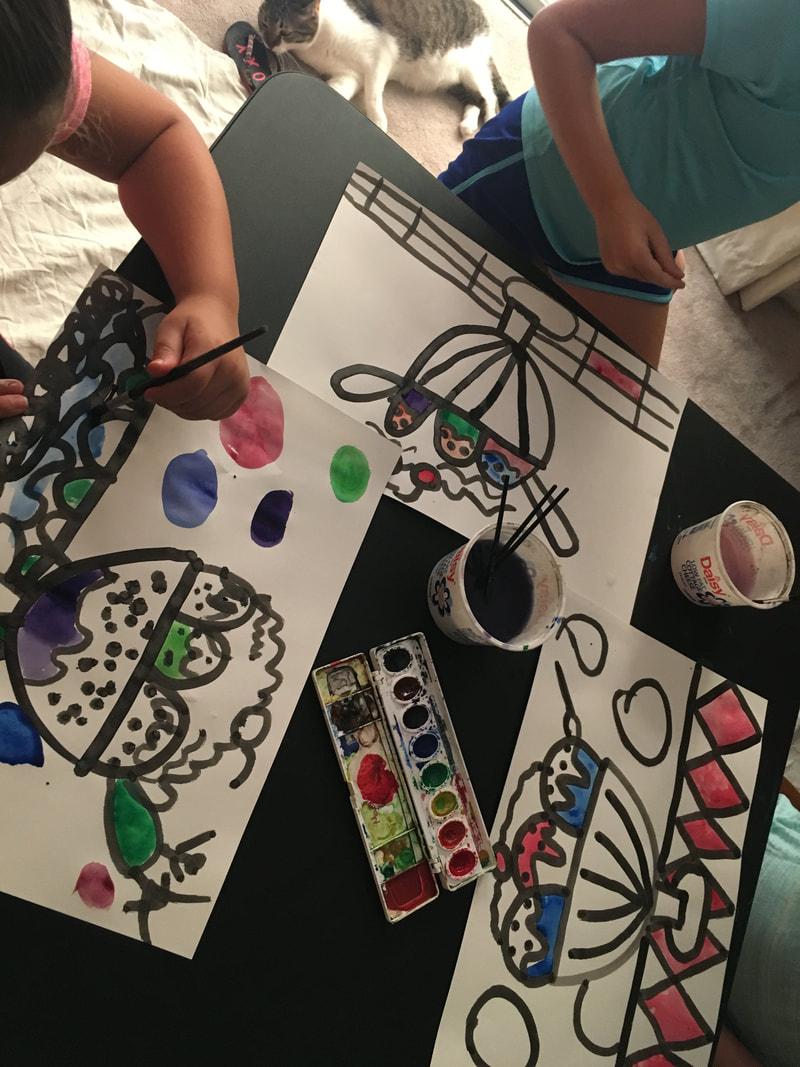
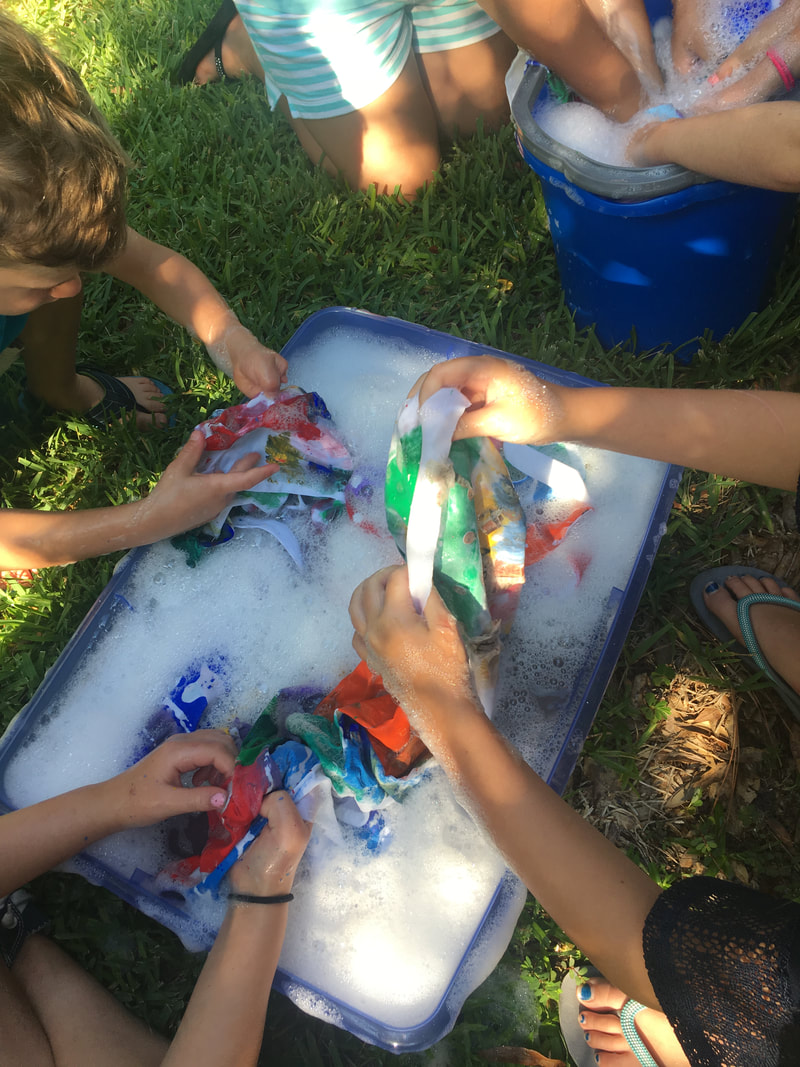
My art camp runs for just a week with morning sessions from 9:00-12:00. It's amazing how much we can accomplish in that small period of time! When we pack up portfolios at the end of the week, we have nearly a school year worth of artwork! This summer we made: watermelon painting, pattern painting tapestry, cup weaving, modeling clay sculptures, sketchbooks, new crayon shapes, cyanotypes, and 3D letter sculptures.
0 Comments
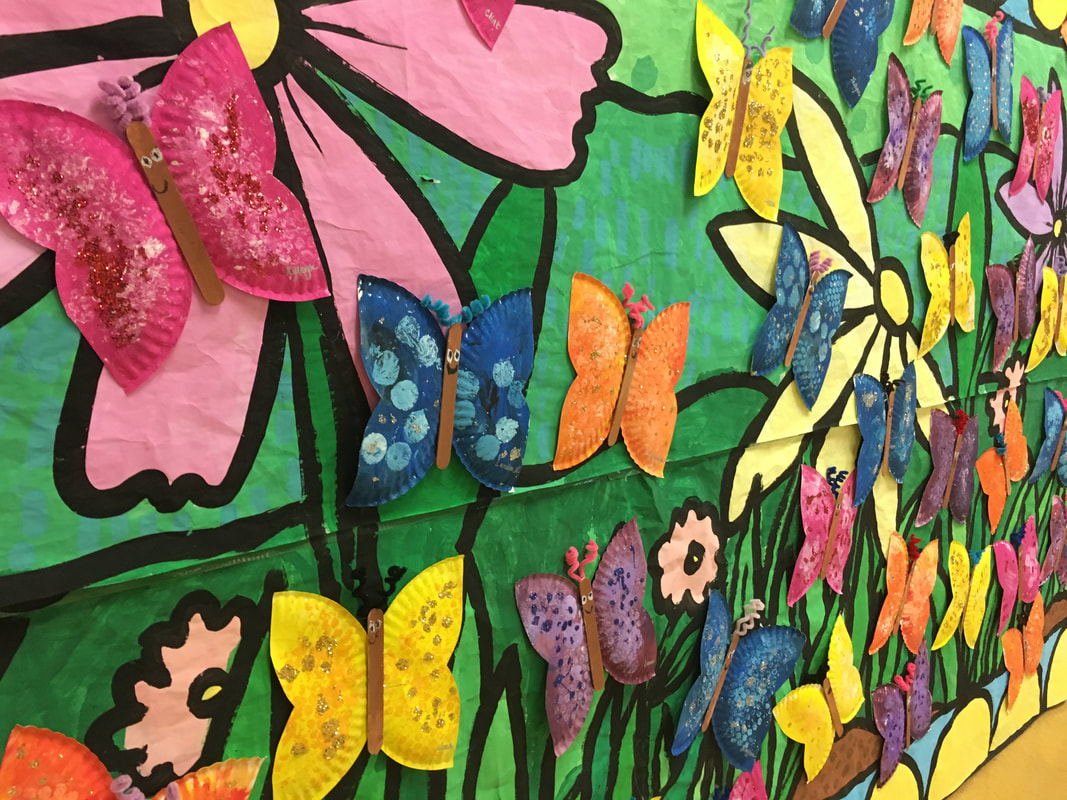
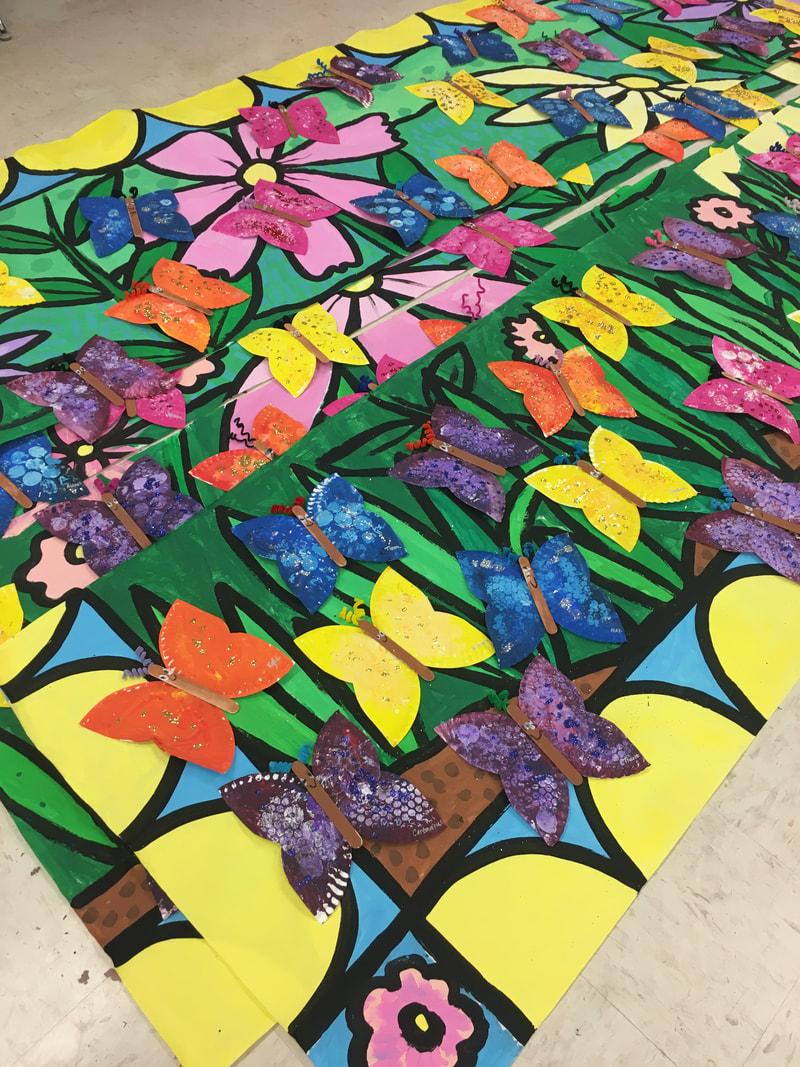
These sweet butterflies were made by my kindergarten students! Each class made butterflies with a different color and they were glued to the mural created by third grade. The artwork was then displayed at our Night of the Arts! I've always done the same lesson across all of the classes in a grade level, so having the different colors was new to me. Some classes mixed colors for their butterflies, others did not, but all classes created tints when printing the spots.
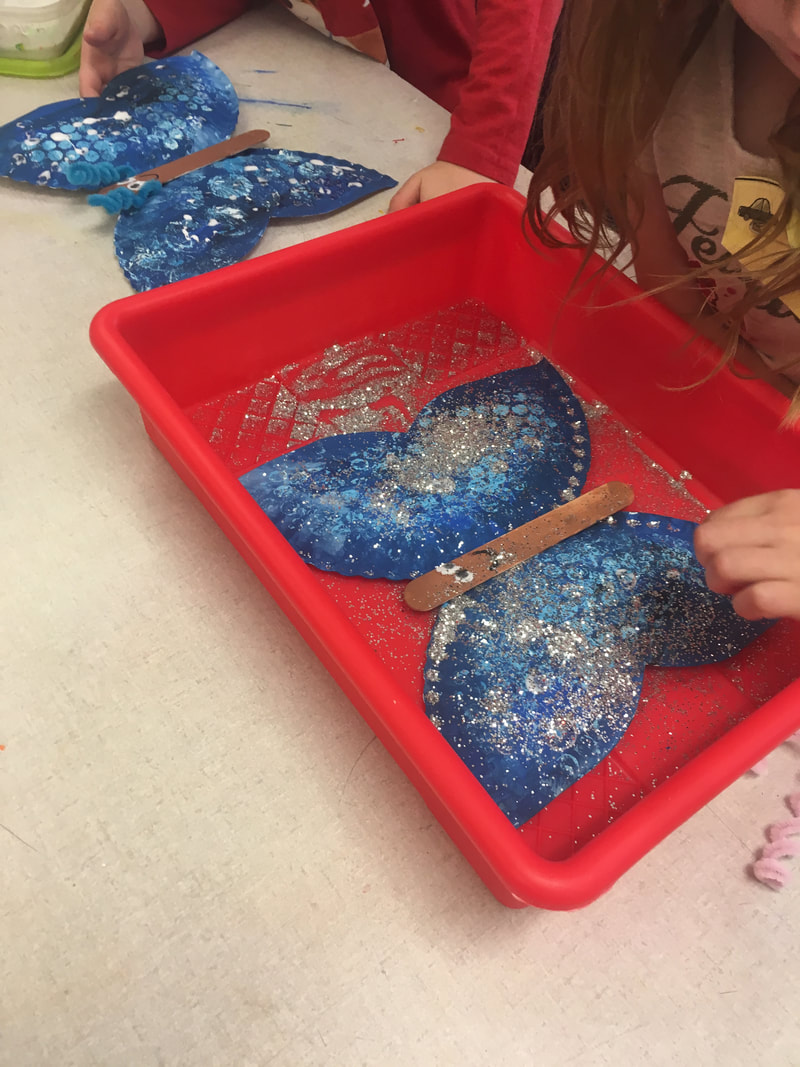
This was also the first time I have used glitter in my classroom! And I was crazy enough to do it with kindergarten! It was better than I ever could have imagined. They did such a great job and were so responsible. I loved how their work sparkled up on the wall for the art show, so it was worth the mess! This lesson was definitely required more work on my part, but it was worth it for such a special part of our Night of the Arts. I hot glued all of the painted paper plates together and glued the pipe-cleaners after school. Students could have done this with regular school glue, but I wanted to make sure they were sturdy enough to be displayed on the mural. Everyone loved these beautiful butterflies! I'm not looking forward to taking them down. I love seeing them everyday! This is my second year teaching a summer art camp from home. It's a great opportunity to try out new materials or ideas and to teach lessons that I can't do in my classroom because of budget, time, or class size.
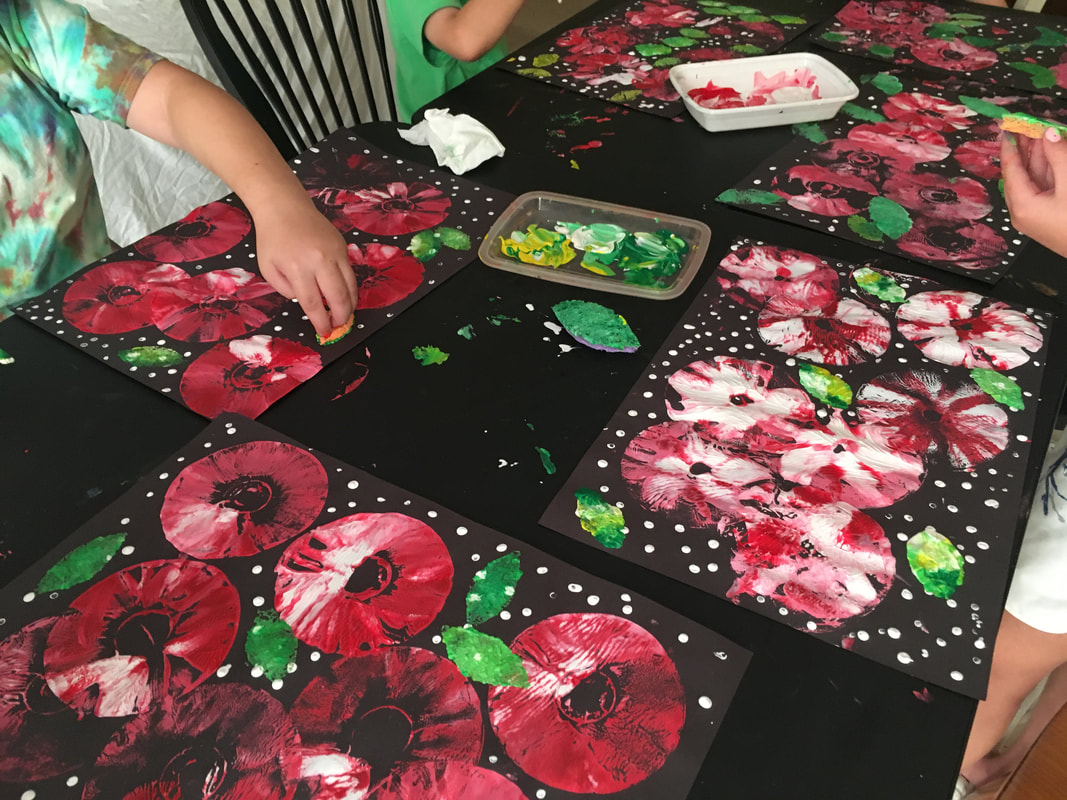
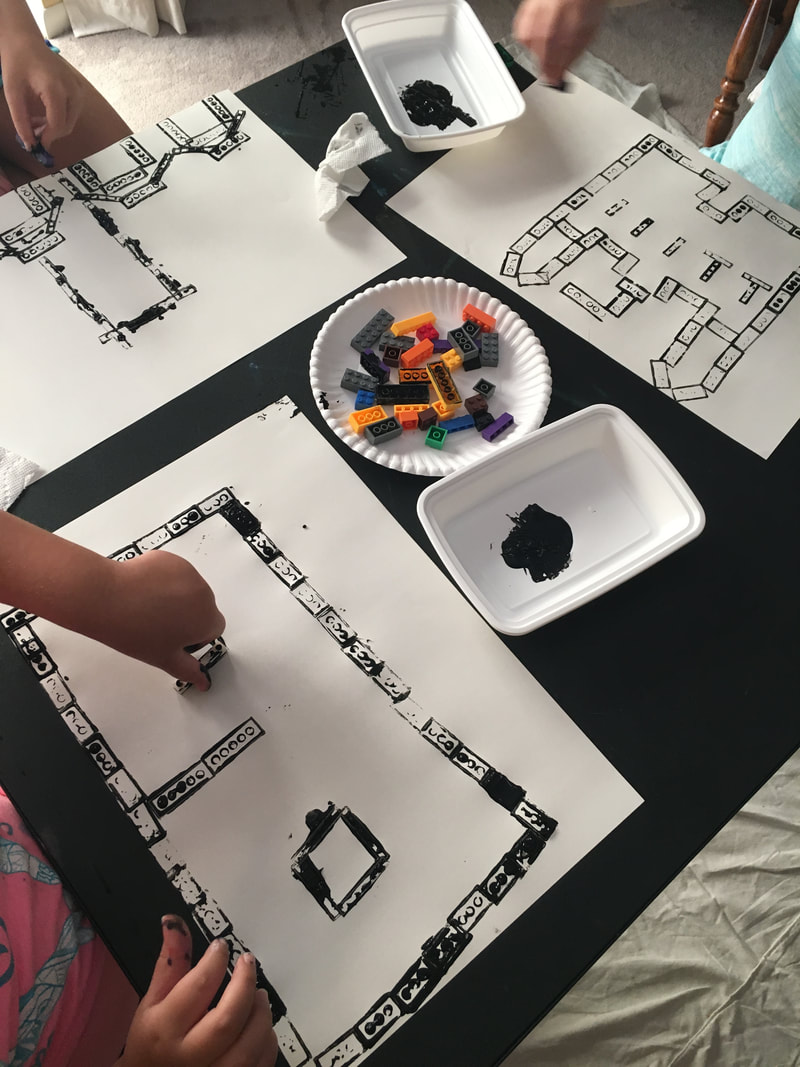
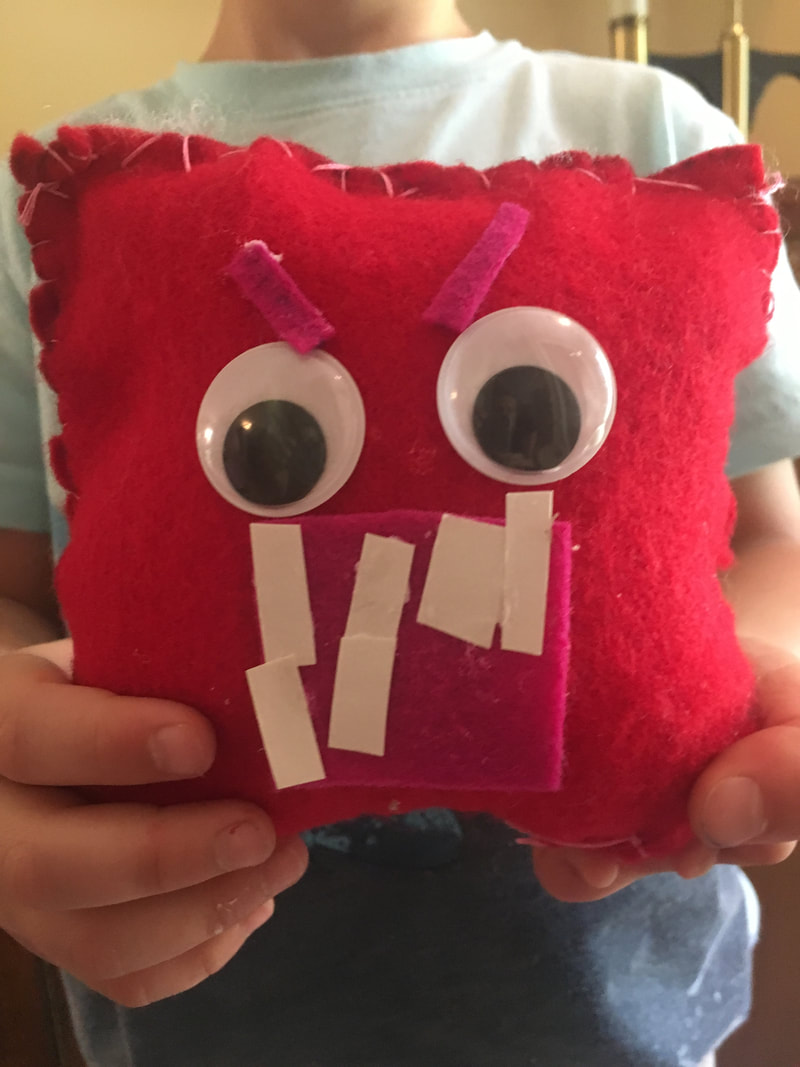
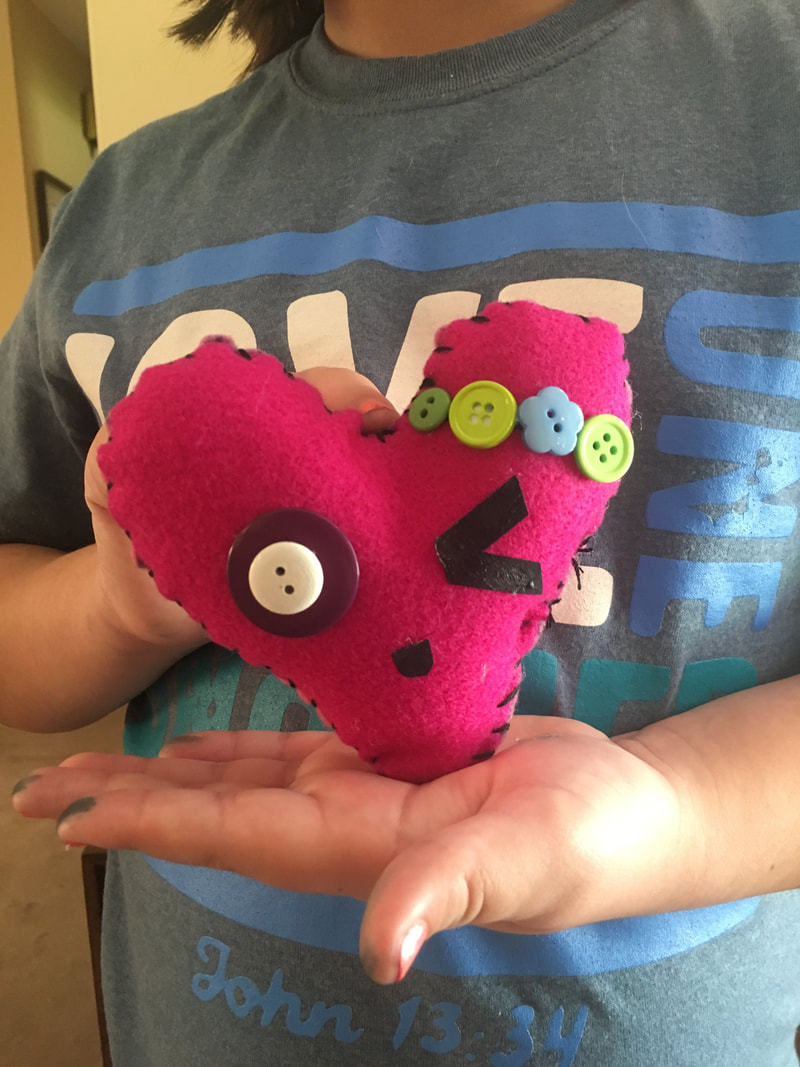
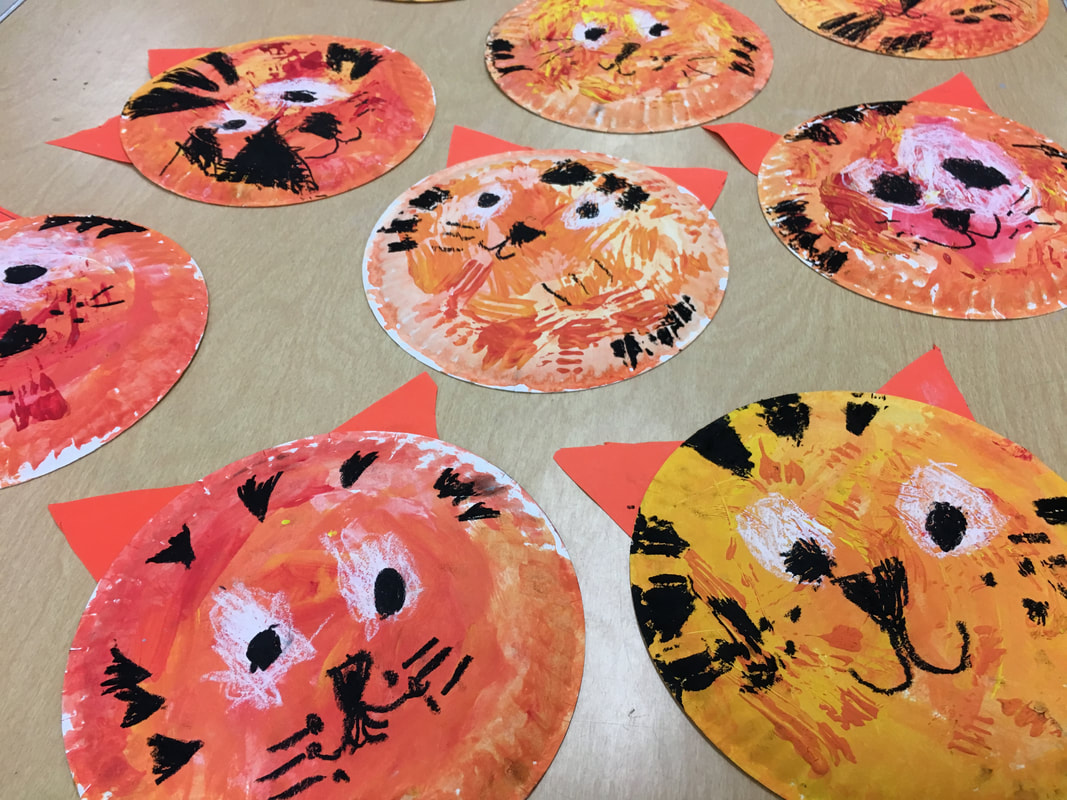
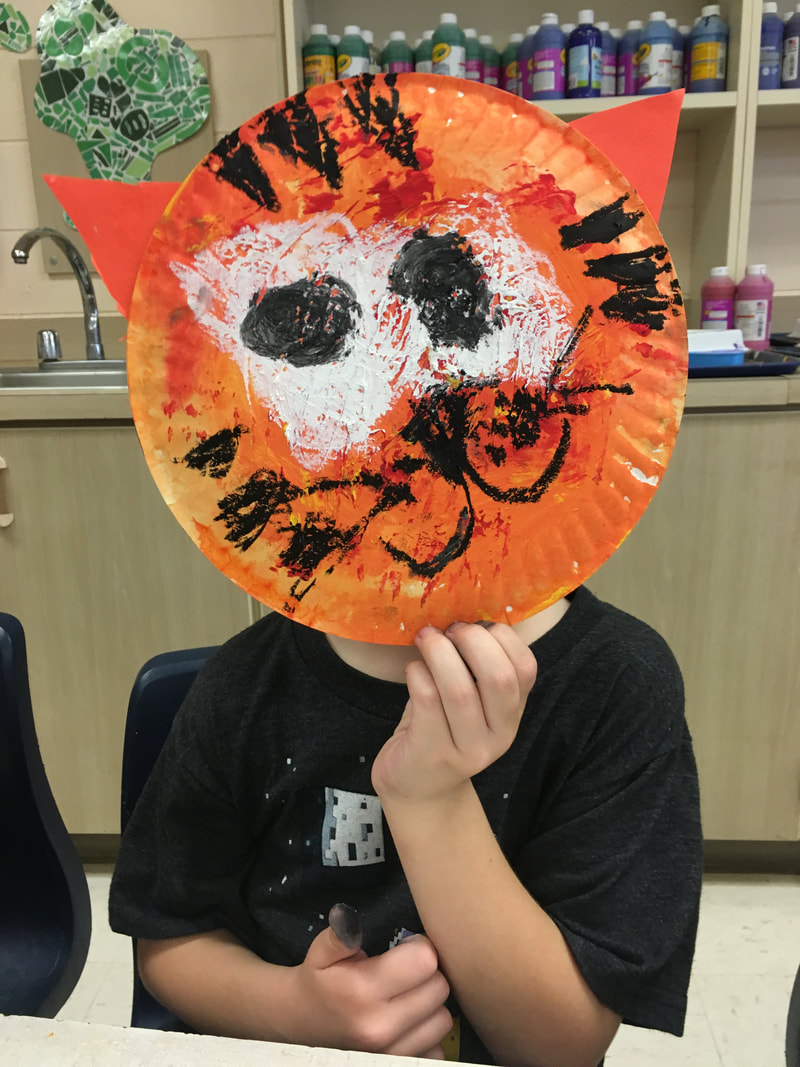
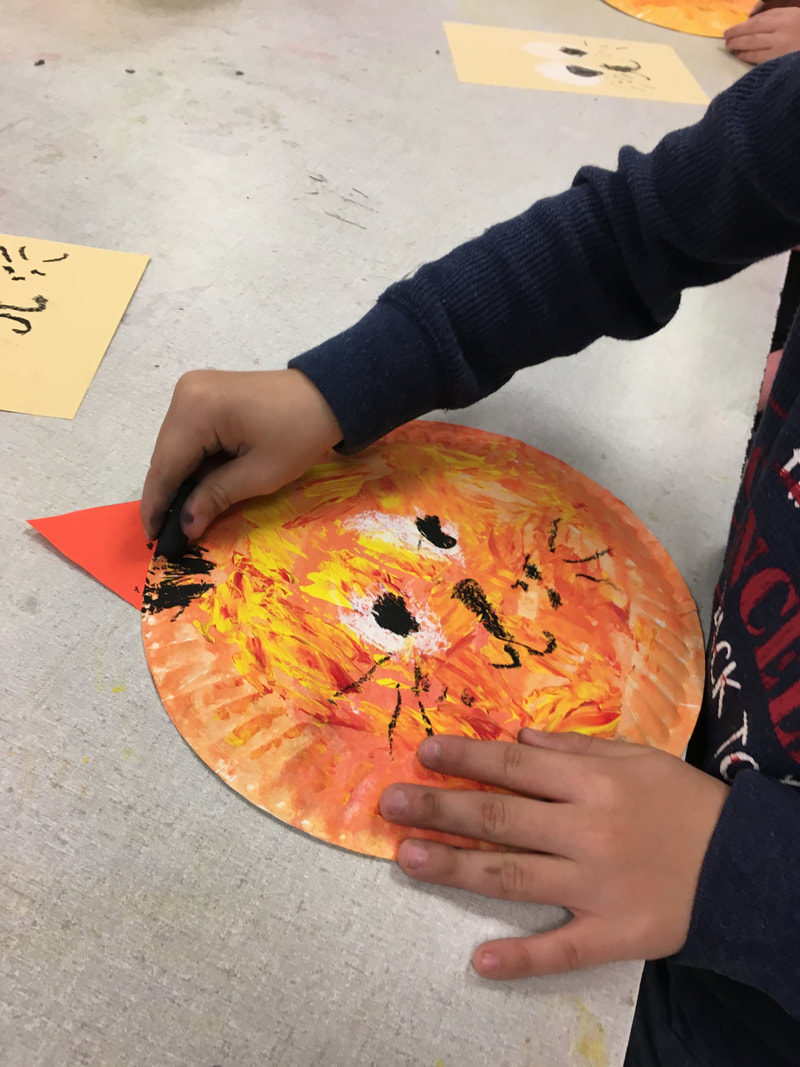
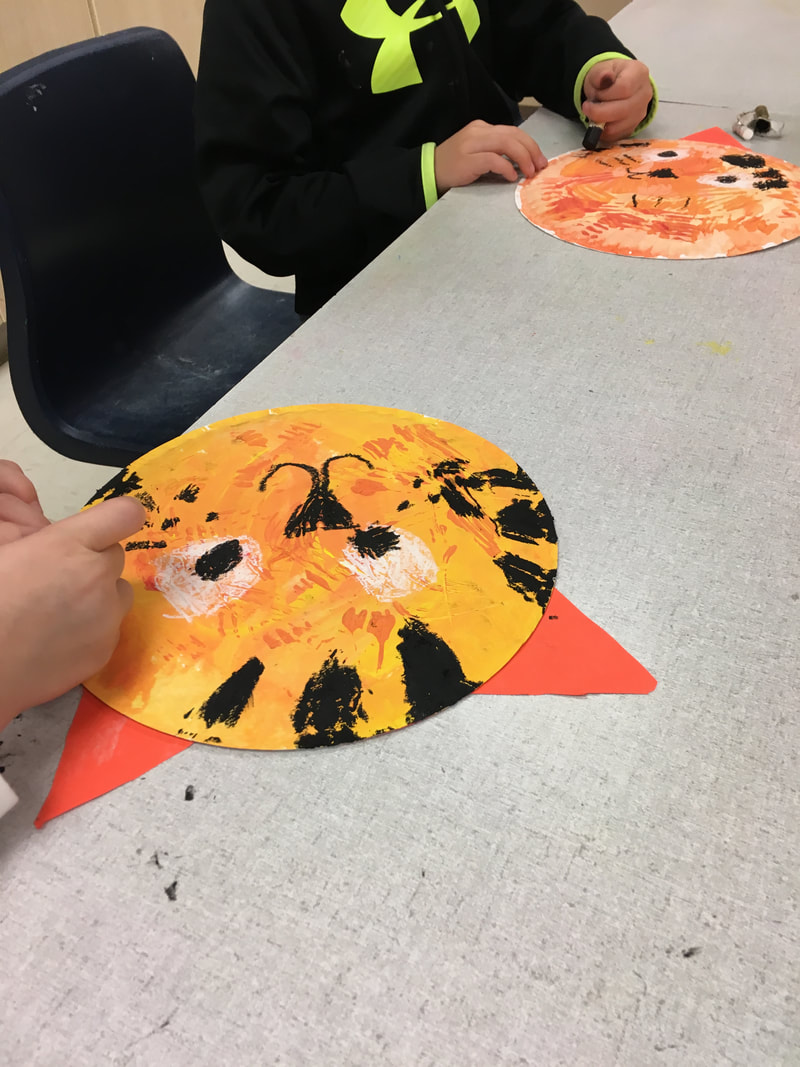
This year, I had students ranging from entering kindergarten to fourth grade. This is what kept us busy: Sketchbooks, bingo dauber painting, washable glue batik, CD printing, sewing, color mixing with frosting, and LEGO printing. This is easily one of the most adorable projects we've ever done. My littlest artists create the cutest faces, so I always love having them make sweet little animals. This year, it was baby tigers since we are the Eastside tigers!
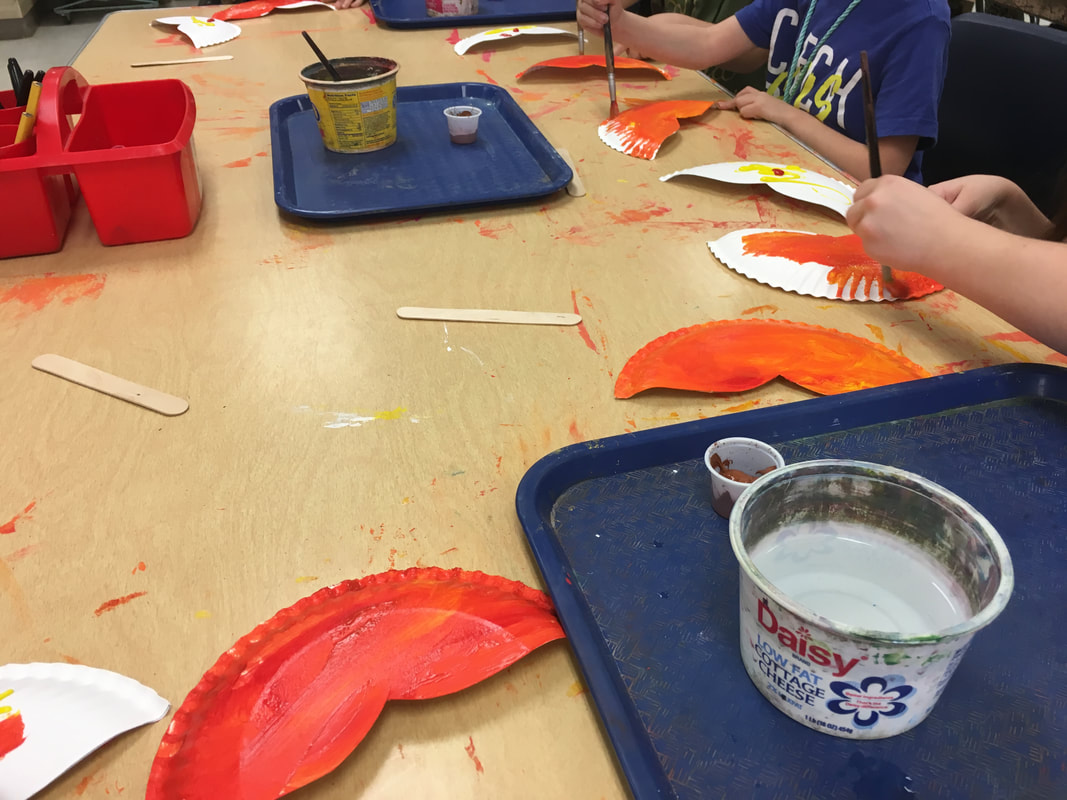
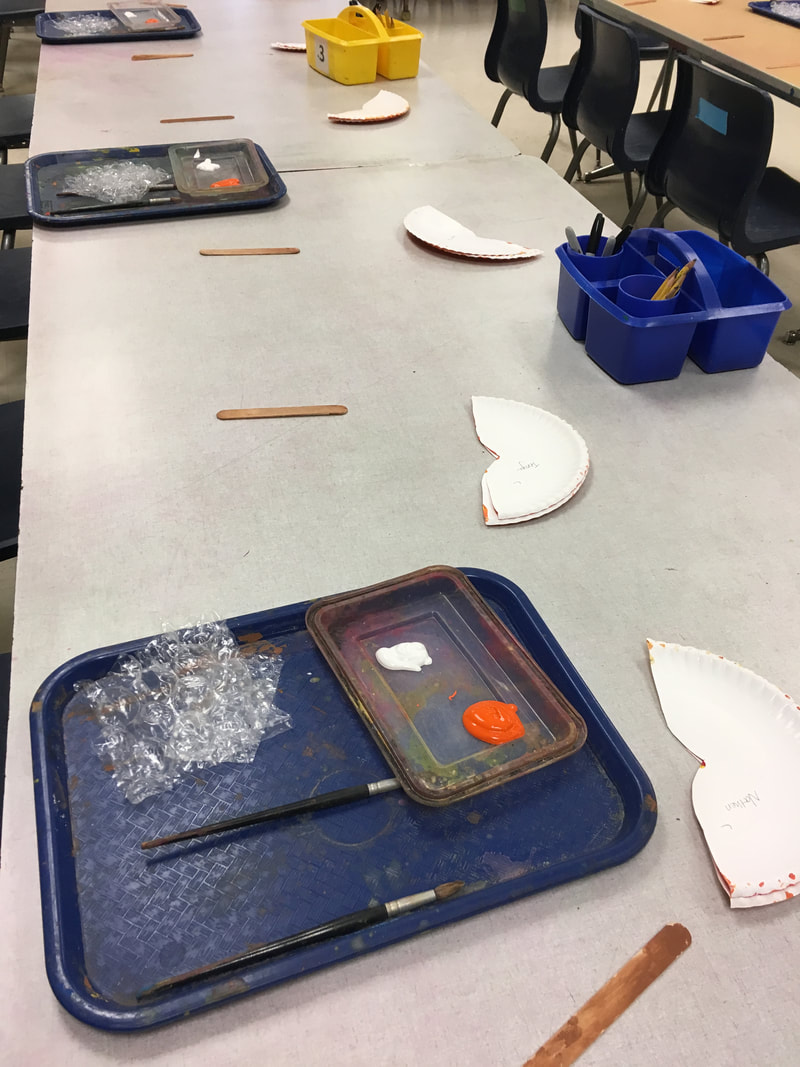
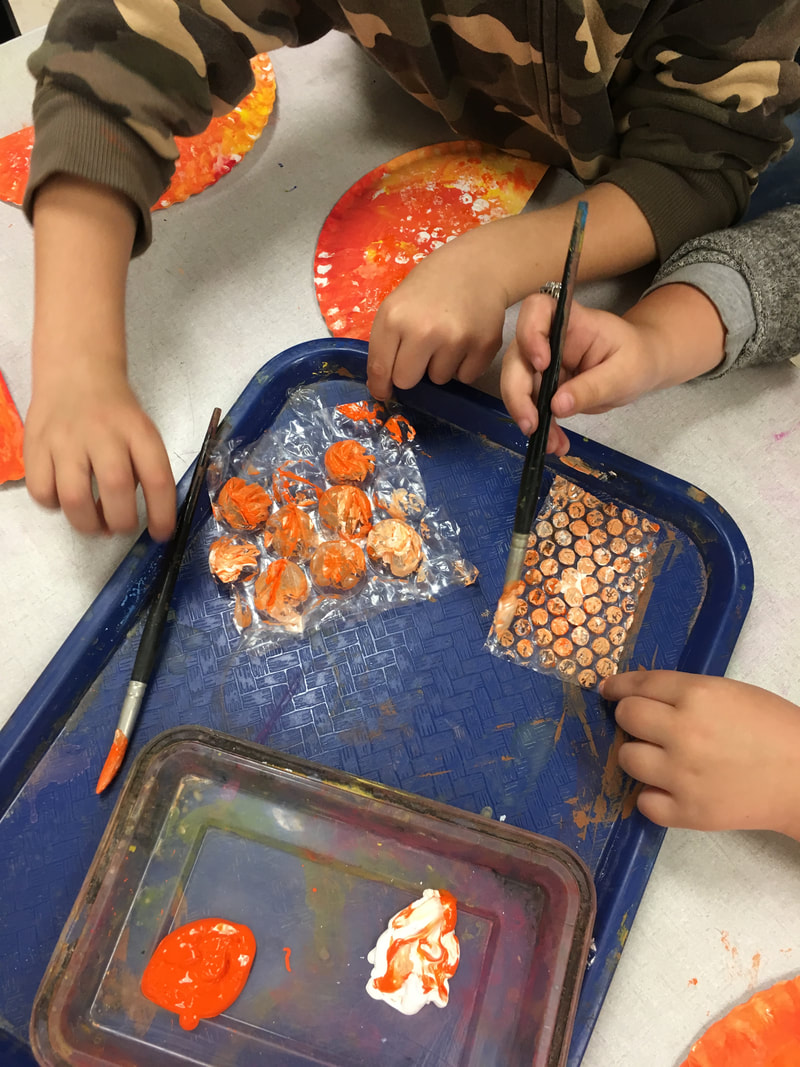
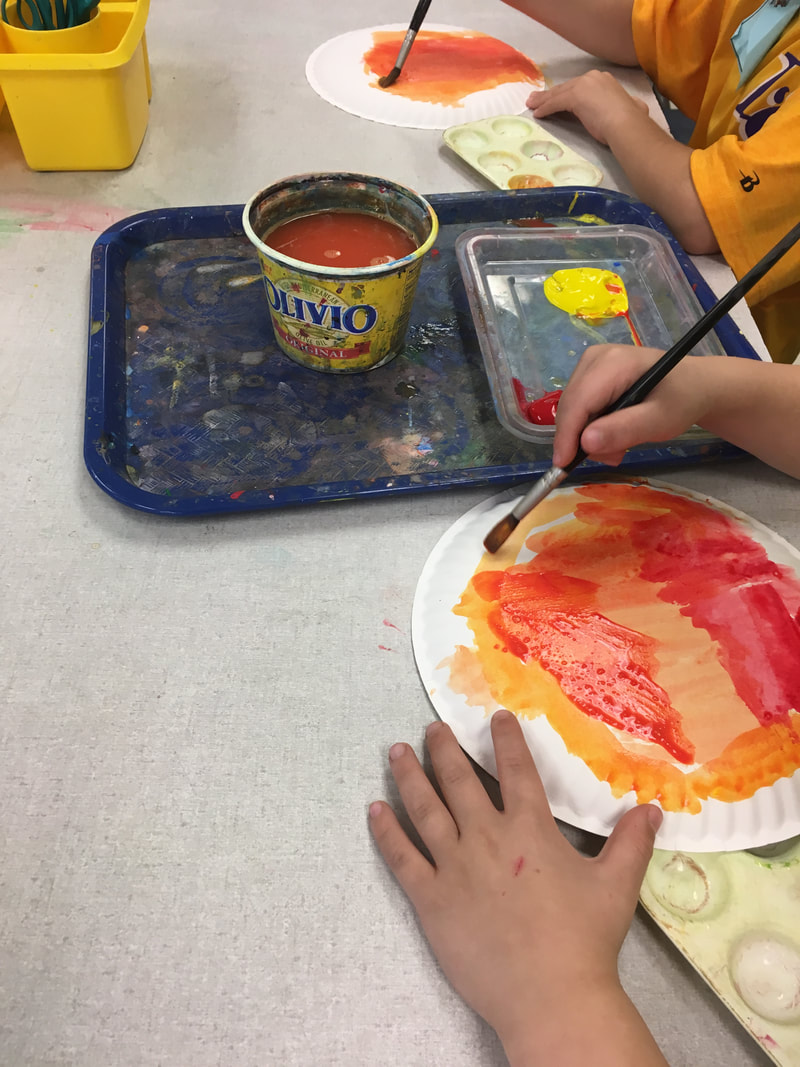
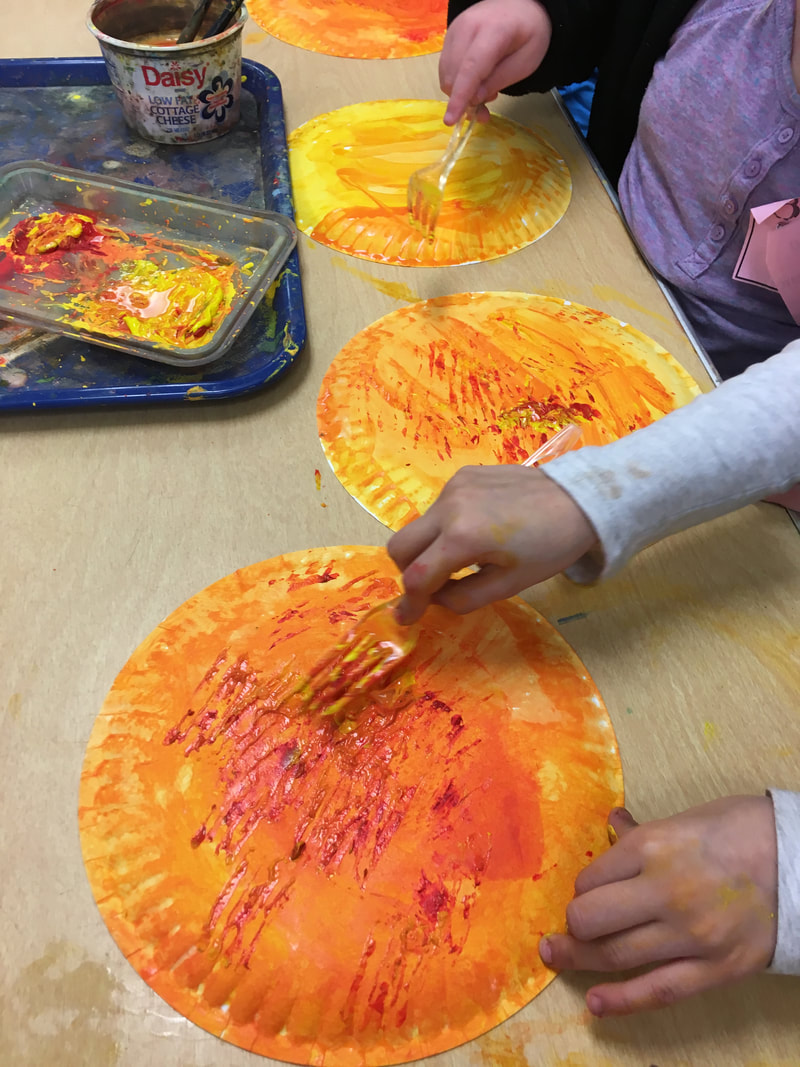
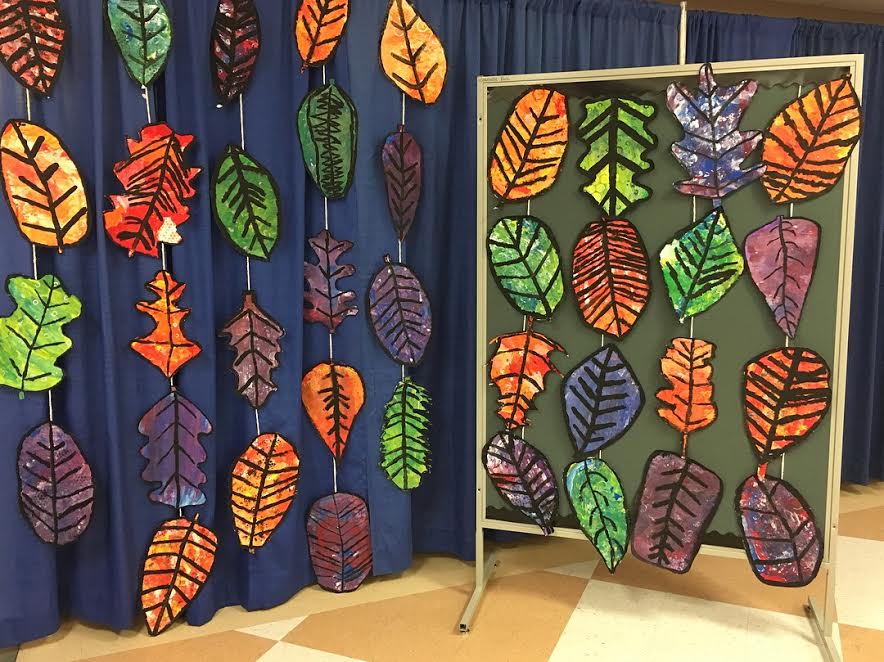
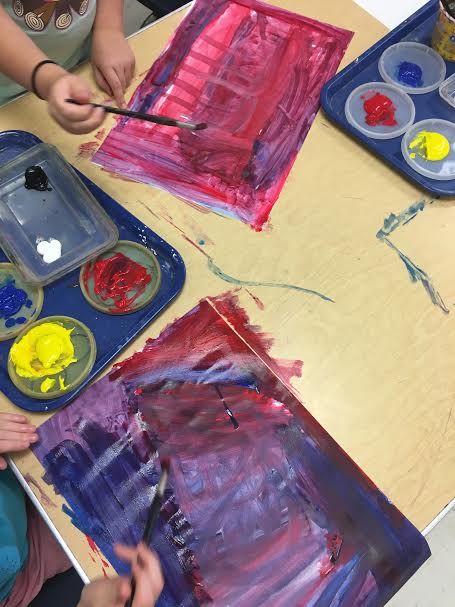
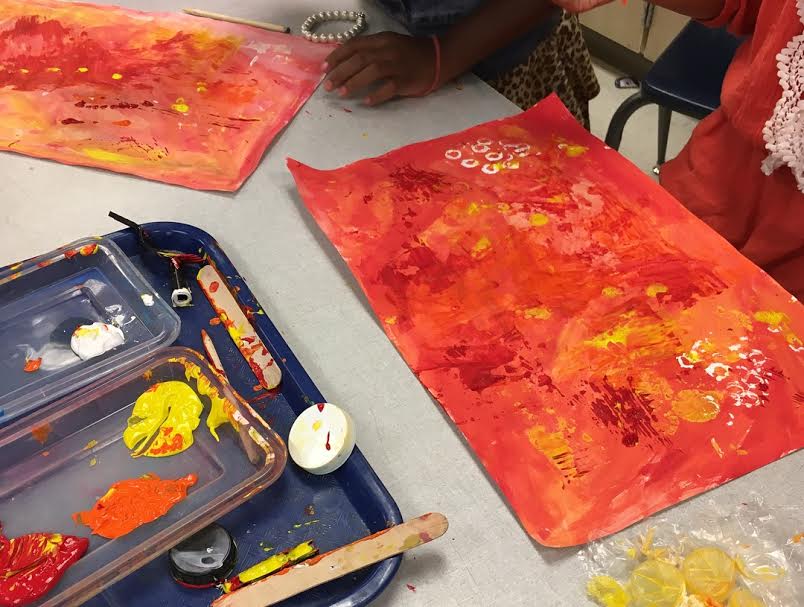
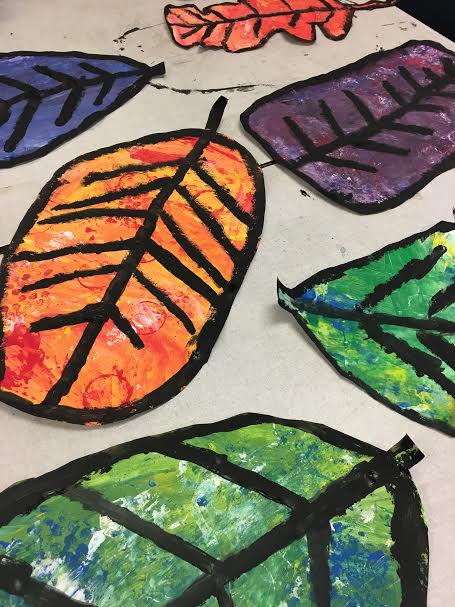
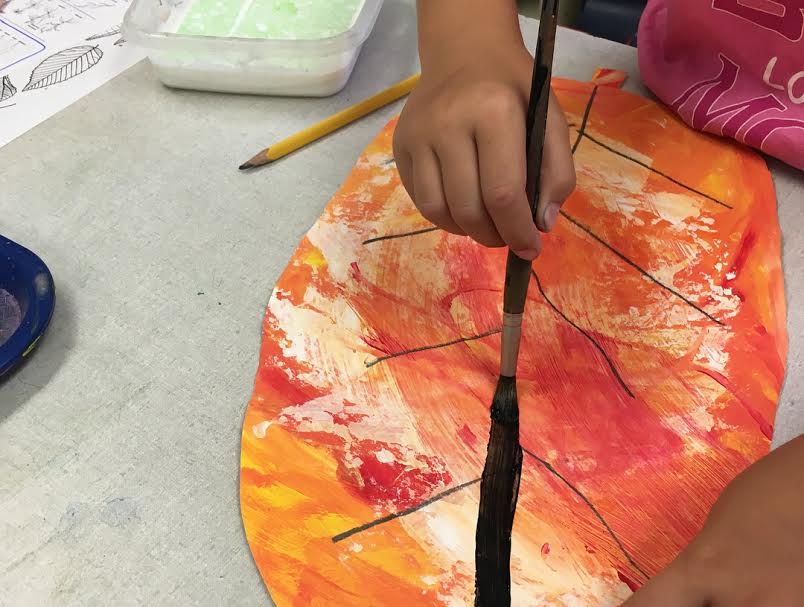
First, we created orange together and painted the paper plates. They continued to make orange on their own as needed. Then, we added texture to our tigers by printing with plastic forks with the red, yellow, and orange paint. We made a "tap, tap, tap" sound to avoid smearing paint with the forks. After the tigers dried, we cut out and glued the ears. Then, we added the face and stripes with oil pastel. I have students first practice the face on piece of scrap paper. We do this step by step and then again step by step on the paper plate. In previous years, I had them practice faces on the back of their plate, but I think they do better when they can see their first try when they draw the face again. These tigers were used in our mural for the Night of the Arts. This is the second year that third grade has made these beautiful painted paper leaves inspired by the secondary colors! I love displaying the leaves at the county fair and at our school's fall festival. This lesson was inspired by a beautiful lesson from www.paintedpaperart.com/2013/09/fall-leaves-at-lake-george/Painted Paper Art. My version takes about three to four class periods. it takes one class to paint the entire paper a secondary color and another to add the texture. I like having two painting days so that students who miss one class can still complete a leaf. I have students mix directly on the paper and give them only the primary colors, black, and white. On the day we add texture, I do have them work with other students who used the same secondary color and give them a little of that color straight out of the bottle, as well. The other two days of the lesson are used to draw the leaf, cut out the leaf, and paint the black lines. Usually just a few have to finish on the last day. This year, I did better with making sure students created a shape that would work well after being cut out (not too skinny in the middle). I demo drawing two leaf shapes to help students get started. We look at a few handouts about leaves draw the leaves on the back of the colored paper. The first step is to draw the center vein from the top to bottom of the paper. Once our laminator is fixed, I will laminate the leaves to make them even stronger. I think this will now be my go-to scissor skills lesson for kindergarten! I love that we used a variety of techniques and that the kids were so proud of their work. I wouldn't recommend doing this lesson early in the year because scissor skills like this can be overwhelming for them, but it really works well mid to late year.
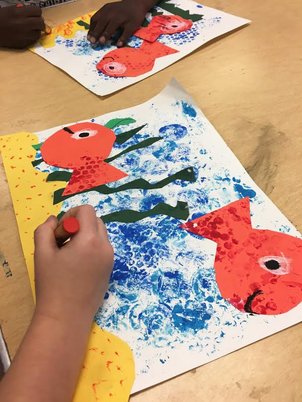
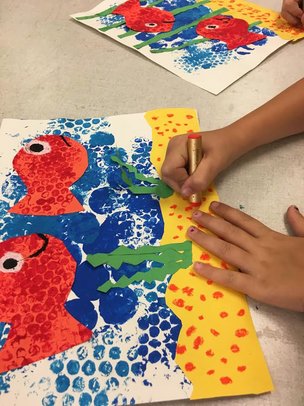
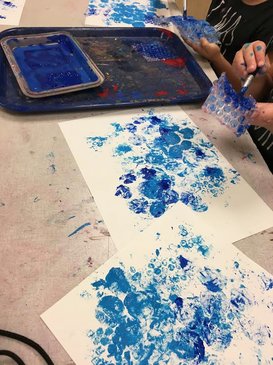
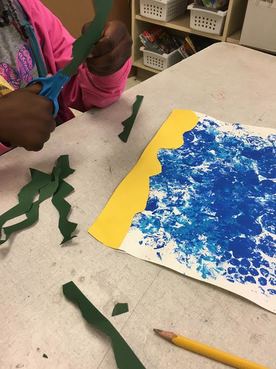
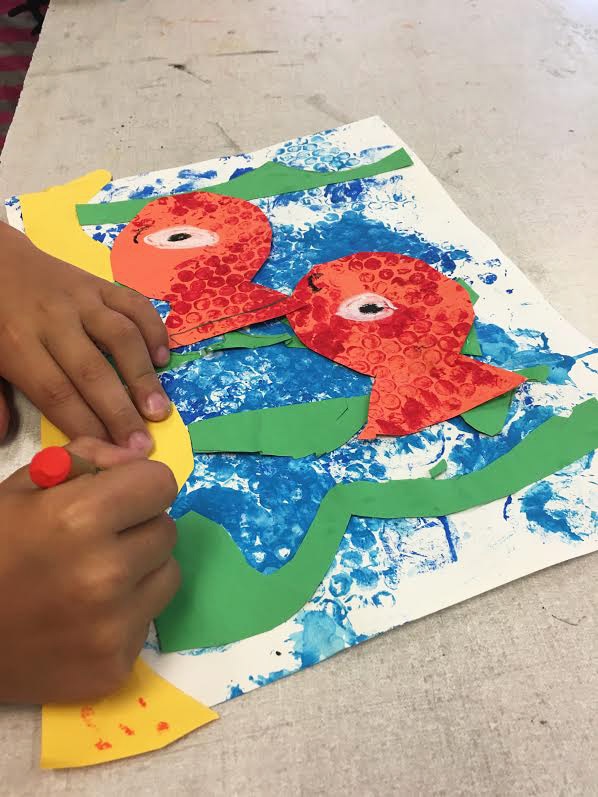
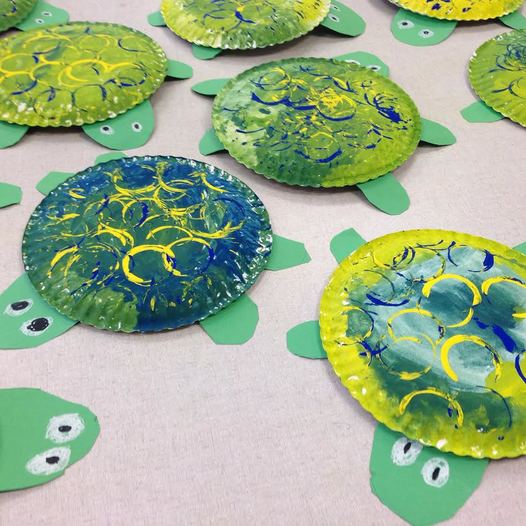
I had done bubble printing before, but hadn't extended it beyond printing multiple colors on one paper. This year I wanted to do more. We printed blue and light blue on white paper and the printed red on orange. The cutting and finishing touches took longer than I had anticipated. We did the sand and grasses on one day (practicing drawing wavy lines). On another day, we cut and glued the fish and used oil pastels for the details. My kindergartners LOVE oil pastels. They think of them as really special soft crayons. It's adorable when they get so excited about art materials. We created these turtles for the first time late last school year, and I knew they had to be in the Night of the Arts this year. They are adorable and the kindergartners loved their turtles and the process for making them.
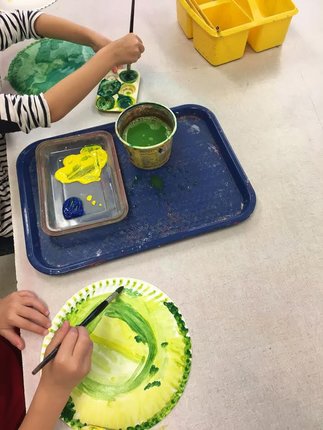
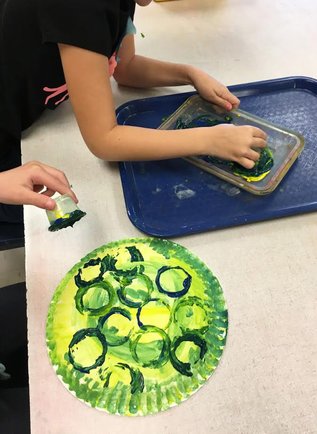
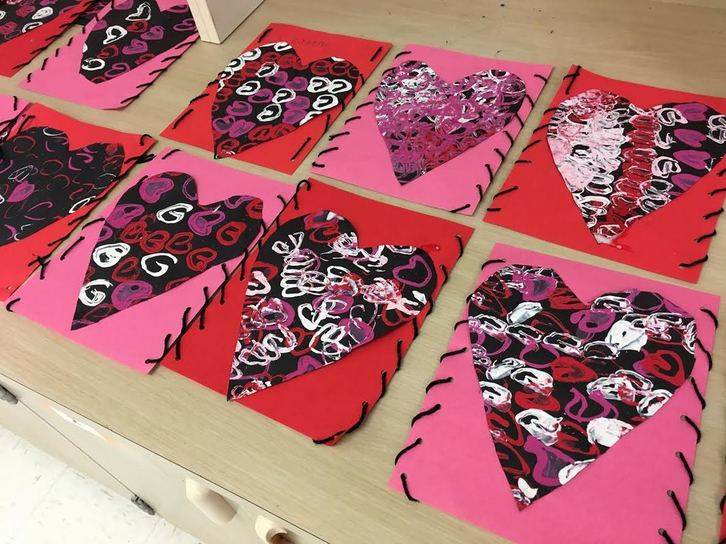
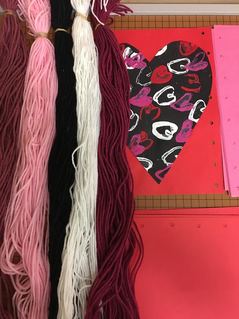
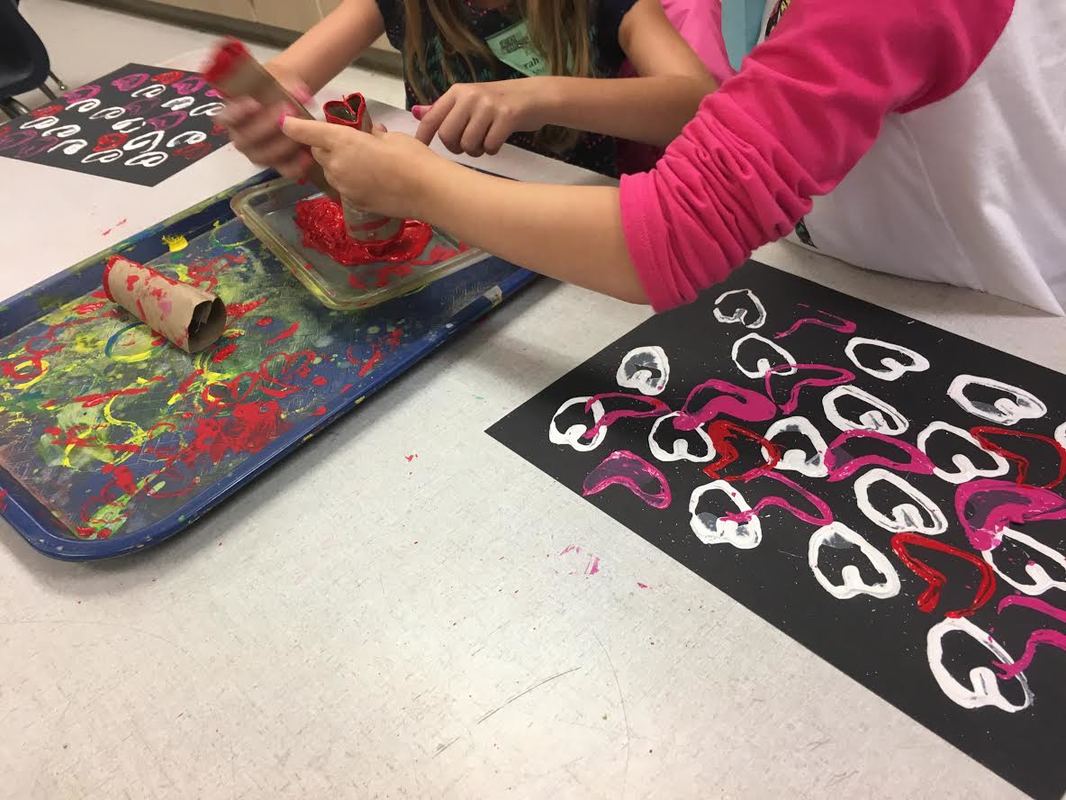
On the first day of this lesson, we made green, and more green, and more green until the paper plates (buy the thick ones!) were filled. Some students took their time and delicately painted every speck, taking nearly the entire forty-five minute class period. I don't want to rush anyone when they are working so well, so we do the printing during the next class. I try to do this lesson after other printing lessons to build on those skills. During the second day of making the turtles, we also trace the shapes for the legs and head. We draw the eyes with oil pastels and cut and glue the pieces to finish up the turtles on the third day of the lesson. And then if we have a few extra moments, I let them play with their sweet turtles, because what five or six year old wouldn't want to? Kindergarten students made heart prints around Valentine's Day. We did this last year, but we decided to take the lesson a step further to incorporate tracing, cutting, and gluing skills and sewing! I was inspired by some of Cassie Stephens' lessons and decided to tackle yarn with kindergarten! I thought it would be a great introduction to sewing before first grade when we sew on burlap with yarn and a plastic needle. These hearts turned out beautifully and I will be displaying them at the kindergarten Mother's Day breakfast later this year. |
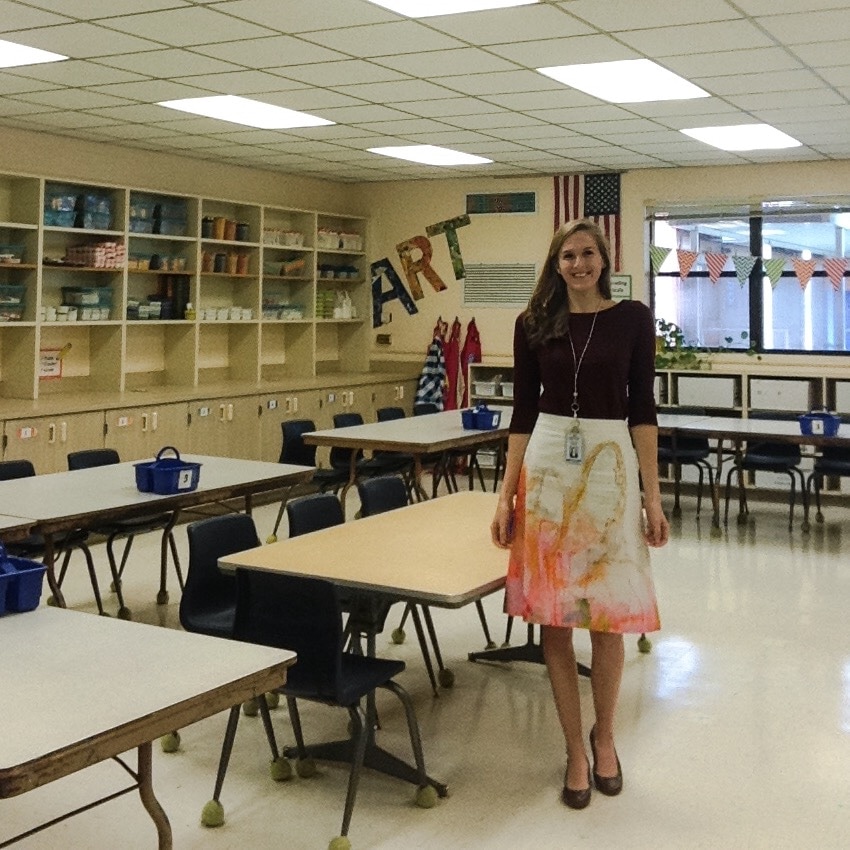
Madeleine PinaireI am an ninth year art teacher with degrees in Art Education from Flagler College and the University of Florida, living and working in northern Florida. Each week, I teach over six hundred students in grades kindergarten through fifth. Here you will find what we are learning virtually and in the art classroom! Archives
August 2020
Categories
All
|
 RSS Feed
