|
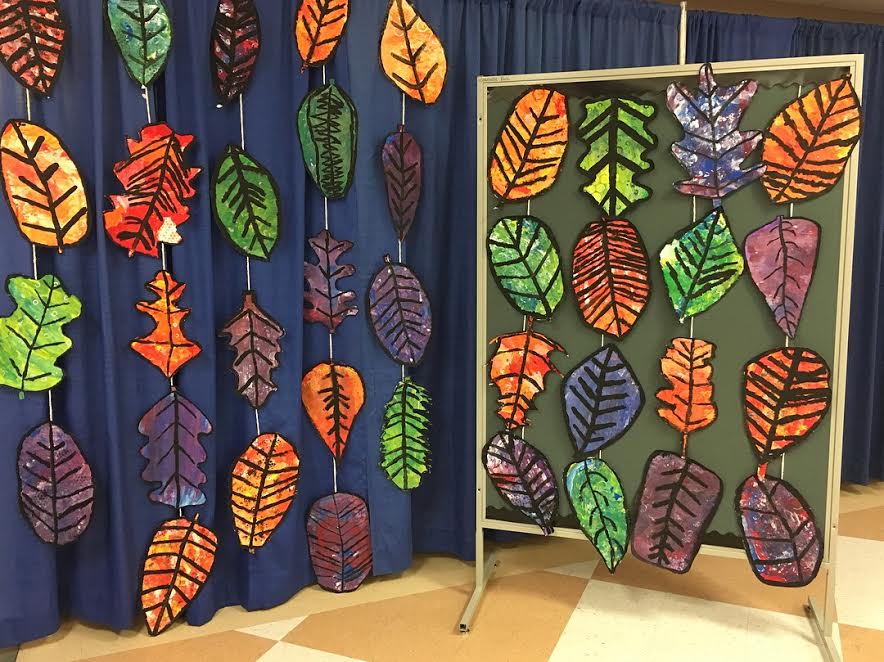
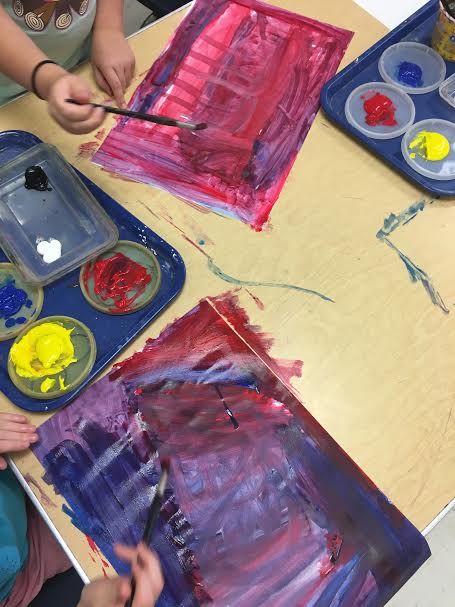
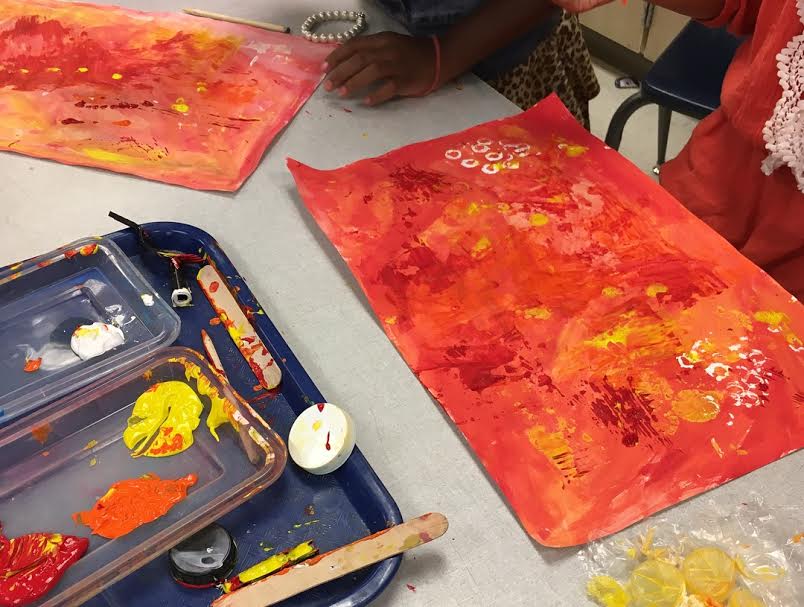
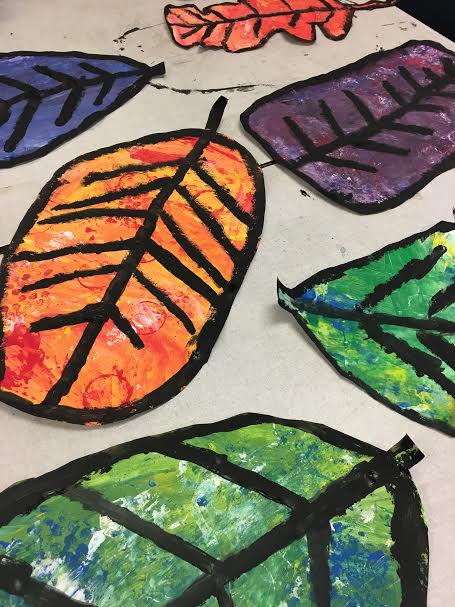
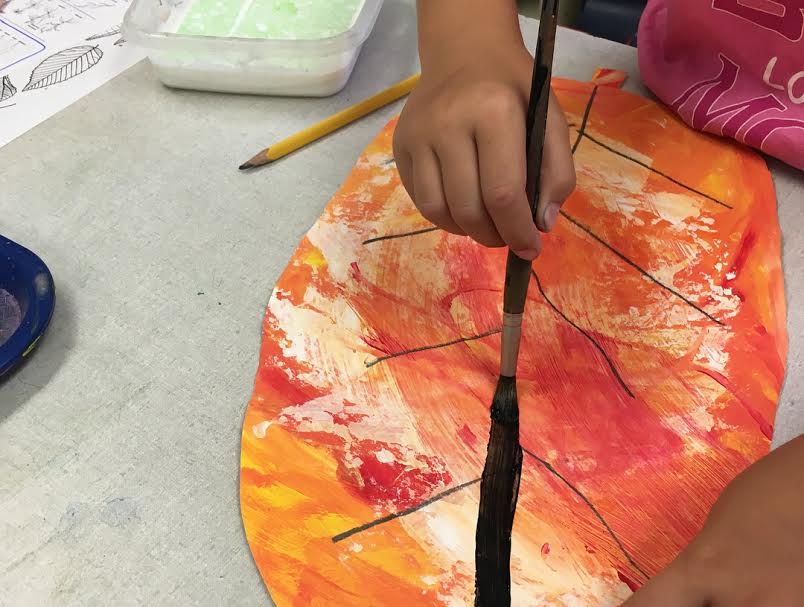
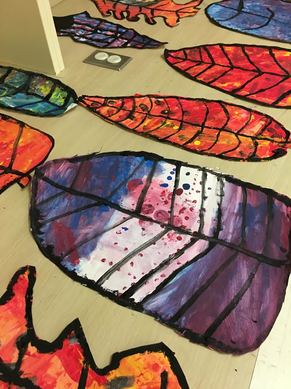
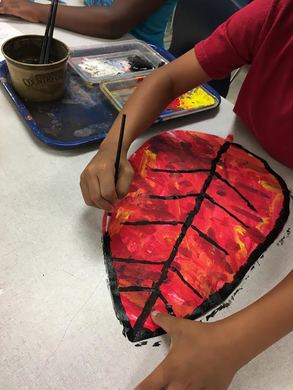
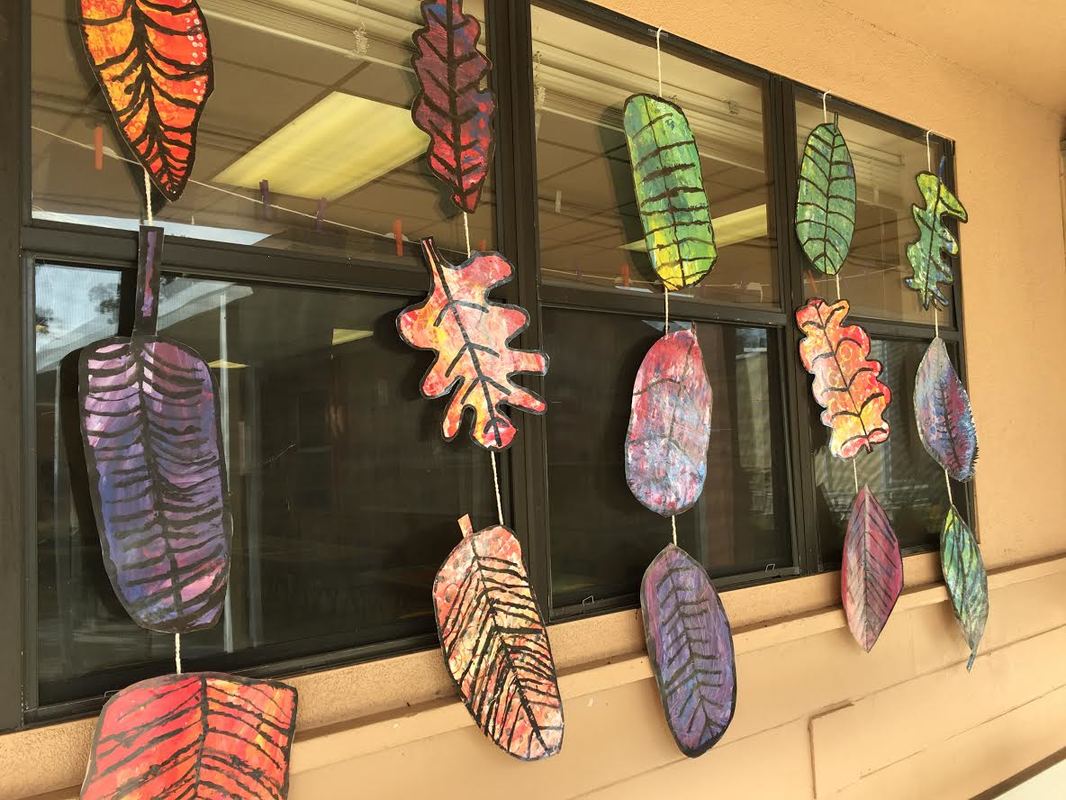
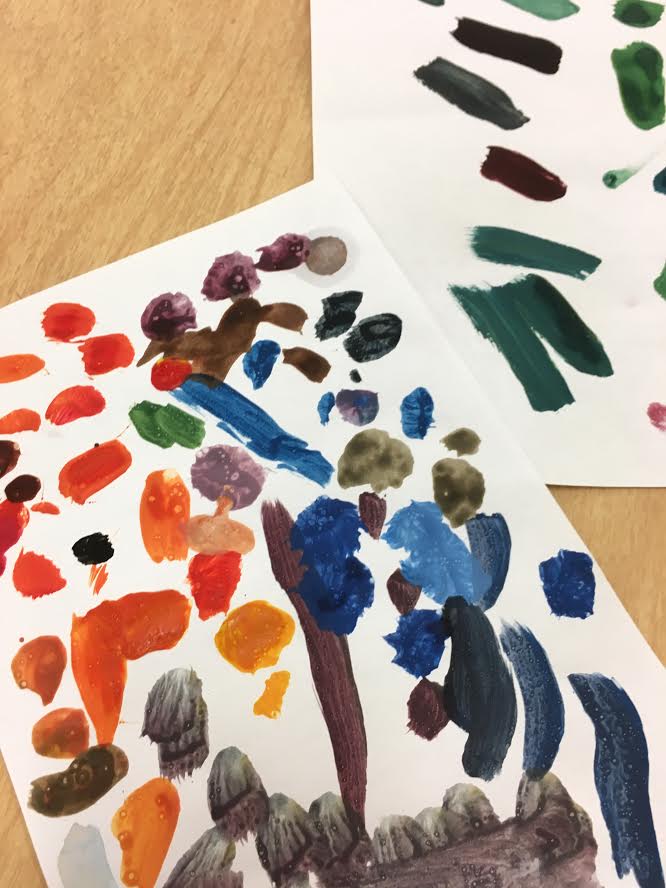
This is the second year that third grade has made these beautiful painted paper leaves inspired by the secondary colors! I love displaying the leaves at the county fair and at our school's fall festival. This lesson was inspired by a beautiful lesson from www.paintedpaperart.com/2013/09/fall-leaves-at-lake-george/Painted Paper Art. My version takes about three to four class periods. it takes one class to paint the entire paper a secondary color and another to add the texture. I like having two painting days so that students who miss one class can still complete a leaf. I have students mix directly on the paper and give them only the primary colors, black, and white. On the day we add texture, I do have them work with other students who used the same secondary color and give them a little of that color straight out of the bottle, as well. The other two days of the lesson are used to draw the leaf, cut out the leaf, and paint the black lines. Usually just a few have to finish on the last day. This year, I did better with making sure students created a shape that would work well after being cut out (not too skinny in the middle). I demo drawing two leaf shapes to help students get started. We look at a few handouts about leaves draw the leaves on the back of the colored paper. The first step is to draw the center vein from the top to bottom of the paper. Once our laminator is fixed, I will laminate the leaves to make them even stronger.
0 Comments
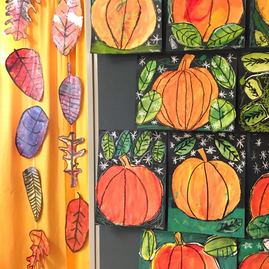
This may just be my favorite new project from this school year! Third grade made these beautiful painted paper leaves in the fall and we displayed them at the county fair art exhibit and outside the classroom for our Fall Festival. And then we hung them inside the art room to show them off for a bit longer!
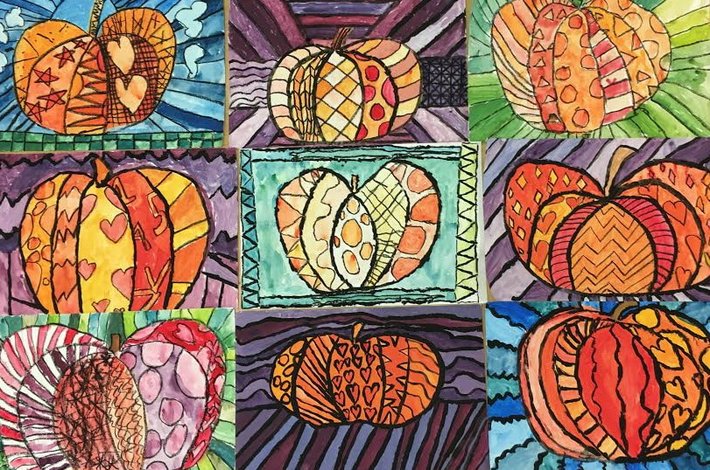
Fourth and fifth grade students made these beautiful pumpkins back in October and November. This was our big painting project of the year and took just over a month to complete.
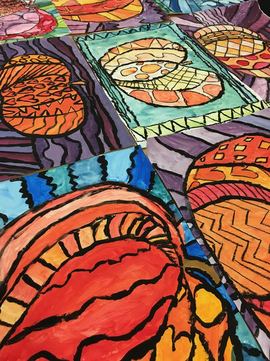
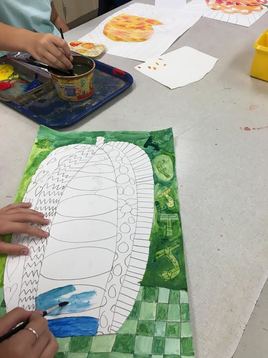
To start, we discussed works by artist Romero Britto and how they made us feel. We talked about use of pattern with line, color, and shape. Then, we drew HUGE pumpkins on the front and again on the back of our papers. They chose the best one and then we practiced drawing patterns to fill the spaces. I taught a similar lesson where students had complete freedom with colors, but decided to limit this project to a monochromatic color scheme to help encourage students to create more complex colors and to save time. It's much faster to continue to alter colors instead of mixing completely new ones. To finish the pumpkins, students had the choice of painting black lines and/or using black oil pastel. This helped my students to get those tiny details they drew. I was surprised by how many students chose to use black paint for everything, and I was so impressed by their work! I have stressed painting technique from early on with them and I think it is paying off! How gorgeous are these pumpkins? |
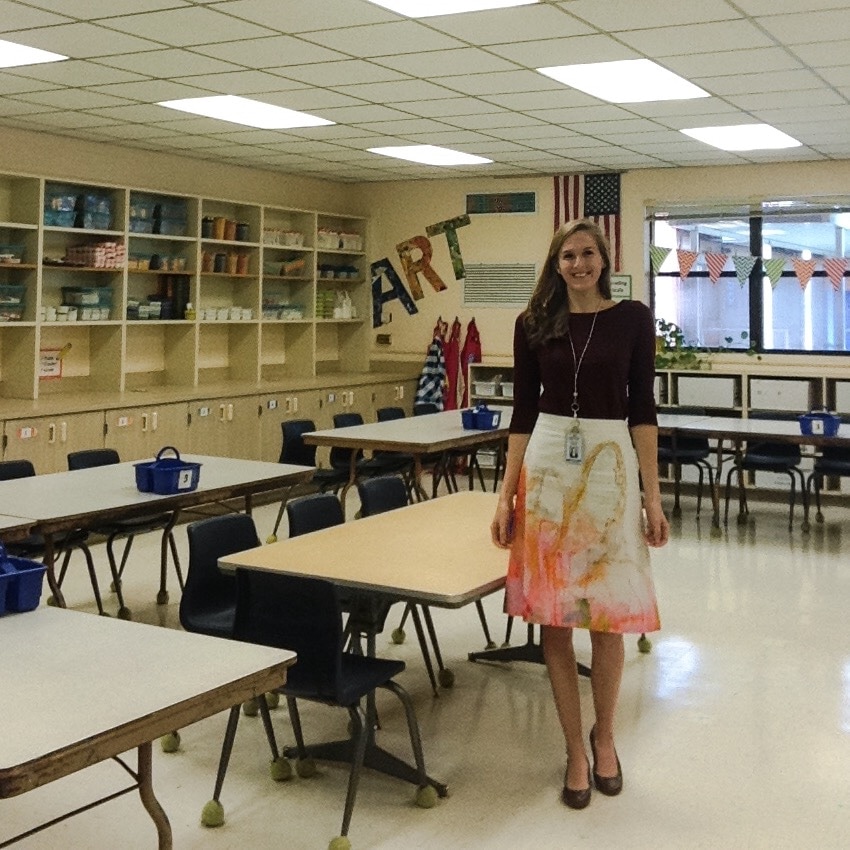
Madeleine PinaireI am an ninth year art teacher with degrees in Art Education from Flagler College and the University of Florida, living and working in northern Florida. Each week, I teach over six hundred students in grades kindergarten through fifth. Here you will find what we are learning virtually and in the art classroom! Archives
August 2020
Categories
All
|
 RSS Feed
