|
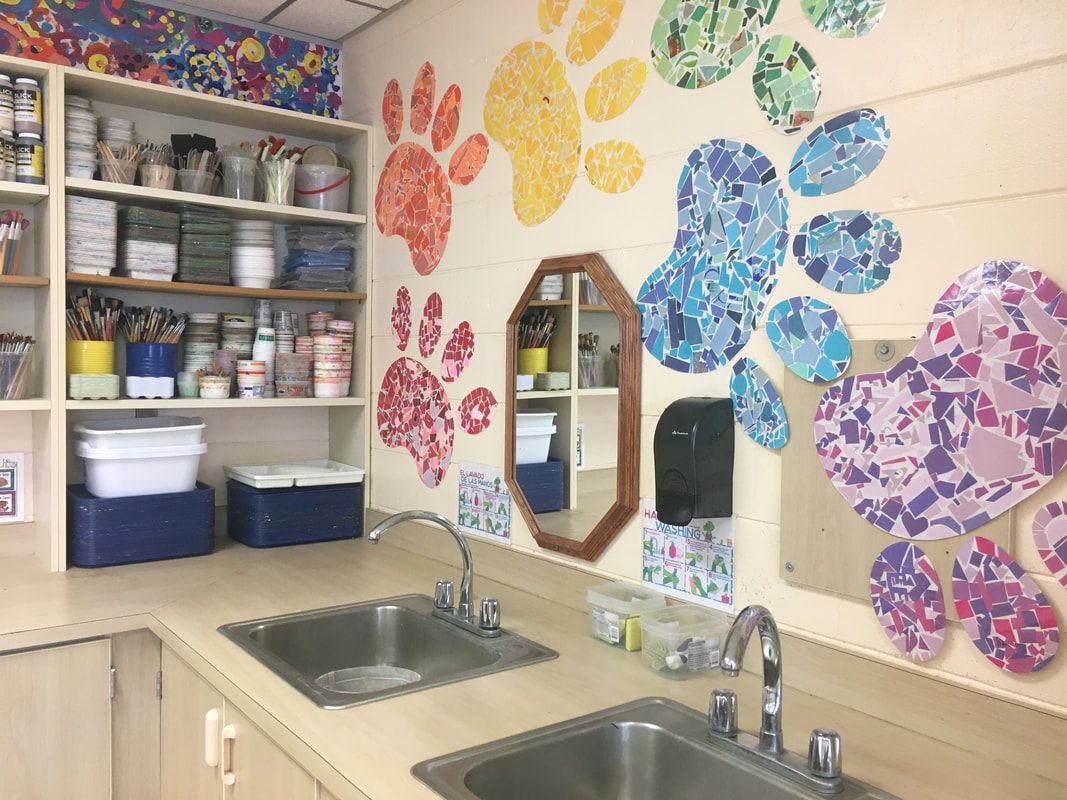
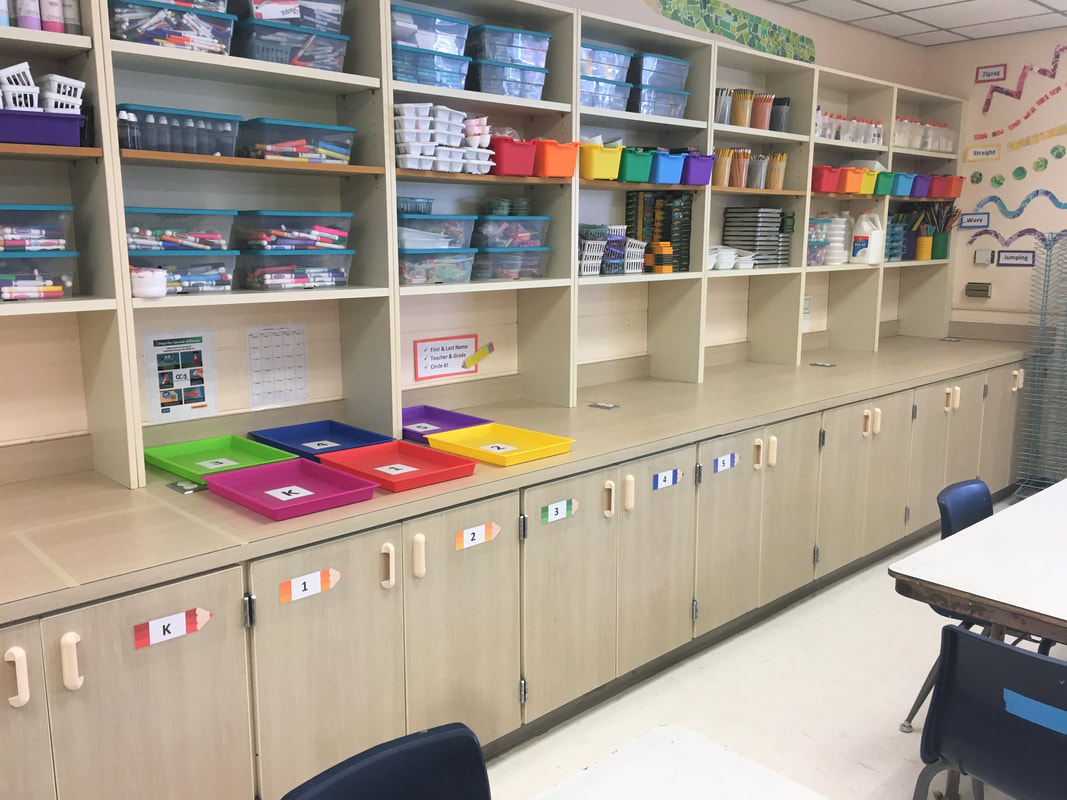
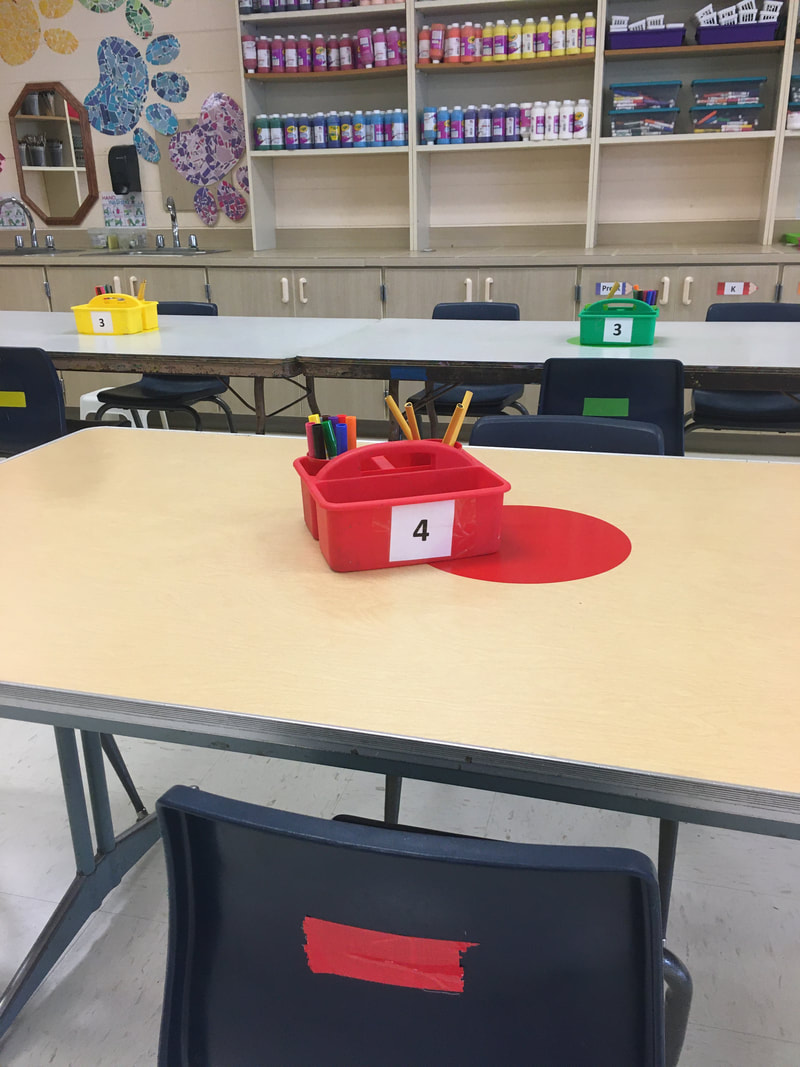
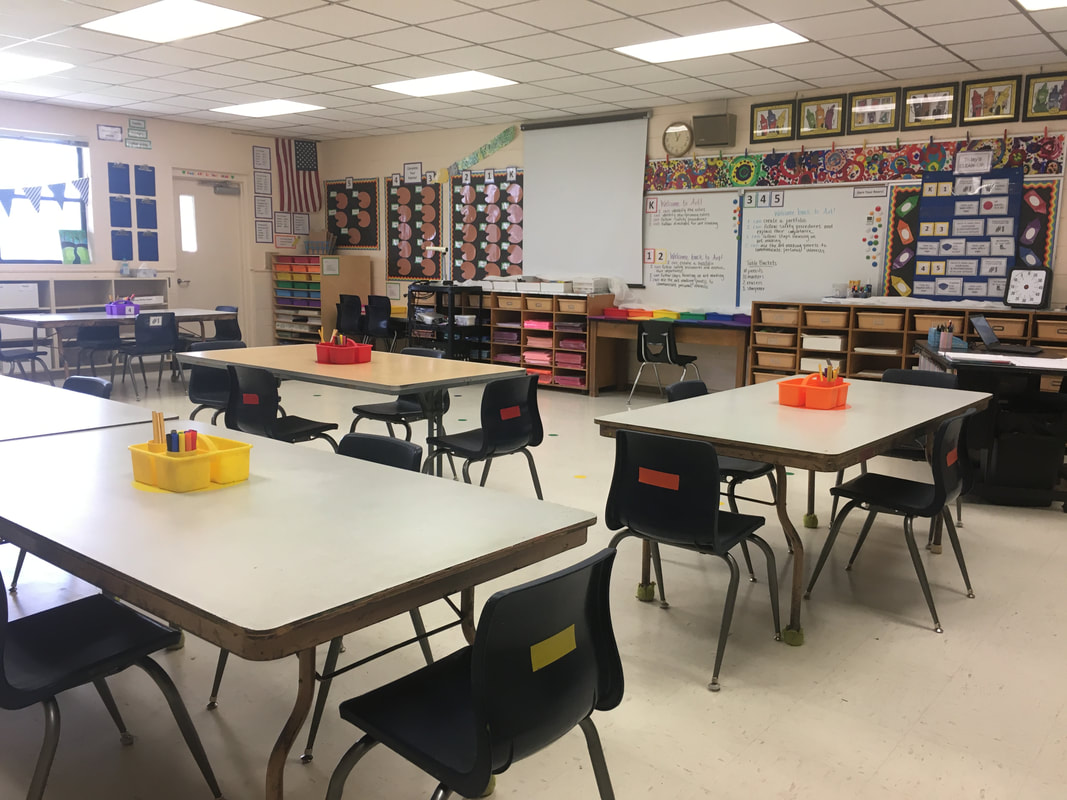
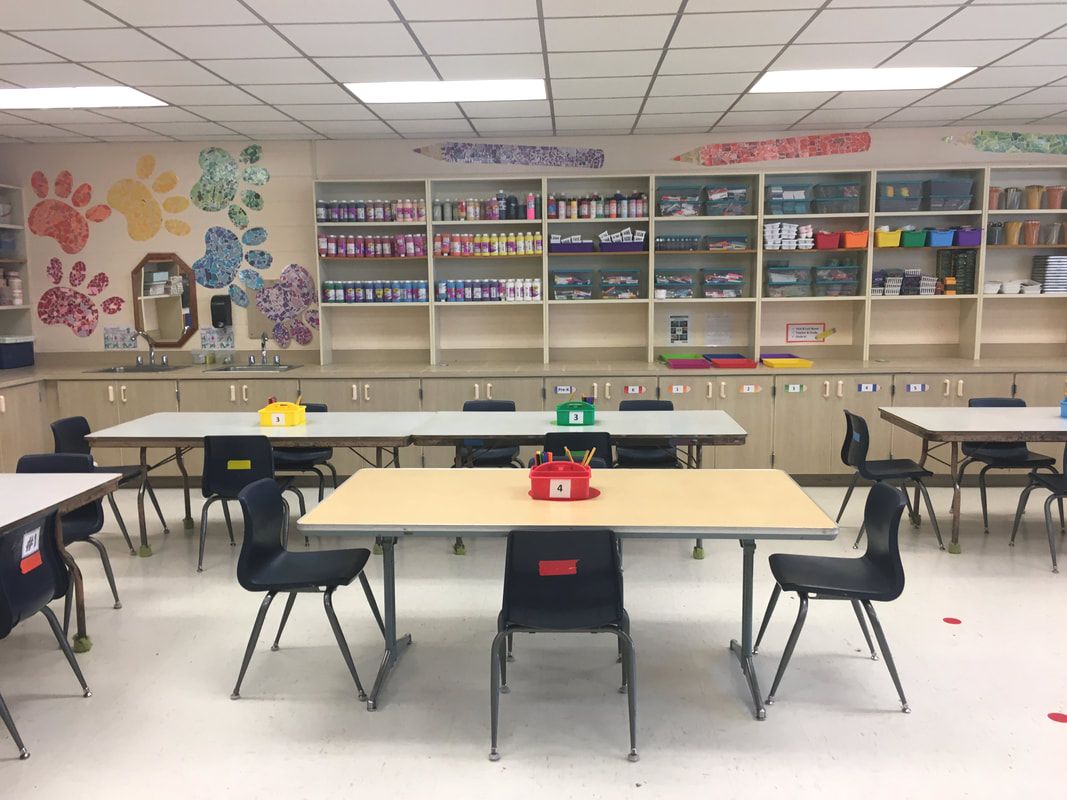
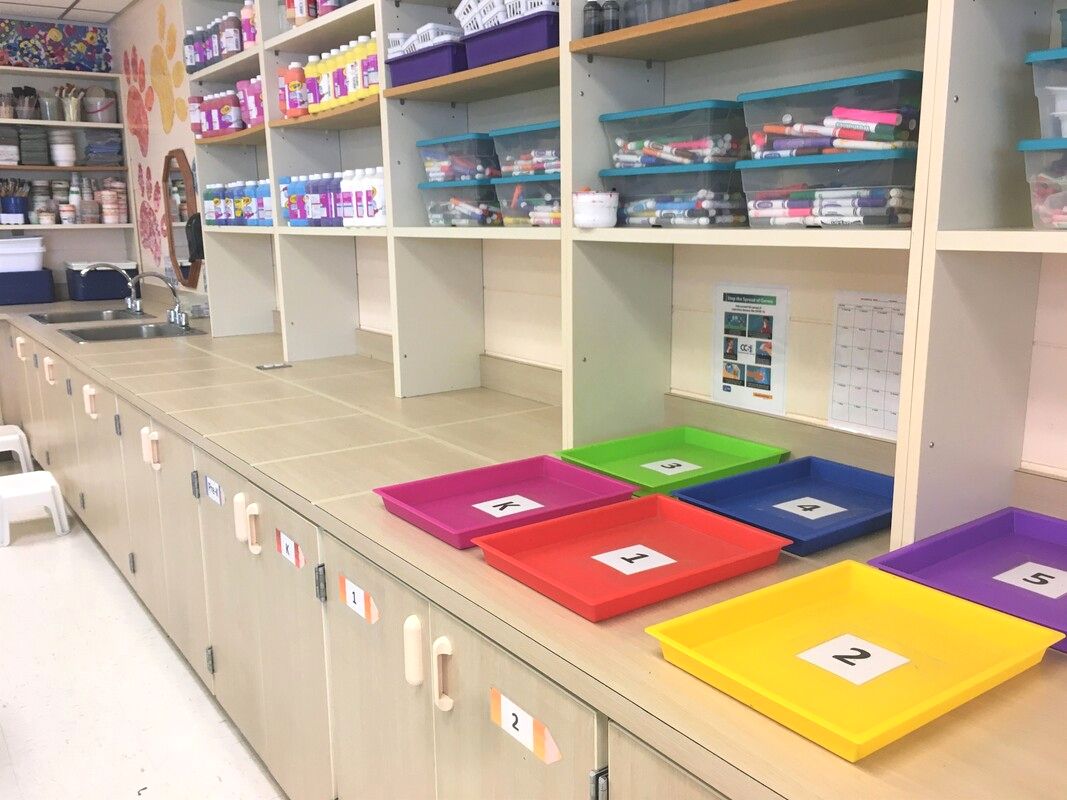
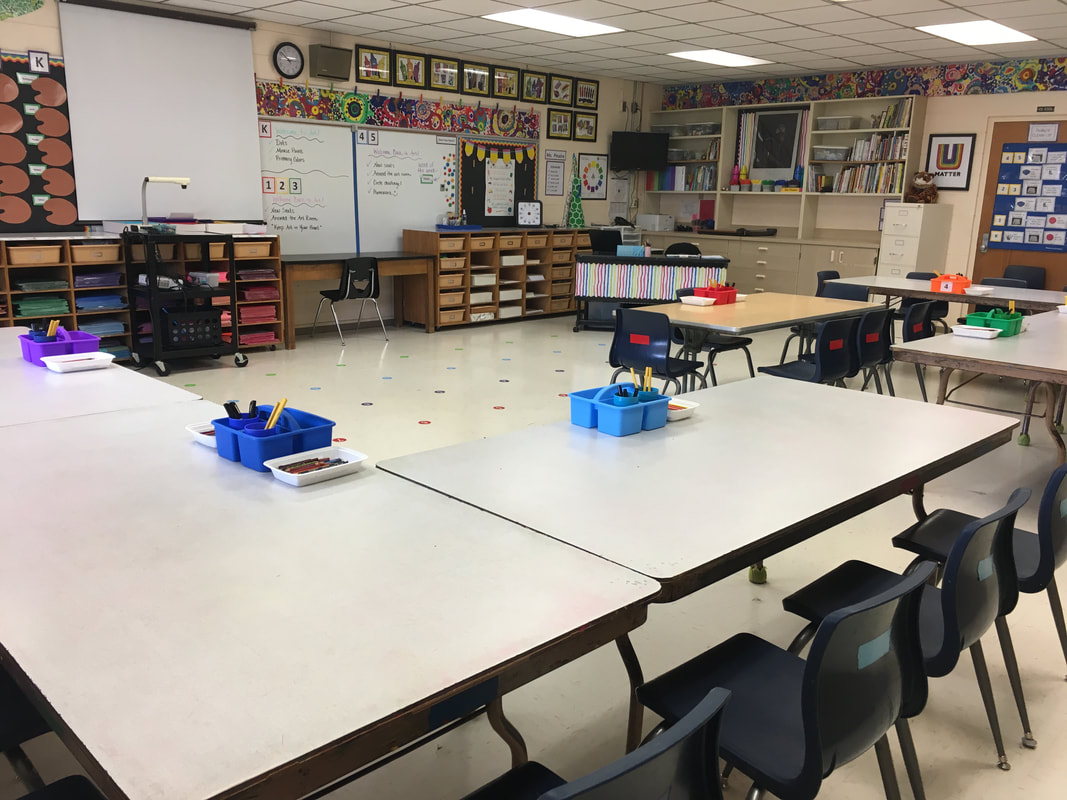
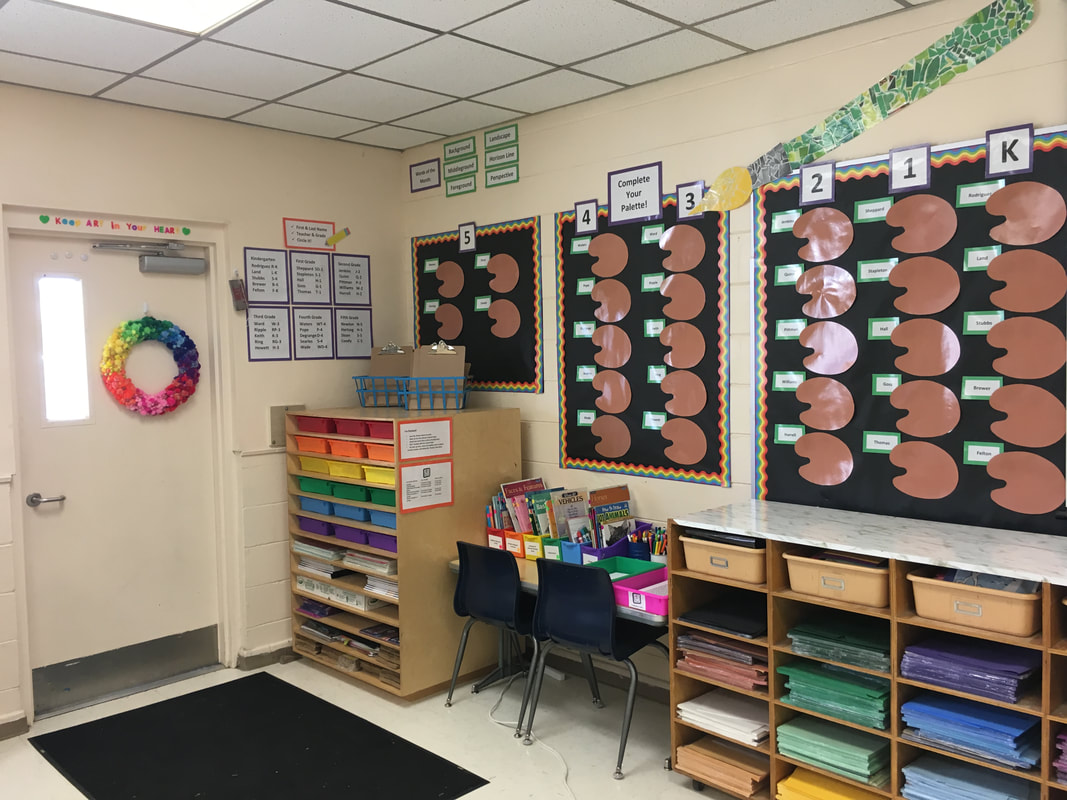
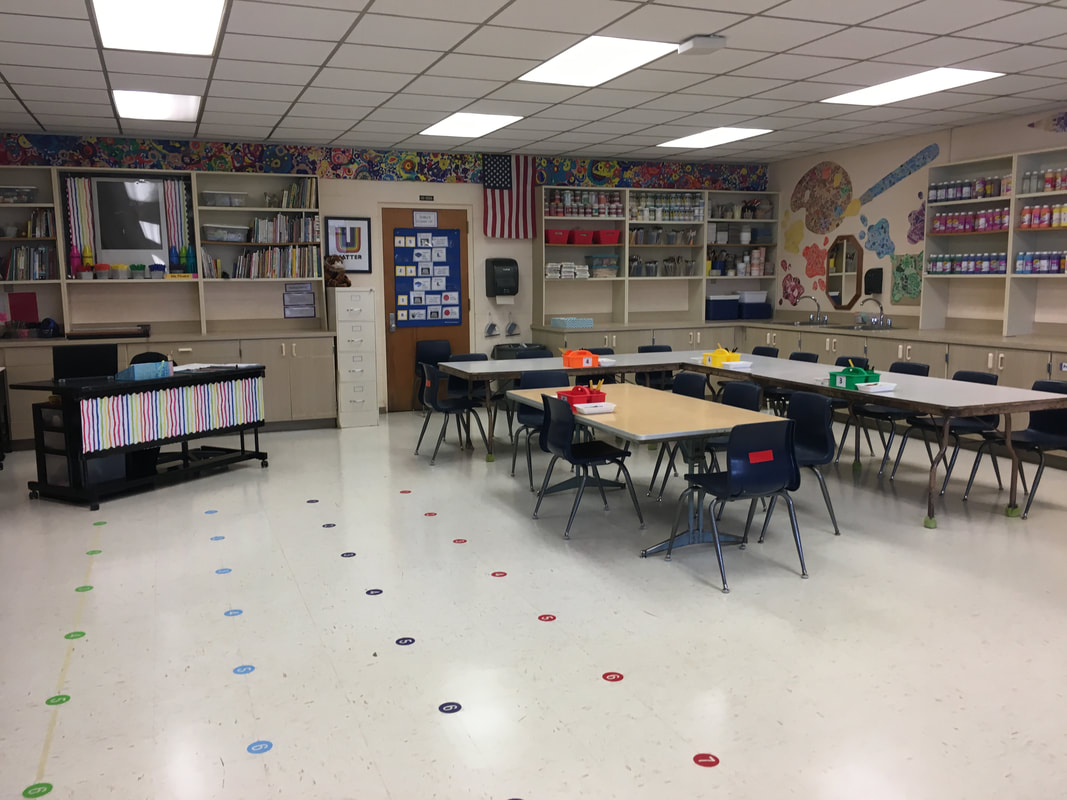
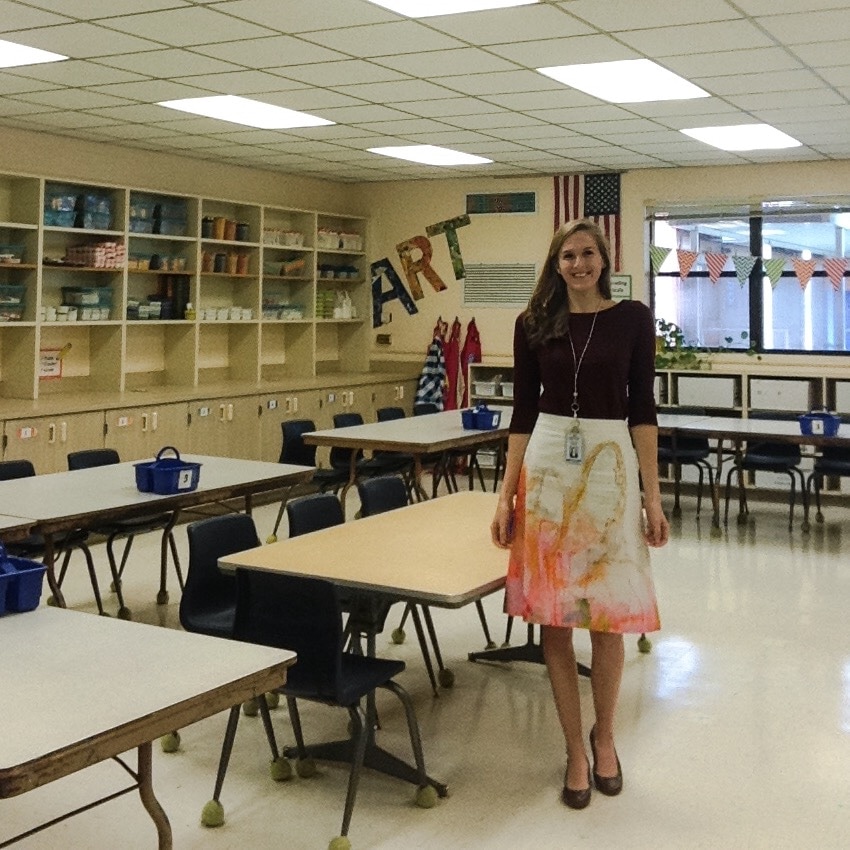
We are back in the classroom this August! With a few changes, the room is ready to welcome students to art. Chairs are three feet or more away from one another, as are the dots on the floor where younger students sit after they enter the room. Tables have been spaced apart to provide a little extra distance, too. We have new procedures to clean up and turn in work this year. We are also sharing supplies less often and sharing with smaller groups when we do. I hope that even in these unpredictable times, the art room can still be a fun, happy, and exciting place to be! That is the environment I strive to create each year. I am ready for year nine! This year, I added big dots to the tables to help students identify their table color and to help them learn where their table bucket belongs. Many things are in new places this year, so this should help them be independent!
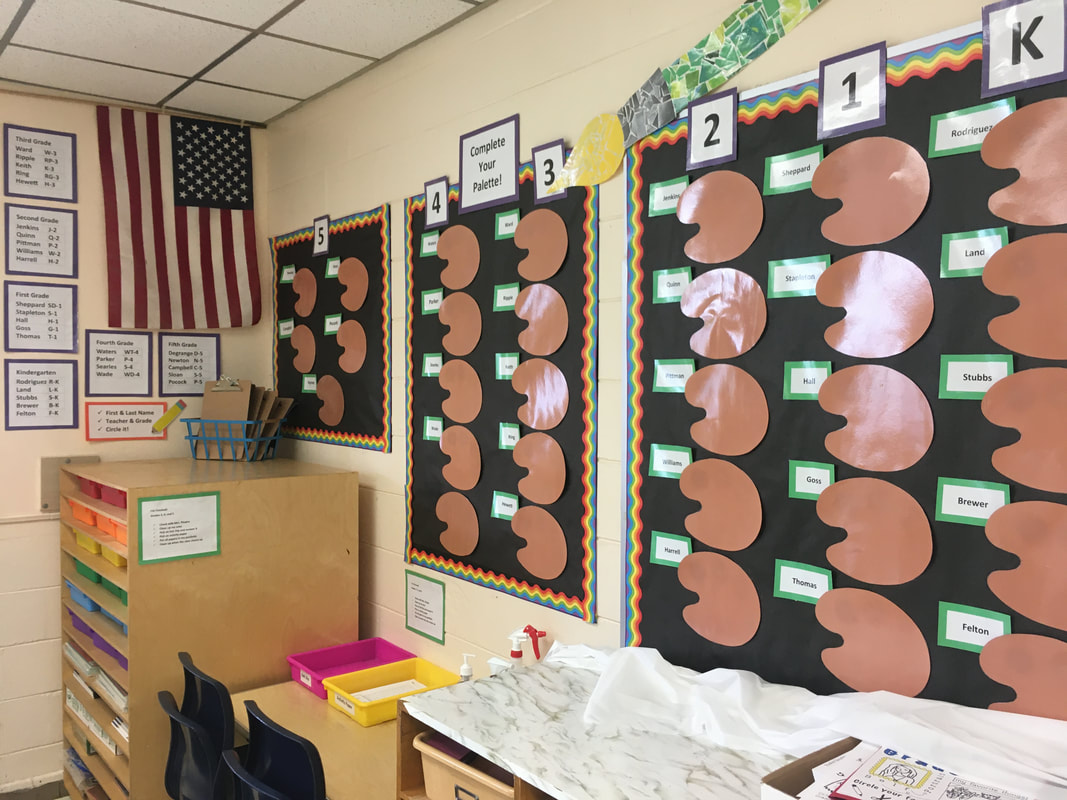
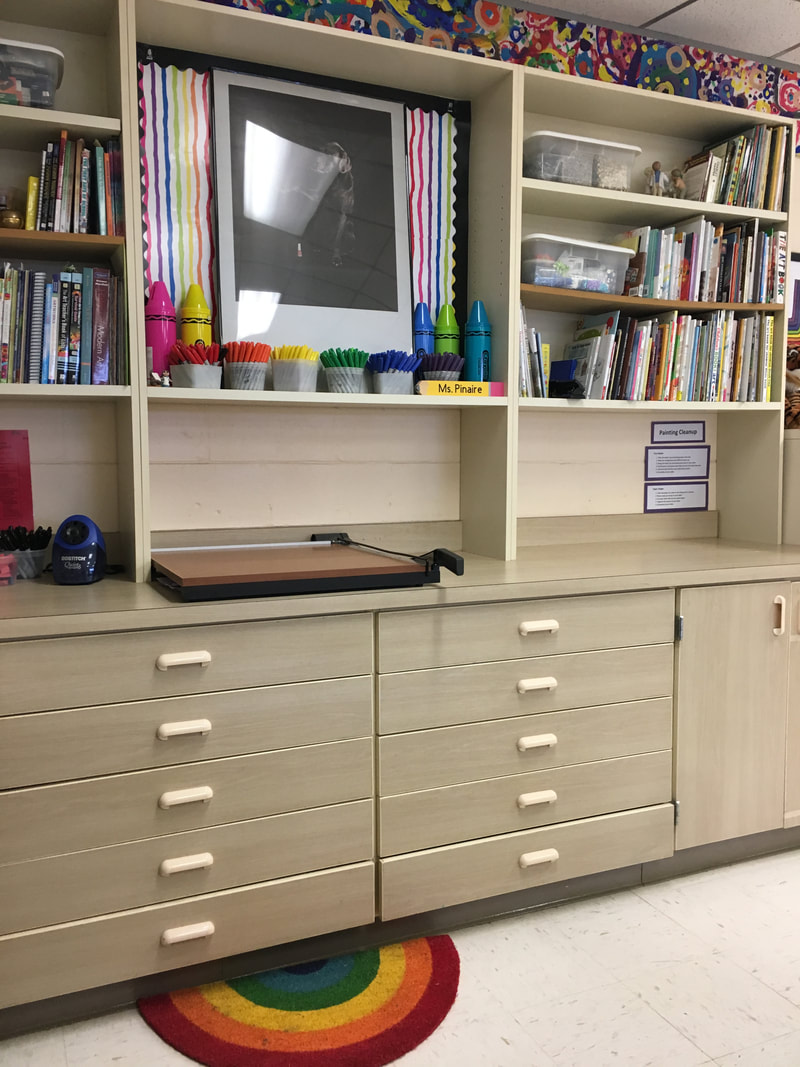
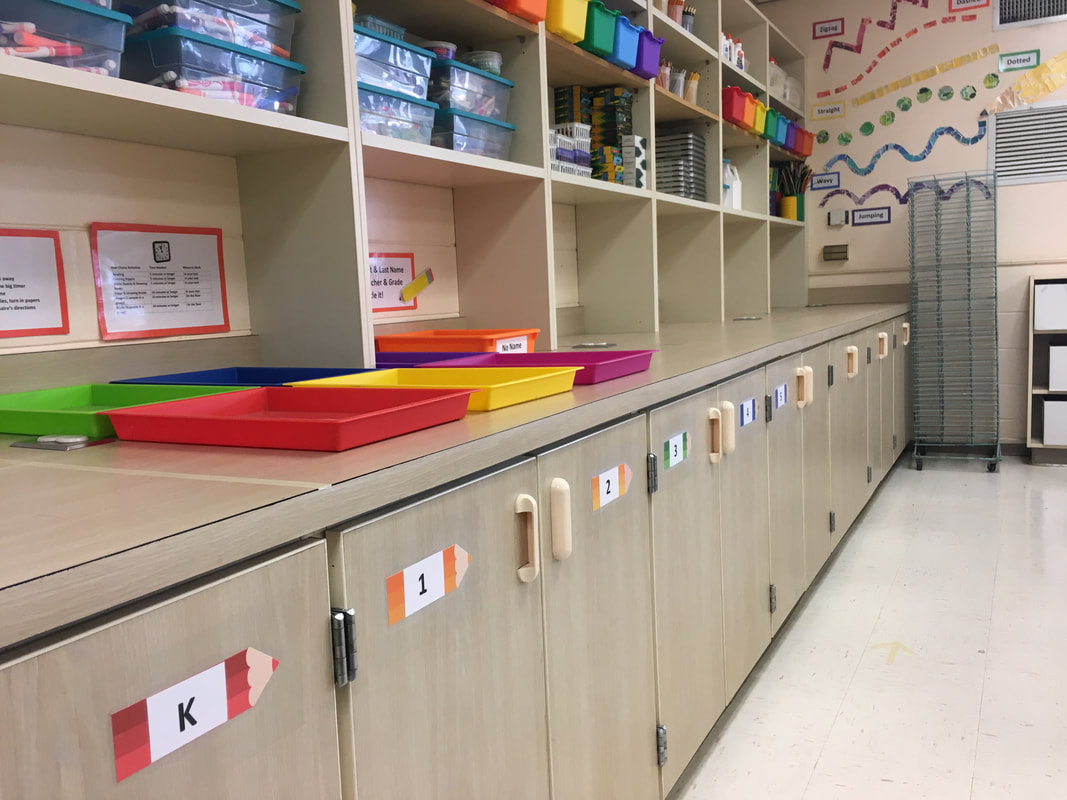
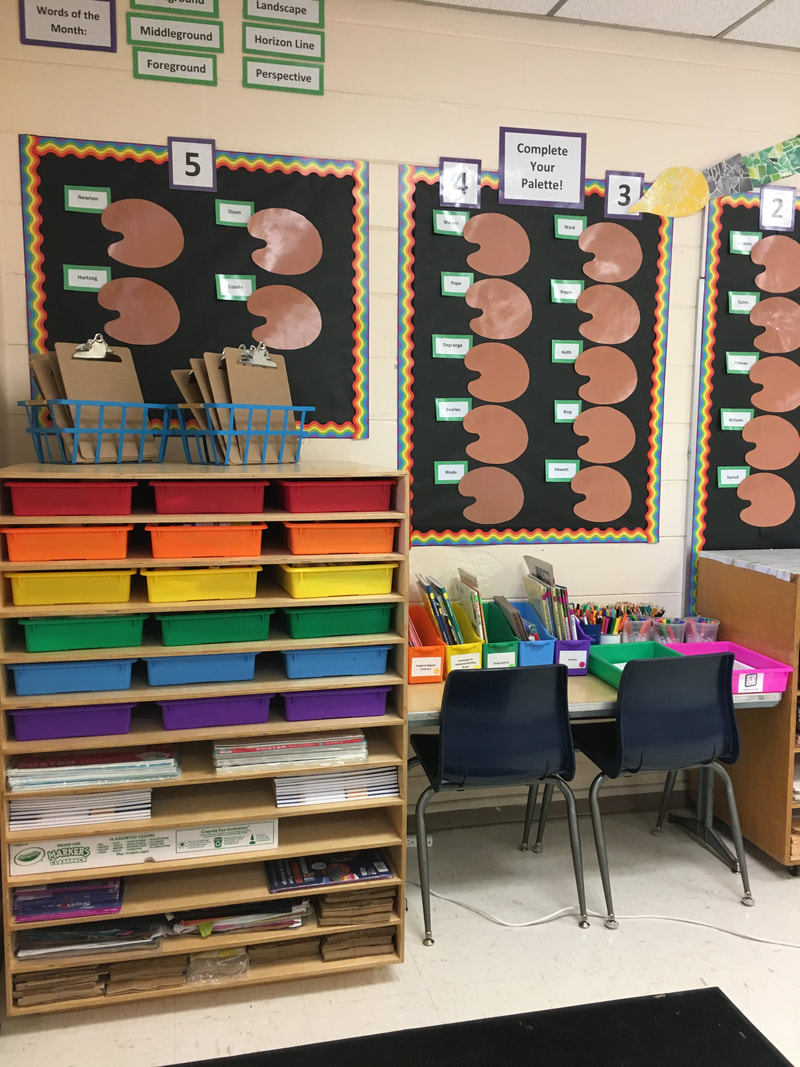
I also bought white plastic table cloths to cover my cabinets that house paper. Although I love looking at all of the beautiful colors, the cleaner that is used in the air ruins paper, so the wooden cubbies and table will have to stay covered this year. For line up, of course I couldn't have kids all squished together on a tape line, so we are lining up on the floor dots. I will call tables to come and stand on the dots and students will exit row by row. I may keep this routine next year because my bigger classes made huge lines!
0 Comments
This website was designed to be a professional portfolio of what I do in the classroom in order to help and connect with other art teachers. I periodically posted some of my favorite lessons. Now, the website is transitioning to also become a resource for parents during this time of distance learning. All student lessons for distance learning can be found under the tab at the top of the page.
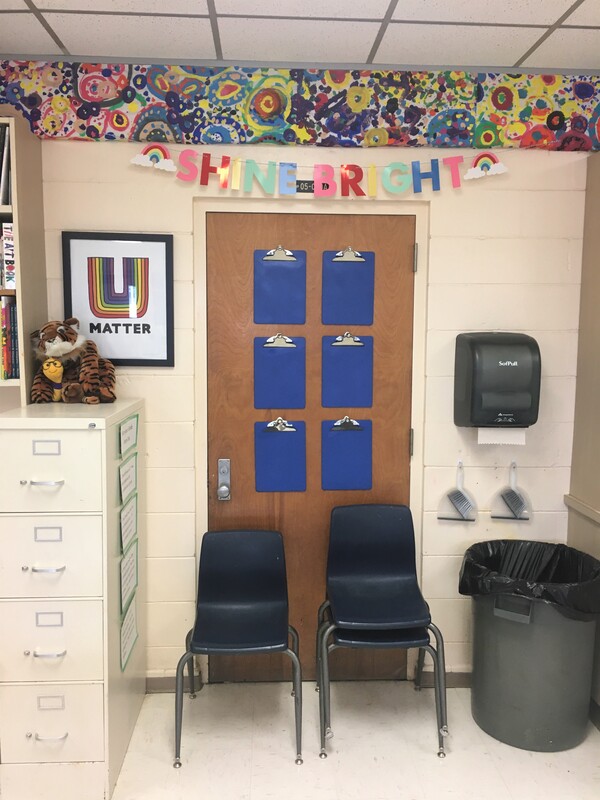
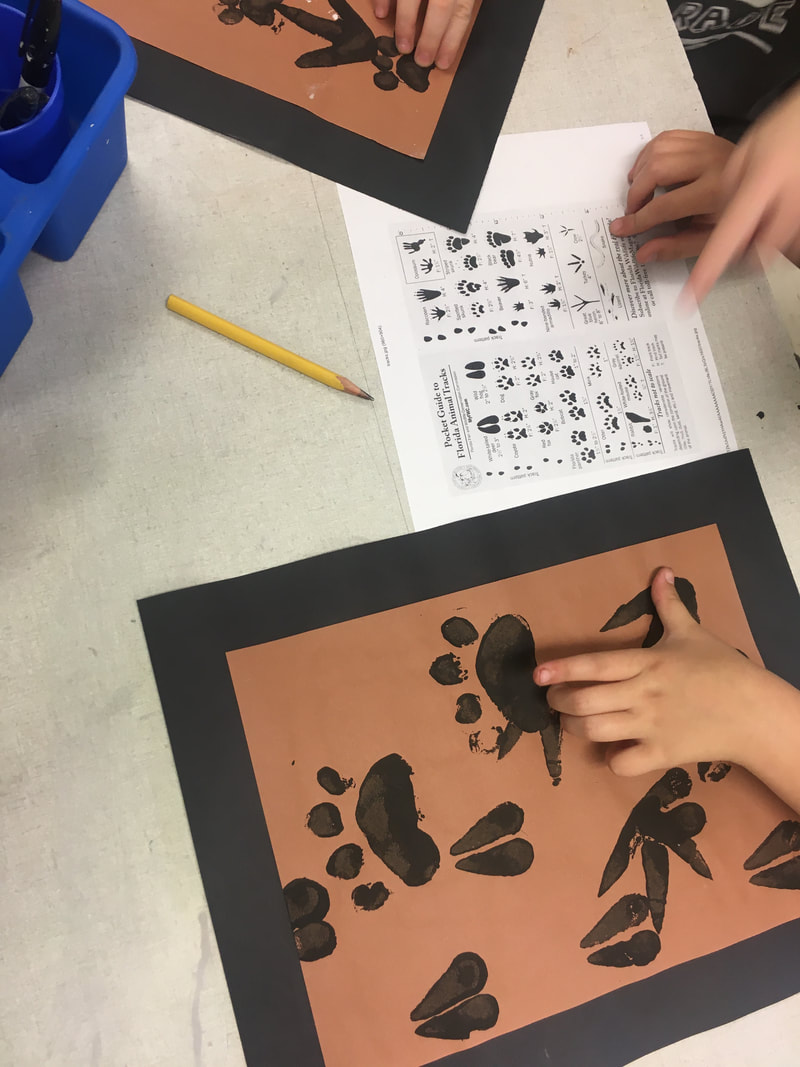
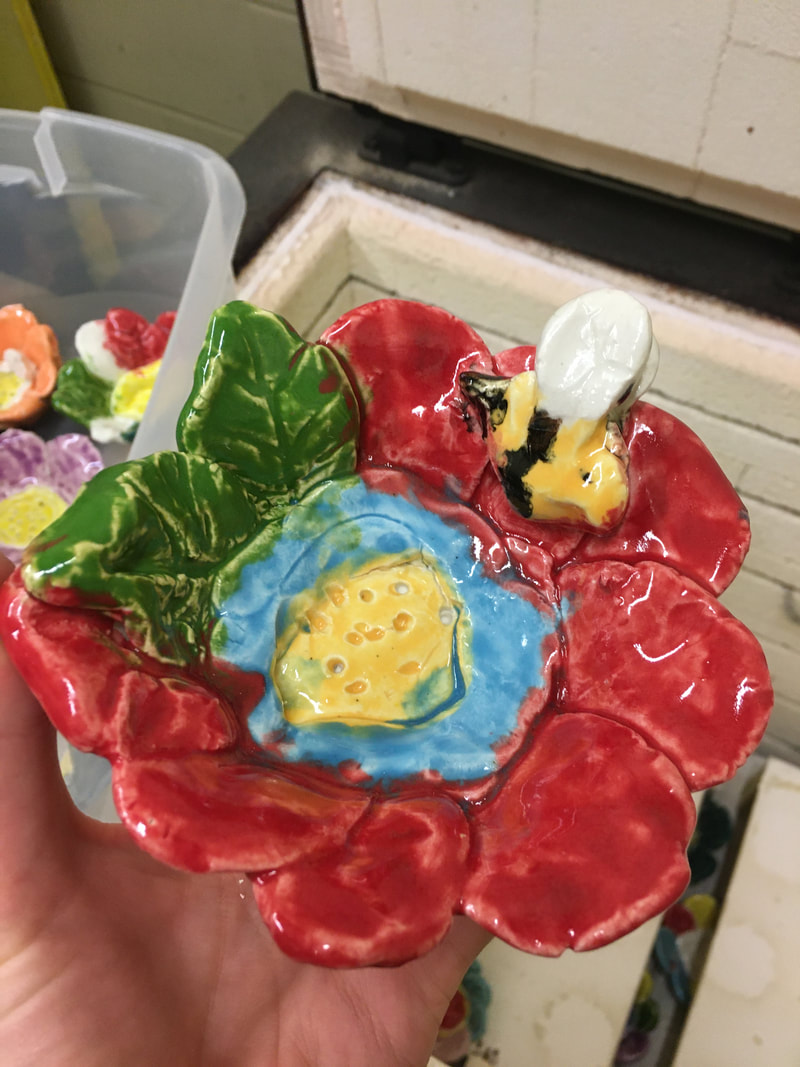
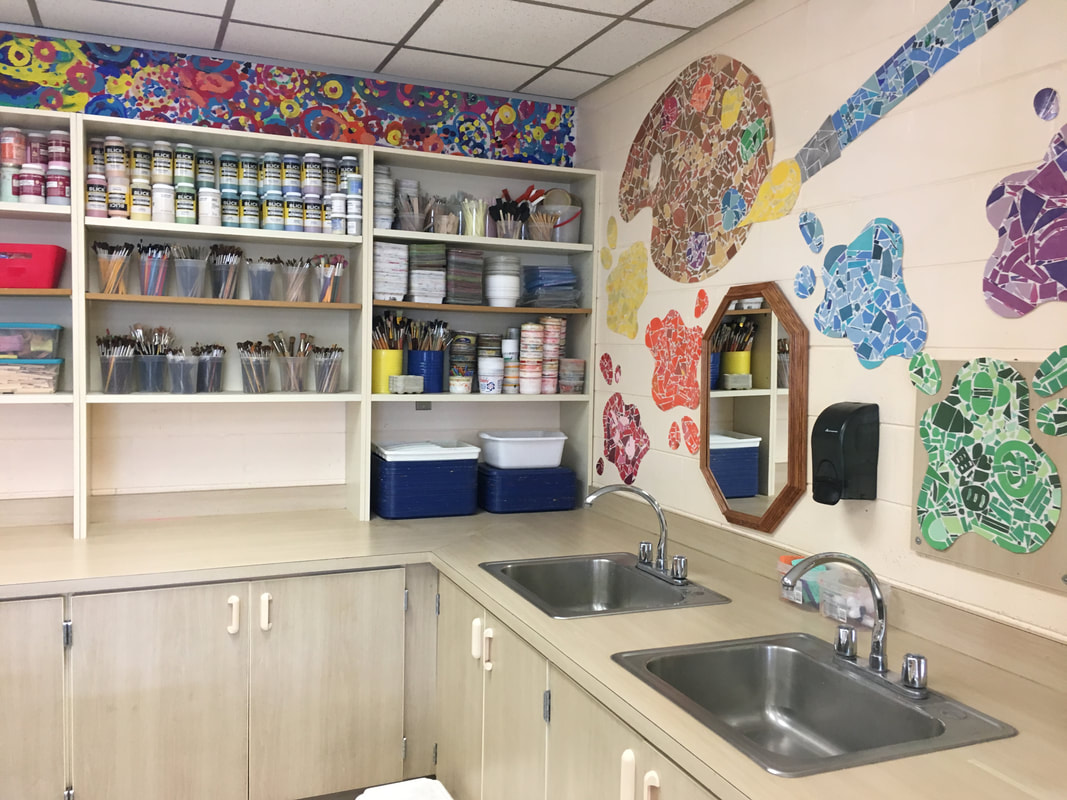
This is what we have been working on so far this school year! Since December, students have working on a music and art unit on Florida nature. We have been learning about our state and why our region of northern Florida is so special. Right now, all of our work is on hold. There are ceramic projects still in the kiln, a mural left unfinished, and collage pieces all over the room. I can't wait to get back and finish our work. Until then, these are a few images of what we created before Spring Break. I have just started my eighth year teaching and my eighth year in this wonderful art classroom! Each year, I love this space even more. A few things have been moved around or displayed in a different way, but the biggest changes have been additional furniture and organization!
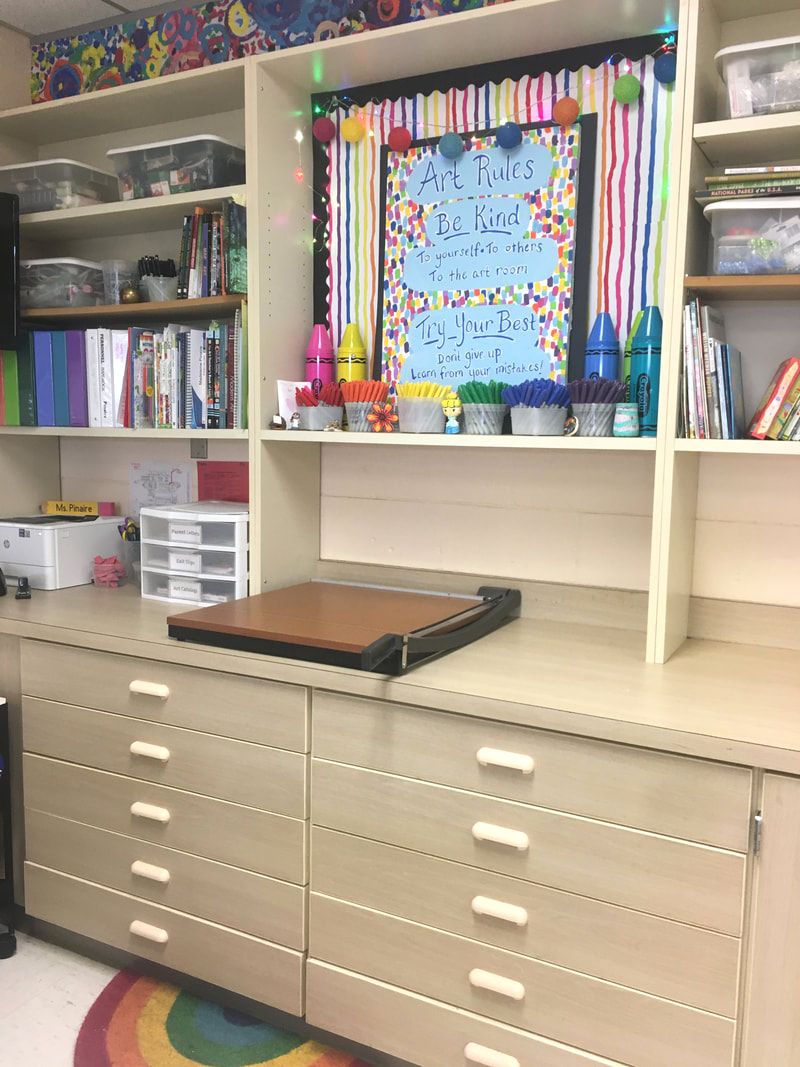
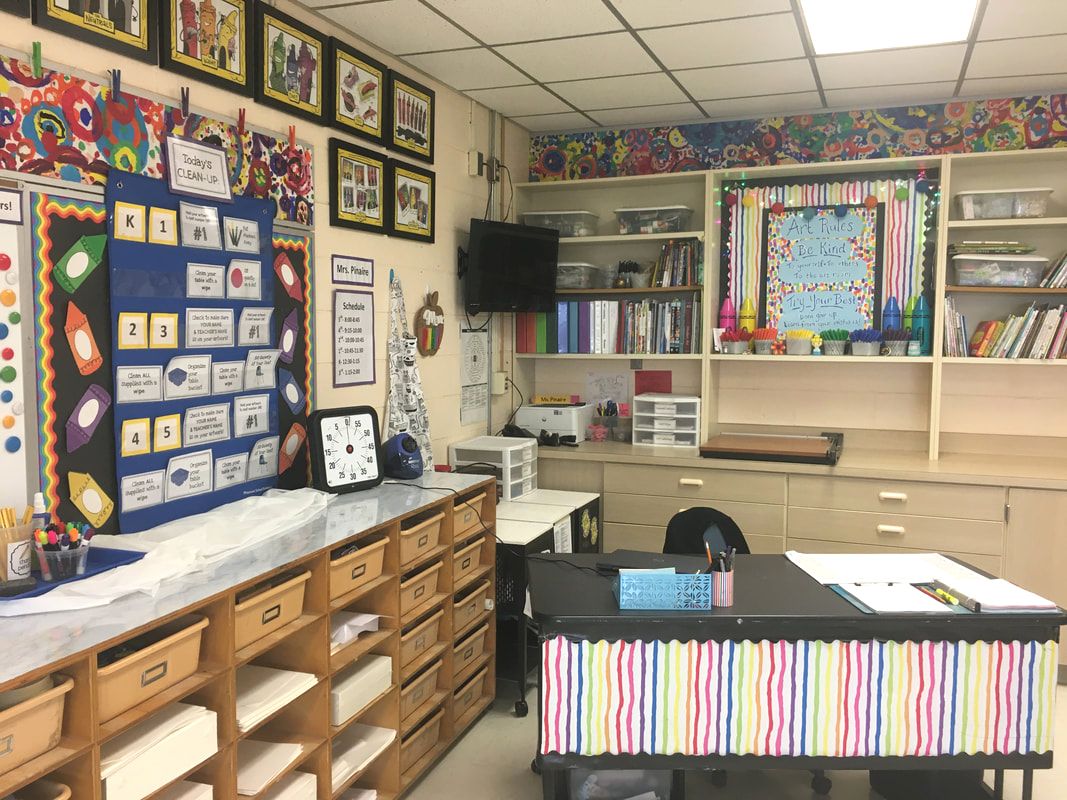
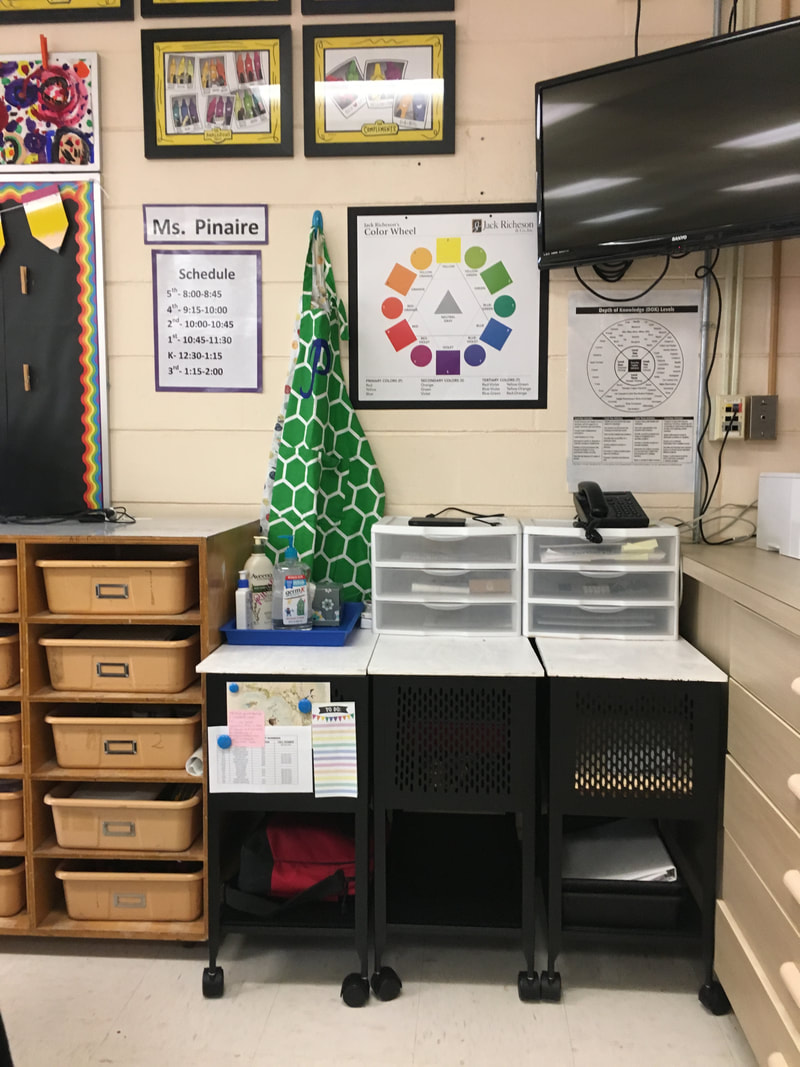
This year, I have a new huge piece of furniture for large paper. I also added drawers to give all of those little things cluttering my tiny closet a real home. The cabinet reduced my free choice art area for students who have finished their work, but I think the smaller space actually works better. Students now have to go back to their seat or the floor to work on these activities and won't try to work at that small counter. I have also worked to reorganize my desk area! For the first few years of teaching, I didn't have to do much filing because I didn't have many lessons or handouts. But at this point, I was seriously needing a better system than filing boxes shoved in a cabinet. I purchased three of these file carts from Amazon and made tops for them. This area gives me even more counter space and a convenient place to easily file lessons. So far, all of the changes made to the art classroom have been successful. It has been great to get back into this space and start learning and creating with my students once again! Soon their beautiful art will fill the walls and made the room even happier! This is the third year that I have held a small summer art camp at my home. Many of the lessons that I teach over the summer, I use the next year in the classroom. I love the opportunity to try out lessons for the first time and teach a few things that just aren't practical in a classroom setting.
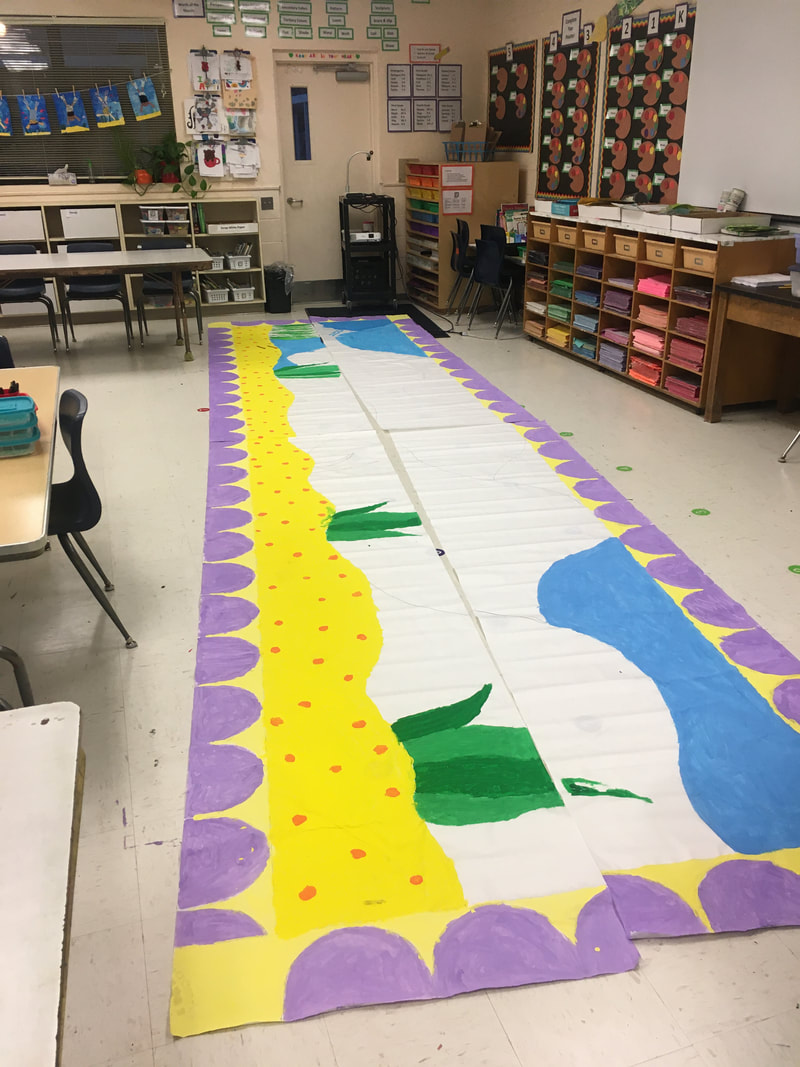
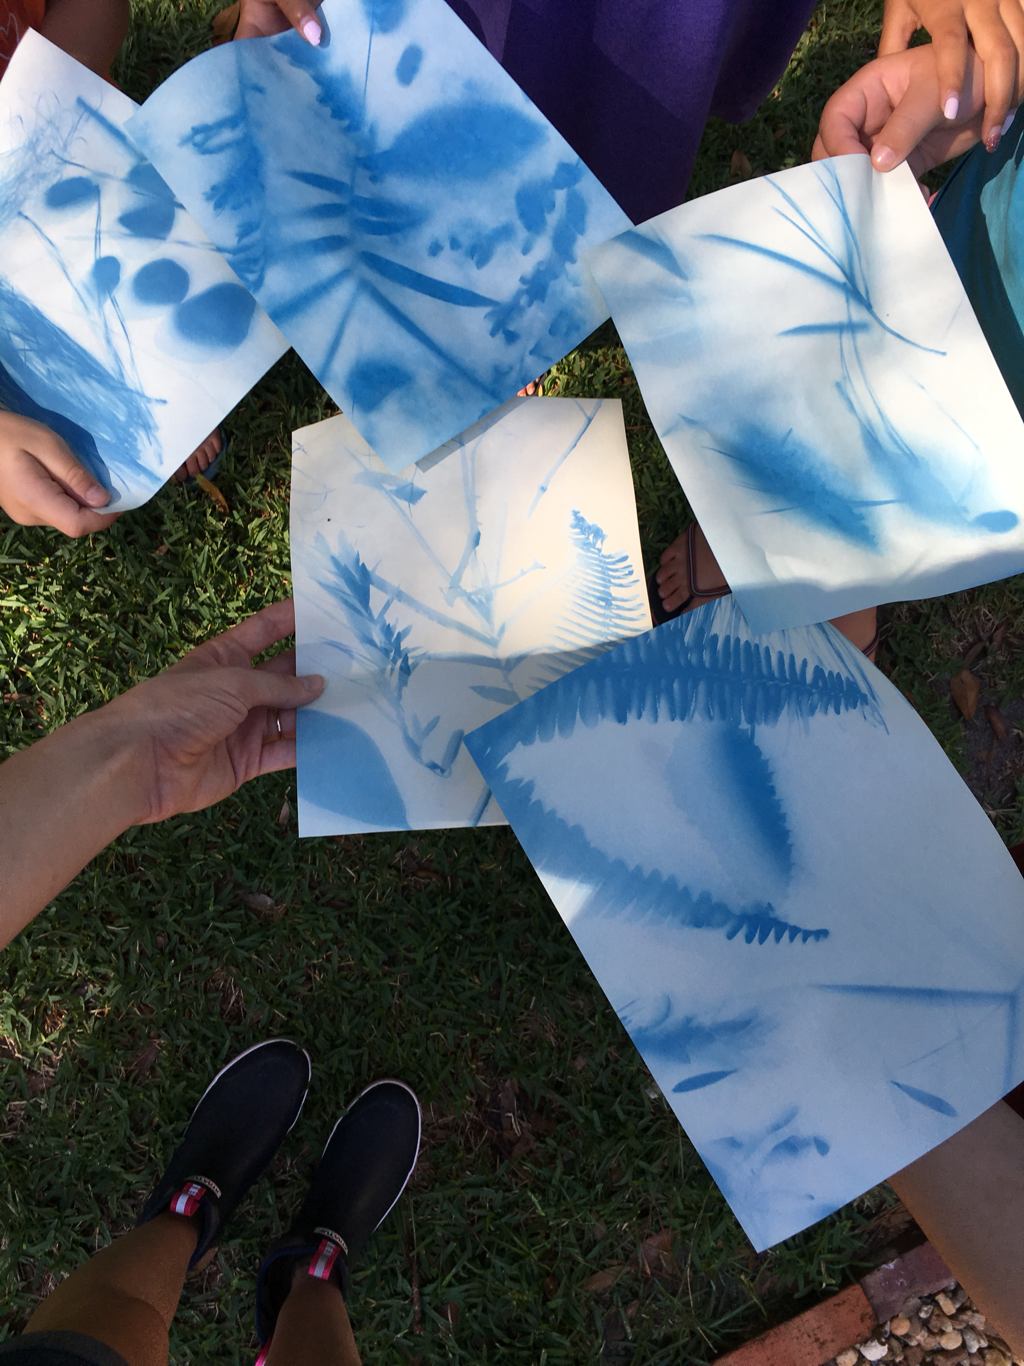
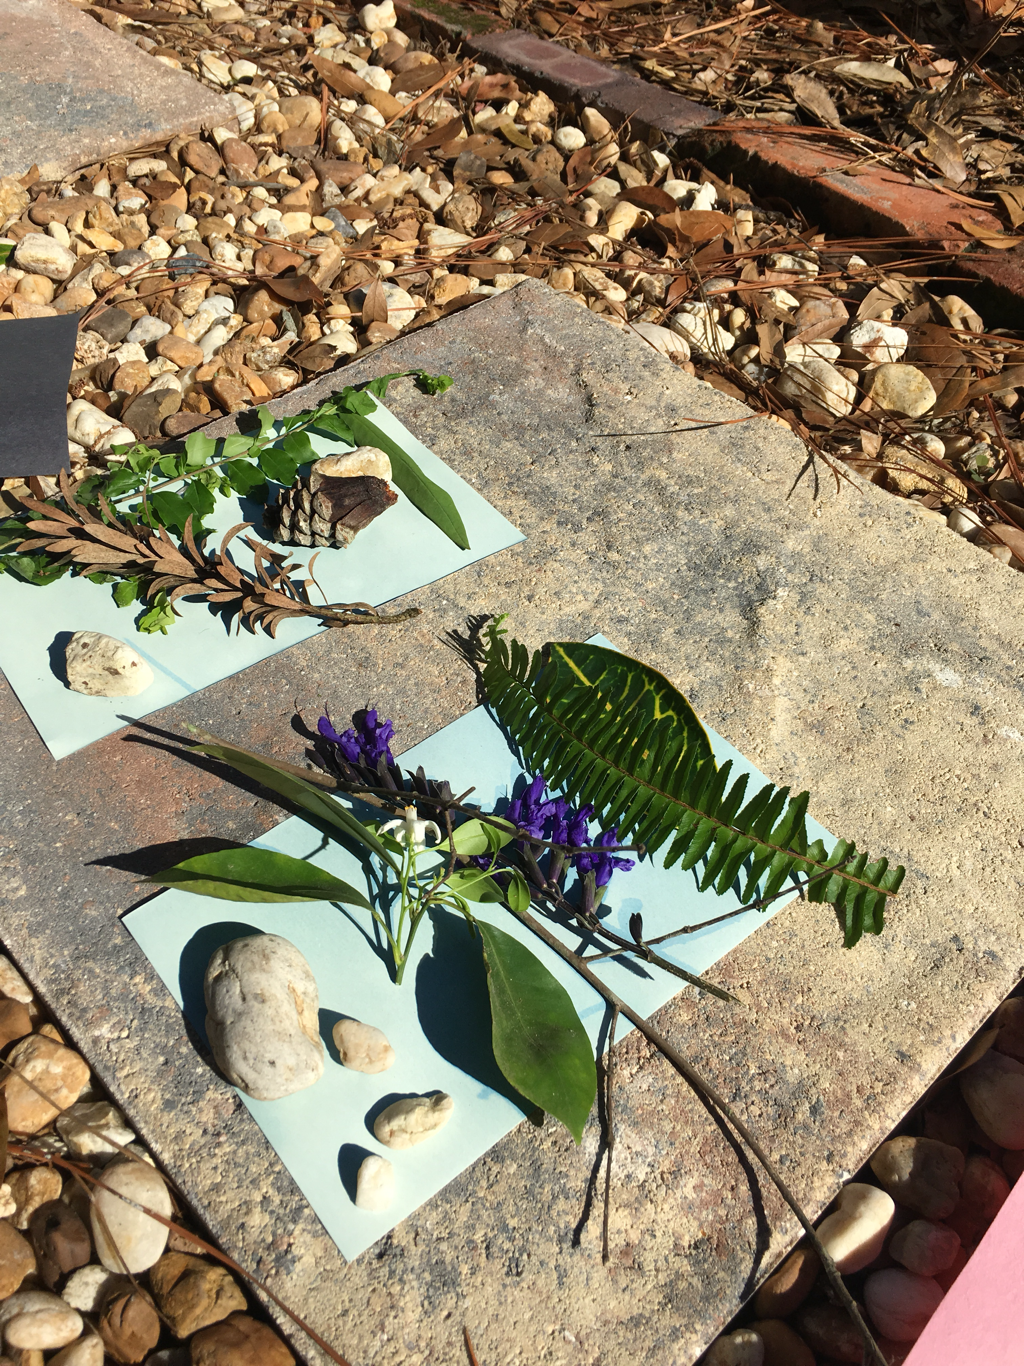
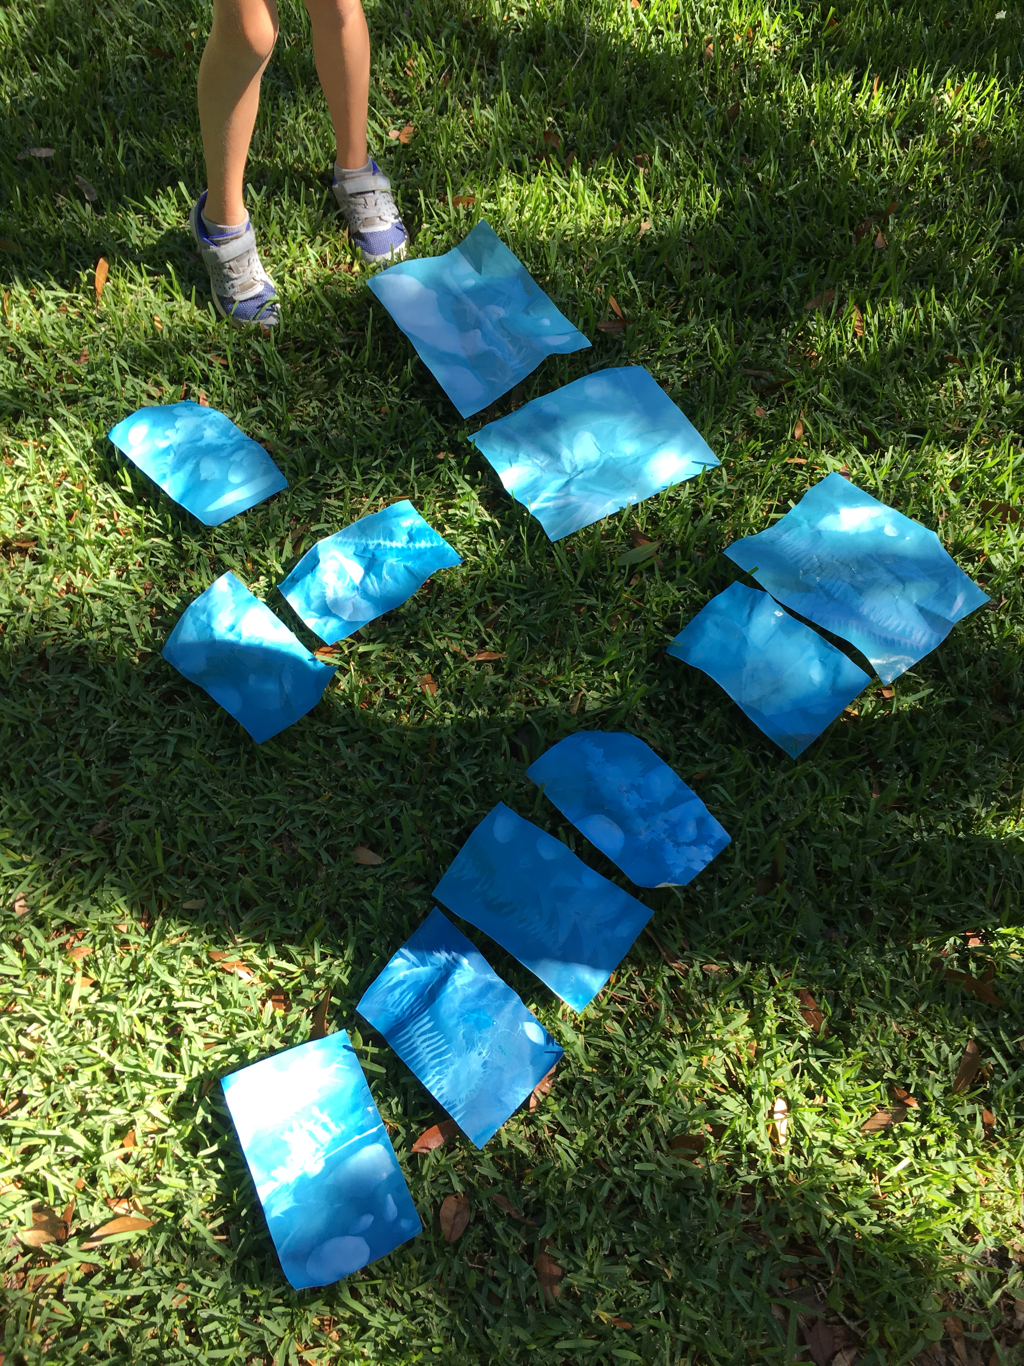
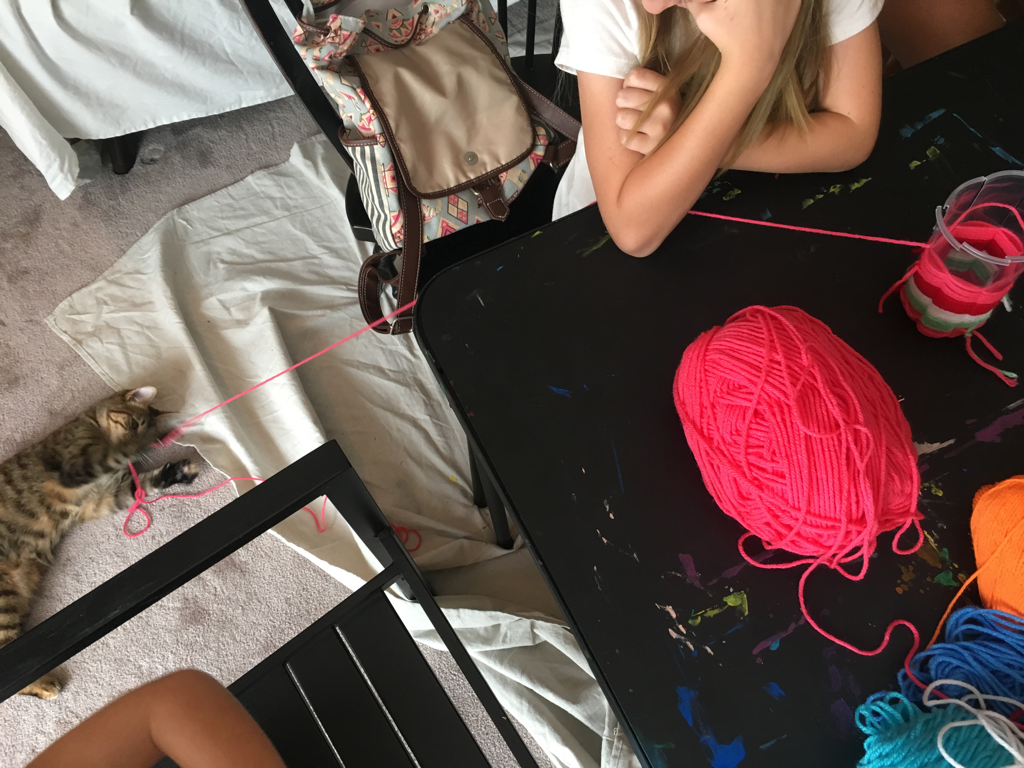
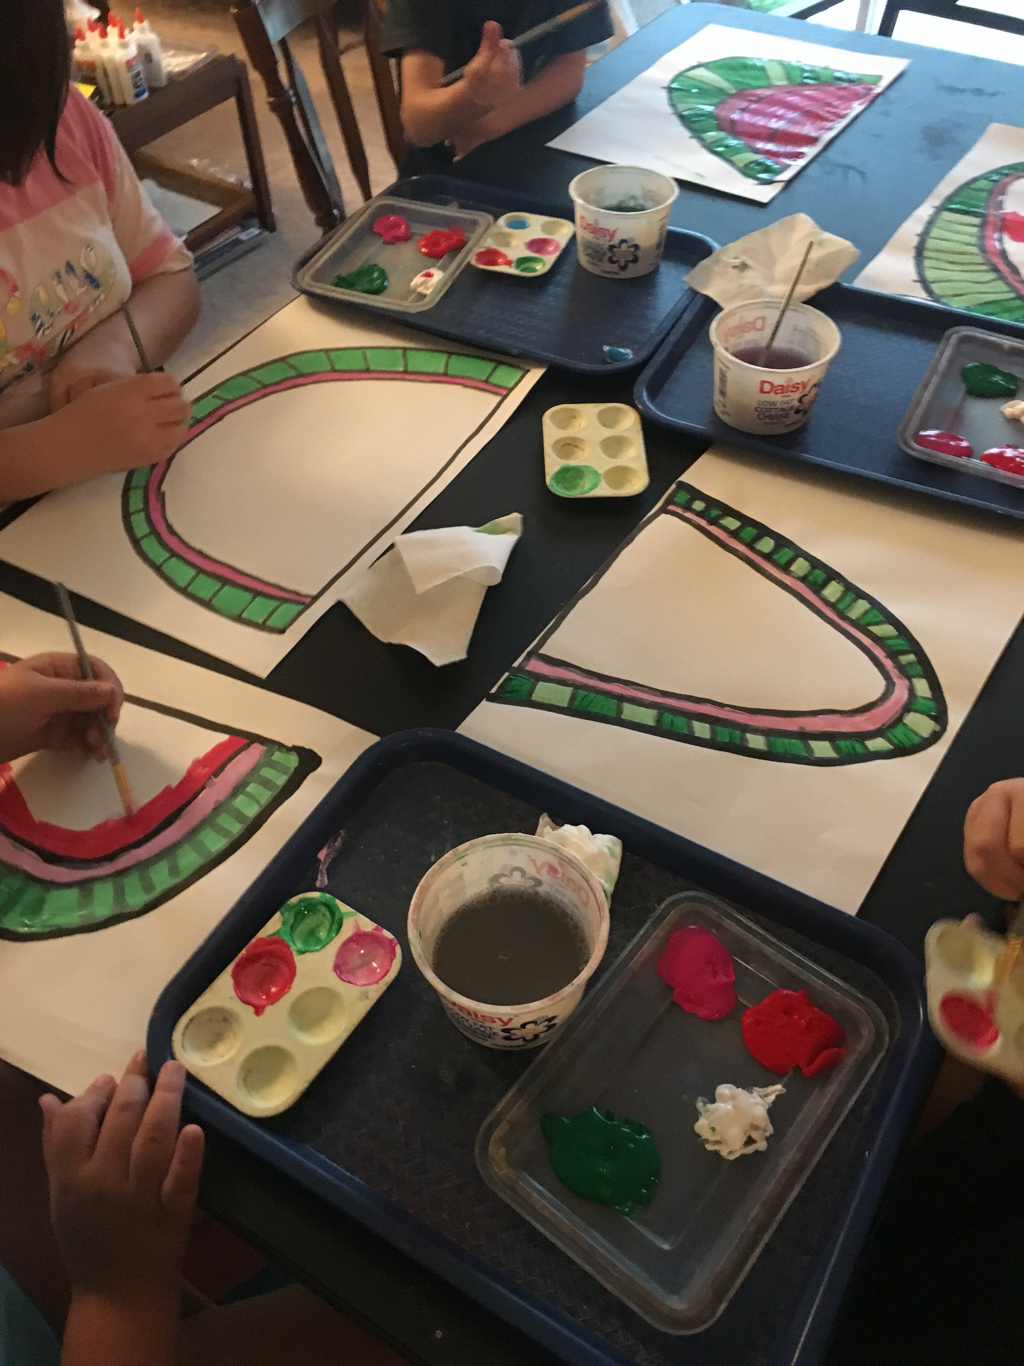
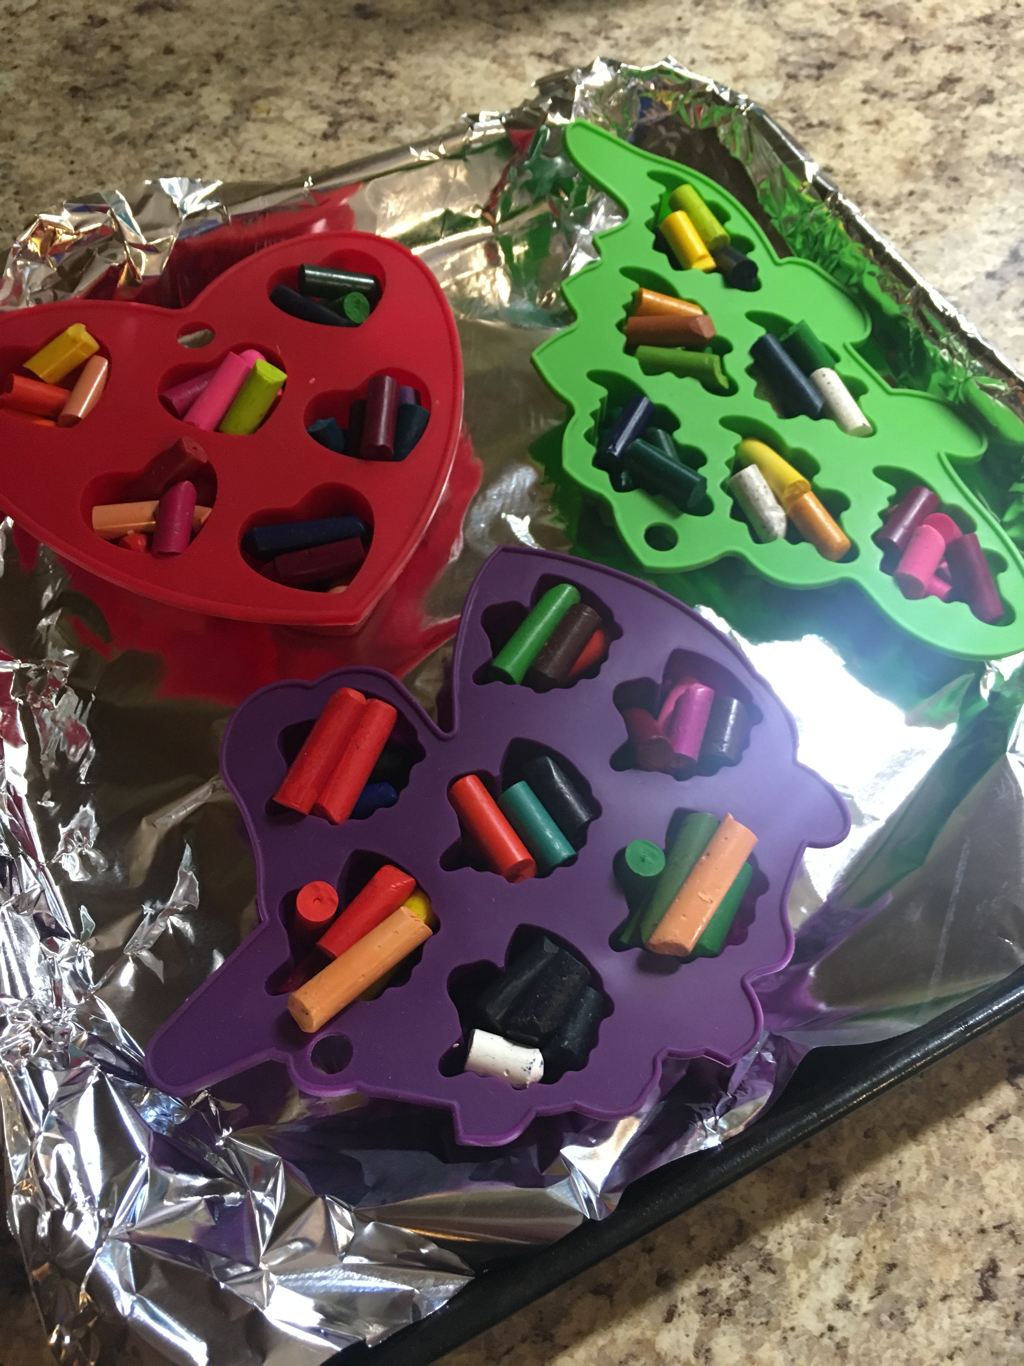
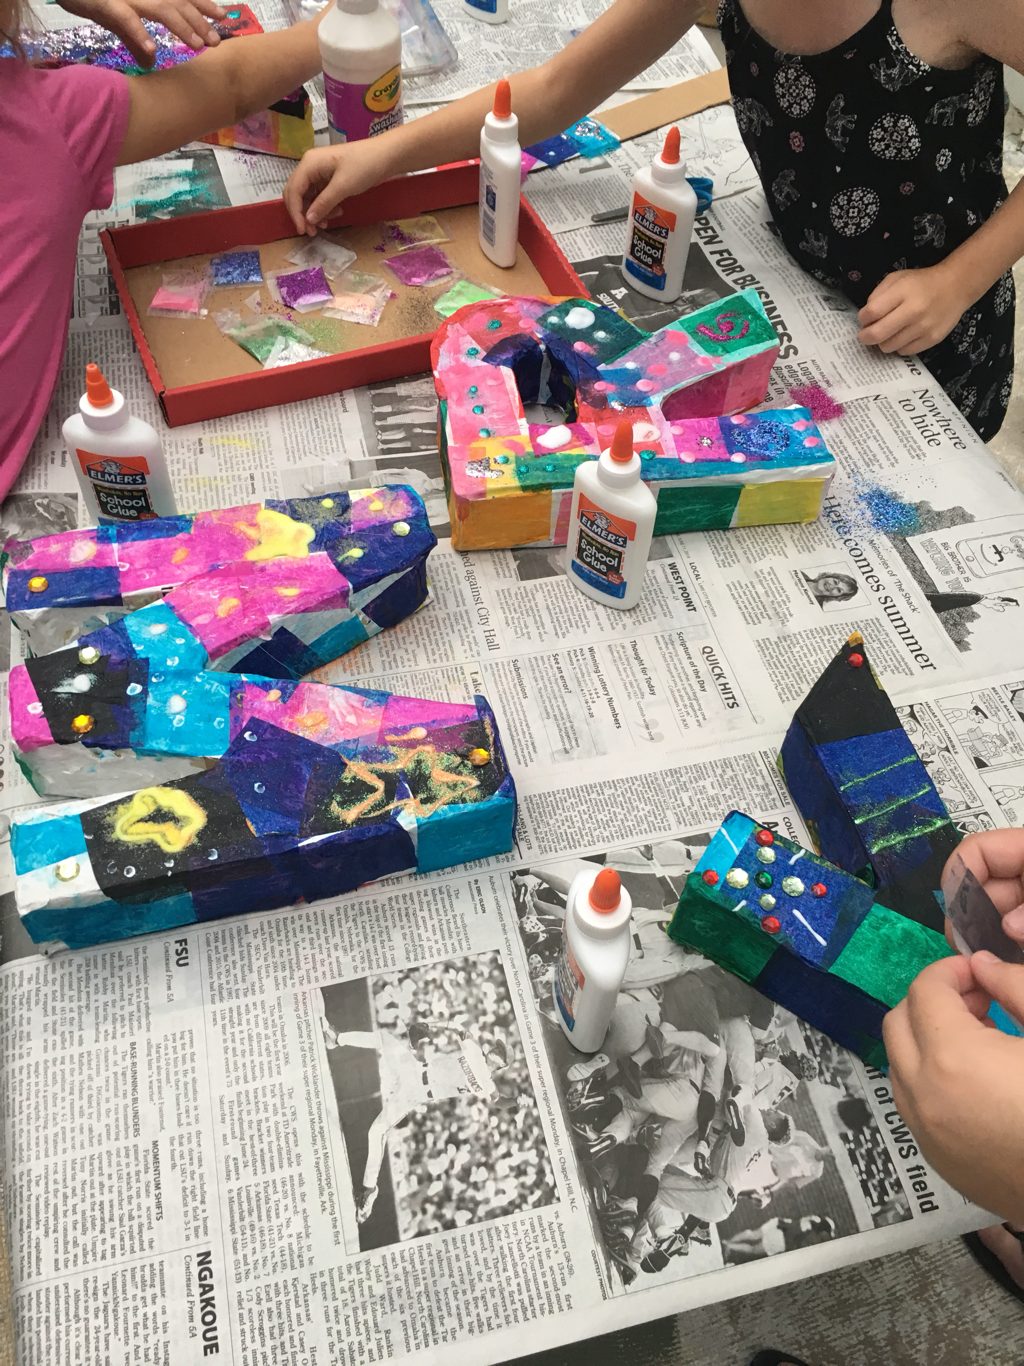
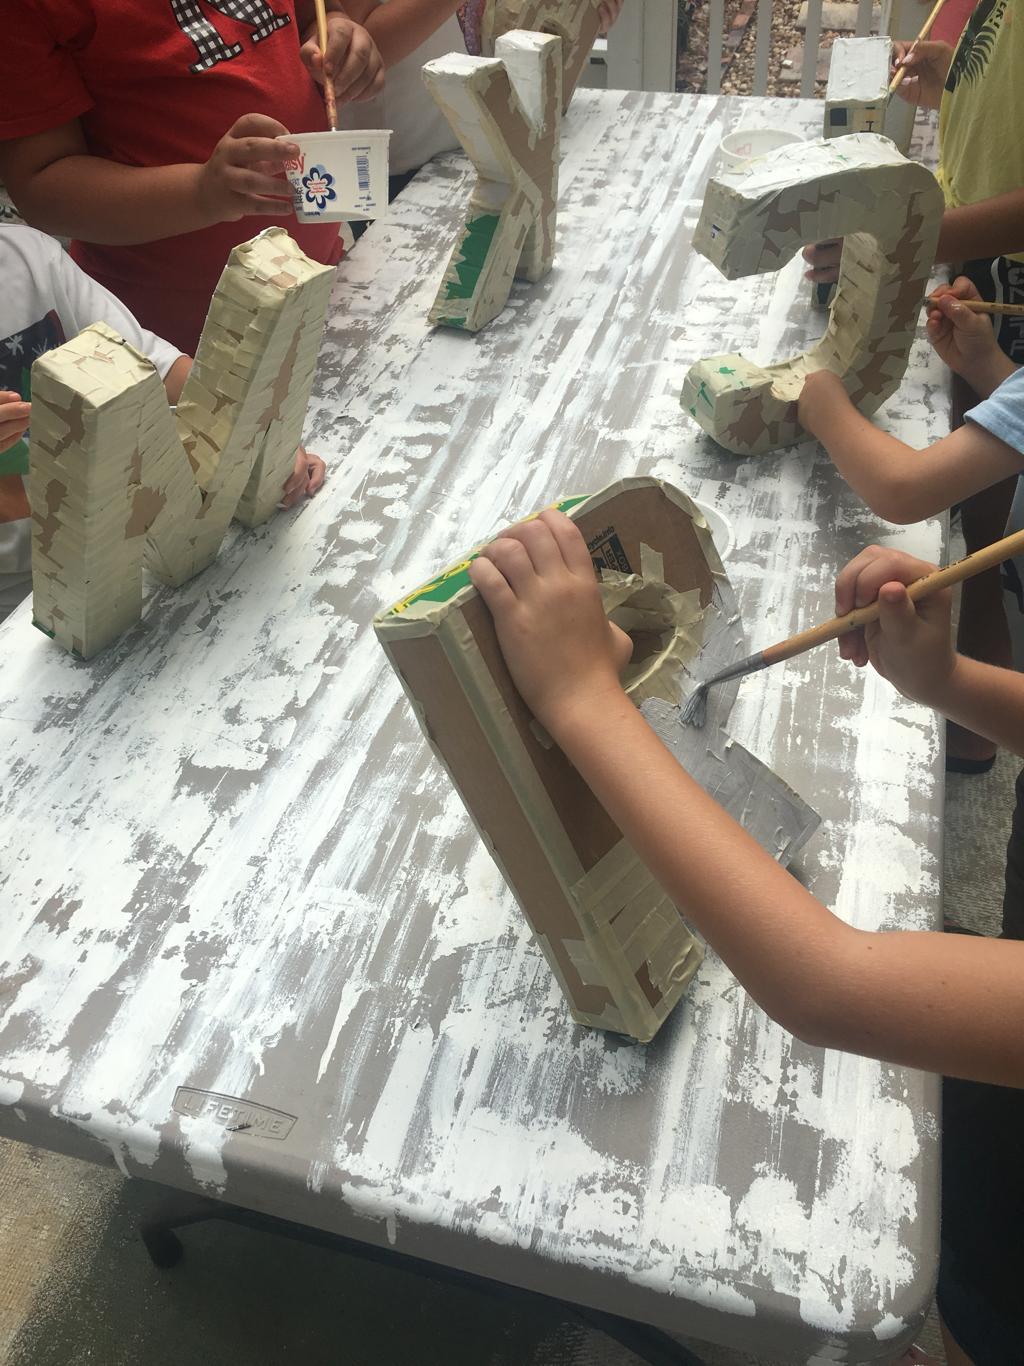
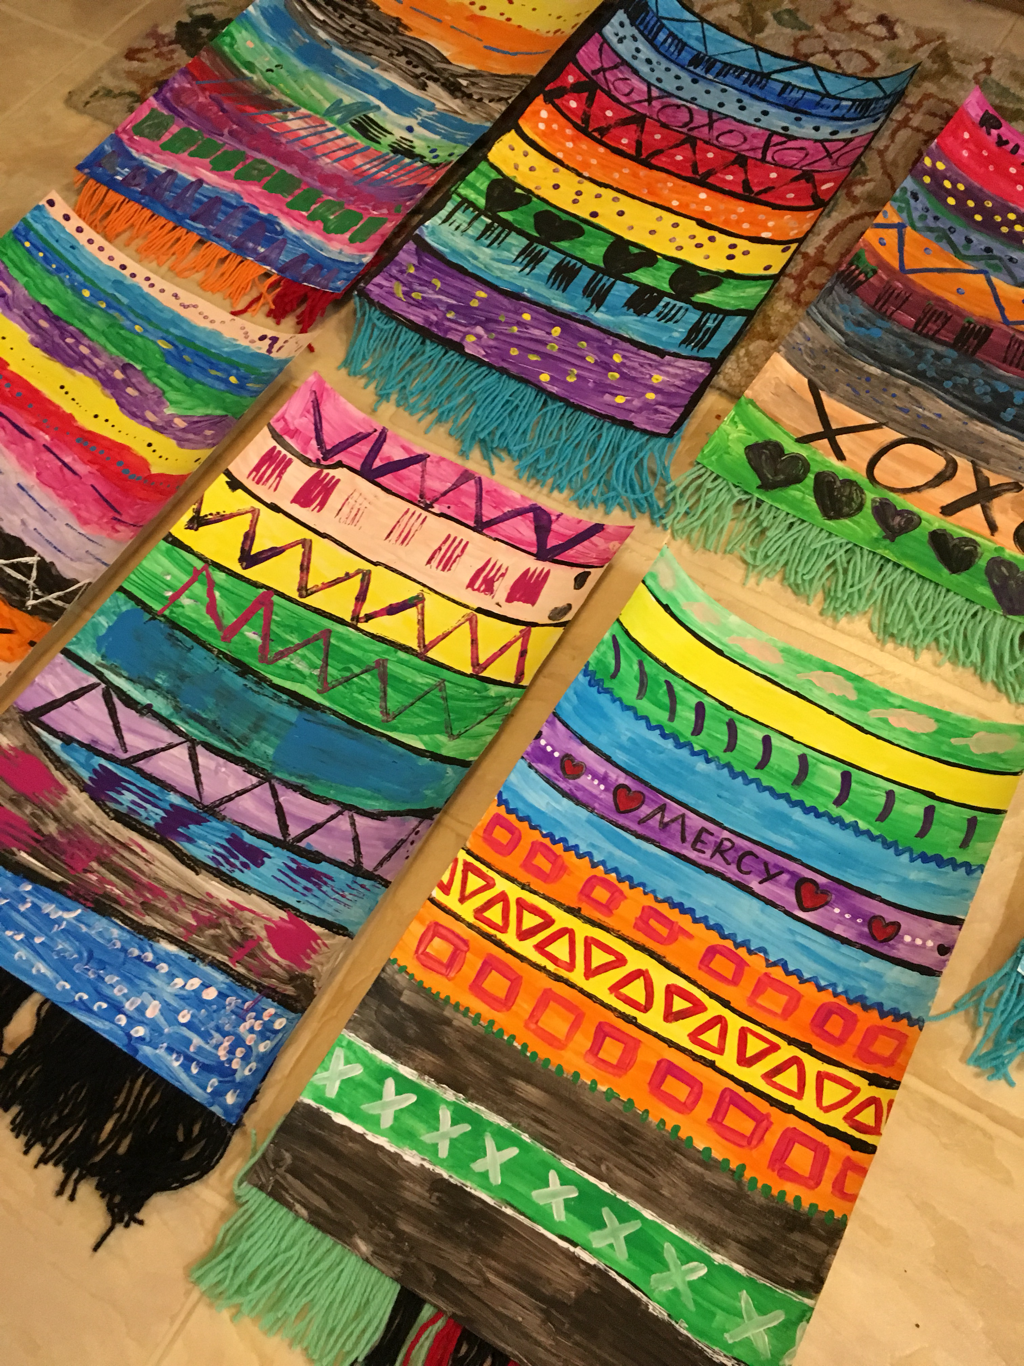
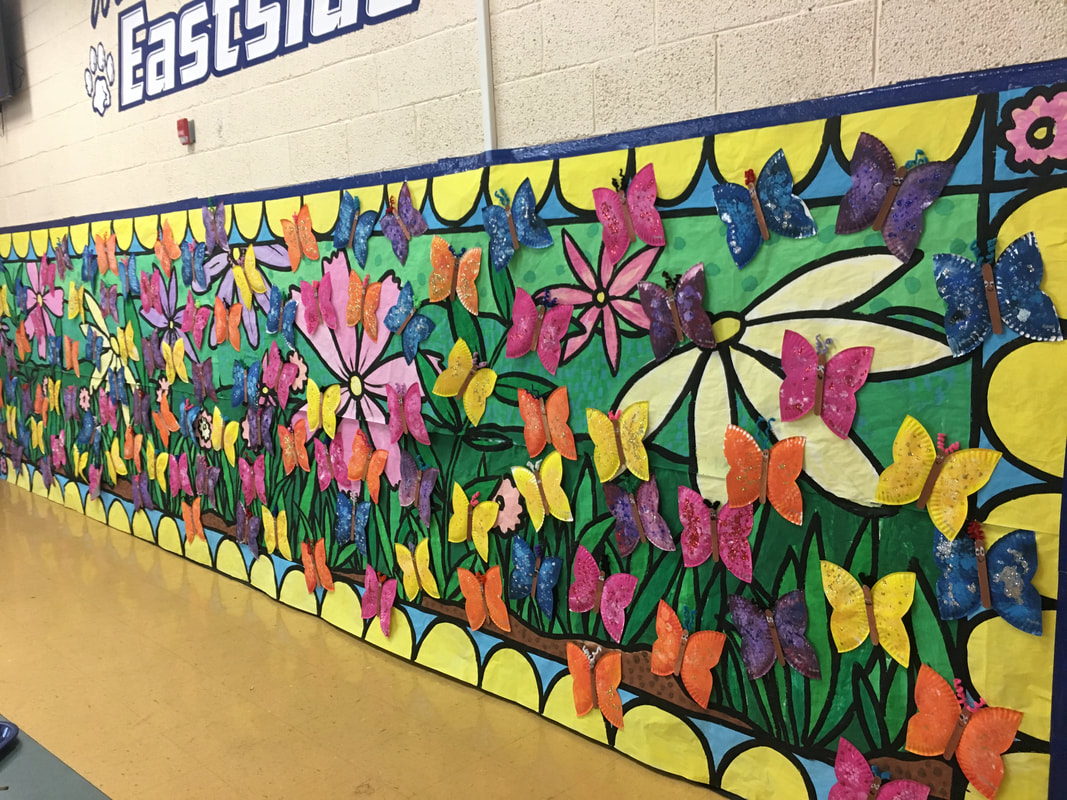
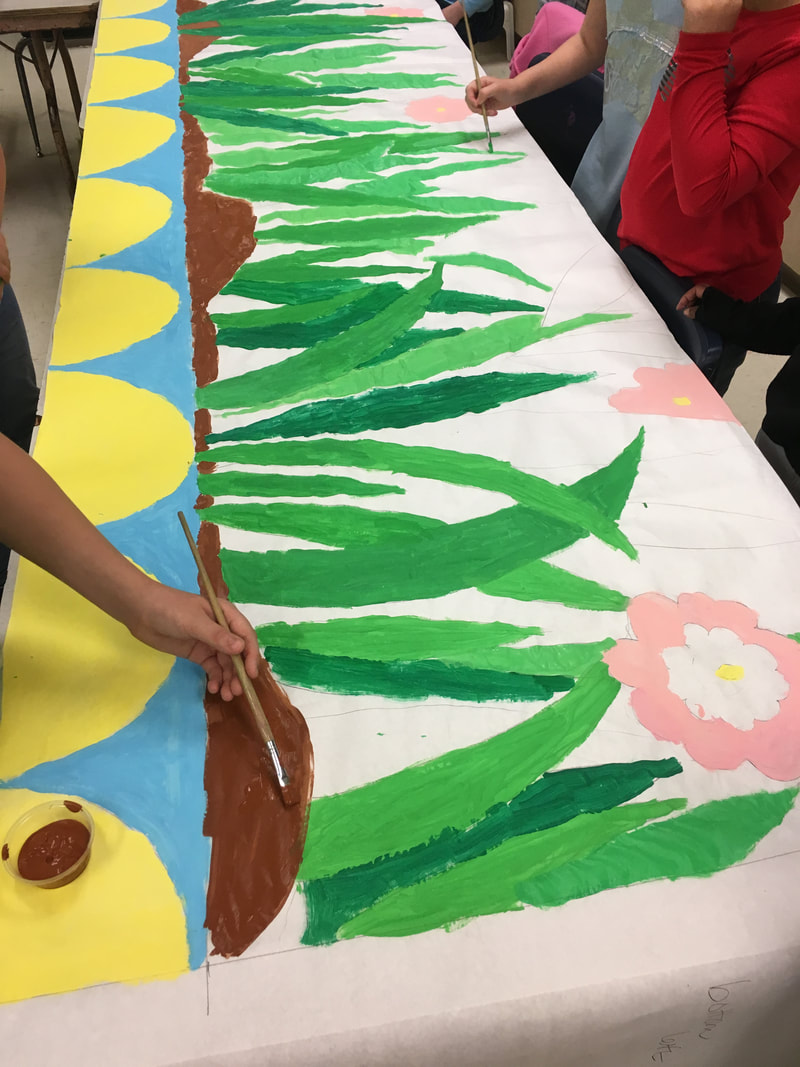
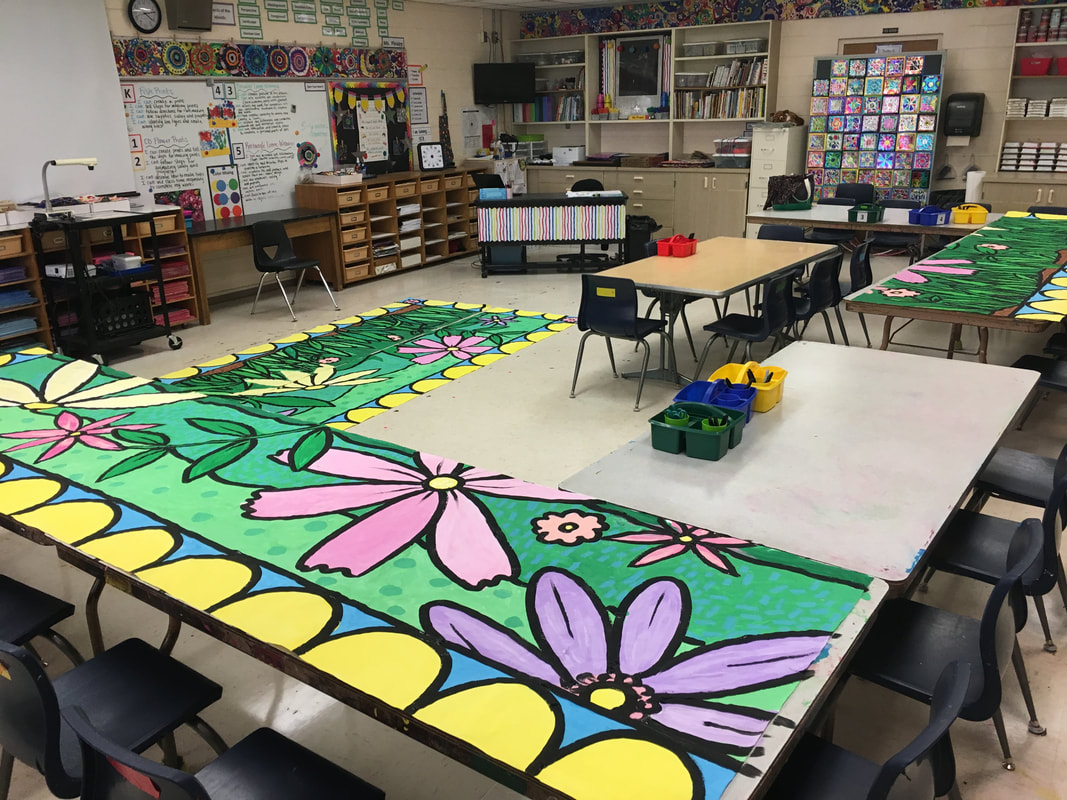
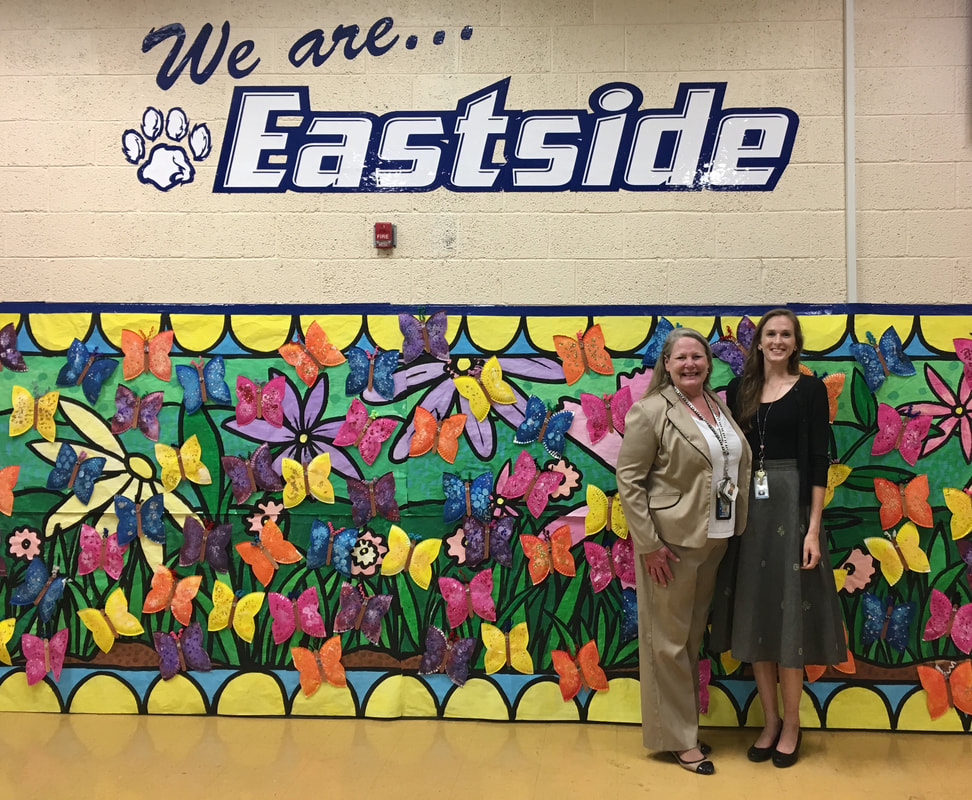
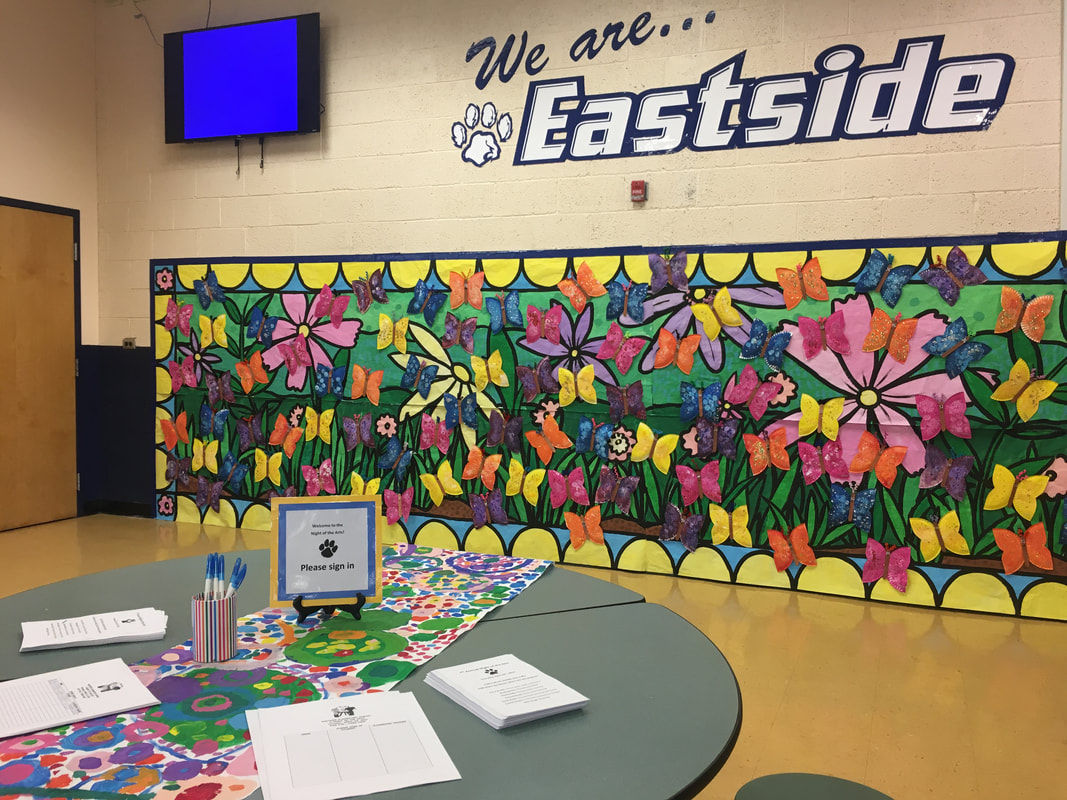
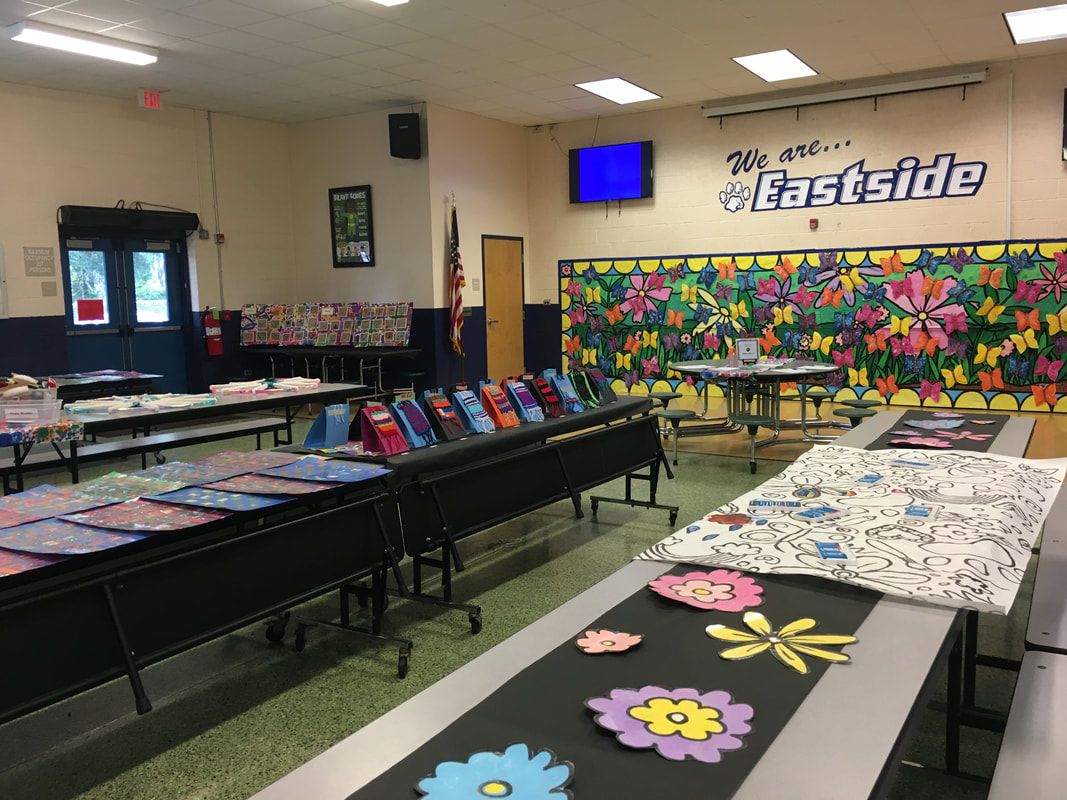
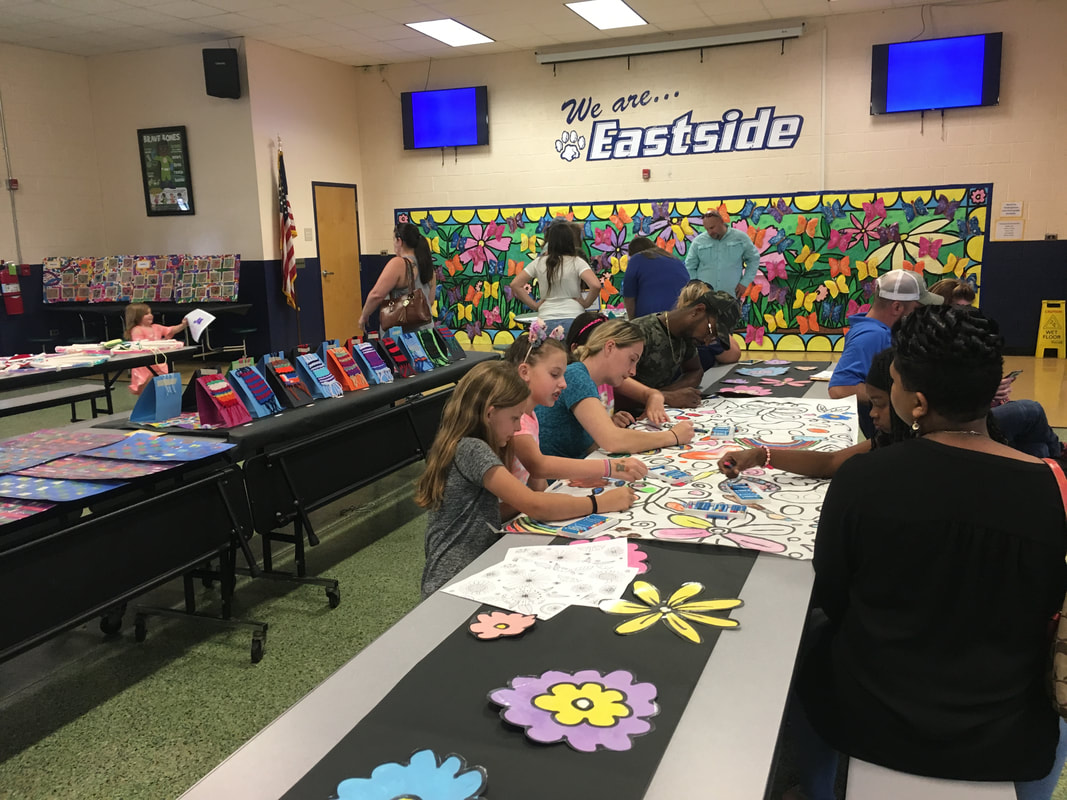
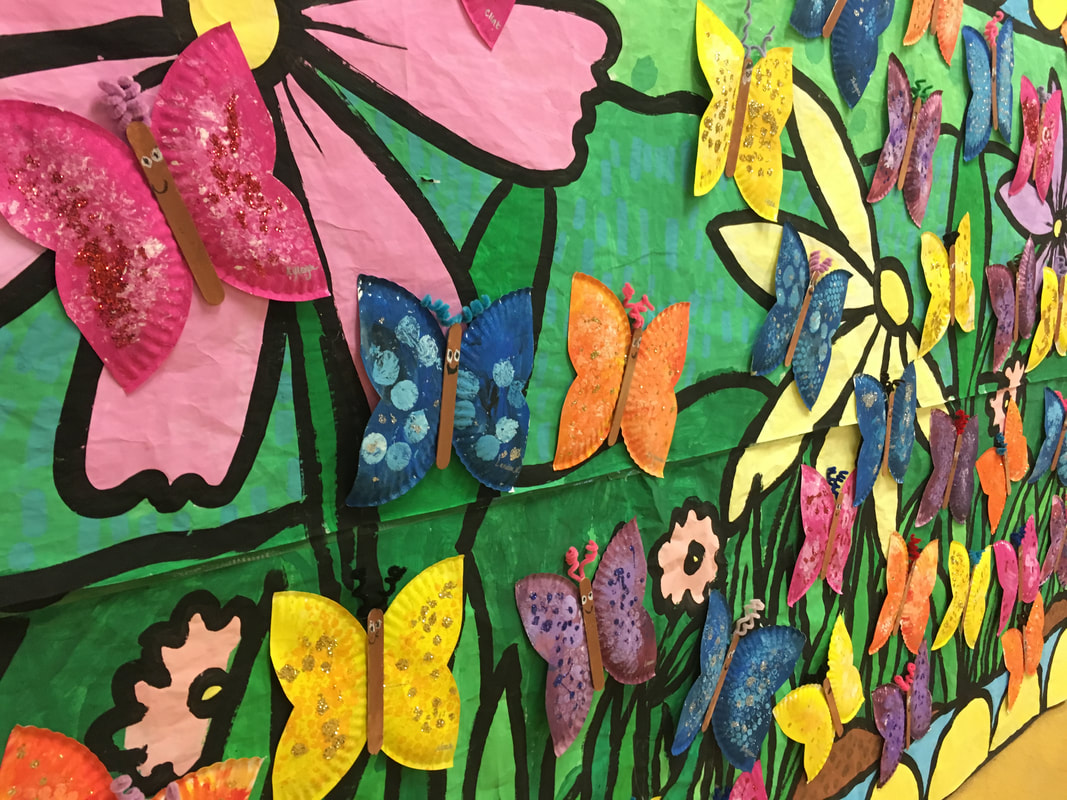
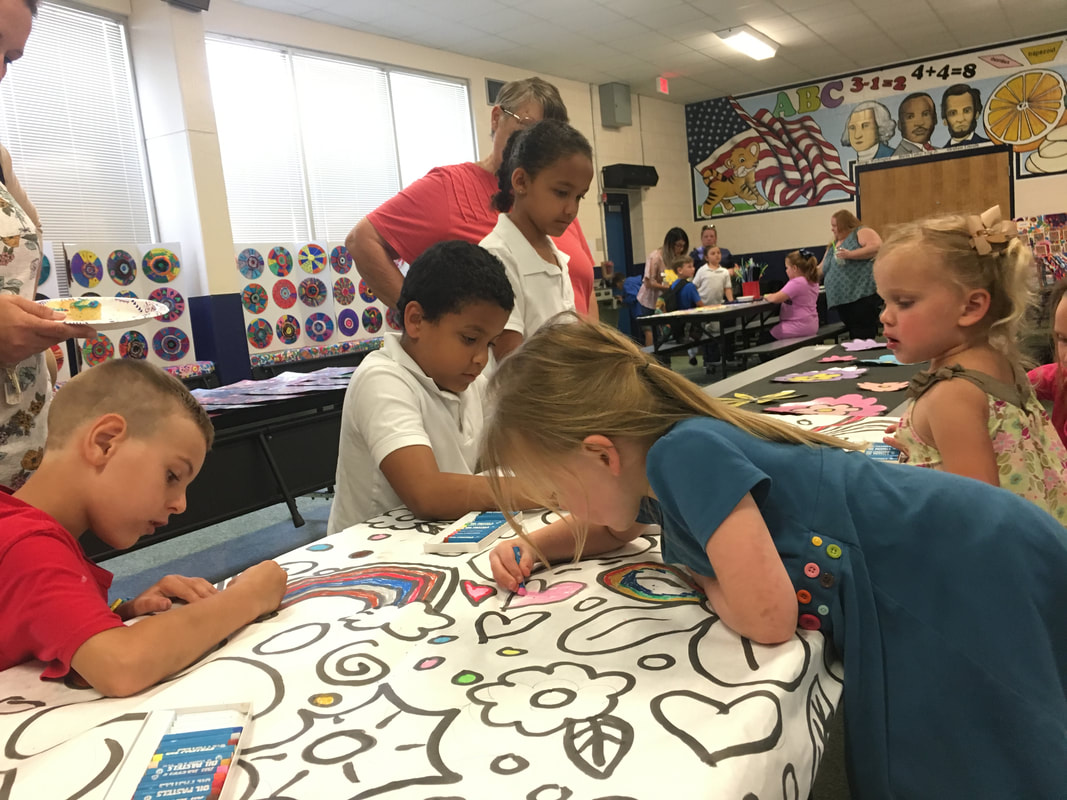
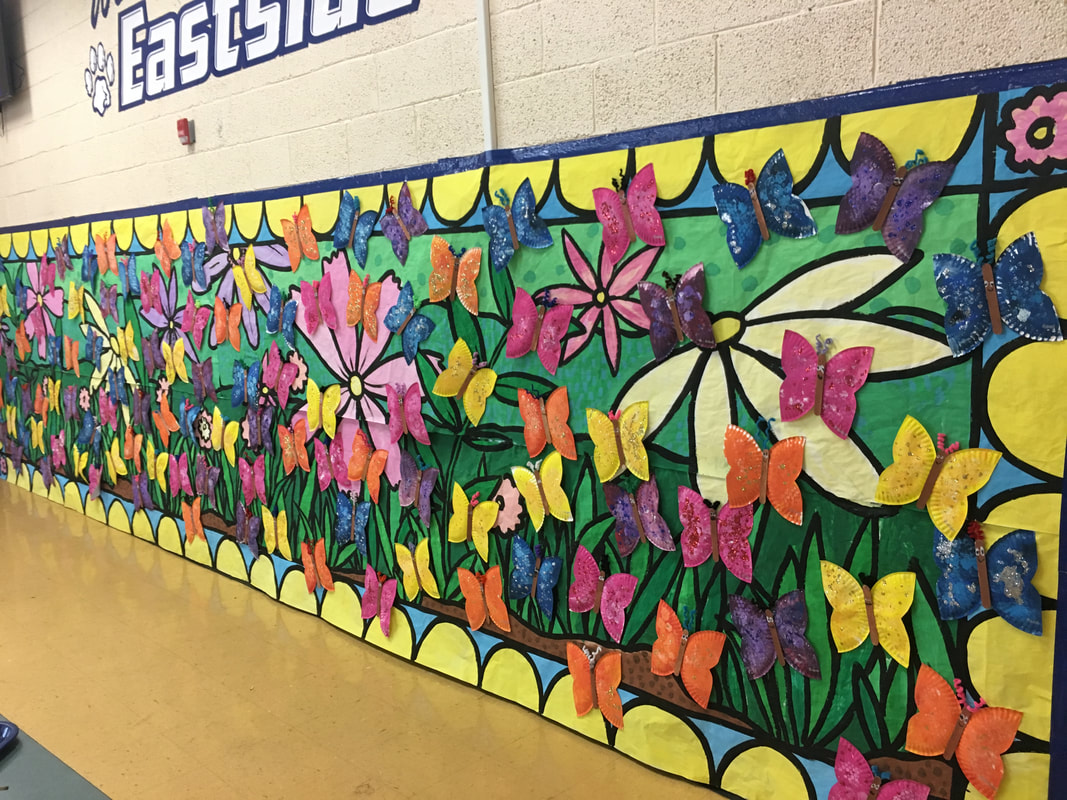
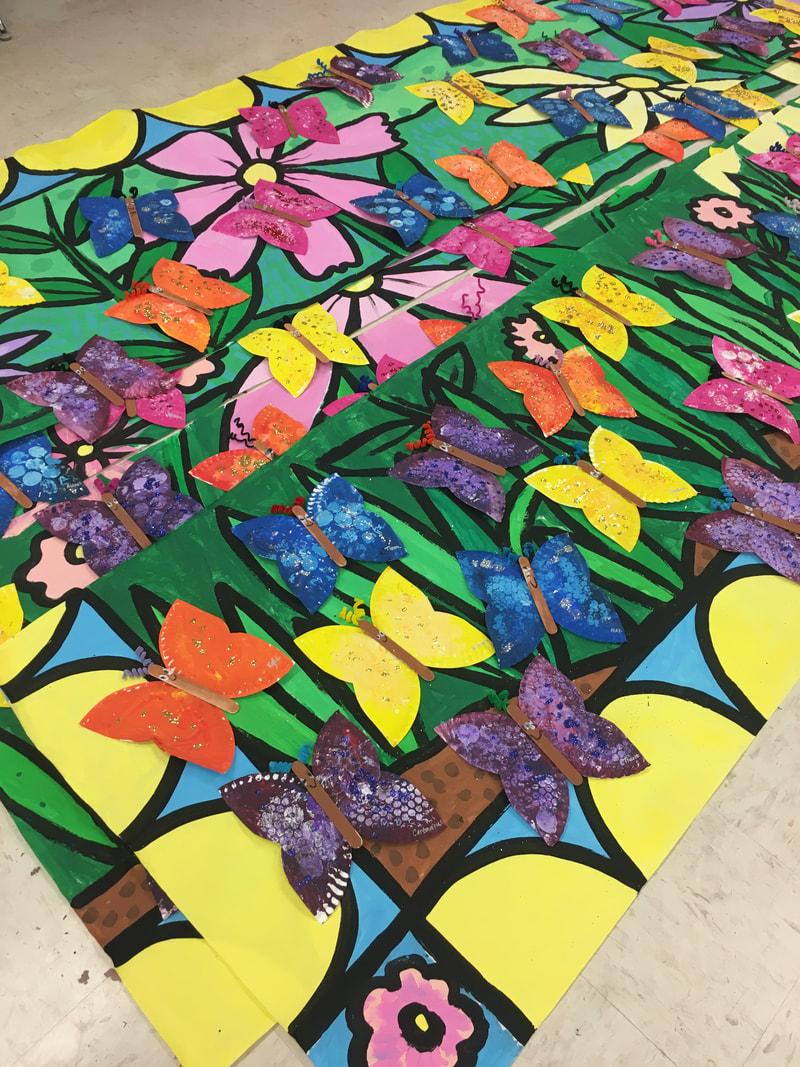
My art camp runs for just a week with morning sessions from 9:00-12:00. It's amazing how much we can accomplish in that small period of time! When we pack up portfolios at the end of the week, we have nearly a school year worth of artwork! This summer we made: watermelon painting, pattern painting tapestry, cup weaving, modeling clay sculptures, sketchbooks, new crayon shapes, cyanotypes, and 3D letter sculptures. Our Night of the Arts mural has become a tradition at my school. Each year, third grade creates the background and kindergarten adds an element to it. This year, kindergarten created butterflies and third grade made a springtime garden. The mural is 6ft tall and 24 ft long and made up of four pieces of white butcher paper. I draw out the design with pencil beforehand and then third grade works to paint inside the lines. We usually work on two to three pieces at a time and spread it out on the floor and tables. Some classes can even work together on all four pieces, and they love to be able to see all of it. I complete the mural by painting the black lines and then hot gluing the butterflies. This whole process takes about three weeks.
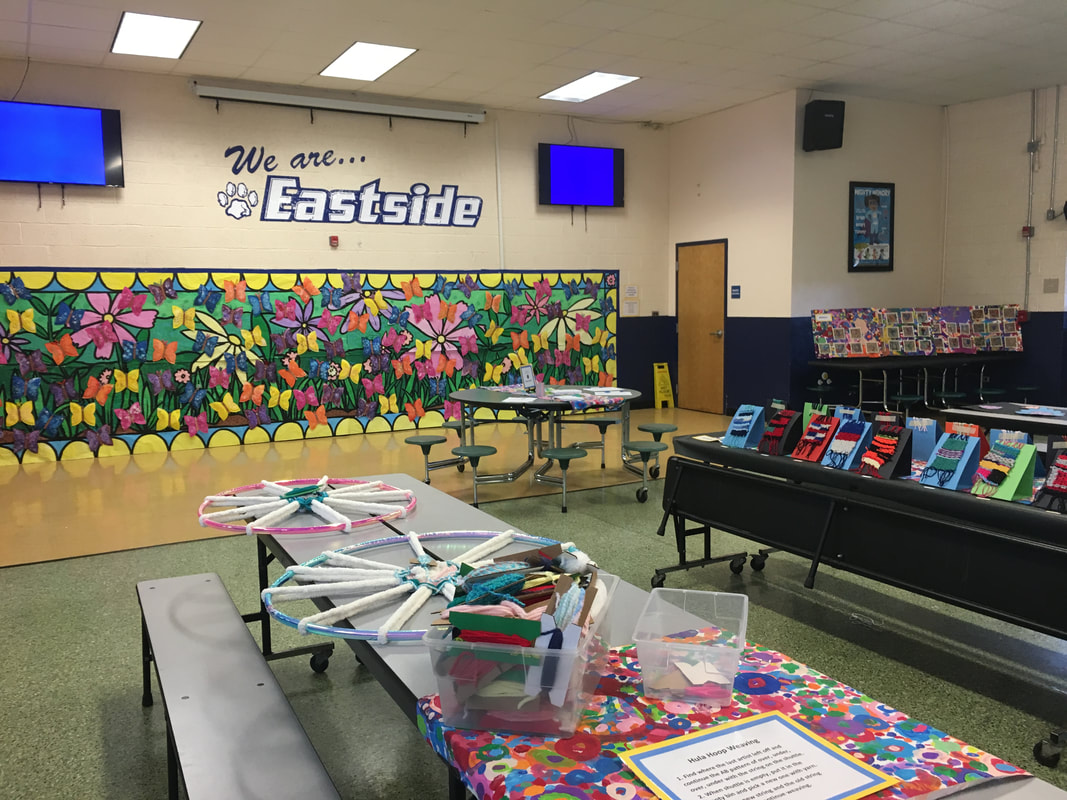
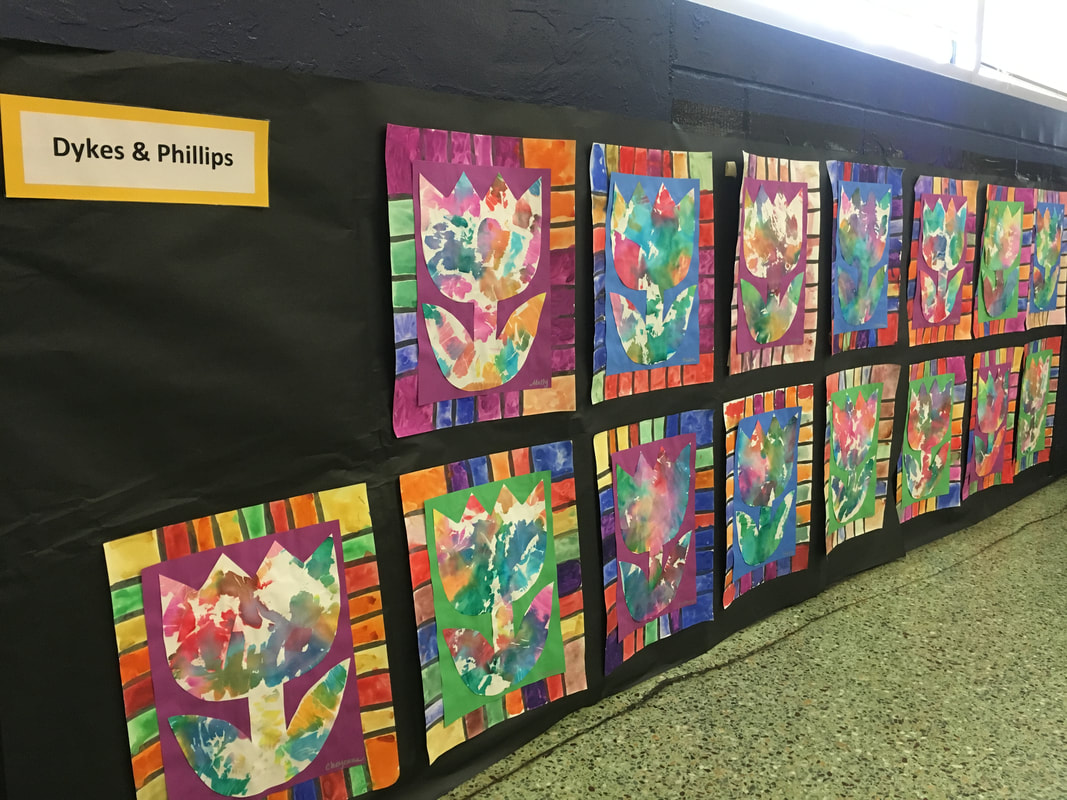
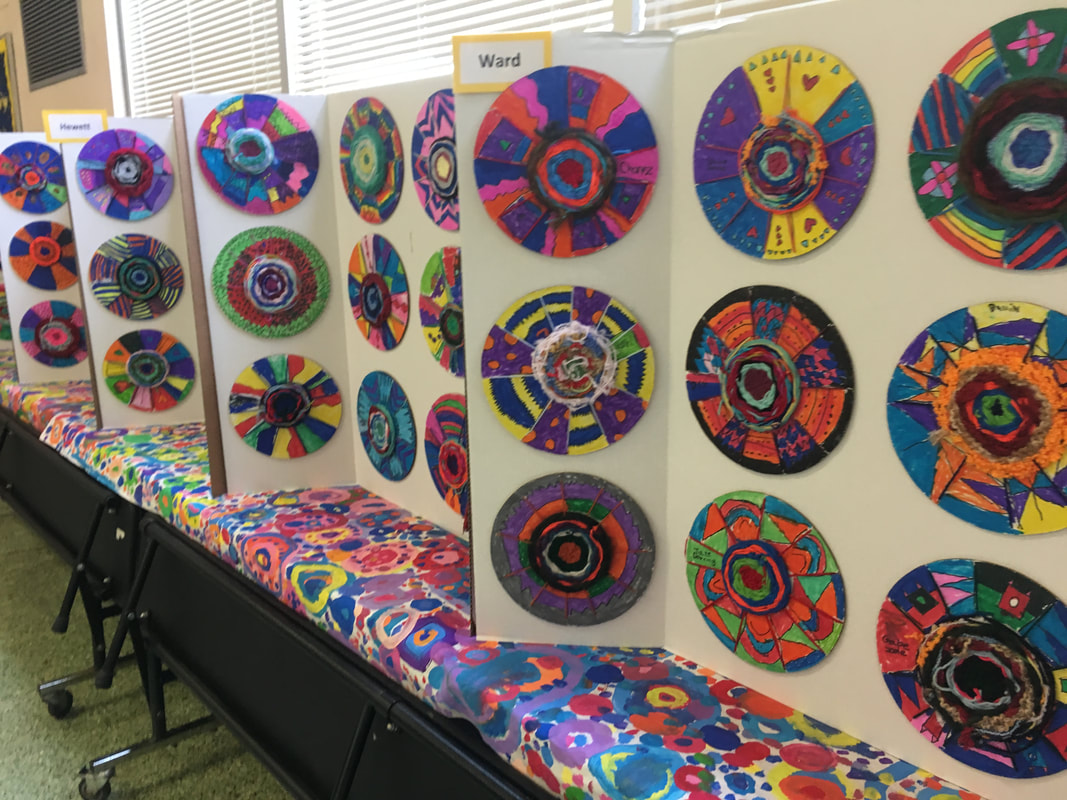
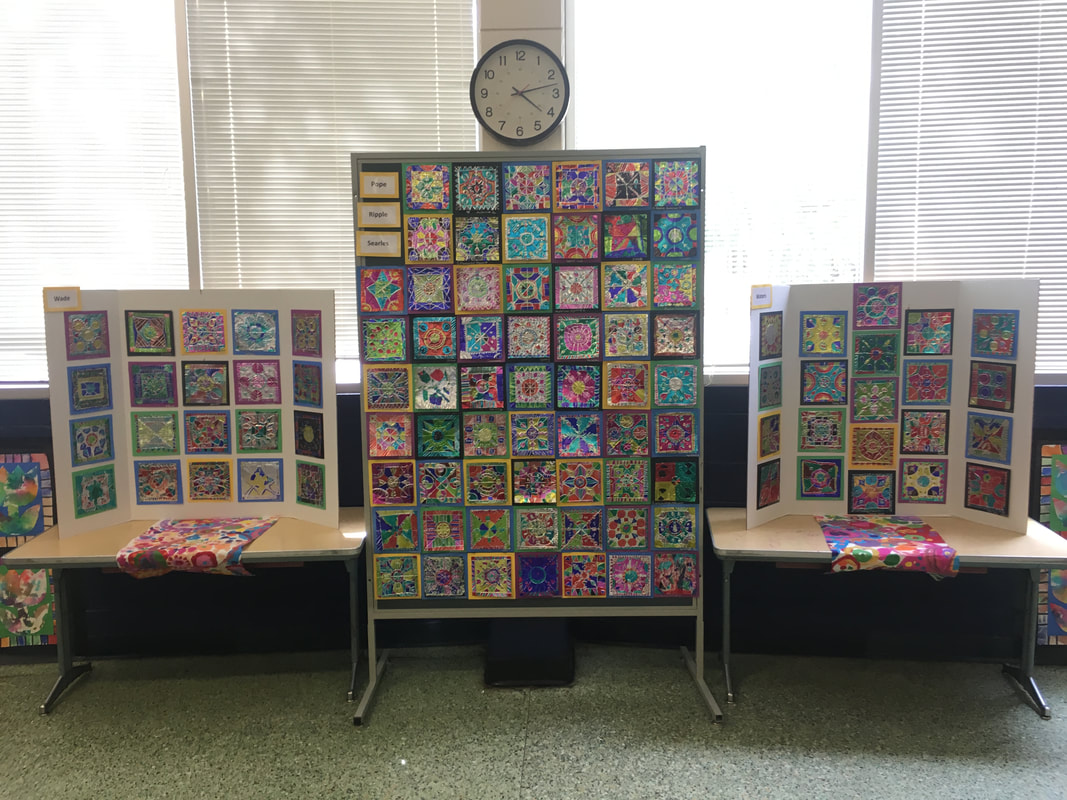
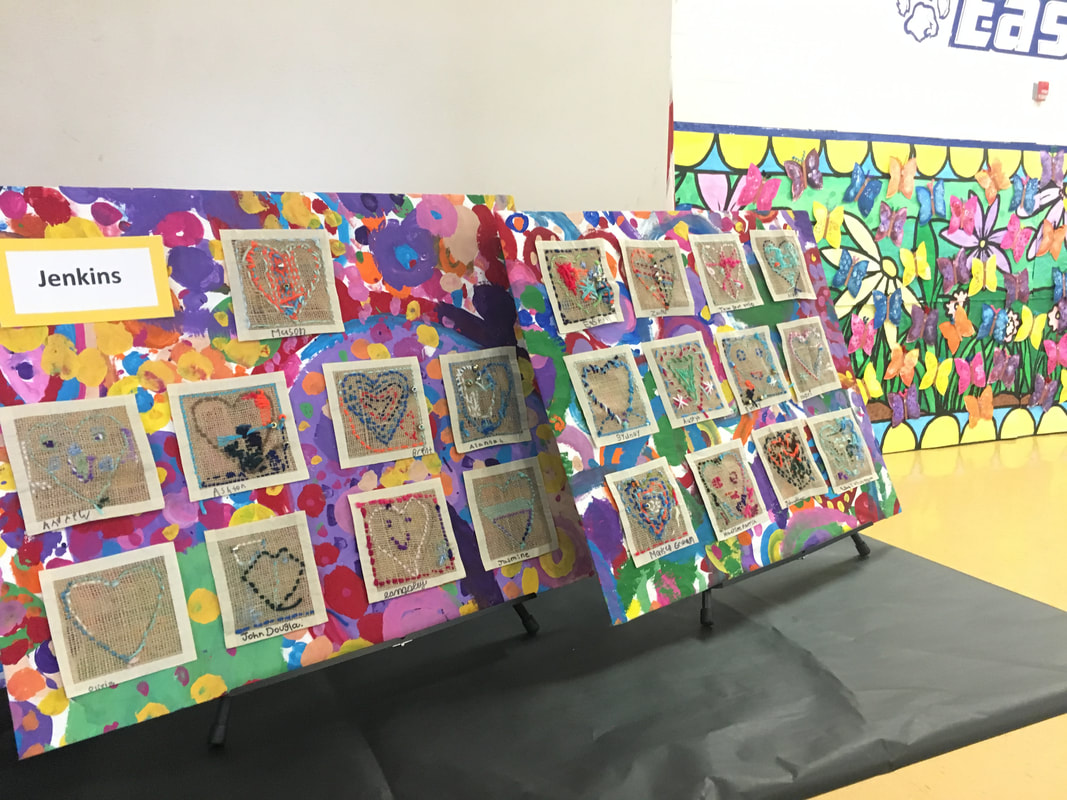
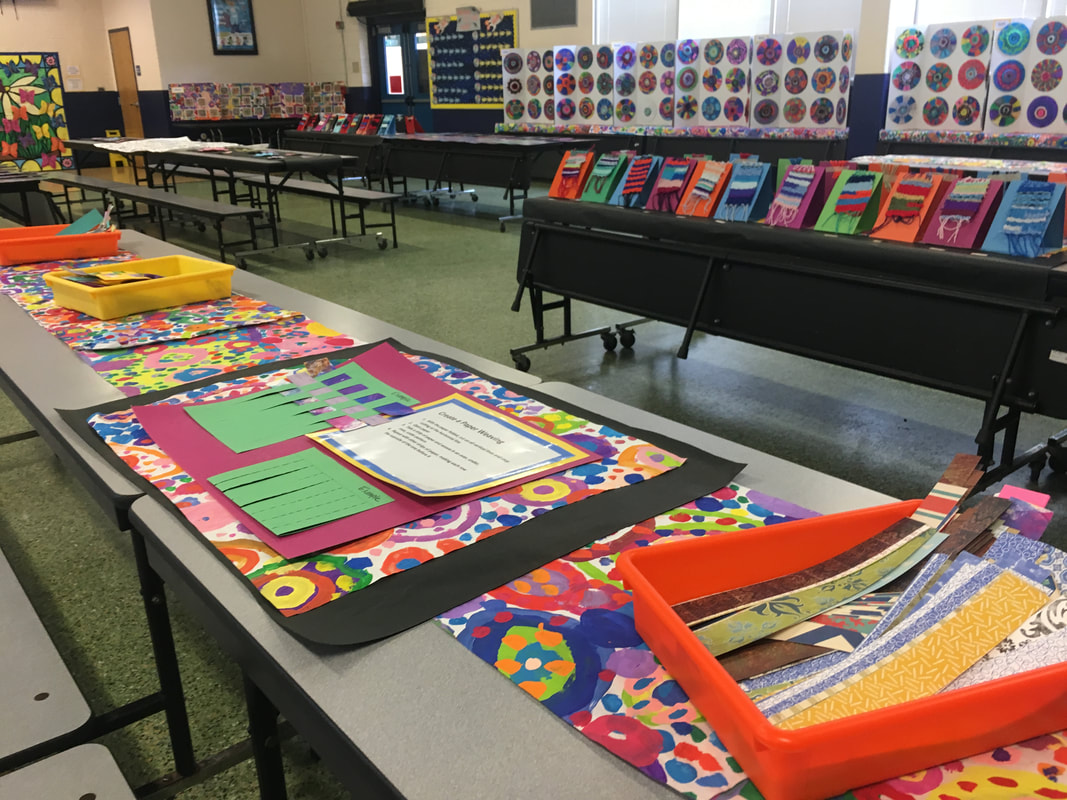
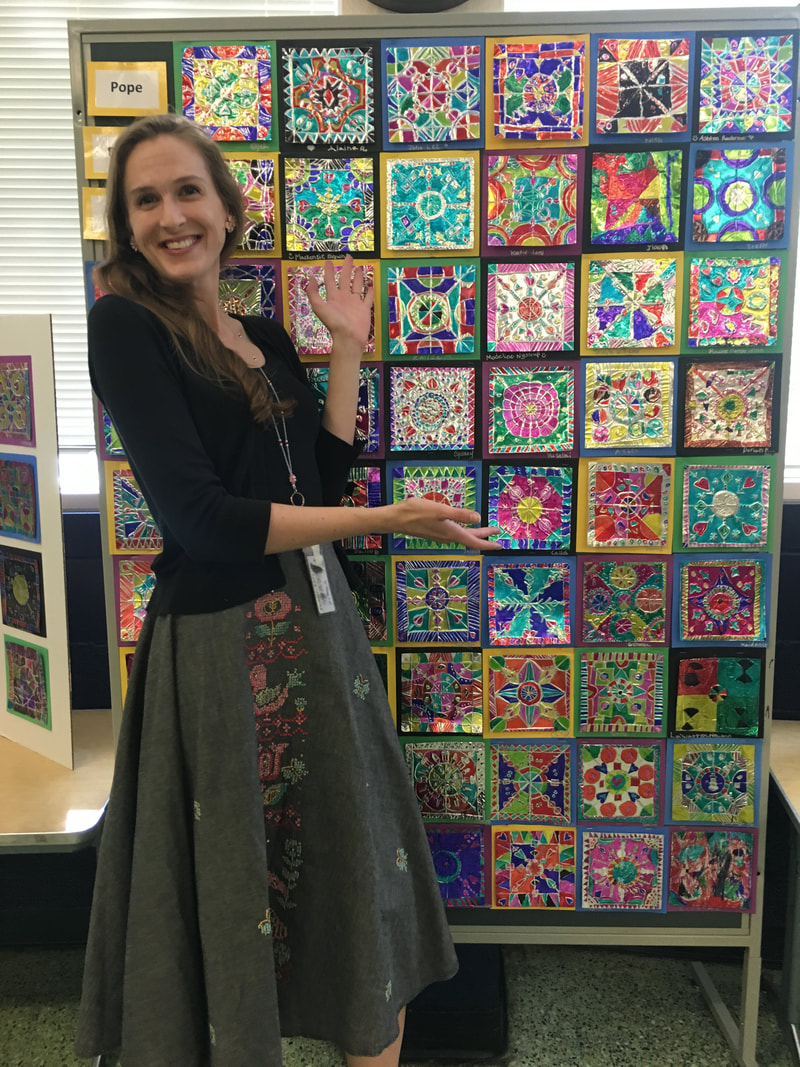
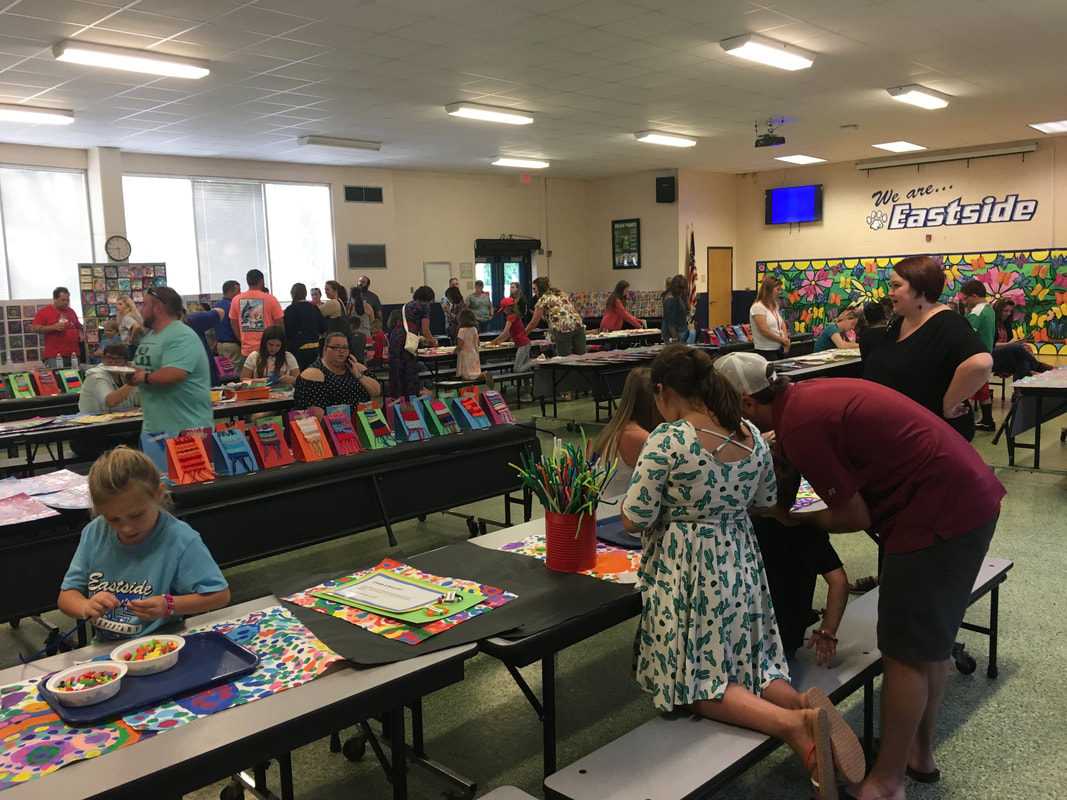
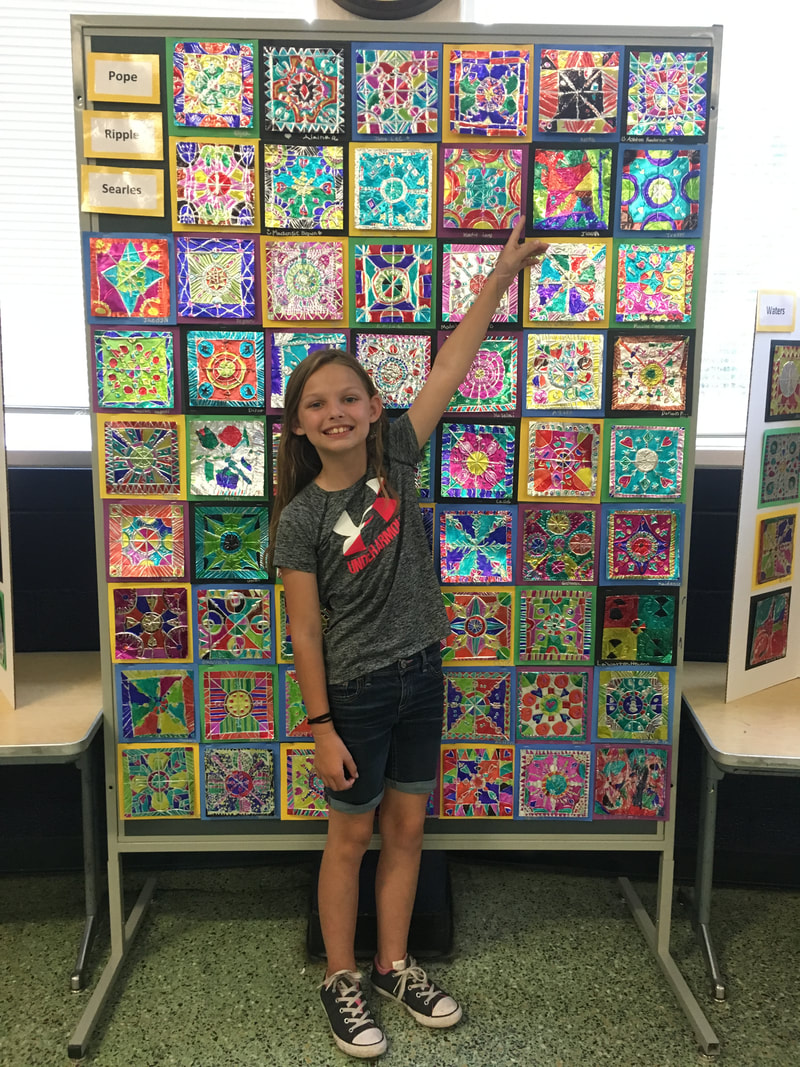
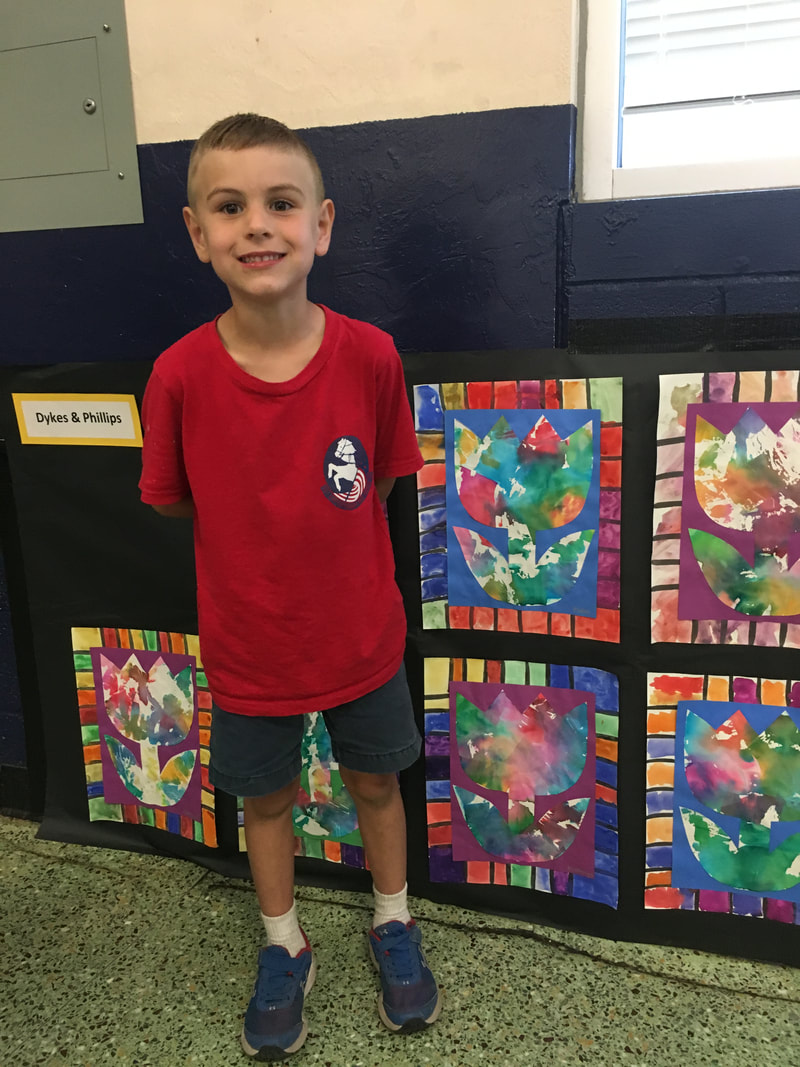
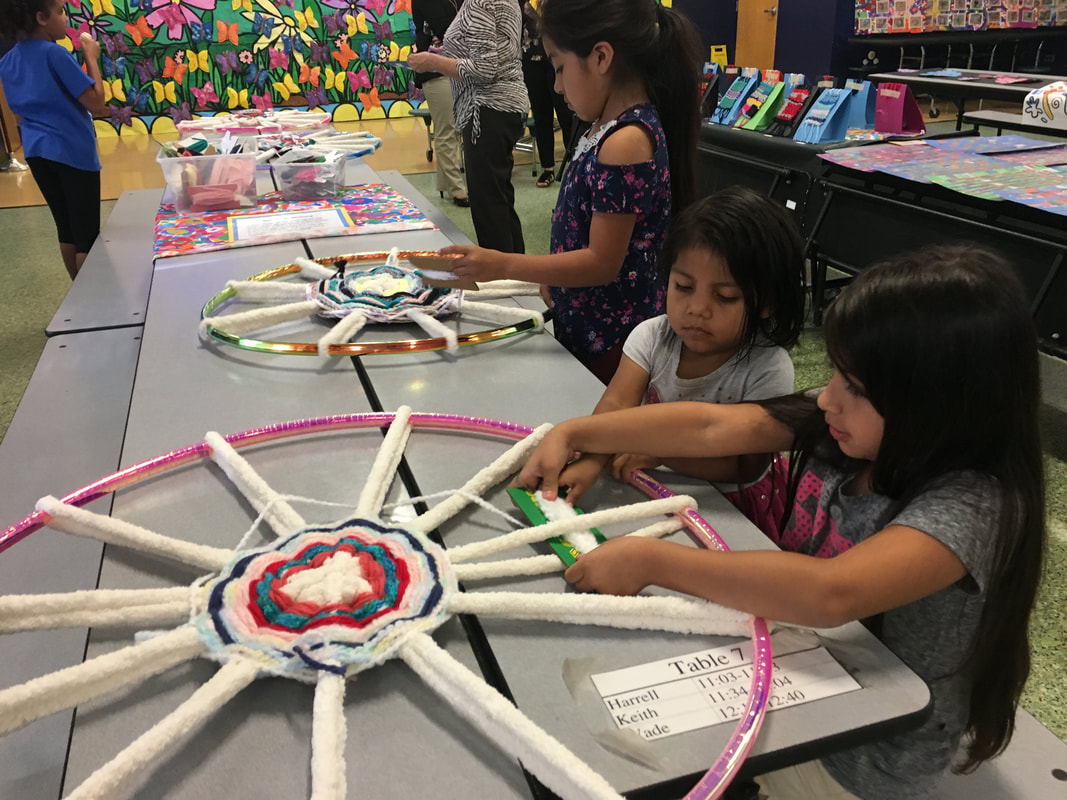
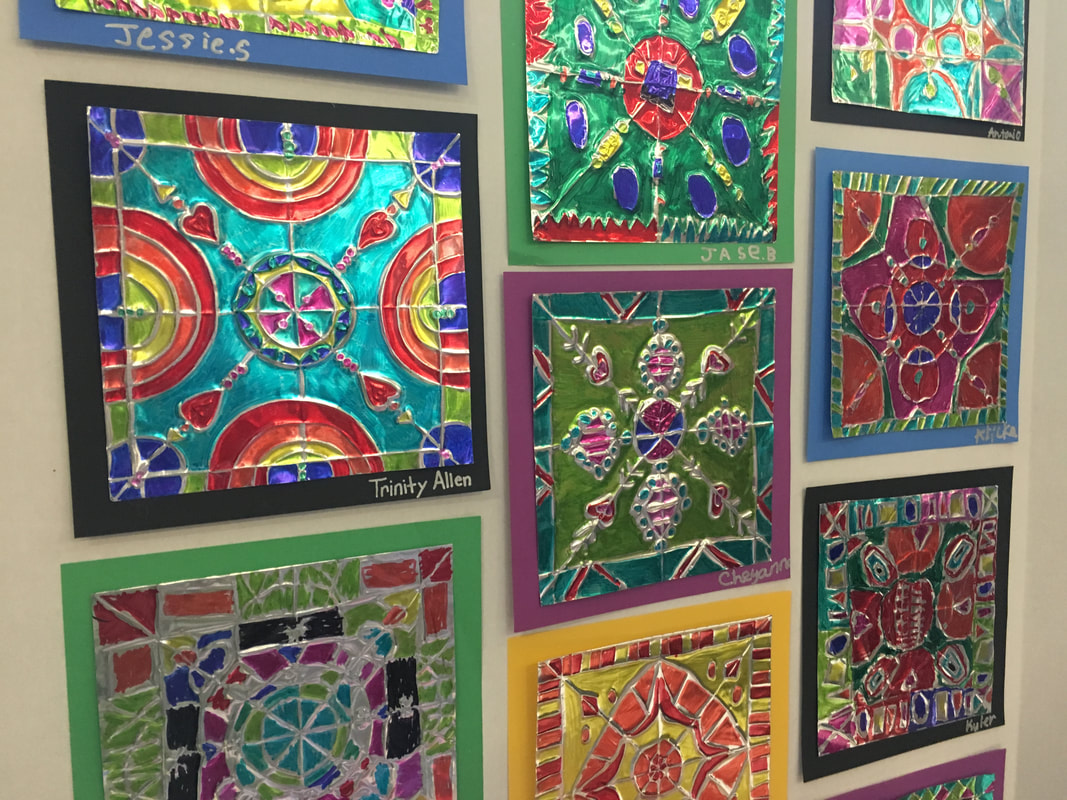
This is the seventh year our amazing music teacher and I have put on the Night of the Arts! This event showcases work from every student from Pre-K to 5th grade. We have crafts for families and a music performance including all of the instrumental and choral groups at our school. Each year, we expand the idea of a Night of the Arts even more, but the process gets easier and even more fun! The art exhibit in the cafeteria opens at 5:00 and ends just after 7:00. The music performance in the multi purpose space begins at 6:00. The challenge is that this is a one night event that must be all set up and taken down in the one day. Over the years, I've learned a few things that make life so much easier around art show time. It can get crazy, but I live by these rules: 1. It's never too early to start getting ready for the big art show. I begin in January so that I can slowly make sure all students finish their artwork, prep the artwork, and promote the event. 2. Tape rolls! Whenever you have a few extra minutes, sit down and make some tape rolls. Stick them to a lunch tray and save them for later. This will save you so, so much time the week and day of the show. 3. Ask for help. This one is hard for me, but having the support means so much to me and makes the whole event easier. Parent volunteers cut my laminated artworks, PTO provides the refreshments, students help me move artwork in to the cafeteria the day of, teachers help me set up, and teachers and staff also help teach the crafts during the Night of the Arts. At the end of the night, I have to take the whole show down (except for the mural) because the school needs the space for breakfast the next day. Everyone, even some parents, help bring it all back to my room that night. I could not do this event without the amazing support I have at my school. It was such a beautiful Night of the Arts! The mural is still hanging for a few more weeks, but then it will all be taken down, too. And I'm already thinking of some new concepts for the next Night of the Arts...
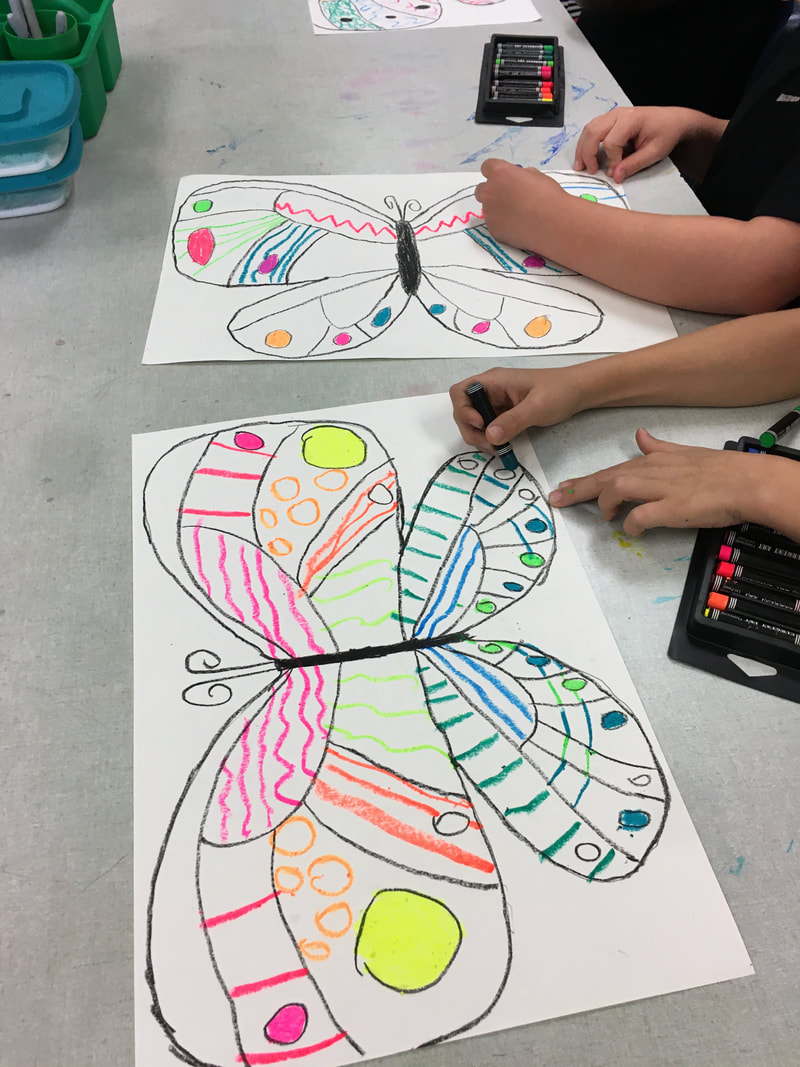
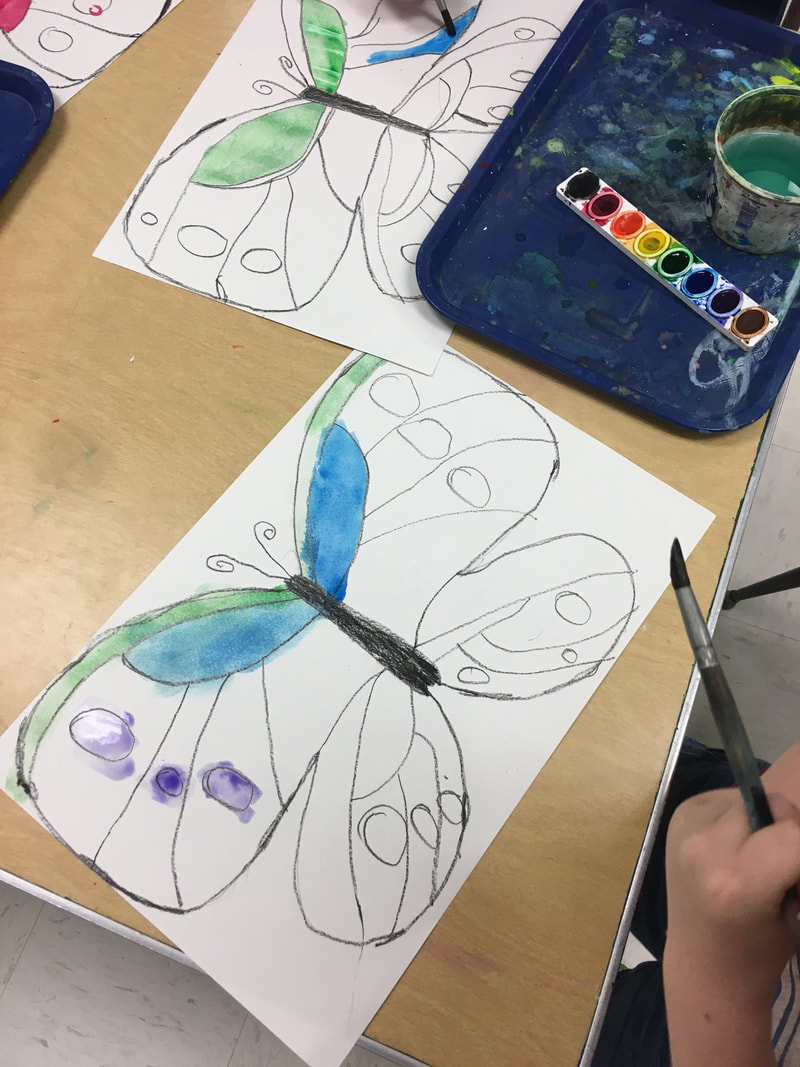
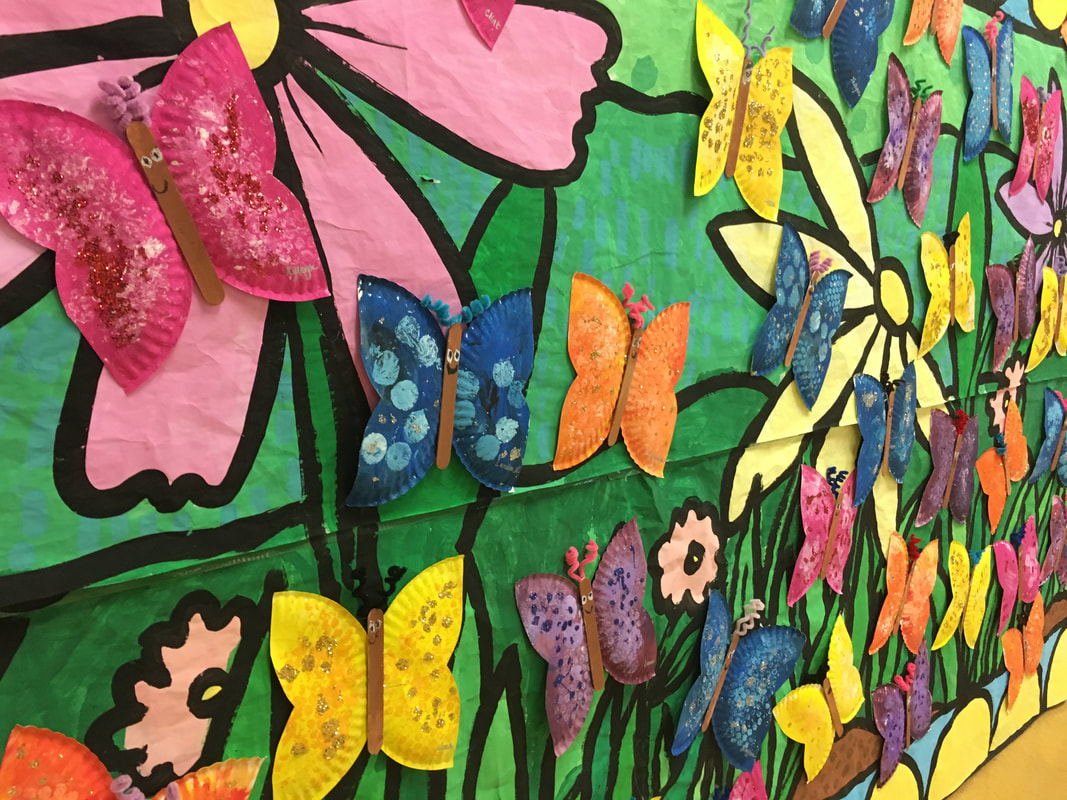
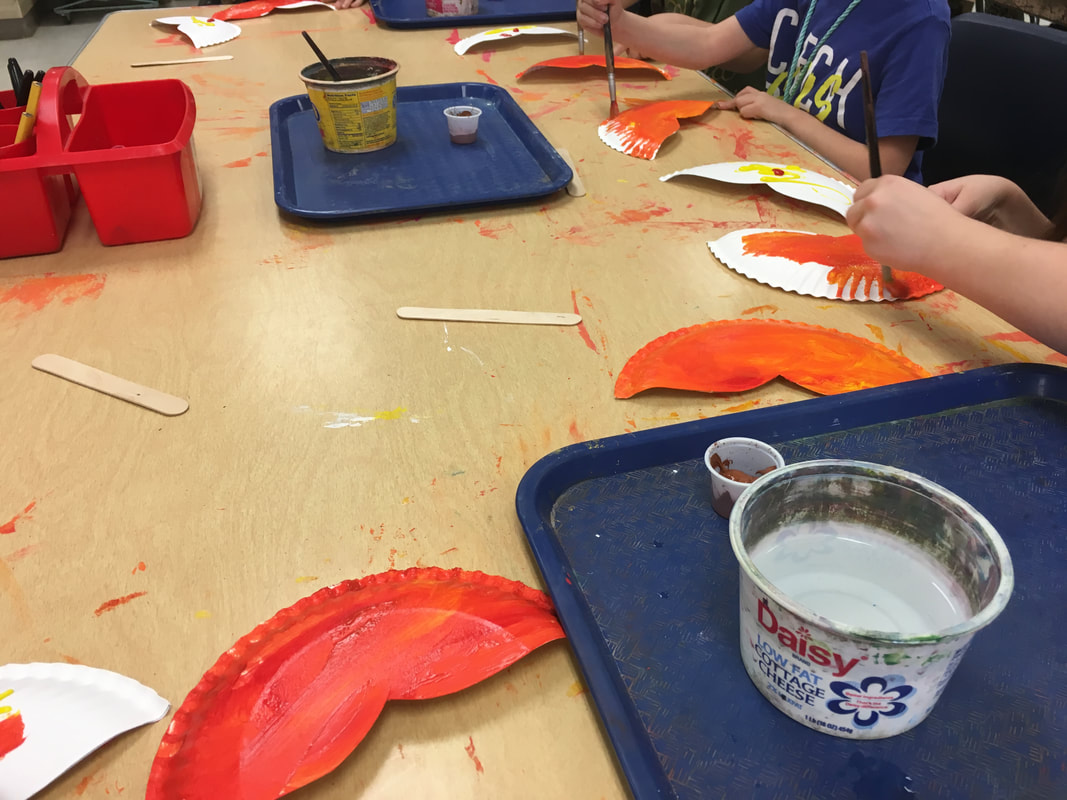
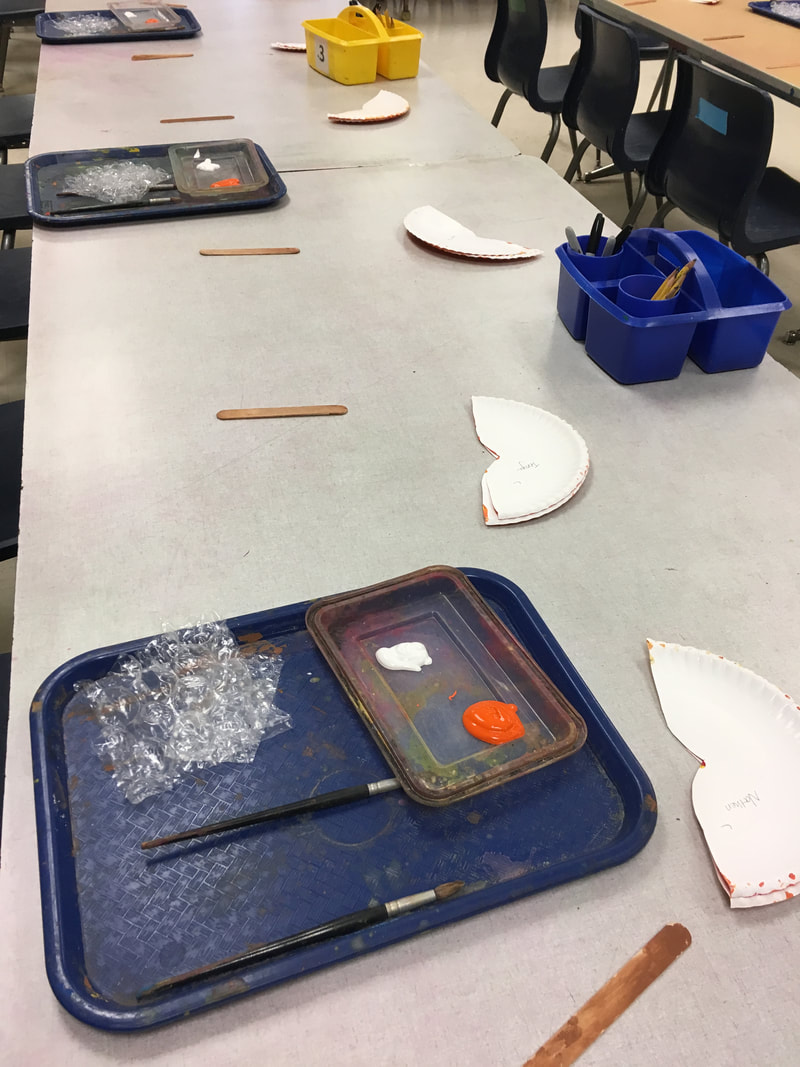
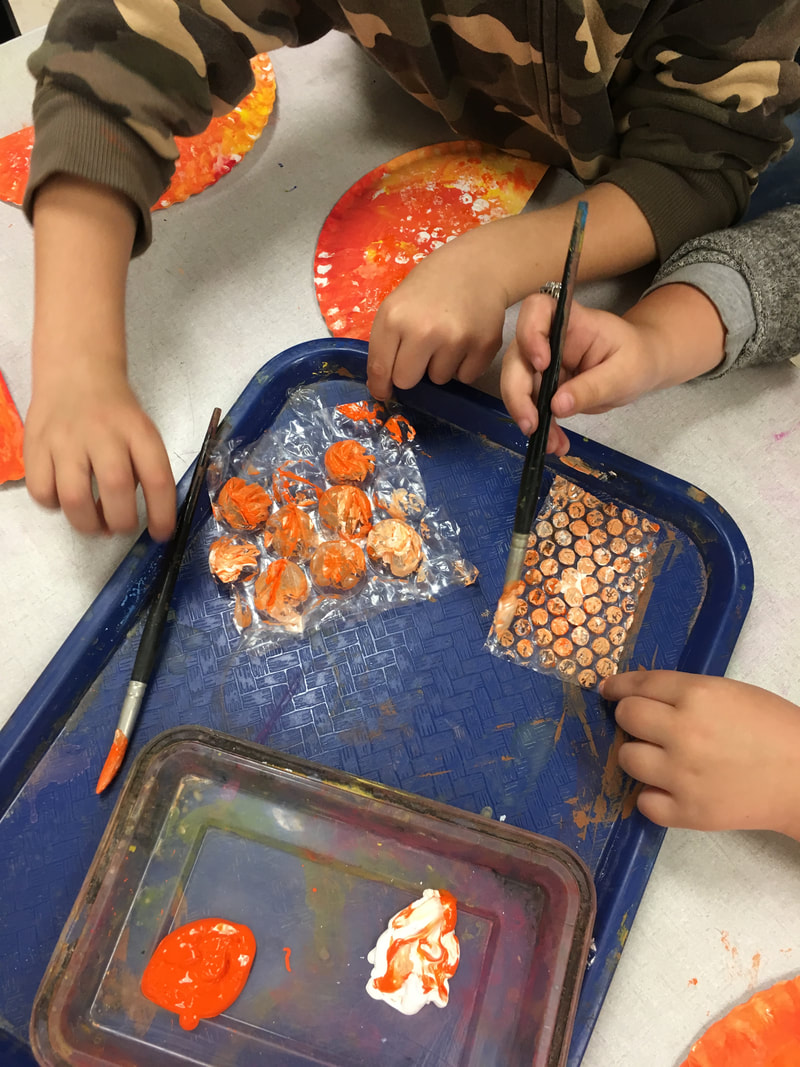
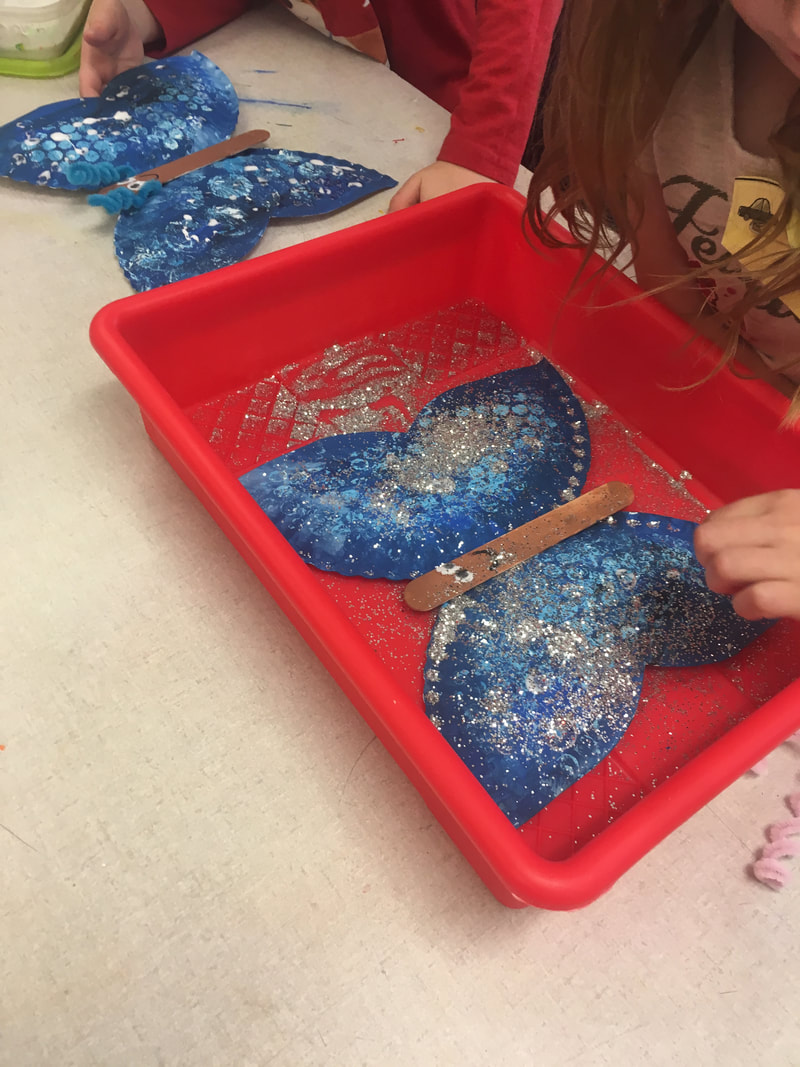
These sweet butterflies were made by my kindergarten students! Each class made butterflies with a different color and they were glued to the mural created by third grade. The artwork was then displayed at our Night of the Arts! I've always done the same lesson across all of the classes in a grade level, so having the different colors was new to me. Some classes mixed colors for their butterflies, others did not, but all classes created tints when printing the spots.
This was also the first time I have used glitter in my classroom! And I was crazy enough to do it with kindergarten! It was better than I ever could have imagined. They did such a great job and were so responsible. I loved how their work sparkled up on the wall for the art show, so it was worth the mess! This lesson was definitely required more work on my part, but it was worth it for such a special part of our Night of the Arts. I hot glued all of the painted paper plates together and glued the pipe-cleaners after school. Students could have done this with regular school glue, but I wanted to make sure they were sturdy enough to be displayed on the mural. Everyone loved these beautiful butterflies! I'm not looking forward to taking them down. I love seeing them everyday! I have taught a version of this lesson since maybe my second year teaching. It's fun project where students create a full painting and use all of the primary and secondary colors. This is the perfect lesson to review color mixing and painting procedures.
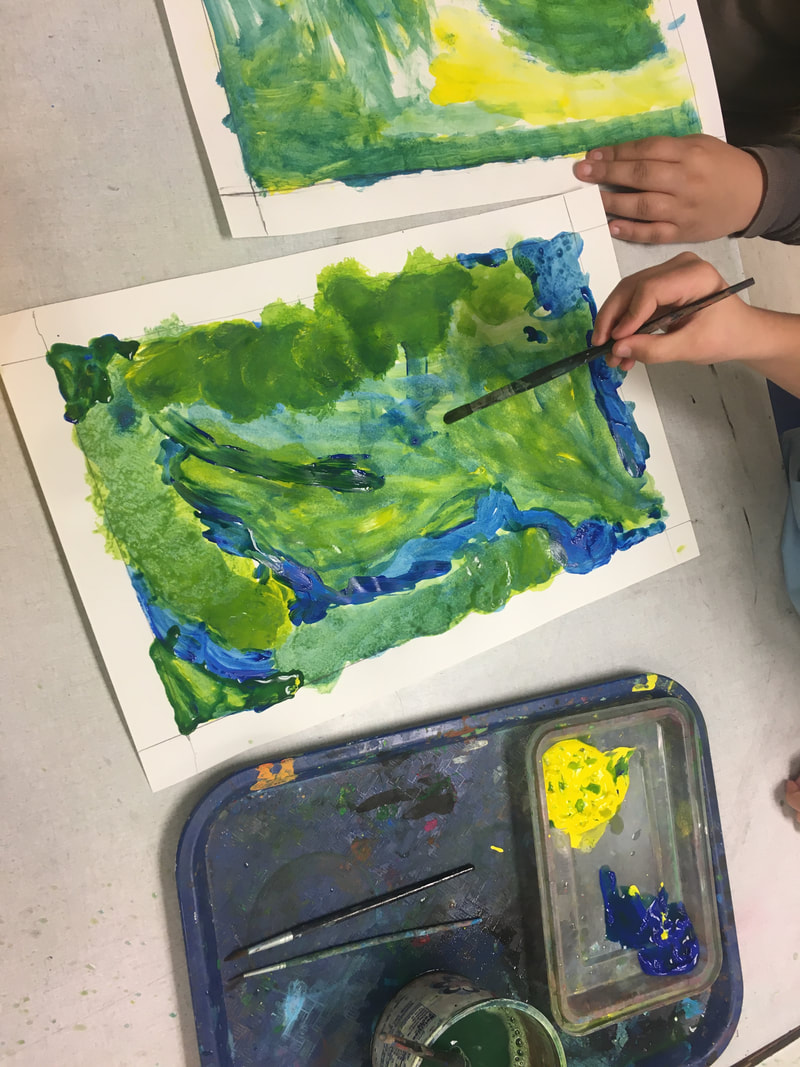
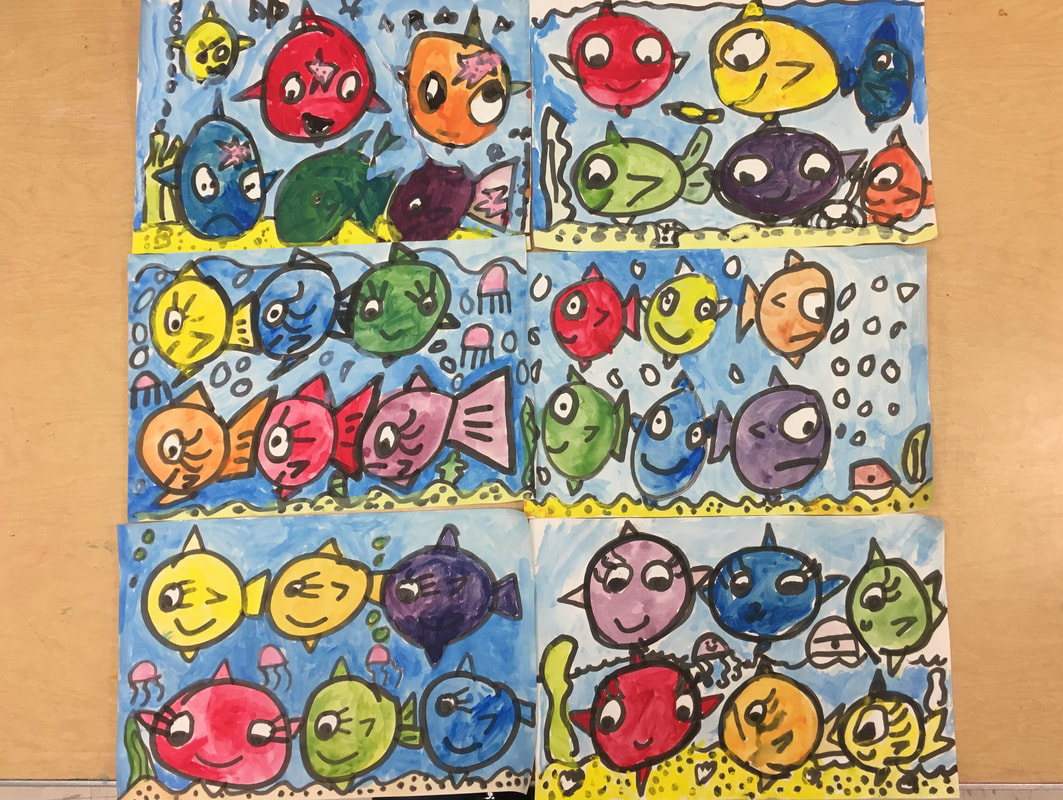
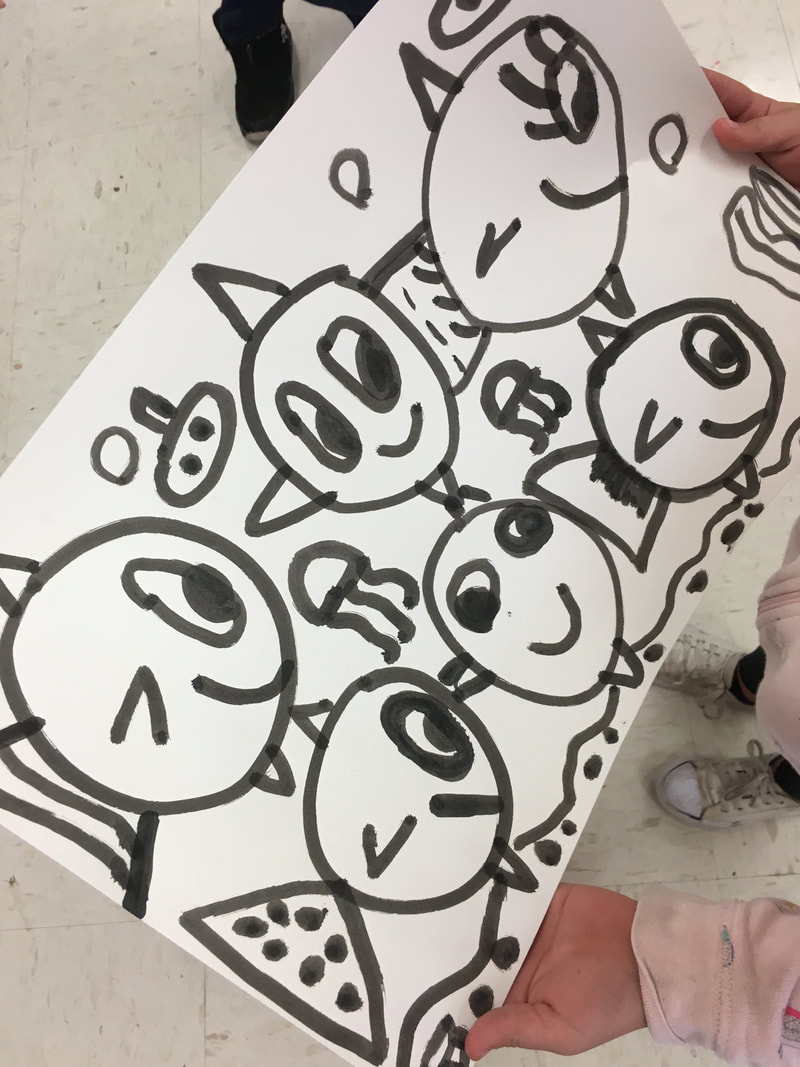
This year, my first and second graders used bingo daubers (thank you Cassie Stephens for the idea!! We love using them!) to draw the fish and the backgrounds. The bingo daubers help my kids to draw BIG and we don't have to draw with pencil first. On the first day of the lesson, we drew the fish and the backgrounds with the bingo daubers. They made six fish for the six primary and secondary colors. We began with big circles and then I demonstrated a few different ways to approach drawing the fish. On the second and third day, we painted the primary and secondary colors. First grade took two days and second grade took just one. For second grade, I gave them a checklist of the colors they needed to have represented and challenged them to complete the list on their own. On the final day, we made light blue for the water and painted the rest of the background. I loved all of the details they created, too. Many of my kids are knowledgeable about fishing, so they had a lot to add! This was a quick two class lesson that I used to reinforce cutting and gluing skills while I worked with small groups to finish the butterfly lesson. I needed to get the butterflies completely finished for the mural, but I wanted to have the other students working on something creative and purposeful. I'll post the butterfly lesson soon!
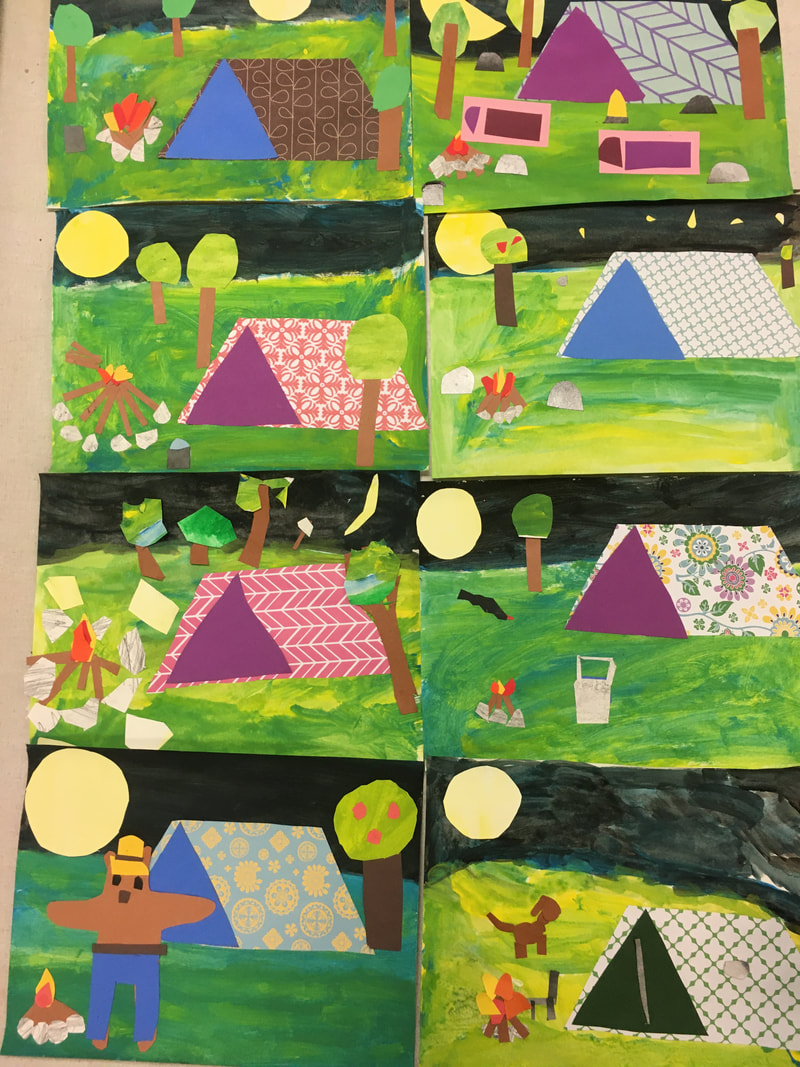
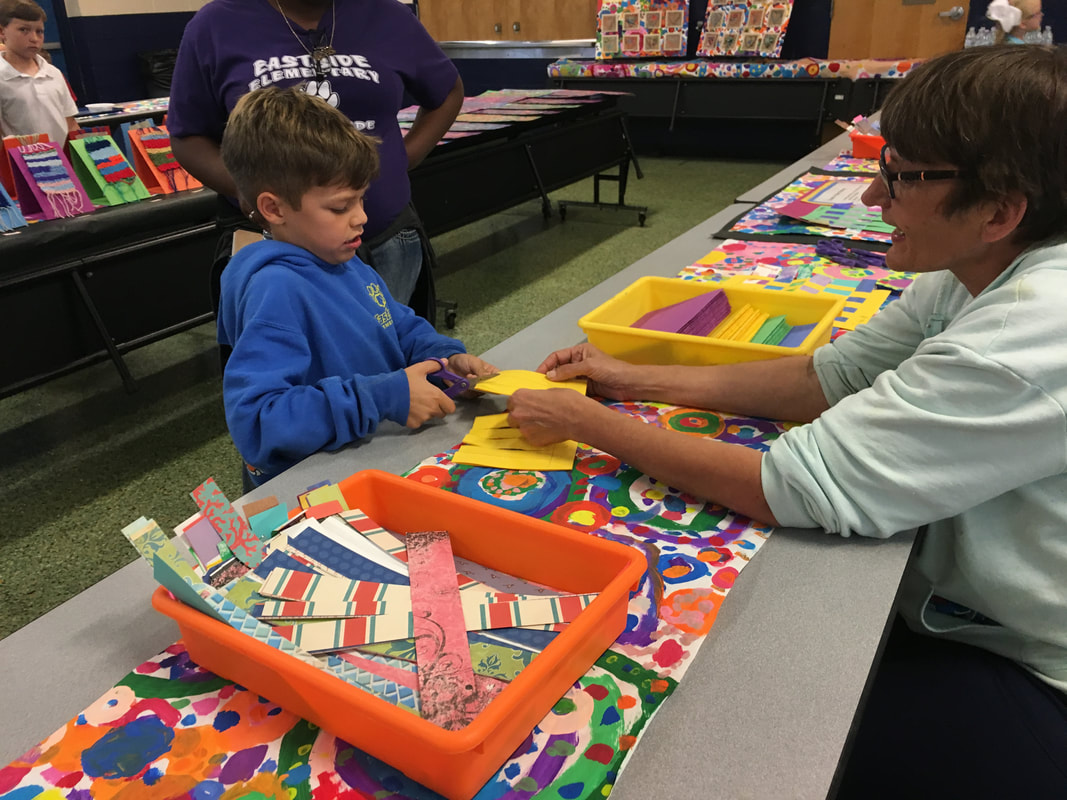
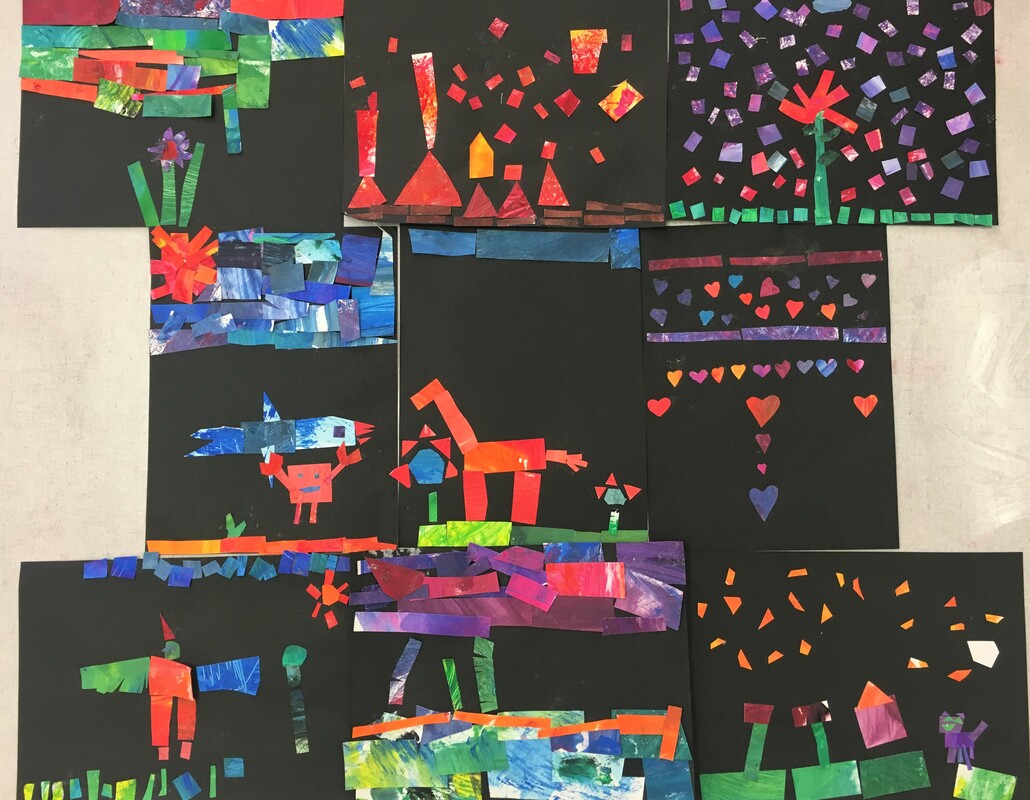
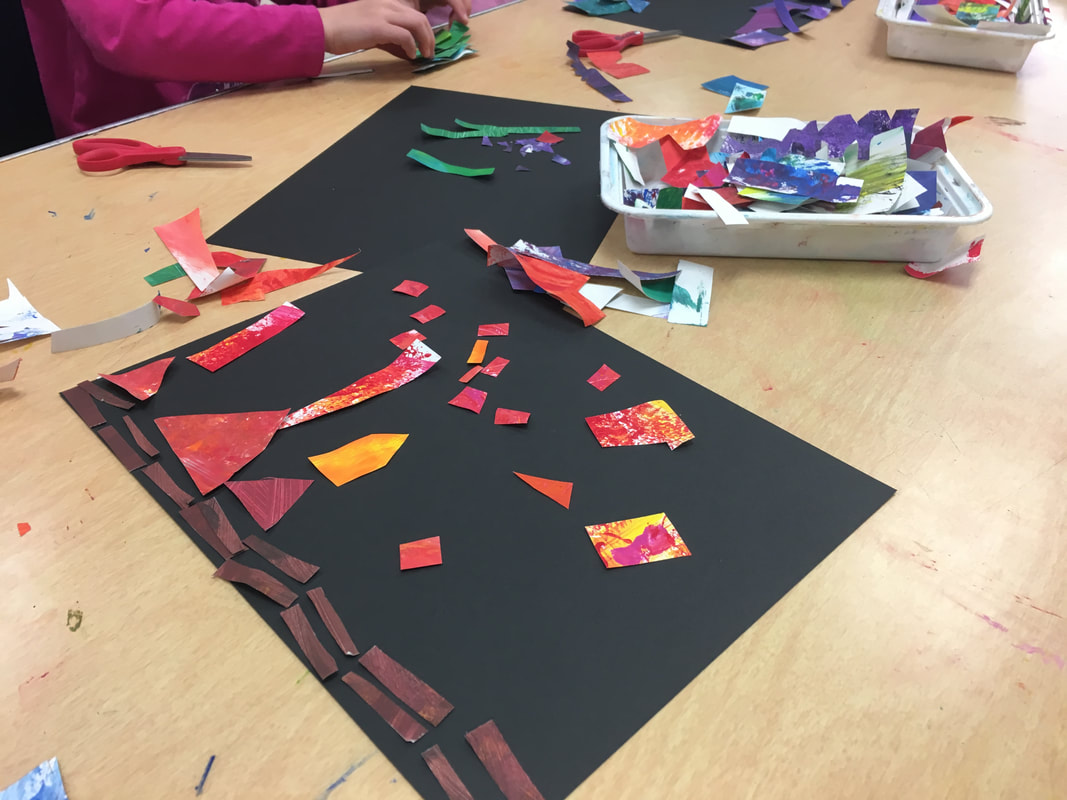
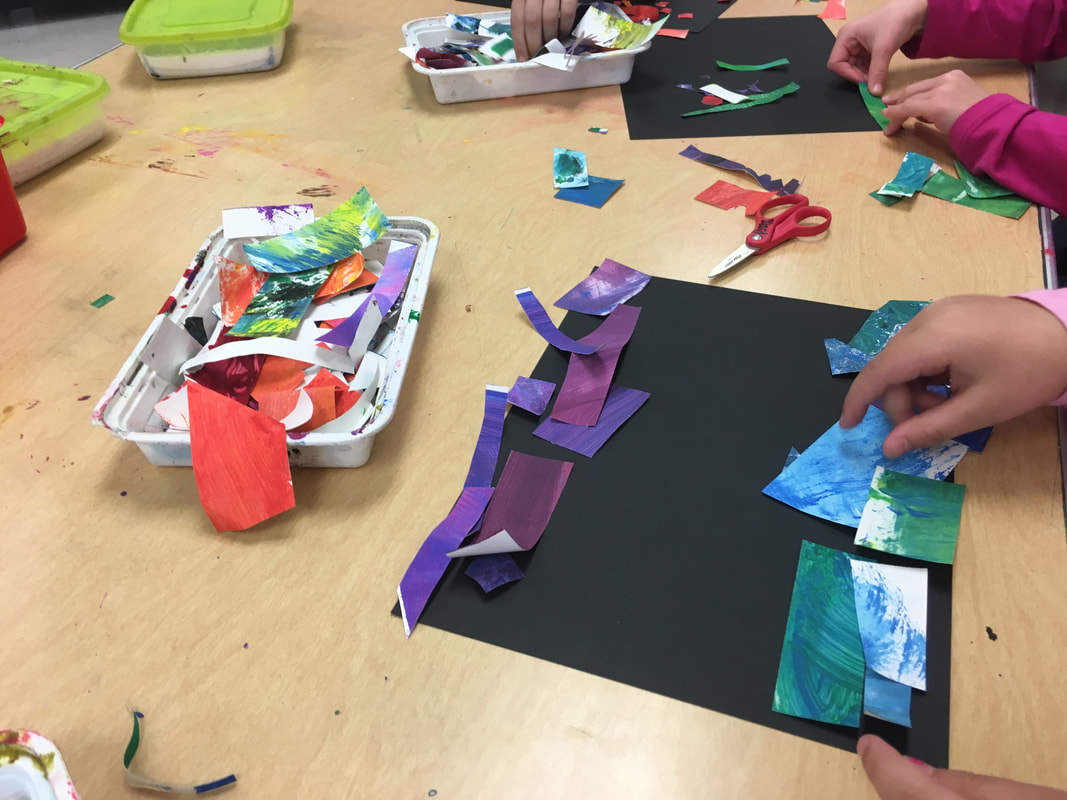
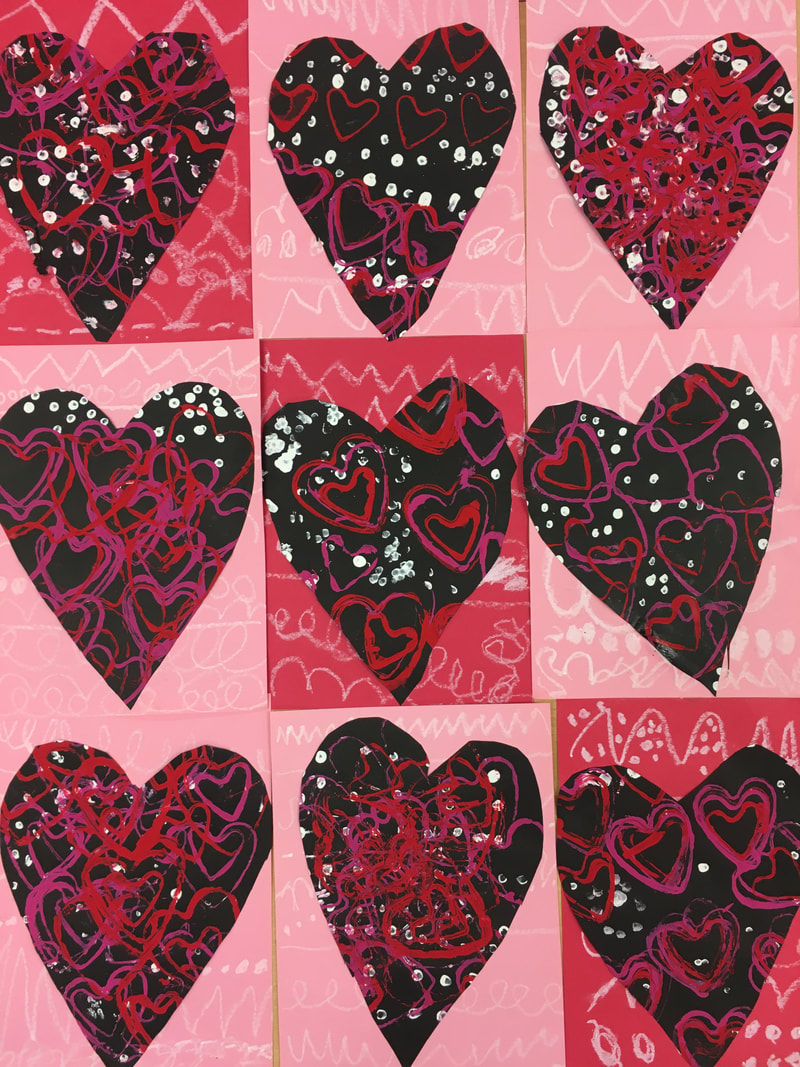
I gave my kids bins of the beautiful painted paper scraps from the first and second grade paper weaving lesson and had the kids cut (no drawing first) and arrange them on their paper for about twenty minutes. Then, I gave them about ten minutes to glue the pieces, get cleaned up, and meet me on the floor. I did these same procedures for two forty-five minute class periods. I was so impressed with what they came up with! They all wanted to tell me stories about what was happening in their artwork and how they made their pieces come together into a picture. There were so many beautiful houses, landscapes, animals, and people! This was a great short lesson that I can see myself doing again when a class gets ahead or when I need students to be able to work mostly on their own for a short period of time. It worked well for the second semester when students already knew classroom procedures and had prior practice with scissors and glue. This is probably my favorite version of this lesson that I have done so far! In the past I used toilet paper rolls to make the hearts and had students stitch the sides of the paper with yarn. Lesson here.
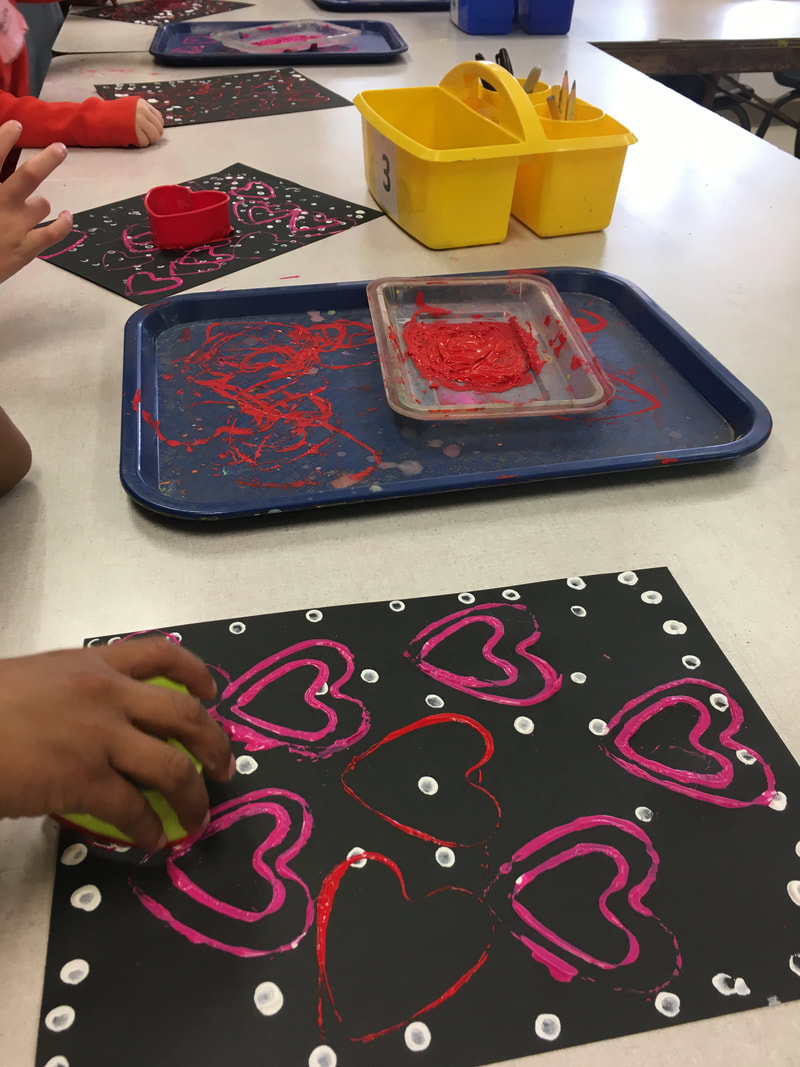
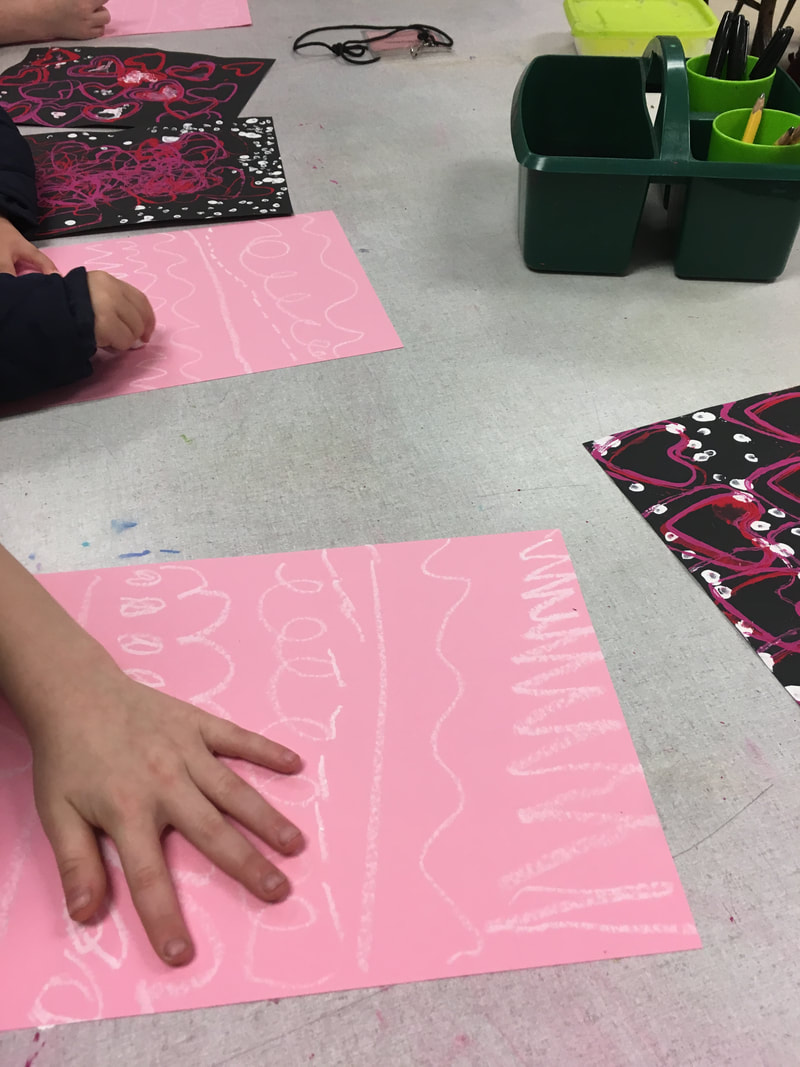
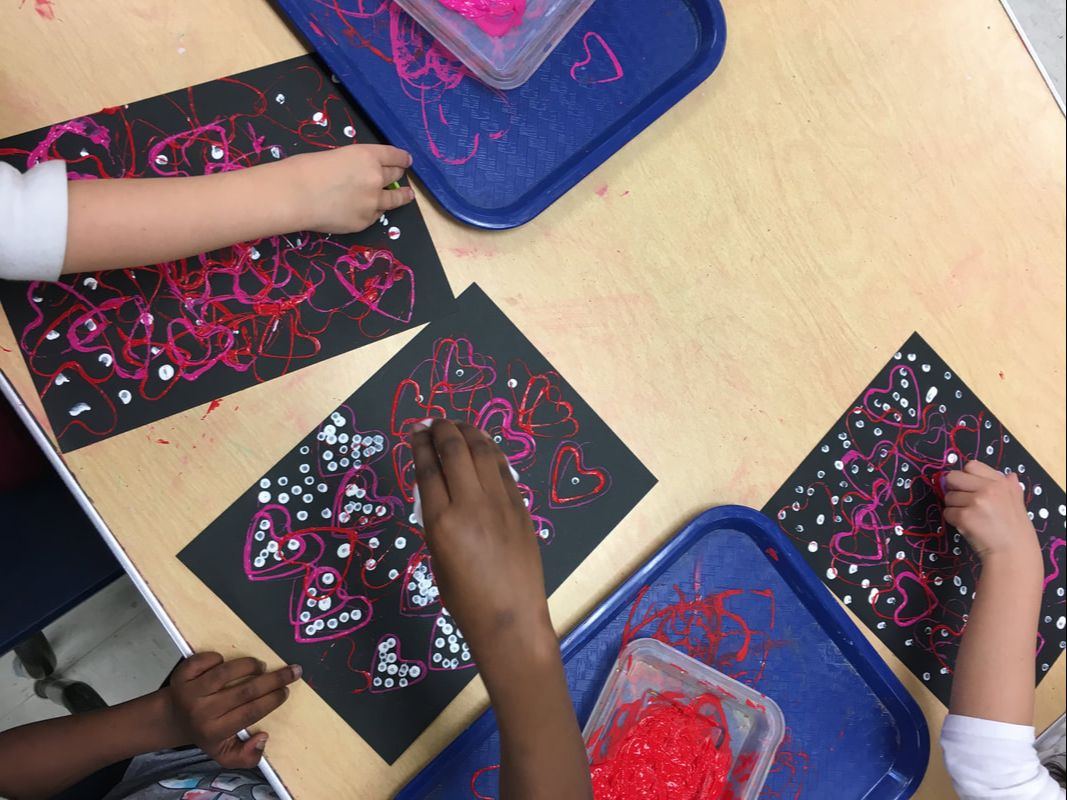
Now, I've made the switch to cookie cutters and I had students use oil pastel to create a variety of line types on their paper. I could also have them sew the sides, but I like keeping this lesson to two class periods and not any longer. The cookie cutters were in a set from Amazon. I use them all of the time for printing with pre-k! Each group gets one color to print for a few minutes, then I switch the trays and they get the next color. On the second day of the lesson, we created line types on a new red or pink paper with oil pastel. Then, we traced a heart on the back of their black paper, cut it out, and used a glue sponge to glue it. |
Madeleine PinaireI am an ninth year art teacher with degrees in Art Education from Flagler College and the University of Florida, living and working in northern Florida. Each week, I teach over six hundred students in grades kindergarten through fifth. Here you will find what we are learning virtually and in the art classroom! Archives
August 2020
Categories
All
|

 RSS Feed
