|
This website was designed to be a professional portfolio of what I do in the classroom in order to help and connect with other art teachers. I periodically posted some of my favorite lessons. Now, the website is transitioning to also become a resource for parents during this time of distance learning. All student lessons for distance learning can be found under the tab at the top of the page.
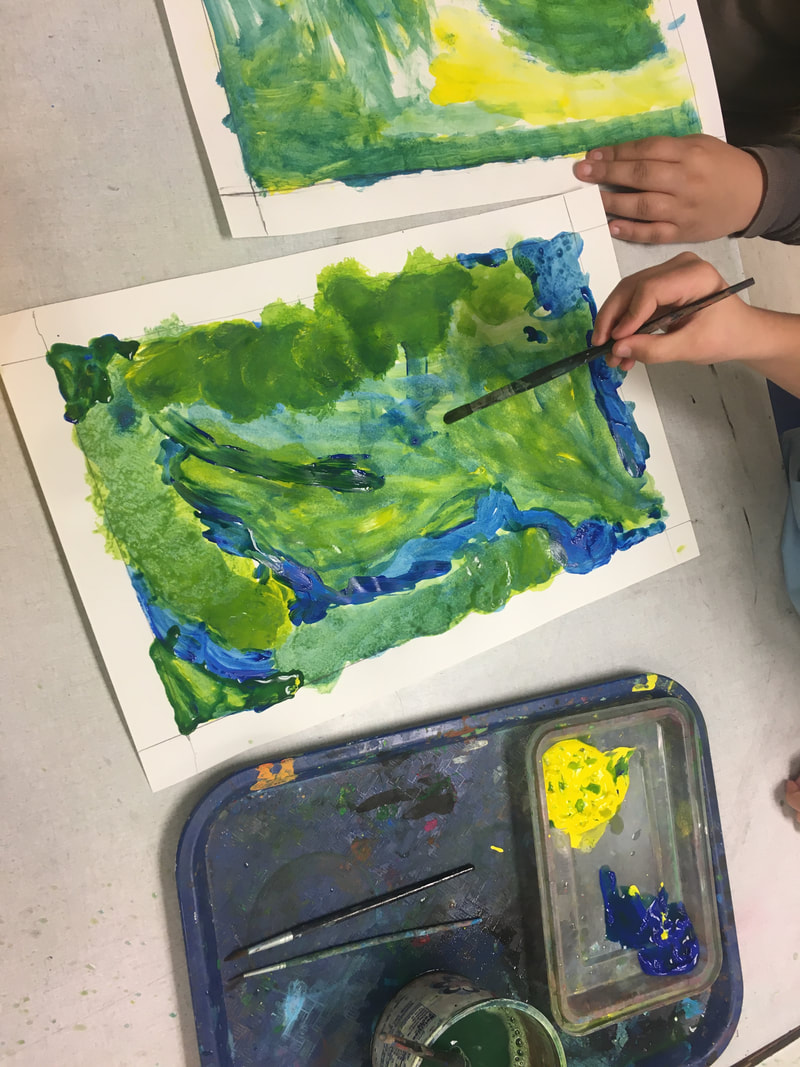
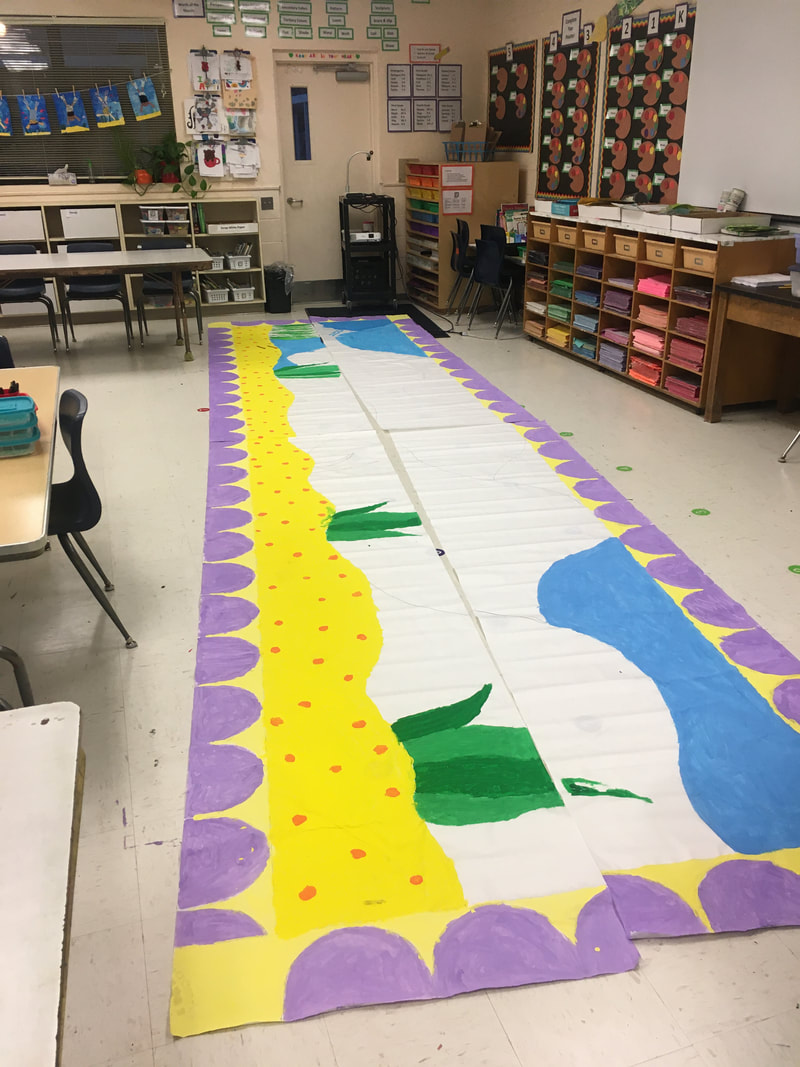
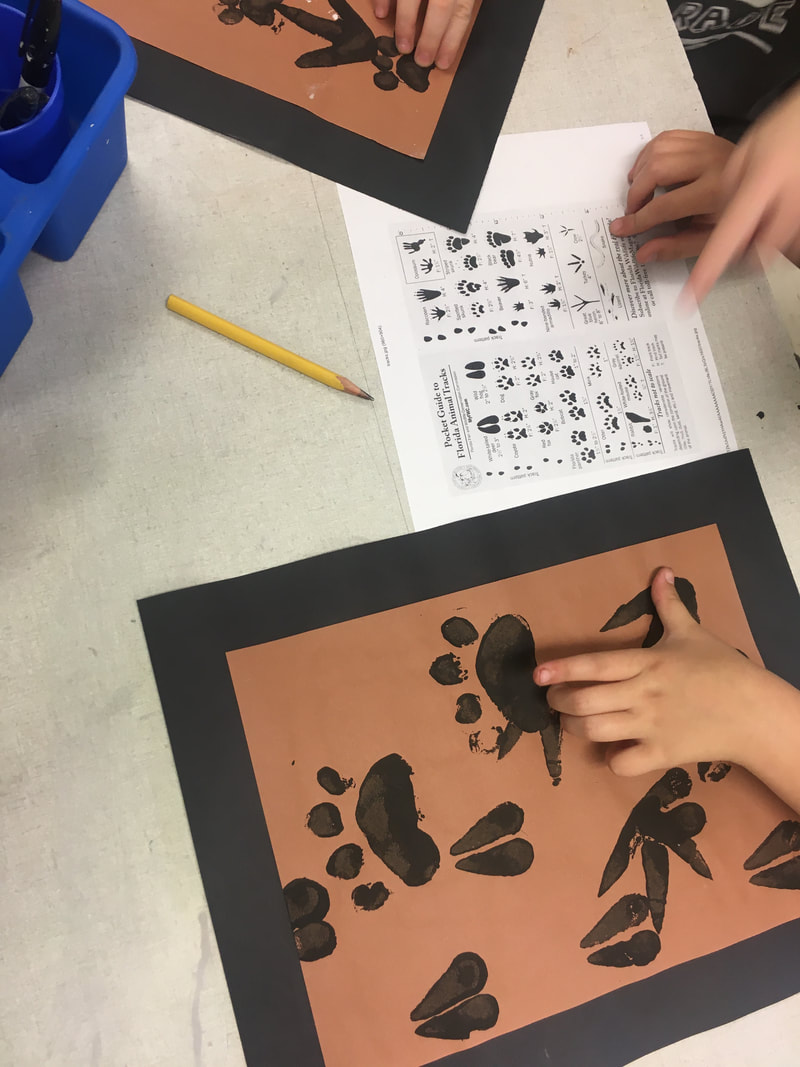
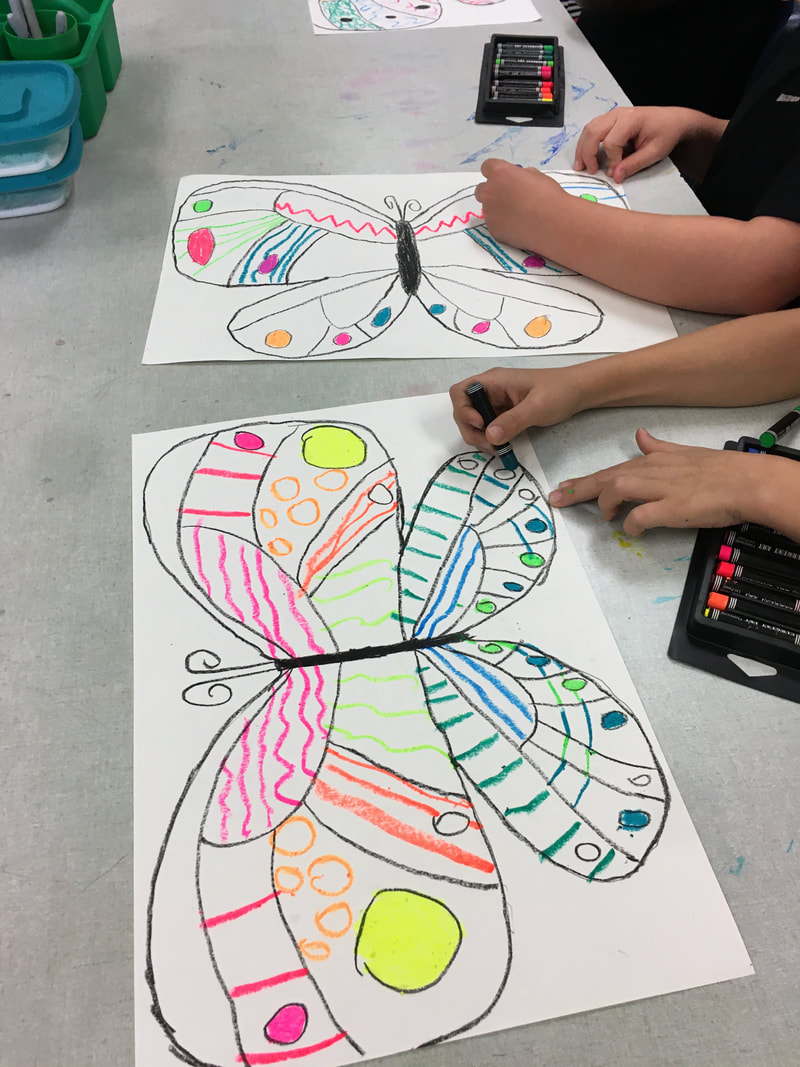
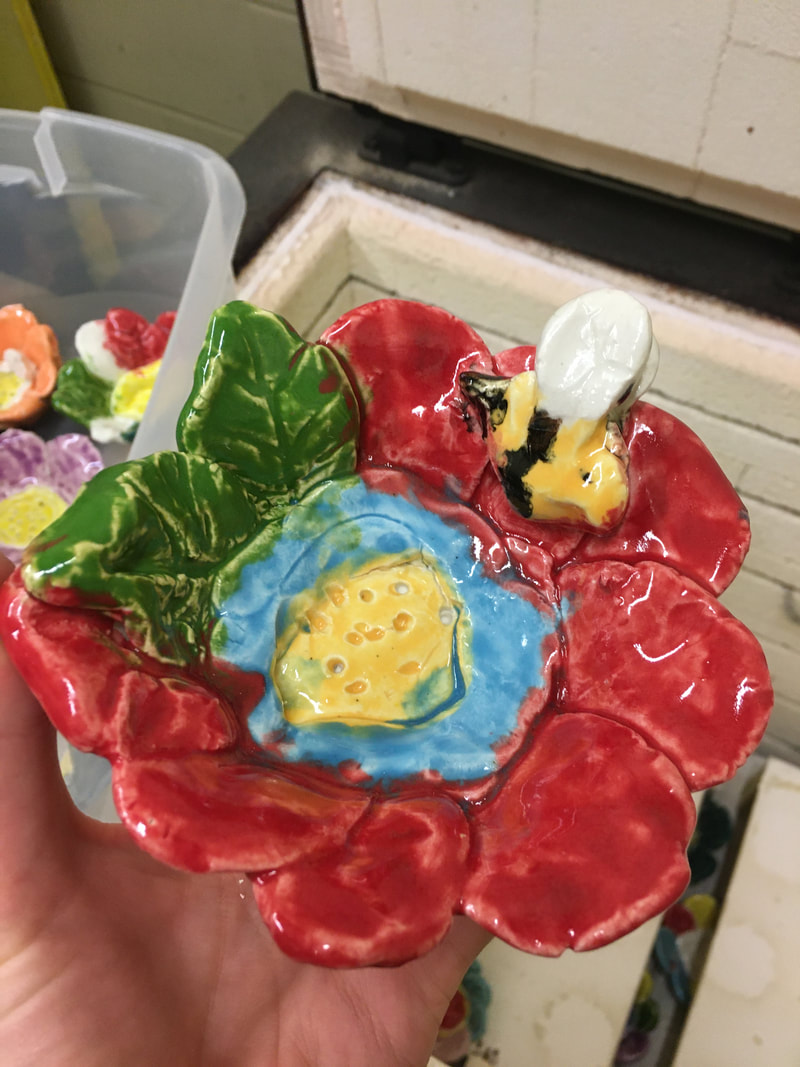
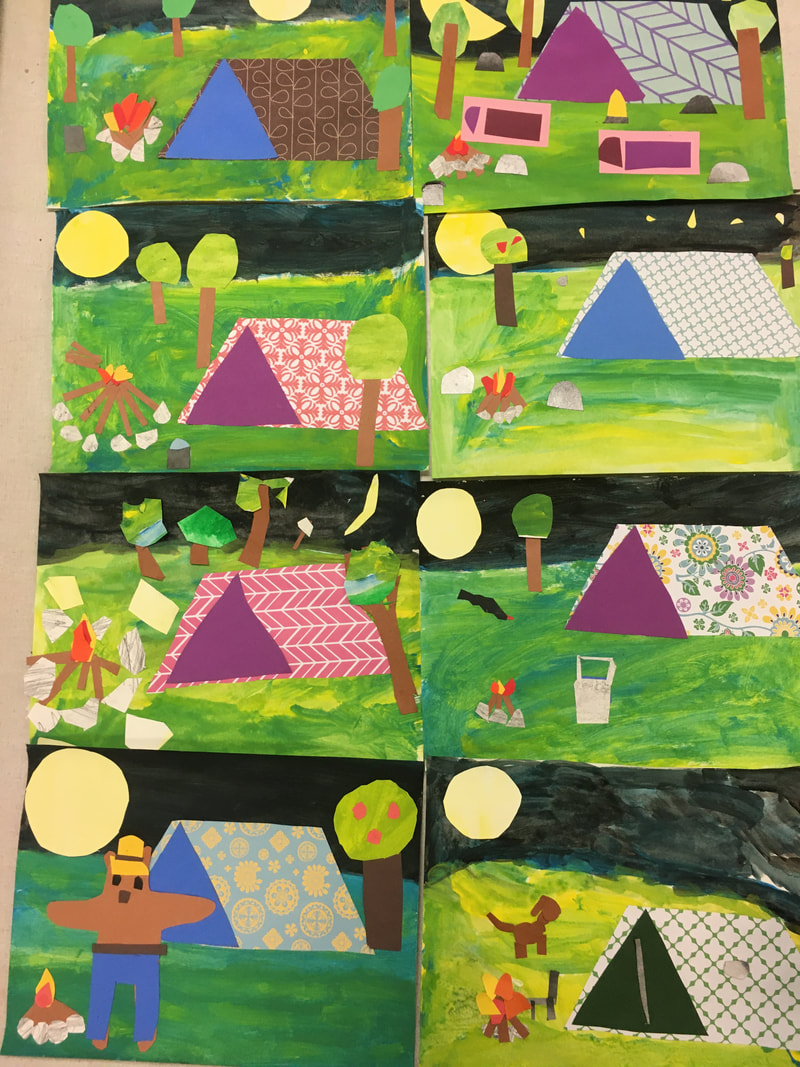
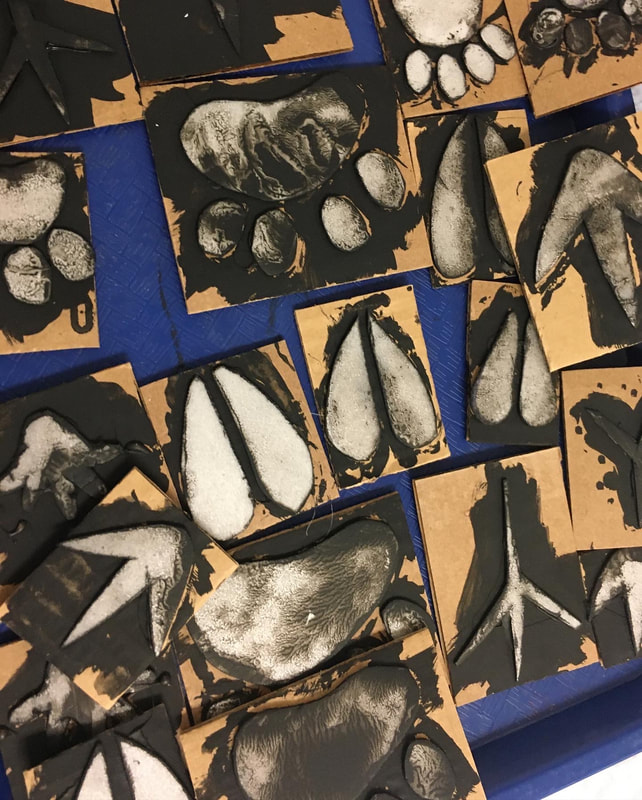
This is what we have been working on so far this school year! Since December, students have working on a music and art unit on Florida nature. We have been learning about our state and why our region of northern Florida is so special. Right now, all of our work is on hold. There are ceramic projects still in the kiln, a mural left unfinished, and collage pieces all over the room. I can't wait to get back and finish our work. Until then, these are a few images of what we created before Spring Break.
0 Comments
I have taught a version of this lesson since maybe my second year teaching. It's fun project where students create a full painting and use all of the primary and secondary colors. This is the perfect lesson to review color mixing and painting procedures.
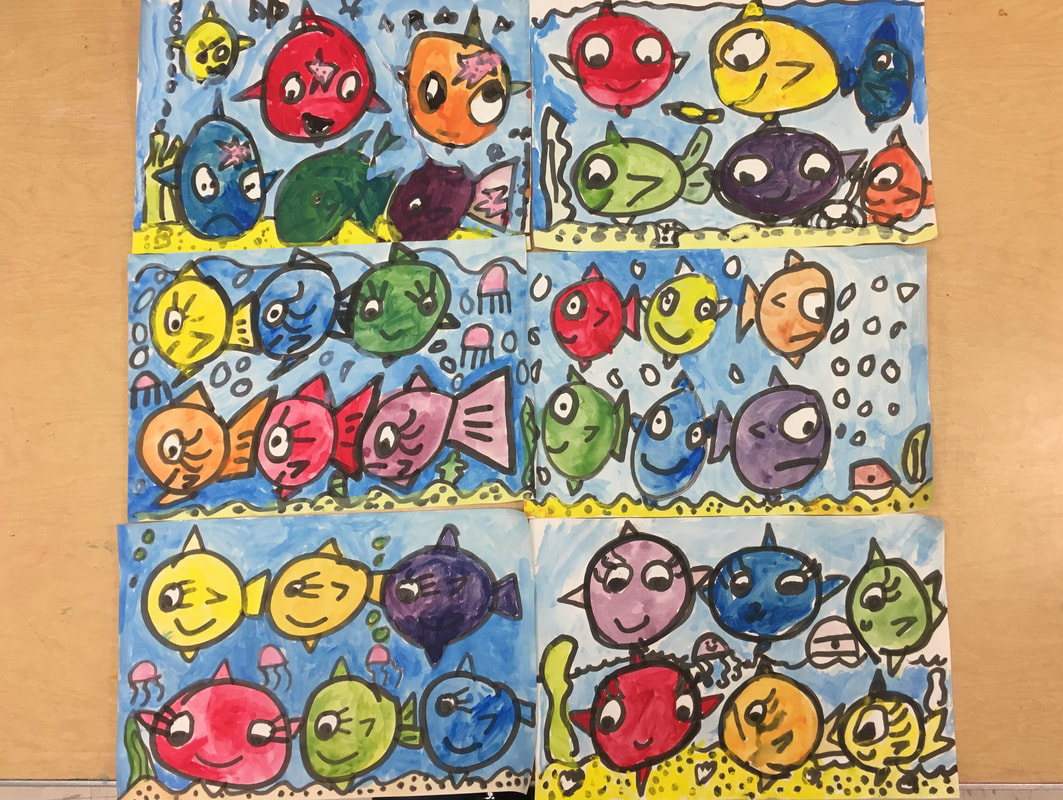
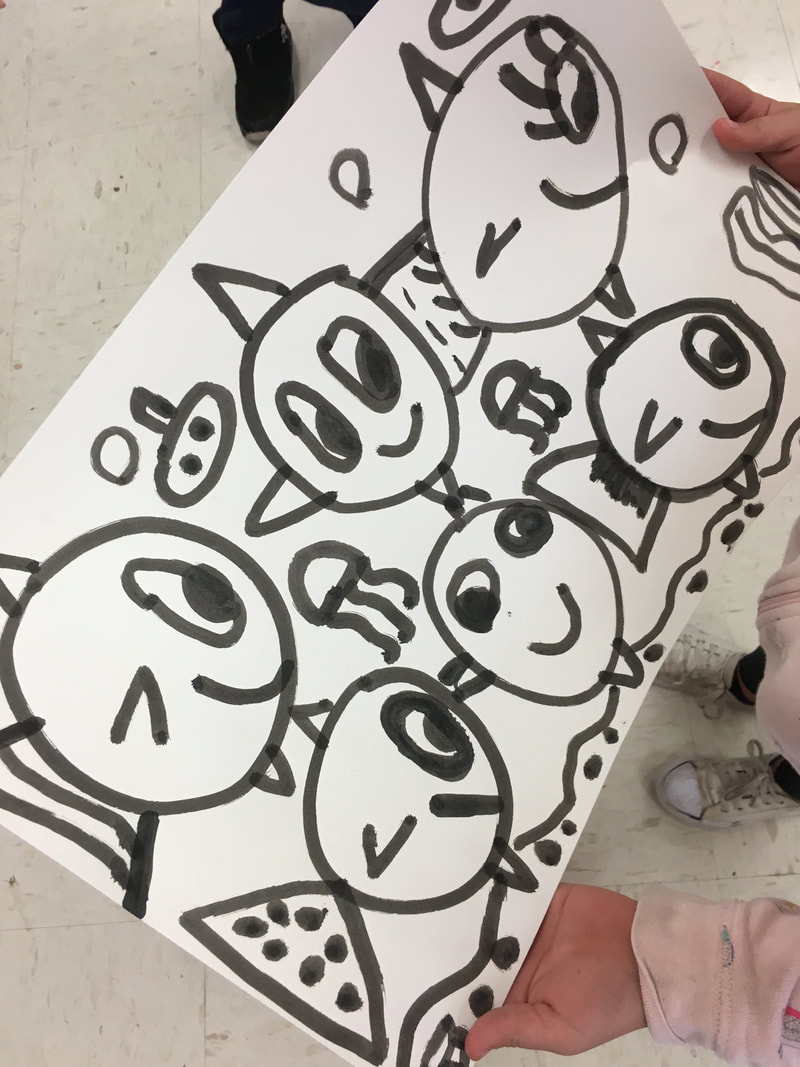
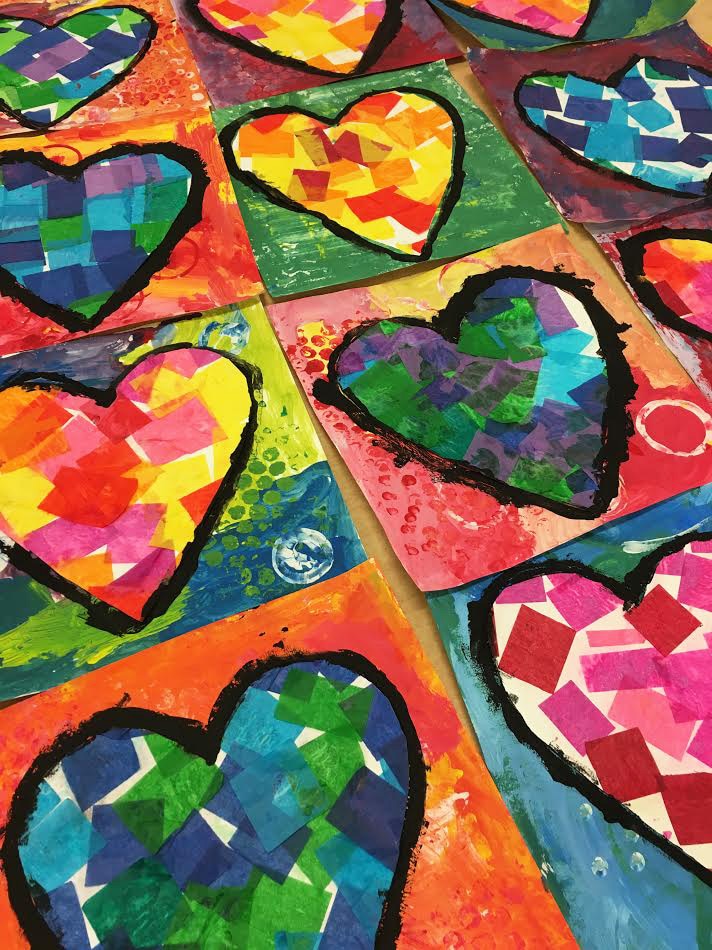
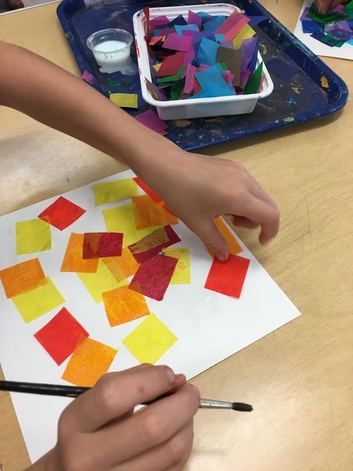
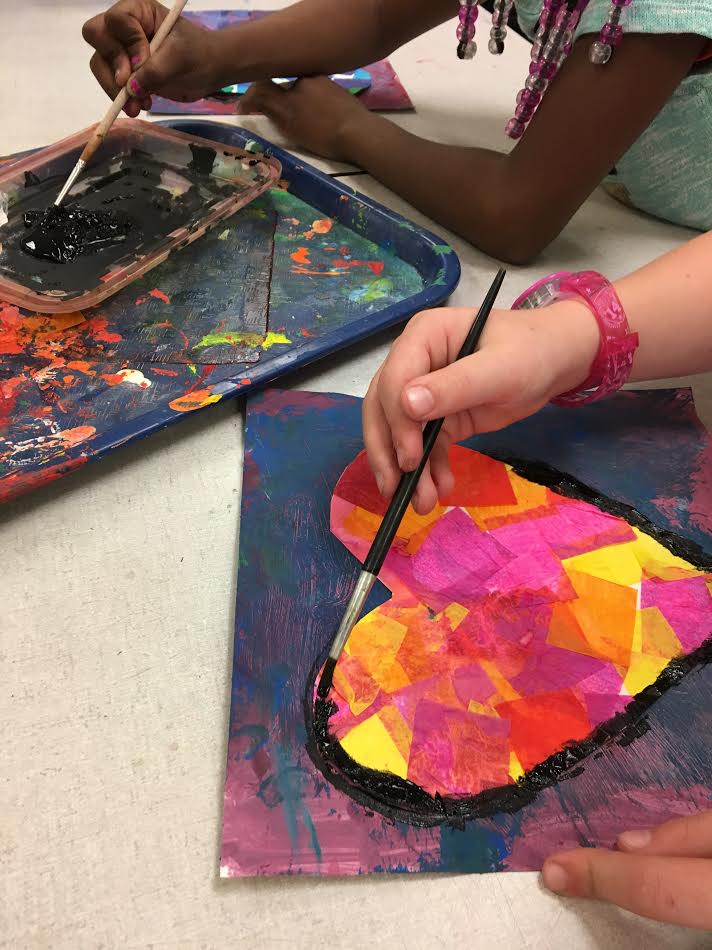
This year, my first and second graders used bingo daubers (thank you Cassie Stephens for the idea!! We love using them!) to draw the fish and the backgrounds. The bingo daubers help my kids to draw BIG and we don't have to draw with pencil first. On the first day of the lesson, we drew the fish and the backgrounds with the bingo daubers. They made six fish for the six primary and secondary colors. We began with big circles and then I demonstrated a few different ways to approach drawing the fish. On the second and third day, we painted the primary and secondary colors. First grade took two days and second grade took just one. For second grade, I gave them a checklist of the colors they needed to have represented and challenged them to complete the list on their own. On the final day, we made light blue for the water and painted the rest of the background. I loved all of the details they created, too. Many of my kids are knowledgeable about fishing, so they had a lot to add! This year, I showed artwork by Elizabeth Pawle when teaching embroidery to my first graders. They adored her and her use of bright colors and interesting shapes and stitches. I would even catch them talking about her when they were working. "Who is Elizabeth?" I asked. "You know, Elizabeth Pawle!" They asked me to send her pictures of their work, so I had to, and I received the greatest response. My little ones were overjoyed! Please go see her gorgeous work on her website! 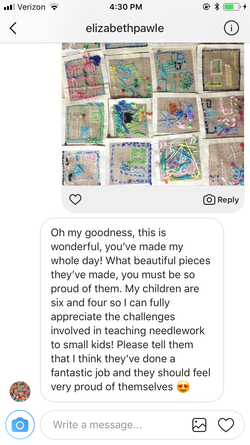 First and second grade students made these beautiful hearts! Together, we made a chart of warm and cool colors and used the chart to help sort the tissue paper squares. It took one 45 to do this and fill a 9x9 inch paper with the tissue paper. They LOVED this part of the project! I was surprised by how much each class enjoyed working with the tissue paper.
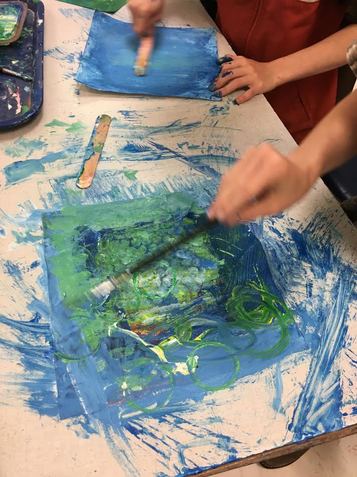
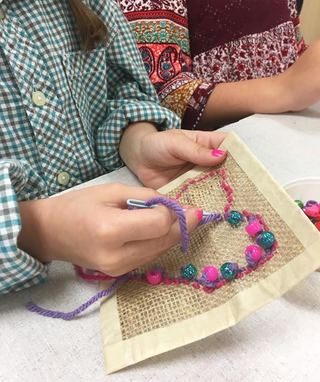
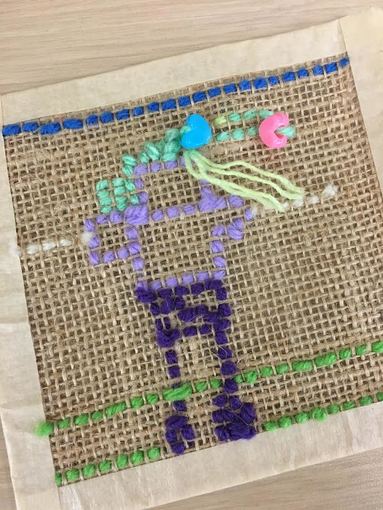
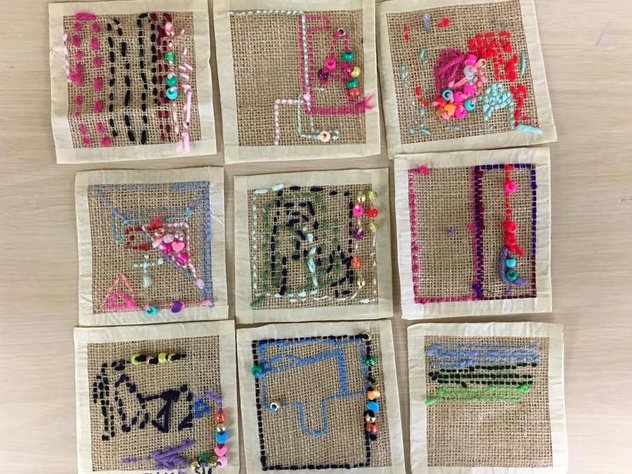
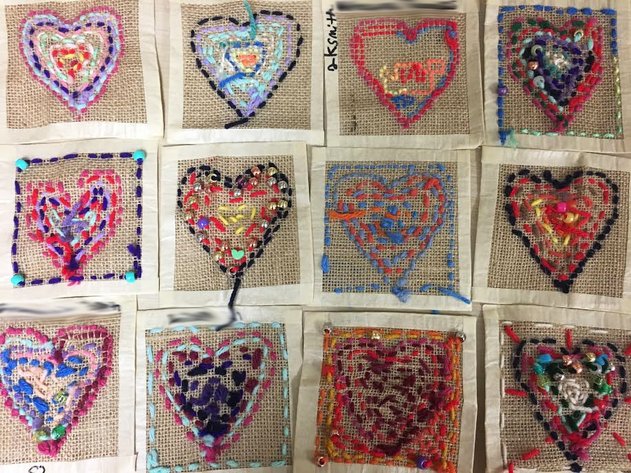
On the second and third days of the lesson, students made the painted papers and created new ways to use tools (scrub brush, medicine cups, Popsicle stick, bubble wrap, etc.) to make texture. Second grade continued to focus on warm and cool colors. I had first grade students pick a secondary color for their painted paper. To finish, we traced a heart on the back of the tissue paper piece and glued it to the painted paper. Then, we practiced our good painting techniques and added the black border around the hearts. My first graders were so great with this step! Now to get the first grade hearts ready for the Night of the Arts in a month! This is one of the lessons that I absolutely love teaching, and first and second graders love embroidery! First grade explores with the materials until they fill the space. Second grade follows along a heart I traced on the 5x5in piece of burlap and then completes the artwork with their own designs.
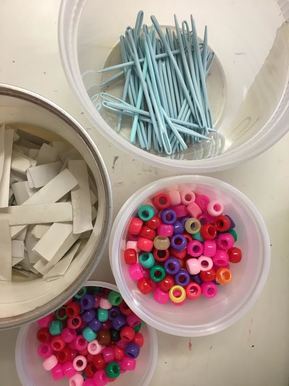
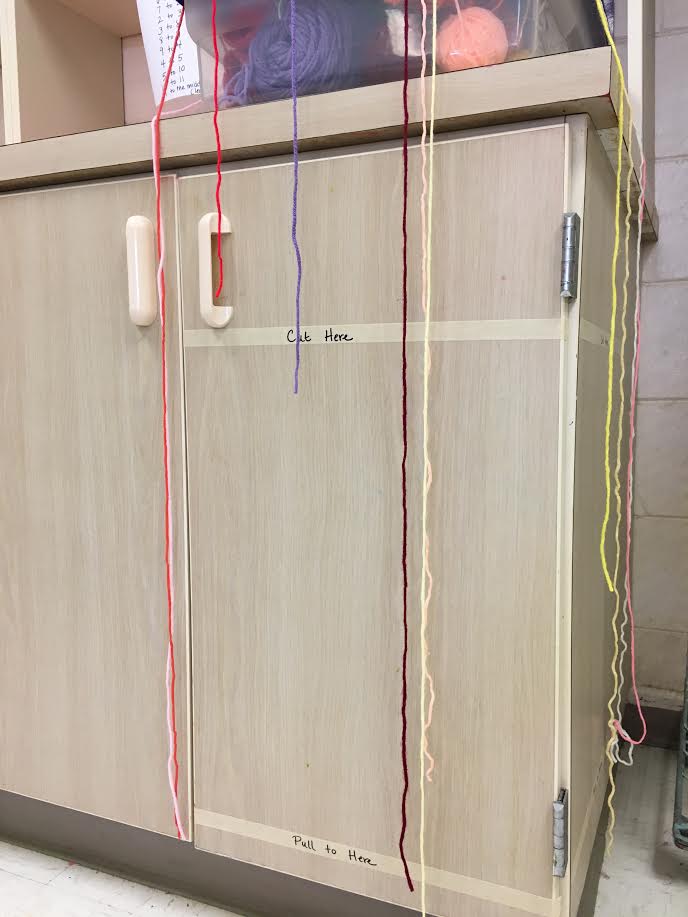
On the first day, students learn how to get the yarn on their needle (Paper hot dog! Put the yarn inside and slide it through the eye of the needle) and how to make stitches in a line. On the second day, I allow students to use the yarn boxes and I teach them how to sew on beads. Some classes take four weeks on this project, others need five or six. For managing yarn, I have had no issues with using a plastic yarn box. I keep two boxes and have tons of colors for students to choose from, because new colors each week is quite exciting. Getting a new piece of yarn is easy: students simply pull the yarn to the tape on the bottom of the cabinets and cut at the top line. If the yarn does get stuck, students know to just come get me and it's usually an easy fix. I keep scissors on top of the boxes, so no one is walking around with them. To start the project, I have students take a piece of pre-cut yarn to help reduce the amount of new procedures. |
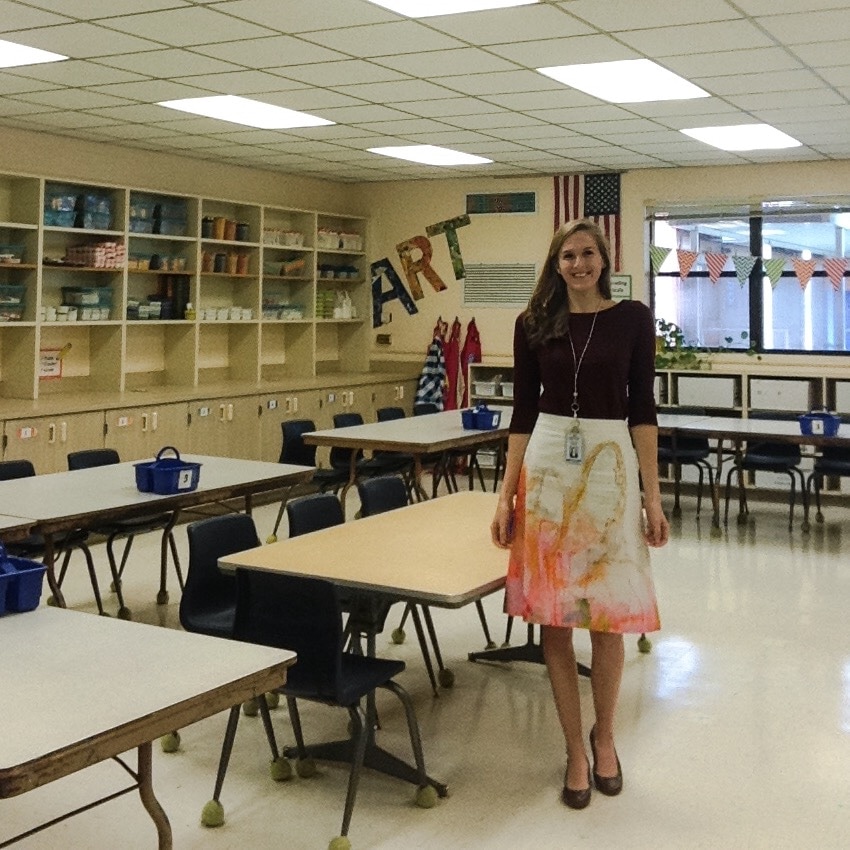
Madeleine PinaireI am an ninth year art teacher with degrees in Art Education from Flagler College and the University of Florida, living and working in northern Florida. Each week, I teach over six hundred students in grades kindergarten through fifth. Here you will find what we are learning virtually and in the art classroom! Archives
August 2020
Categories
All
|

 RSS Feed
