|
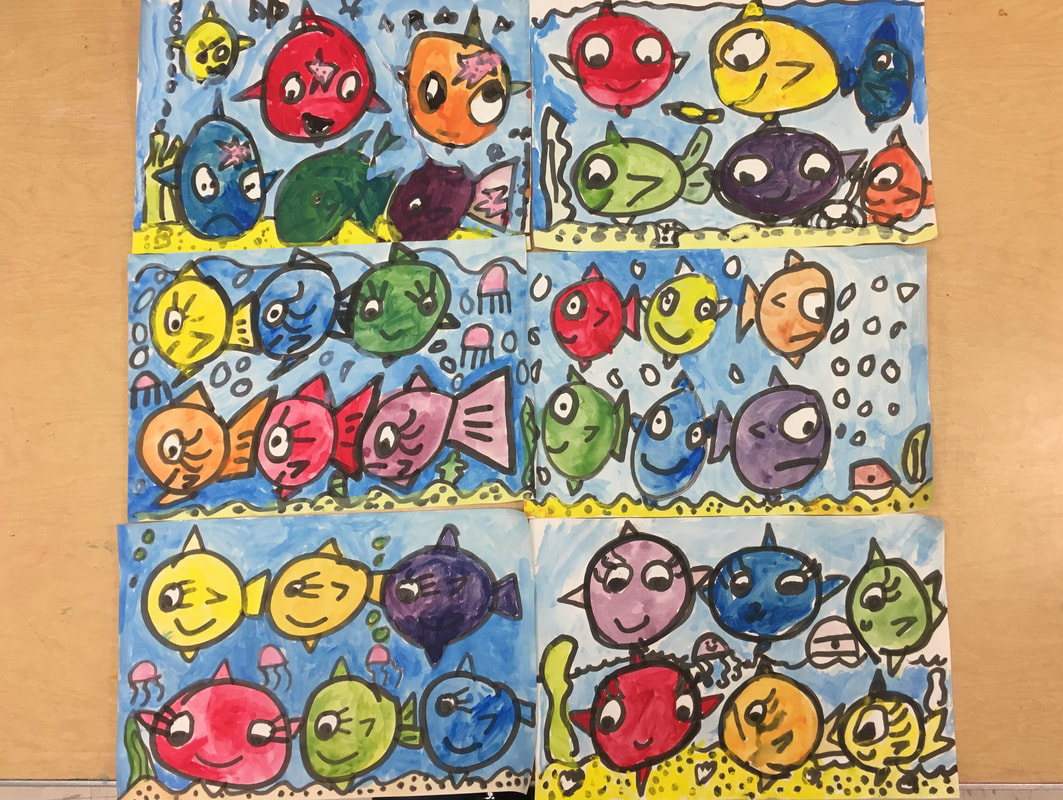
I have taught a version of this lesson since maybe my second year teaching. It's fun project where students create a full painting and use all of the primary and secondary colors. This is the perfect lesson to review color mixing and painting procedures.
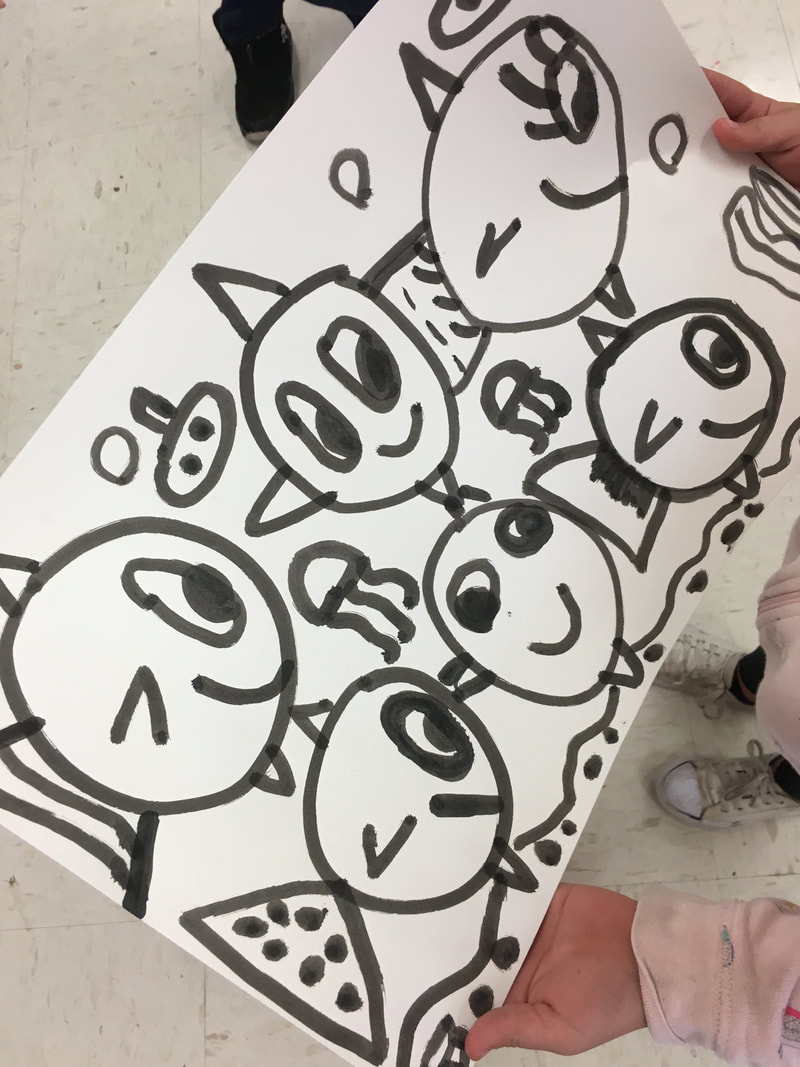
This year, my first and second graders used bingo daubers (thank you Cassie Stephens for the idea!! We love using them!) to draw the fish and the backgrounds. The bingo daubers help my kids to draw BIG and we don't have to draw with pencil first. On the first day of the lesson, we drew the fish and the backgrounds with the bingo daubers. They made six fish for the six primary and secondary colors. We began with big circles and then I demonstrated a few different ways to approach drawing the fish. On the second and third day, we painted the primary and secondary colors. First grade took two days and second grade took just one. For second grade, I gave them a checklist of the colors they needed to have represented and challenged them to complete the list on their own. On the final day, we made light blue for the water and painted the rest of the background. I loved all of the details they created, too. Many of my kids are knowledgeable about fishing, so they had a lot to add!
0 Comments
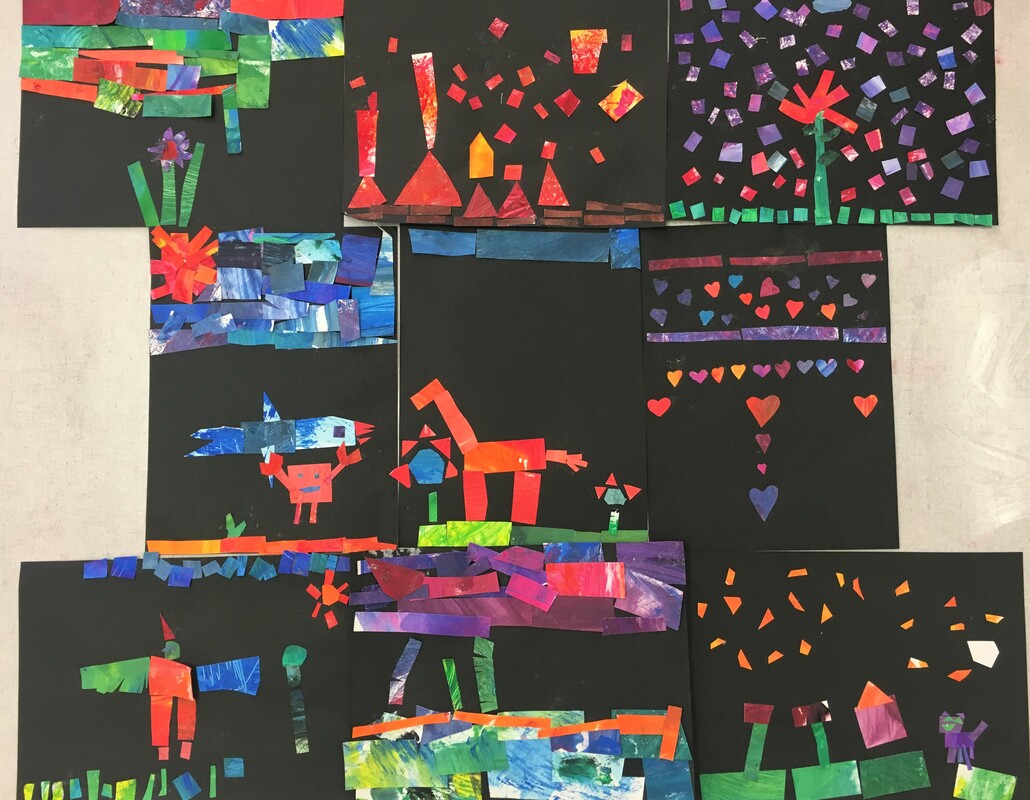
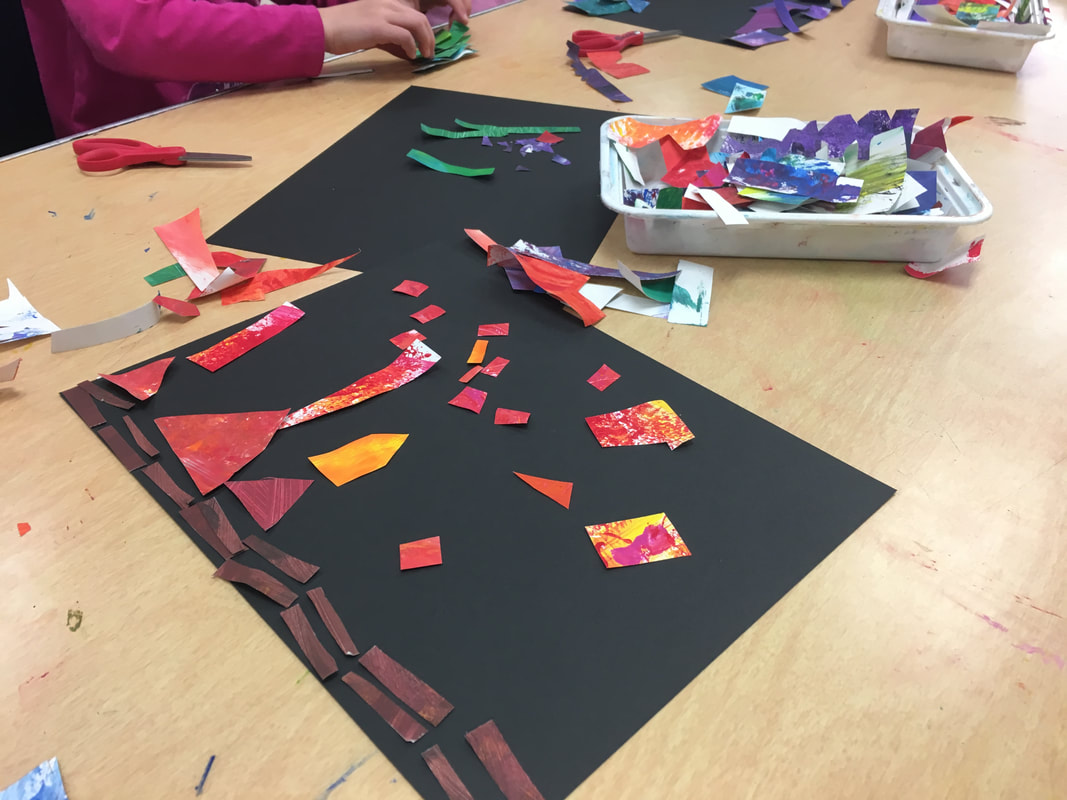
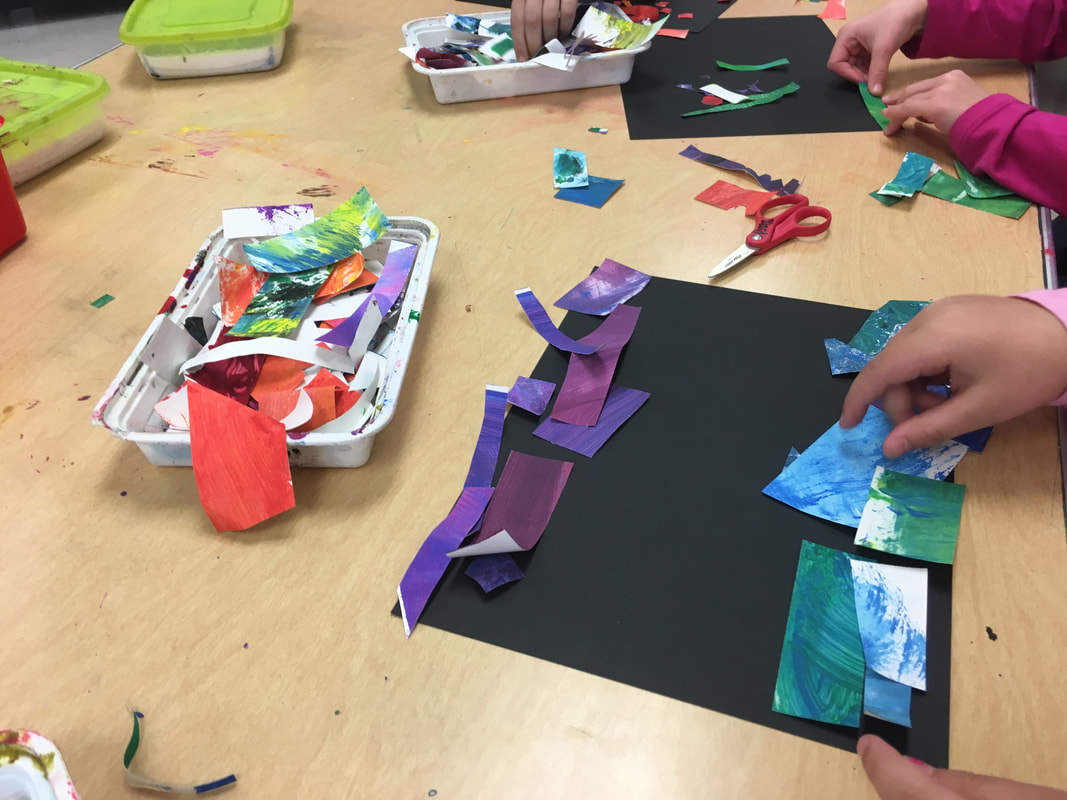
This was a quick two class lesson that I used to reinforce cutting and gluing skills while I worked with small groups to finish the butterfly lesson. I needed to get the butterflies completely finished for the mural, but I wanted to have the other students working on something creative and purposeful. I'll post the butterfly lesson soon!
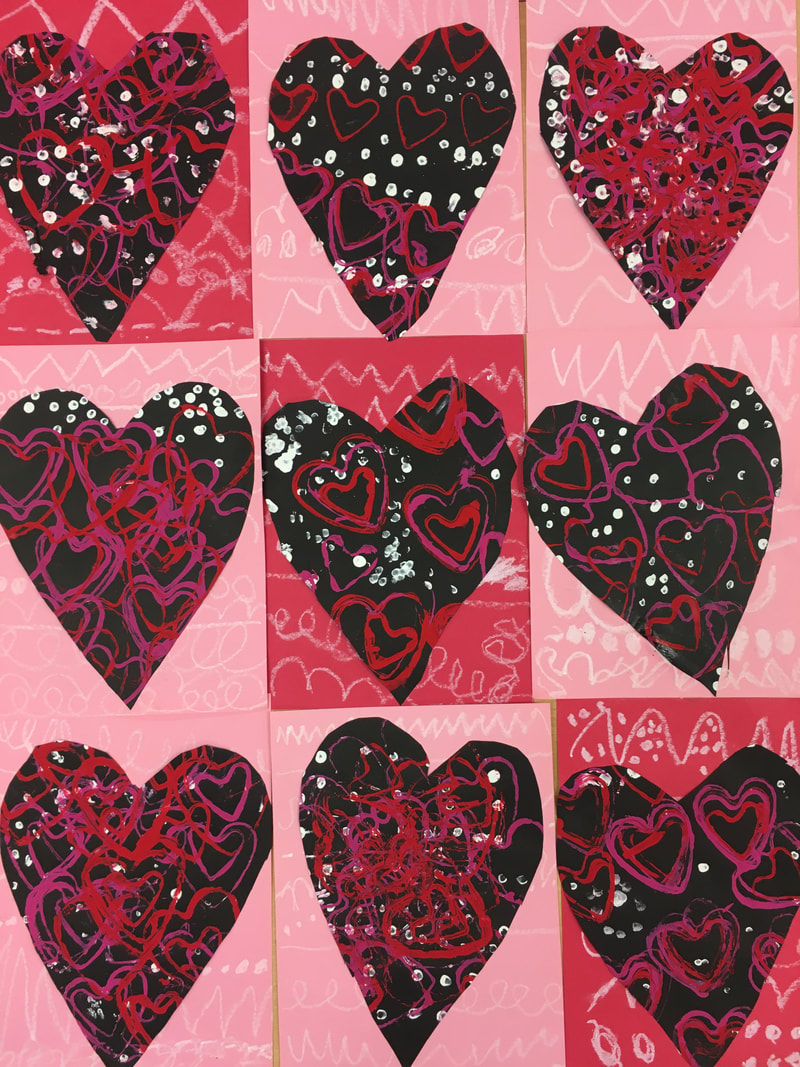
I gave my kids bins of the beautiful painted paper scraps from the first and second grade paper weaving lesson and had the kids cut (no drawing first) and arrange them on their paper for about twenty minutes. Then, I gave them about ten minutes to glue the pieces, get cleaned up, and meet me on the floor. I did these same procedures for two forty-five minute class periods. I was so impressed with what they came up with! They all wanted to tell me stories about what was happening in their artwork and how they made their pieces come together into a picture. There were so many beautiful houses, landscapes, animals, and people! This was a great short lesson that I can see myself doing again when a class gets ahead or when I need students to be able to work mostly on their own for a short period of time. It worked well for the second semester when students already knew classroom procedures and had prior practice with scissors and glue. This is probably my favorite version of this lesson that I have done so far! In the past I used toilet paper rolls to make the hearts and had students stitch the sides of the paper with yarn. Lesson here.
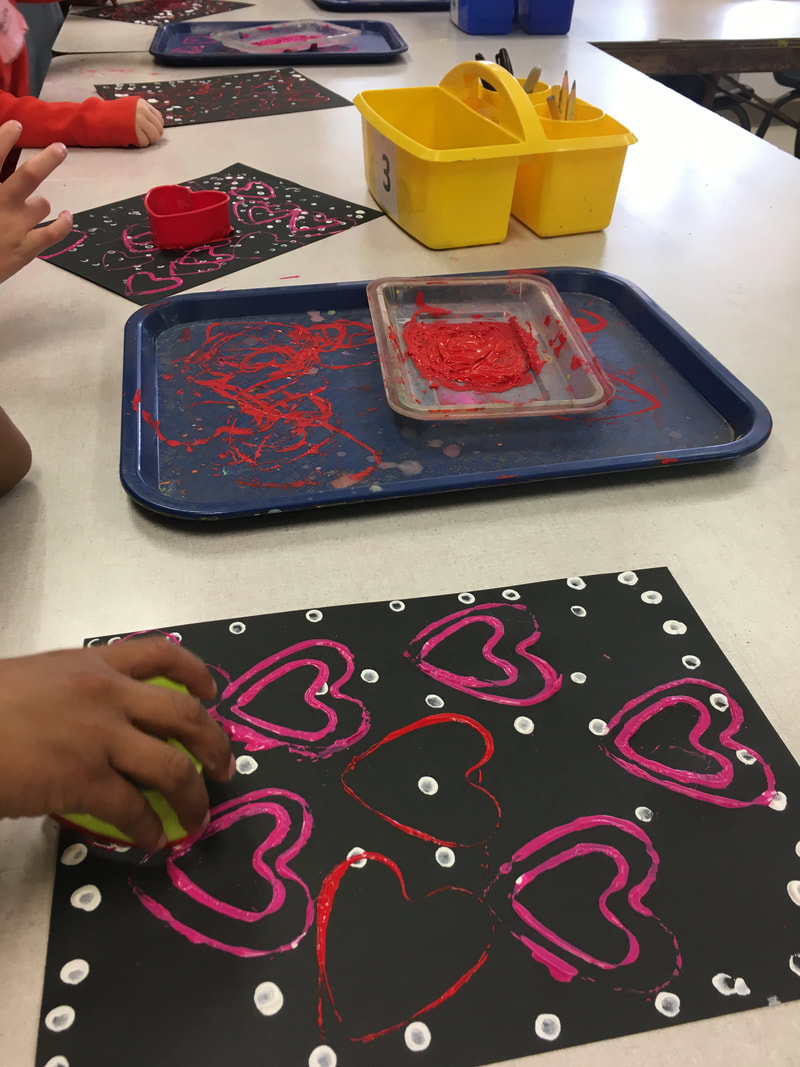
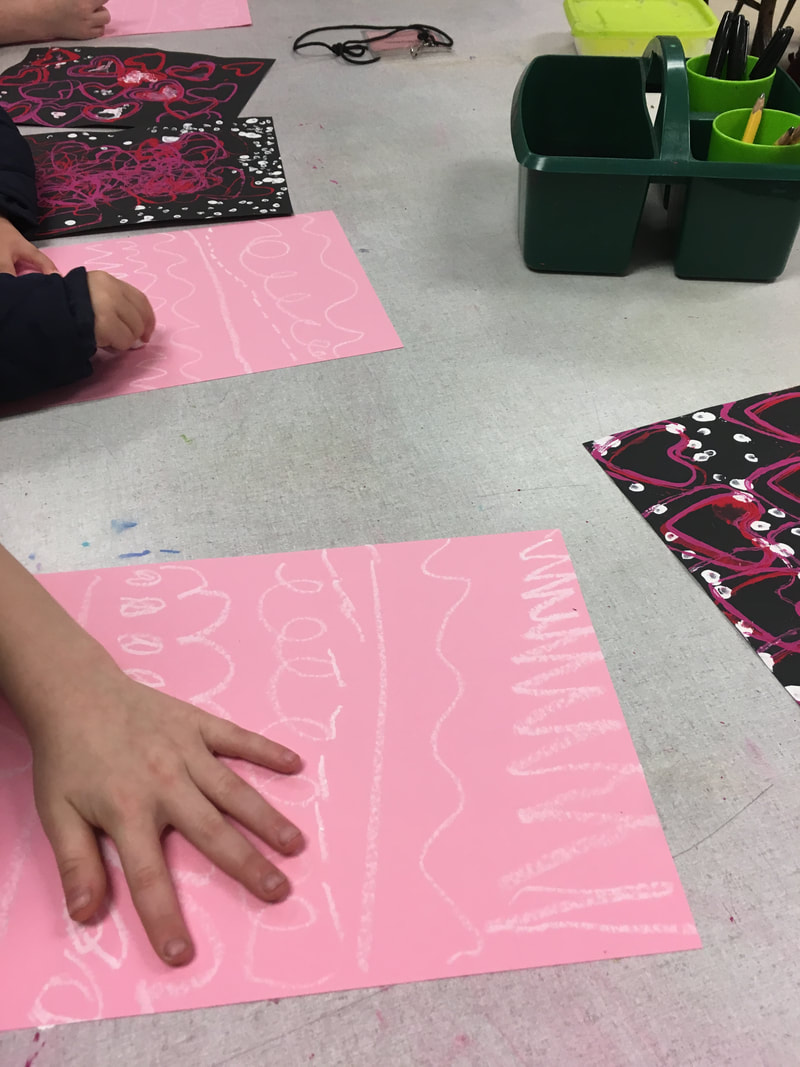
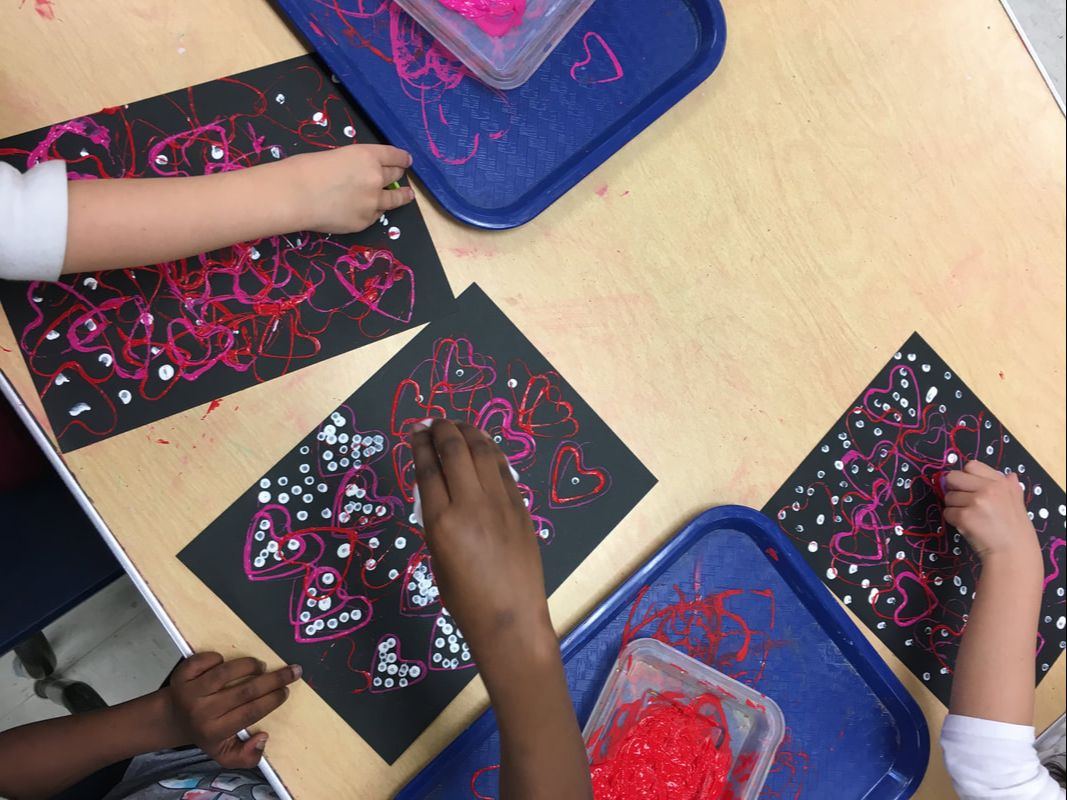
Now, I've made the switch to cookie cutters and I had students use oil pastel to create a variety of line types on their paper. I could also have them sew the sides, but I like keeping this lesson to two class periods and not any longer. The cookie cutters were in a set from Amazon. I use them all of the time for printing with pre-k! Each group gets one color to print for a few minutes, then I switch the trays and they get the next color. On the second day of the lesson, we created line types on a new red or pink paper with oil pastel. Then, we traced a heart on the back of their black paper, cut it out, and used a glue sponge to glue it. |
Madeleine PinaireI am an ninth year art teacher with degrees in Art Education from Flagler College and the University of Florida, living and working in northern Florida. Each week, I teach over six hundred students in grades kindergarten through fifth. Here you will find what we are learning virtually and in the art classroom! Archives
August 2020
Categories
All
|

 RSS Feed
