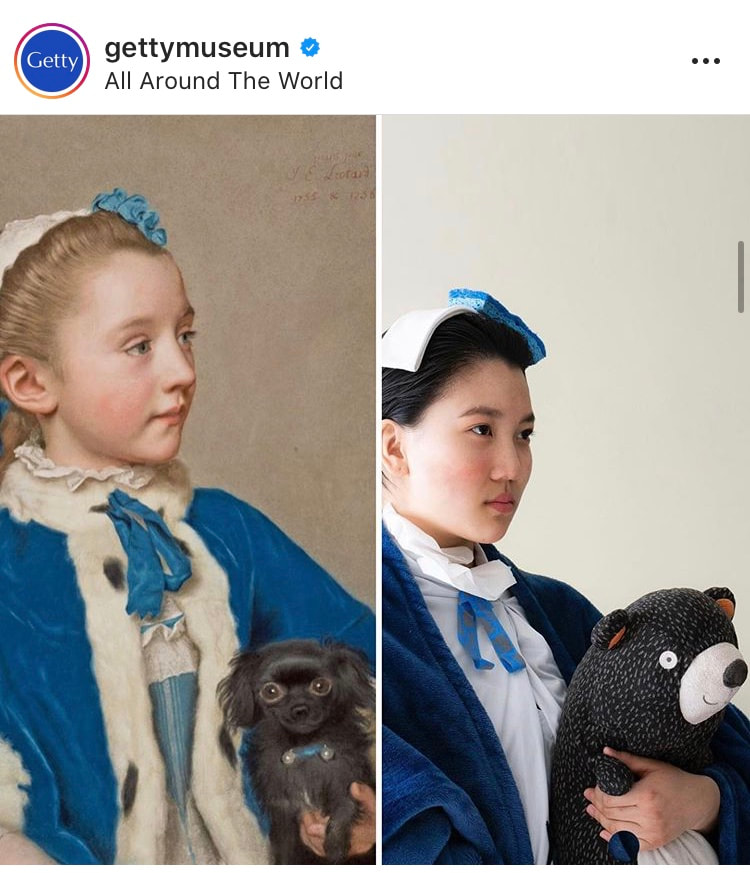
Getty Museum Challenge!
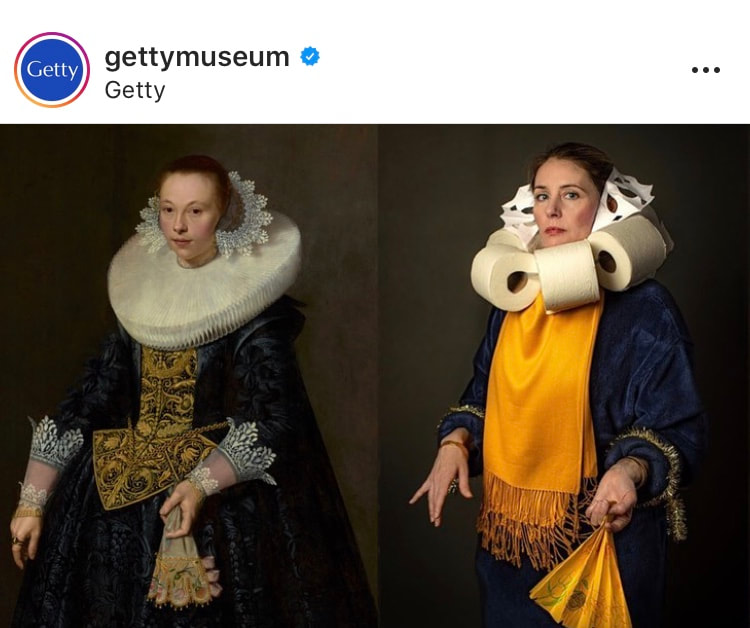
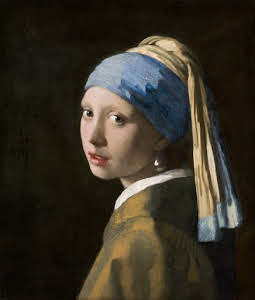
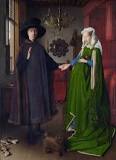
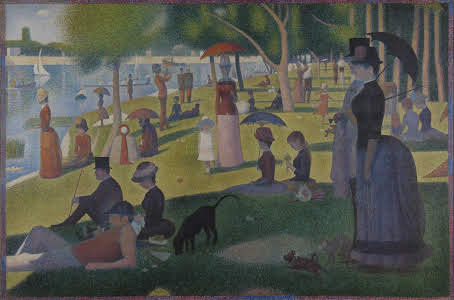
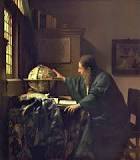
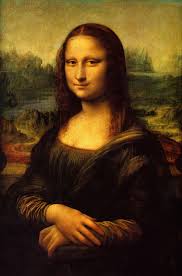
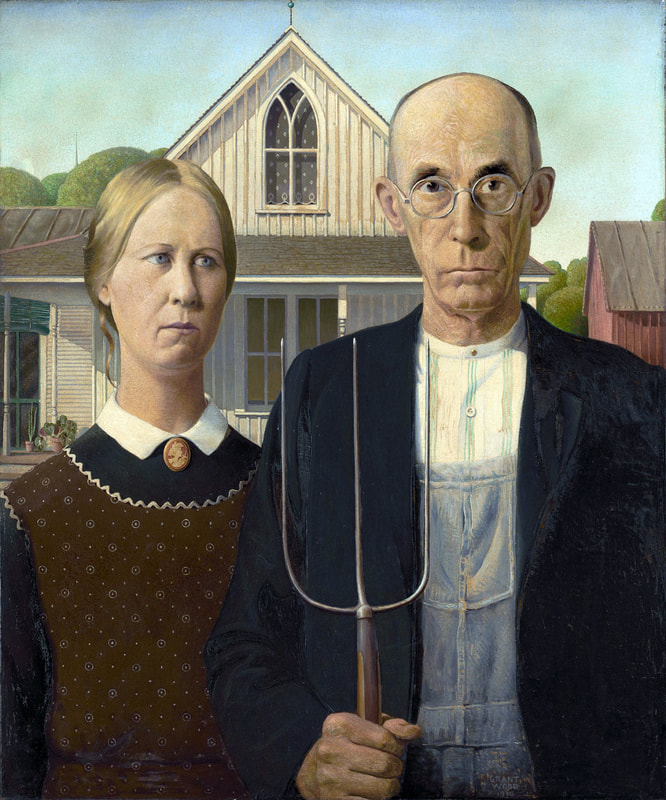
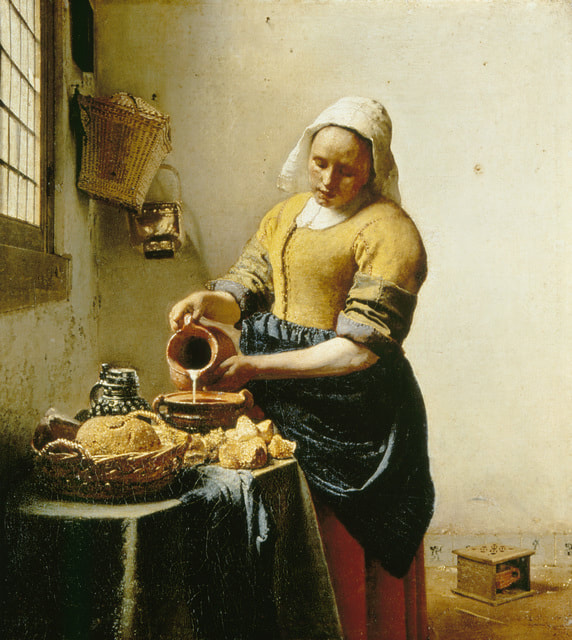
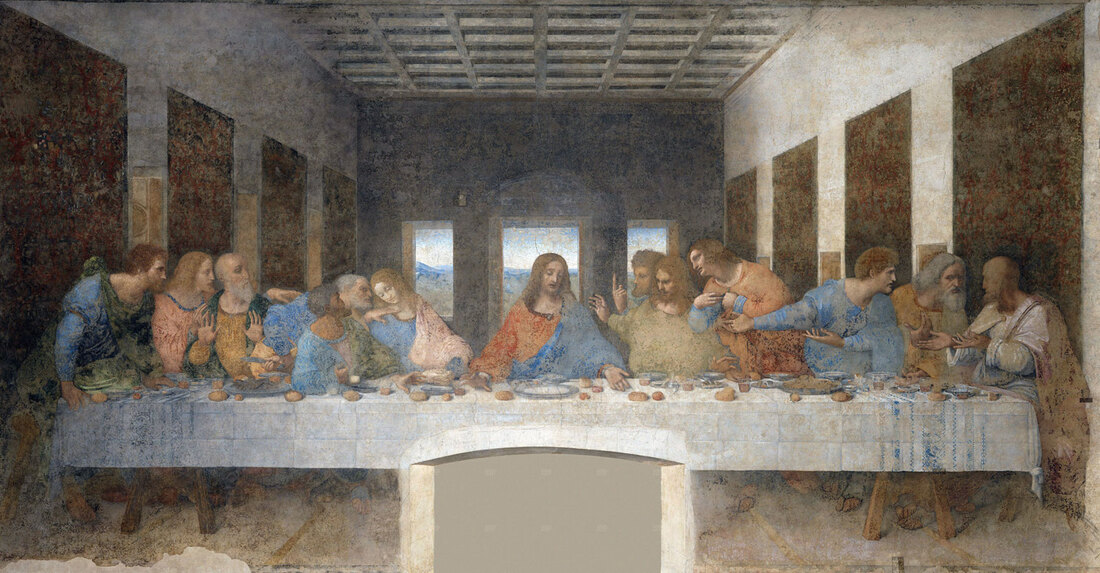
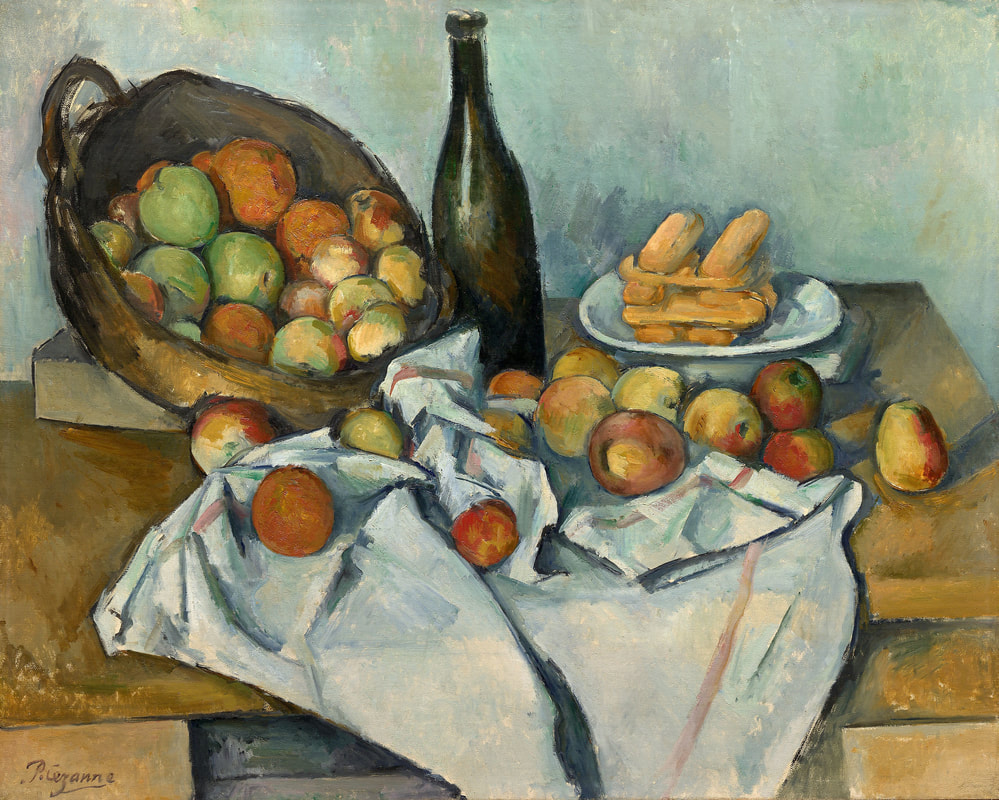
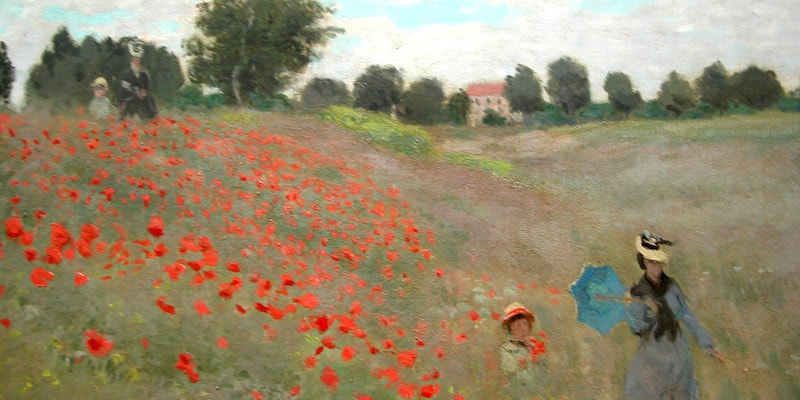
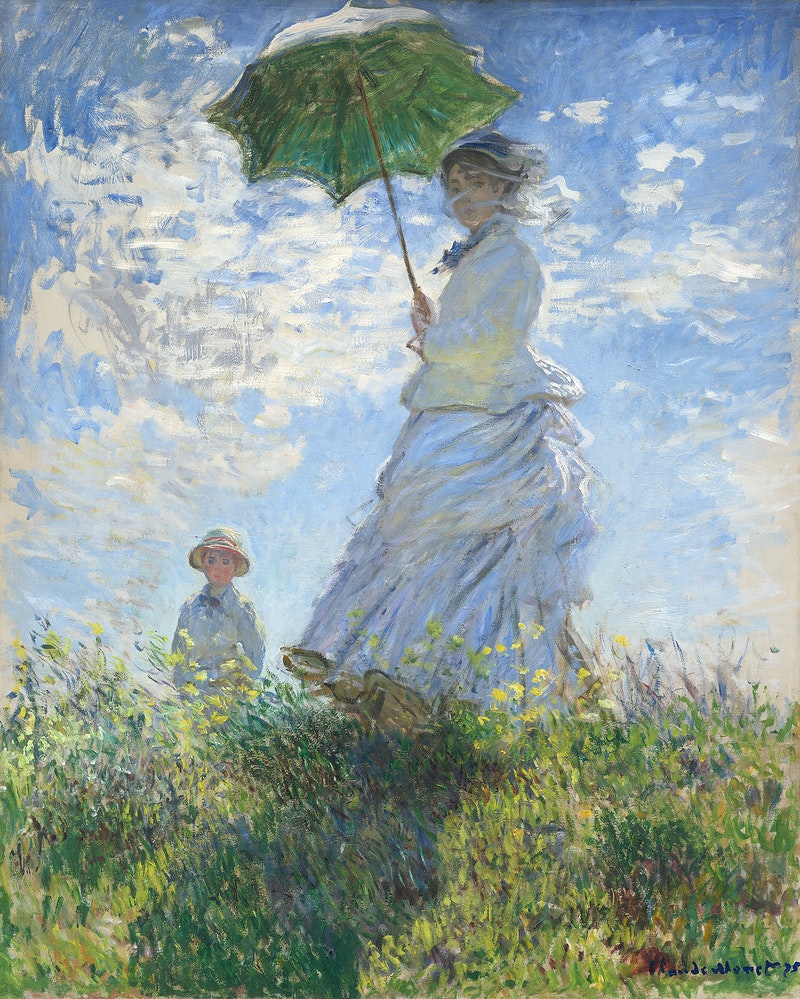
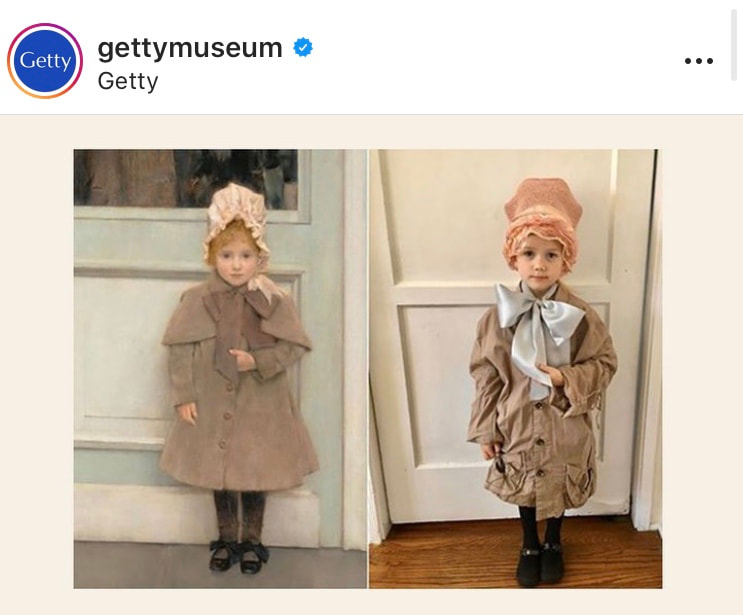 Assignment: Recreate a famous artwork using household materials and maybe even yourself! This challenge has been going around online and I thought it would be a fun way for students to learn to identify a few famous artworks and artists. The Getty Challenge is worth researching! The images will make you laugh! When researching artworks, please keep in mind that not all artworks are appropriate for young artists. I recommend parents research and pre-select a handful of well known artworks that could work for the assignment and then have your child choose one. I personally think the artworks with people are incredible for this challenge and they are even better when recreated with children. Artwork can be from any museum. Some helpful information from the Getty Museum can be found HERE. After you pick a famous artwork to recreate, learn the medium, the artist, and when it was created. Then, start studying the visual details! What is in the background? What is the expression on the face? What is the person wearing? What colors did the artist use? Look closely! Decide what you have in your house that might match the color, texture, shape etc. and could help you to replicate the masterpiece! Below are a few images to get you thinking. You can, of course, research more artworks. Artists and titles listed below. Artists: Klimt, Portrait of Adele Bloch-Bauer Vermeer, Girl with a Pearl Earring, The Milkmaid, The Astronomer (Many good school appropriate portraits from this artist if you want to research more) Van Eyck, The Arnolfini Portrait Caillebotte, Paris Street Seurat, A Sunday on La Grande Jatte Leonardo da Vinci, Mona Lisa, The Last Supper, Lady with an Ermine Cezanne, Basket of Apples Monet, Poppy Fields, Woman with a Parasol Whistler, Whistler's Mother Wood, American Gothic
0 Comments
Florida State Parks from Anywhere!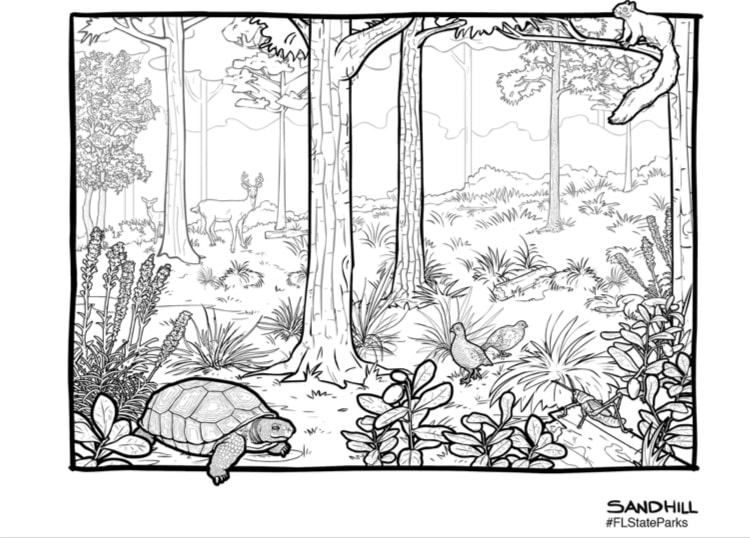 Art Assignment: Learn about animals in Florida and Florida's natural habitats. Color one or MORE of the coloring pages on the Florida State Park website.
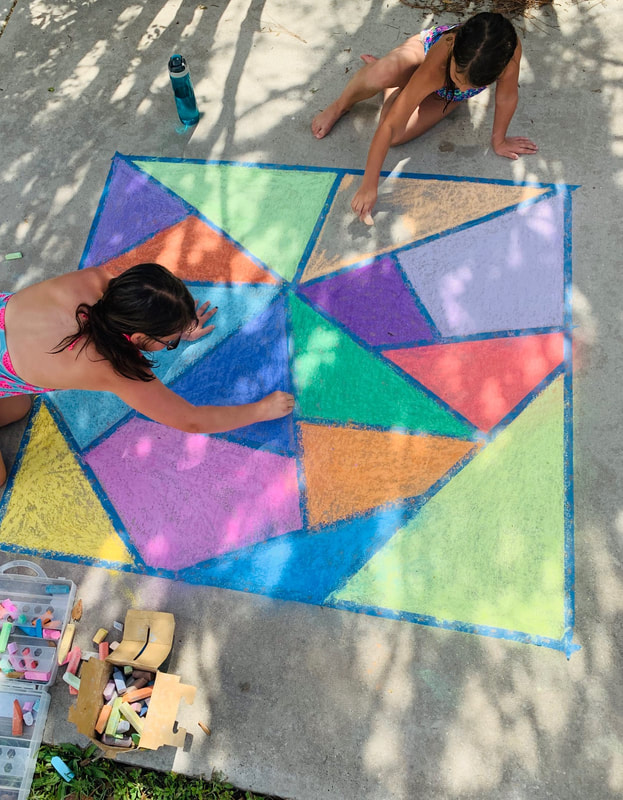
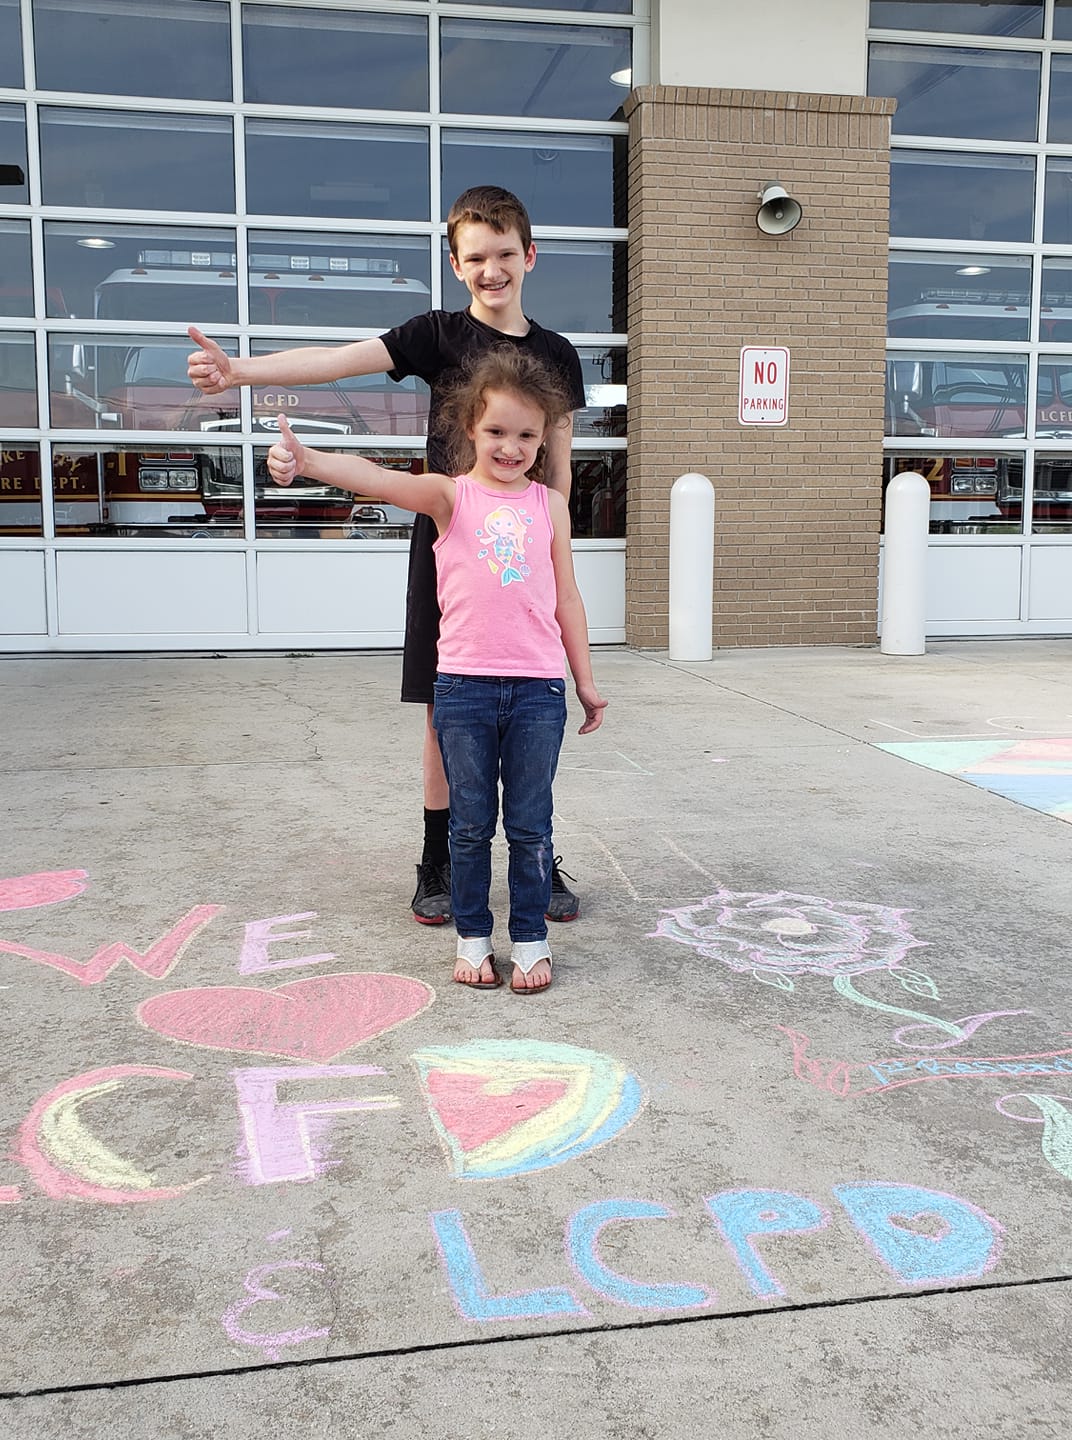
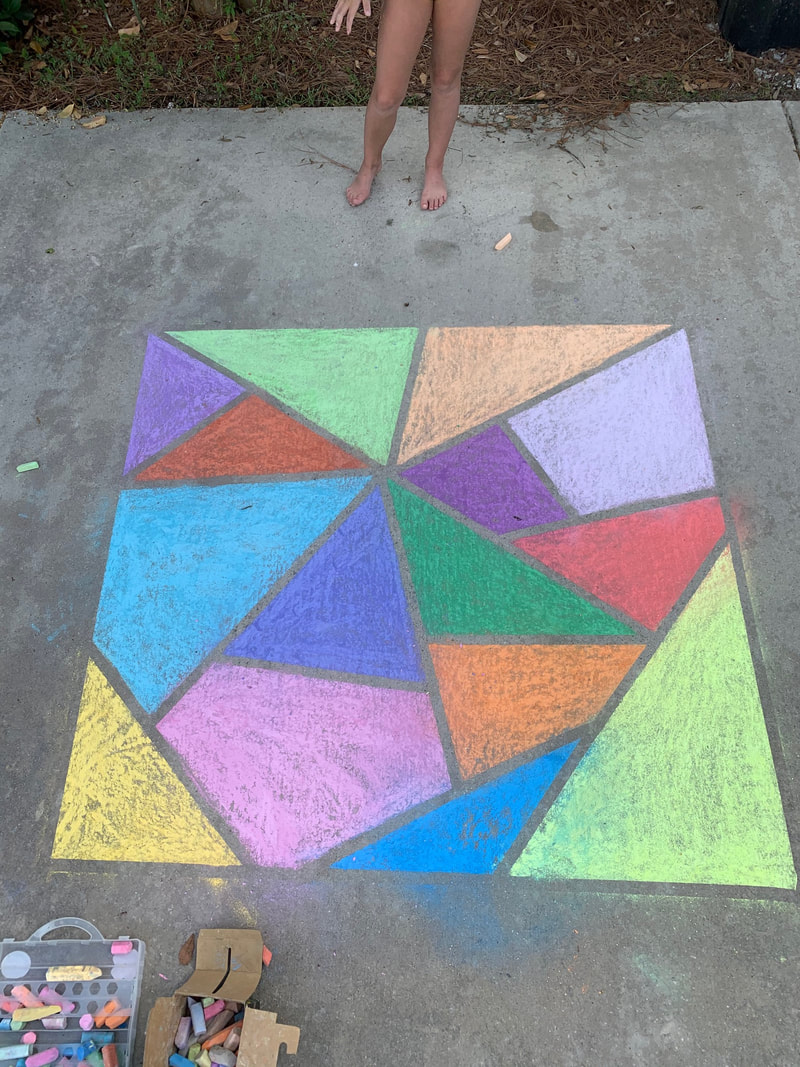
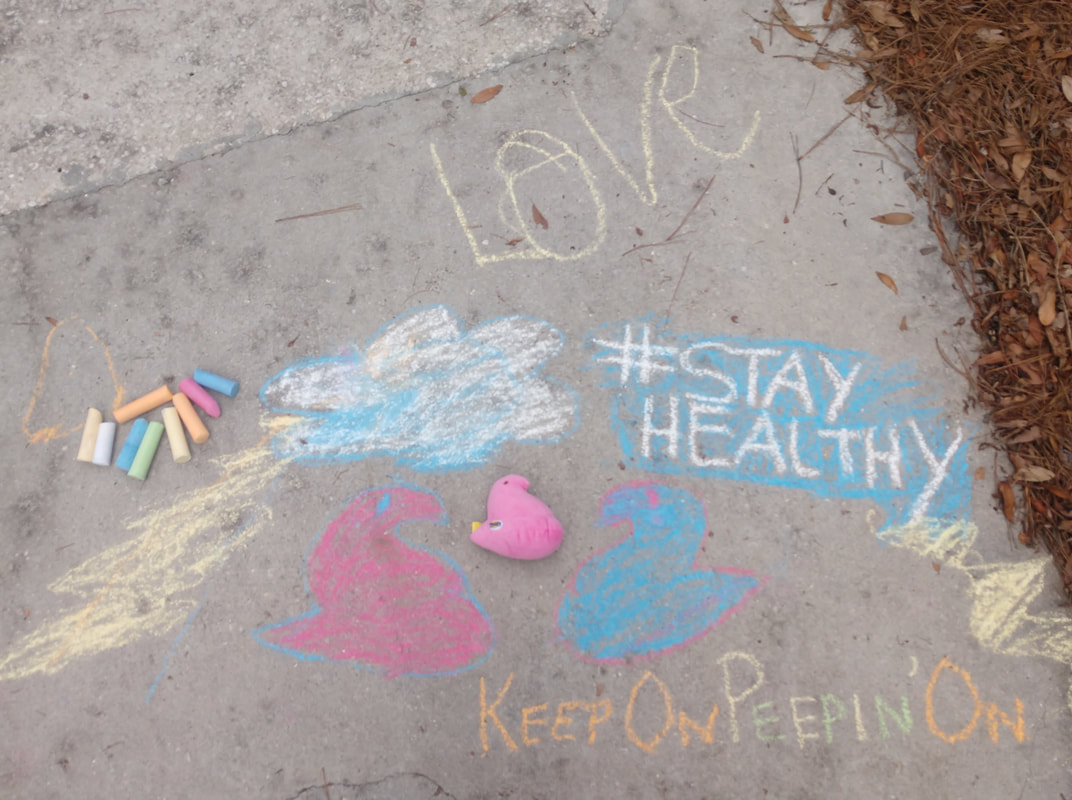
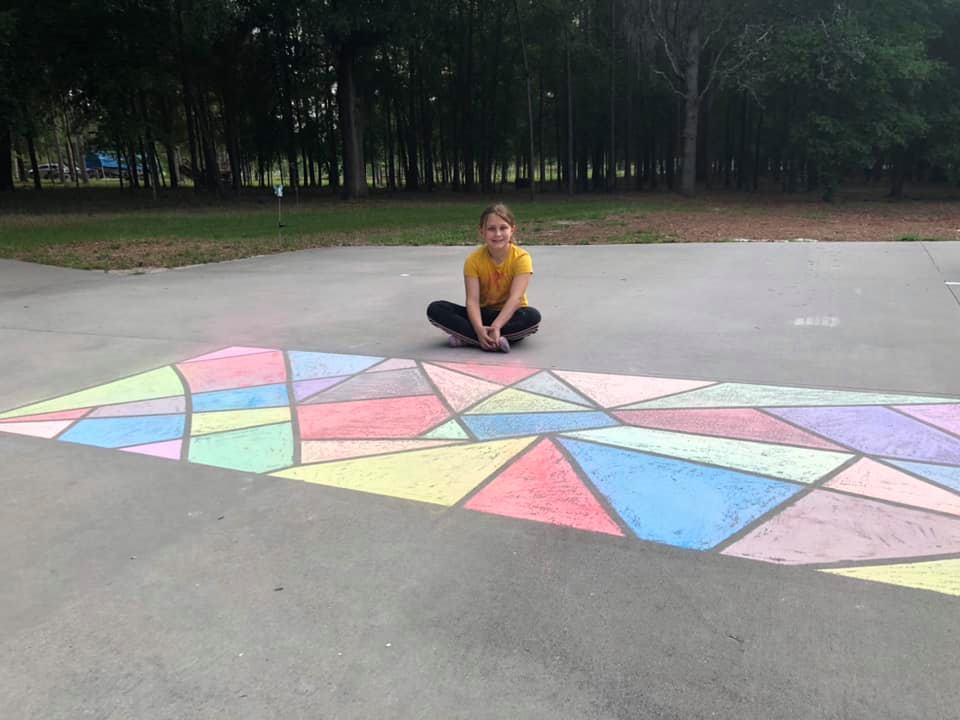
When we left school, we were all learning about Florida's animals and places, so it will be fun to continue learning about nature. This topic is so special to me because being outside, hiking, camping, and observing nature are some of my favorite things! We are fortunate to have so many special parks nearby! From the website, you can also view live video from a few Florida State Parks. Maybe you will even become a Junior Ranger! Everything can be found on the Florida State Parks website HERE. Chalk Your Walk!
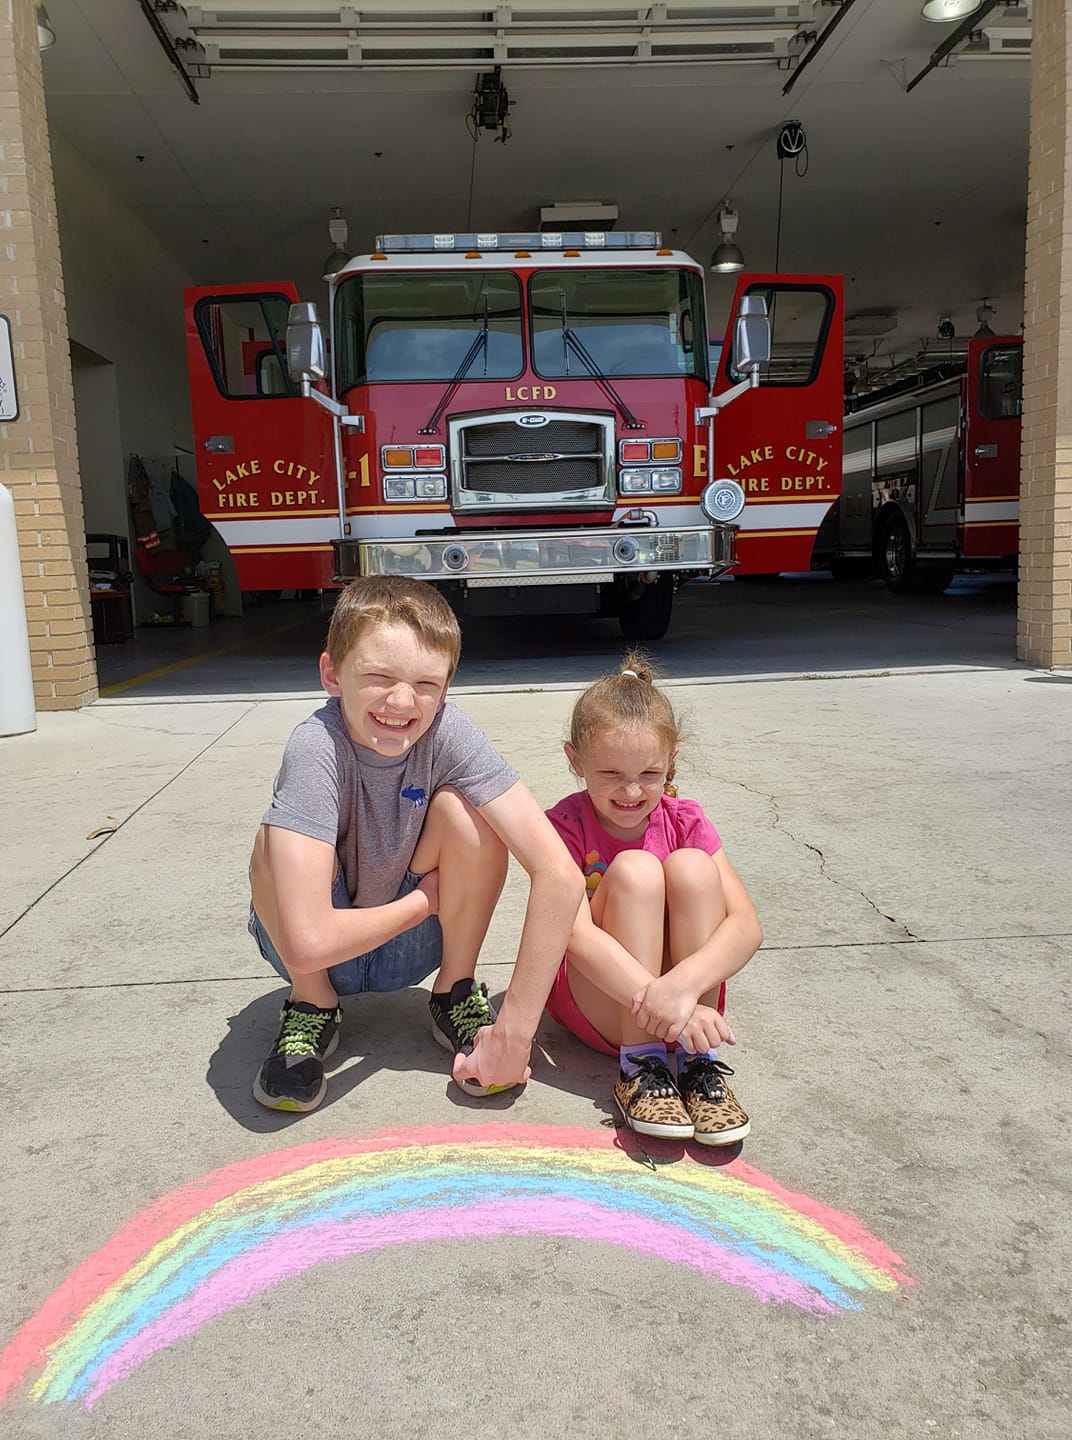
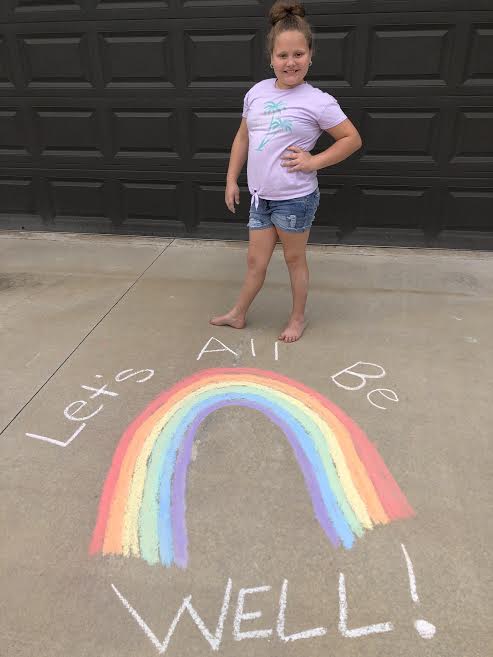
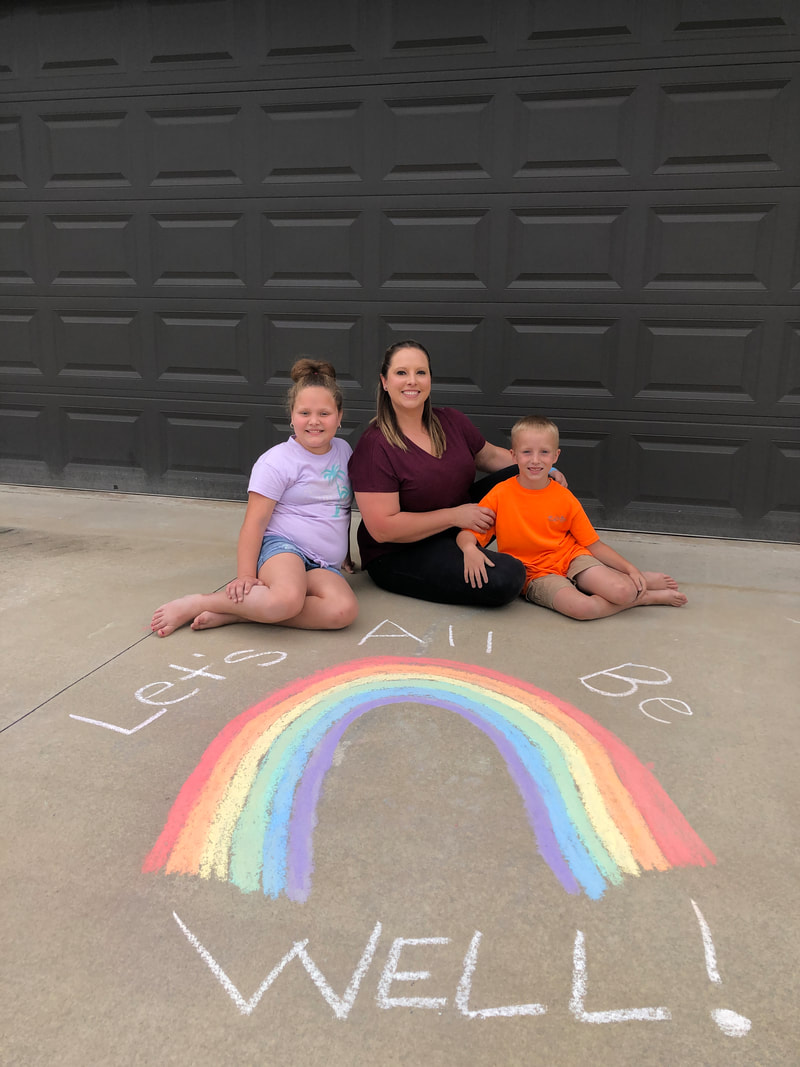
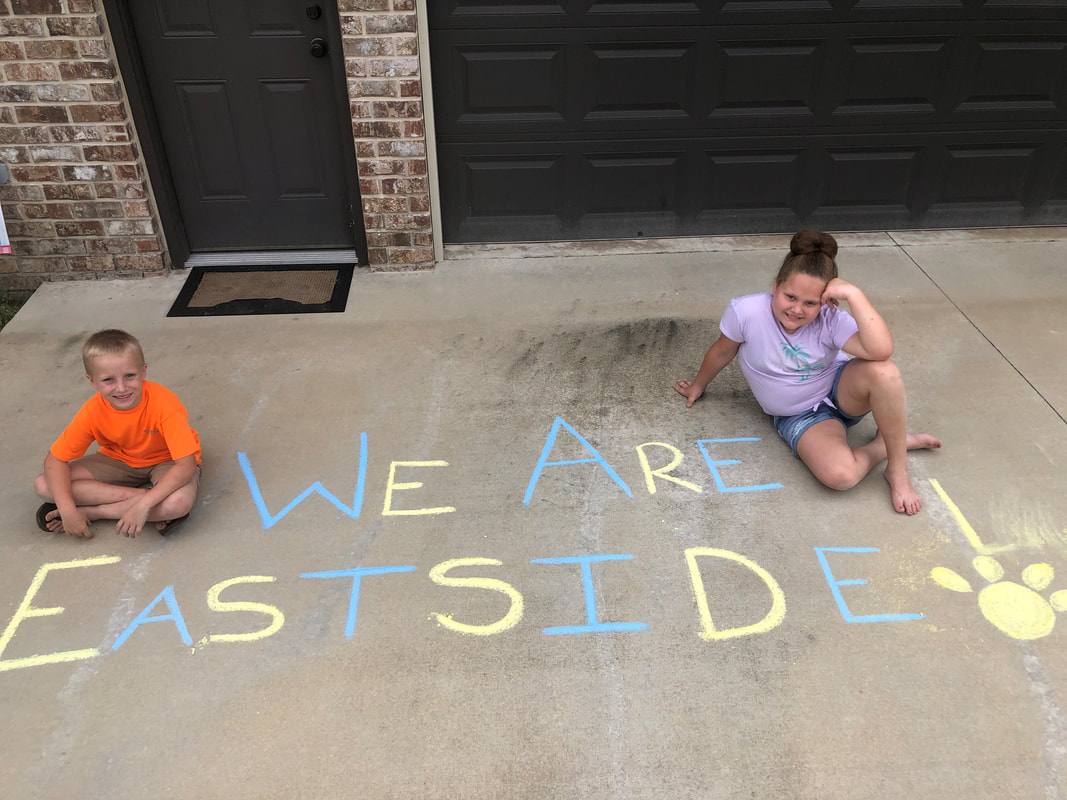
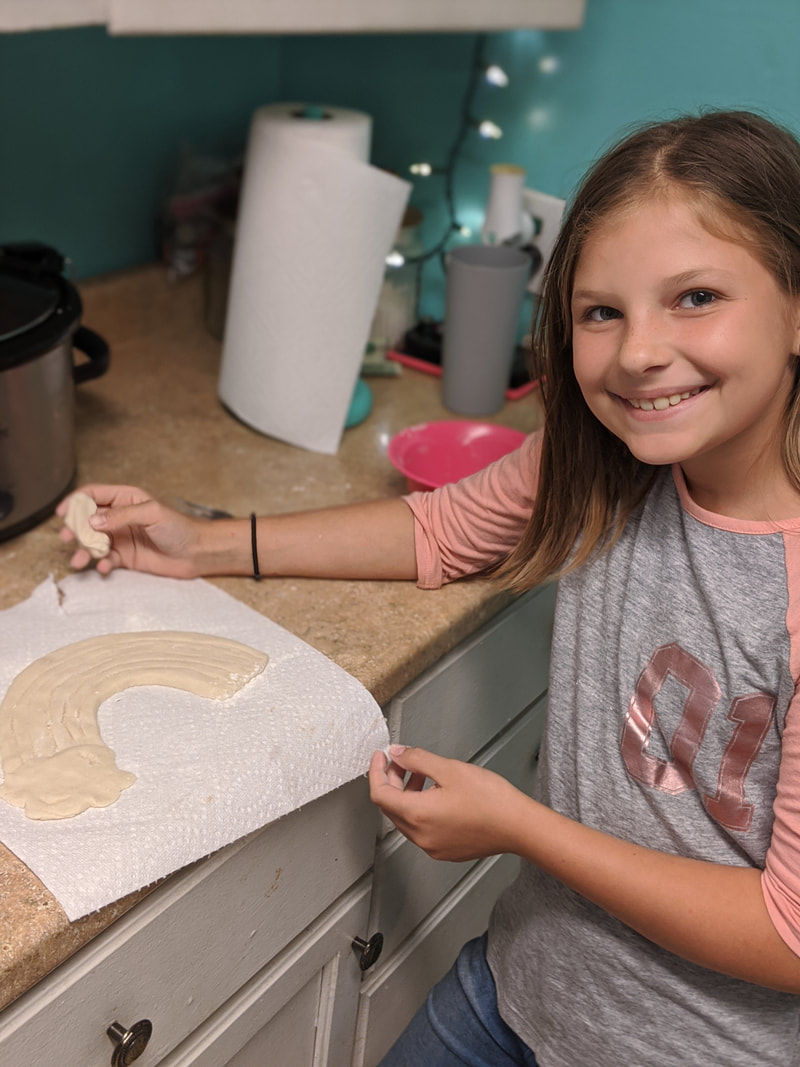
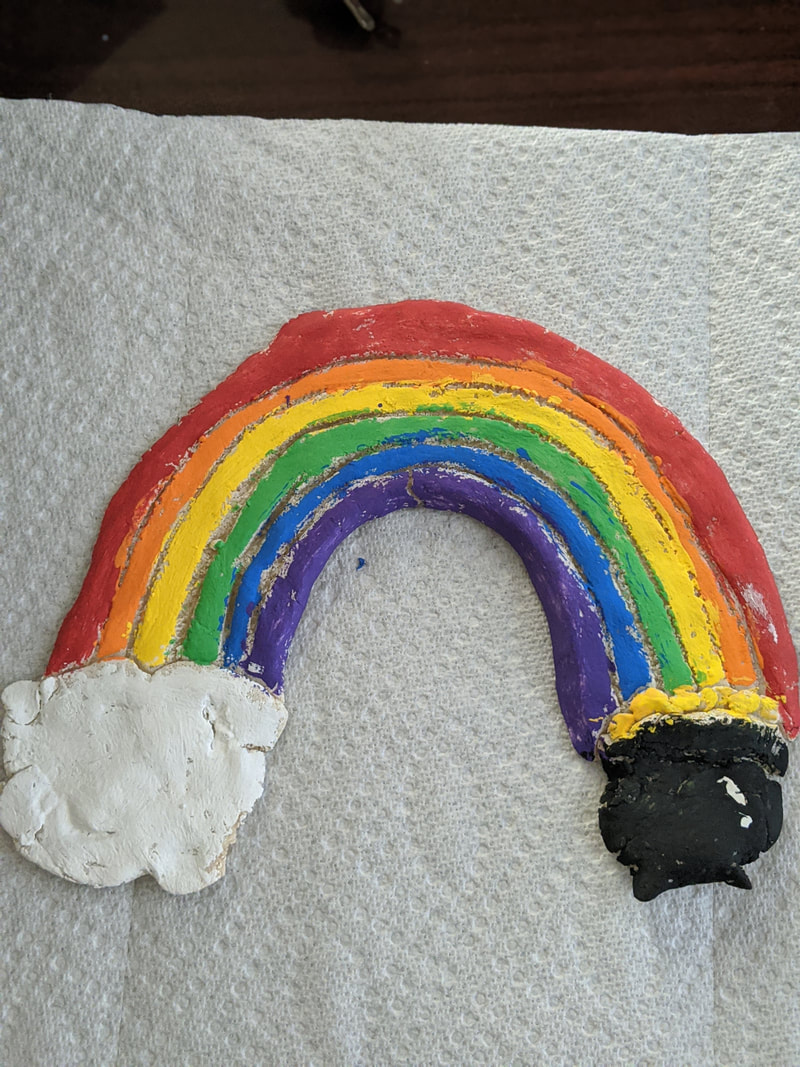
If you do not have sidewalk chalk or space outside, I want to challenge you to create uplifting pictures to hang in your windows. This would be a great time to do the rainbow lesson from week one if you haven't already. What other drawings or paintings could you put in your windows to make passersby feel happy?
Send pictures of your artwork to [email protected] I can't wait to see what you create! Marker Printing!
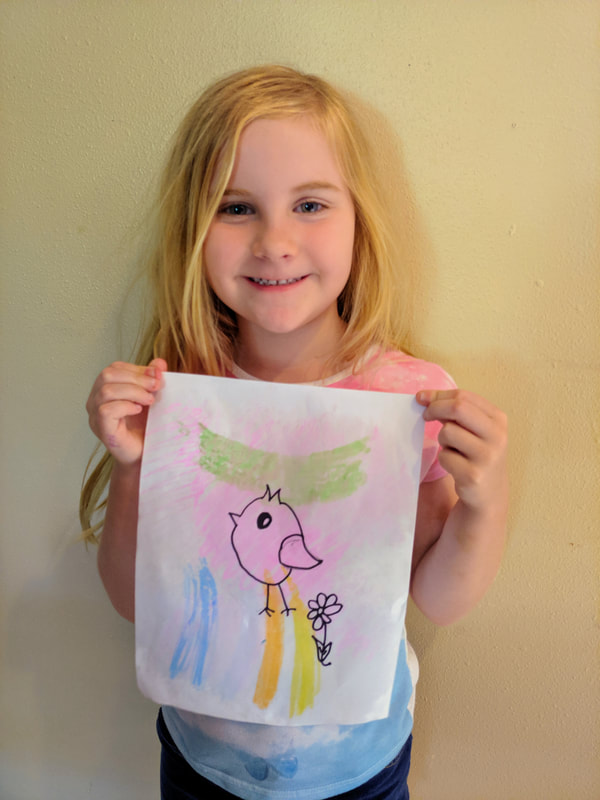
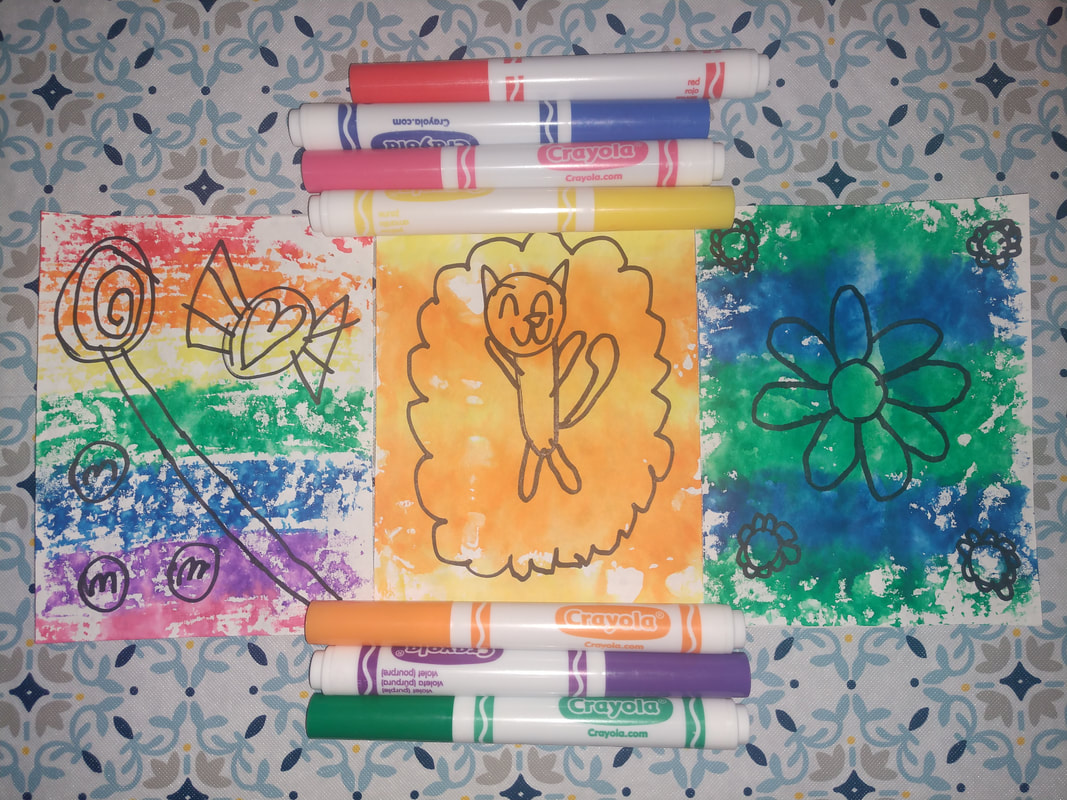
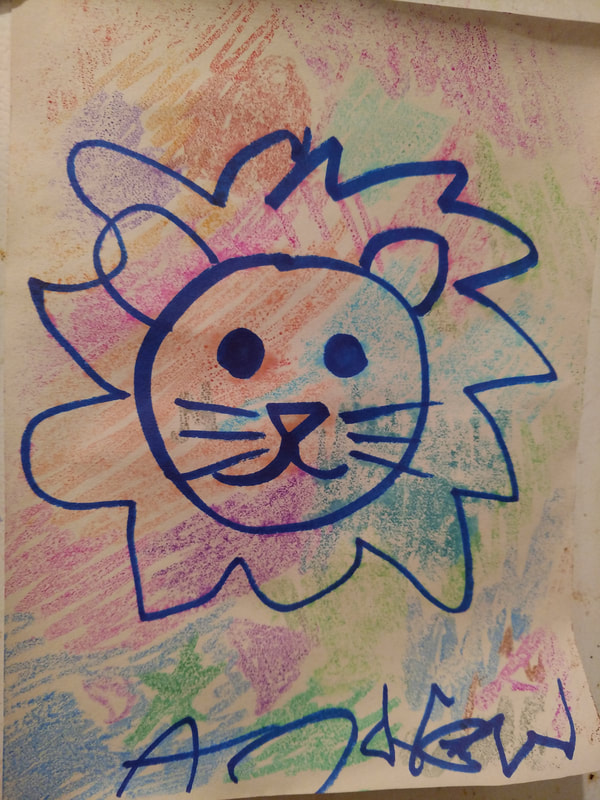
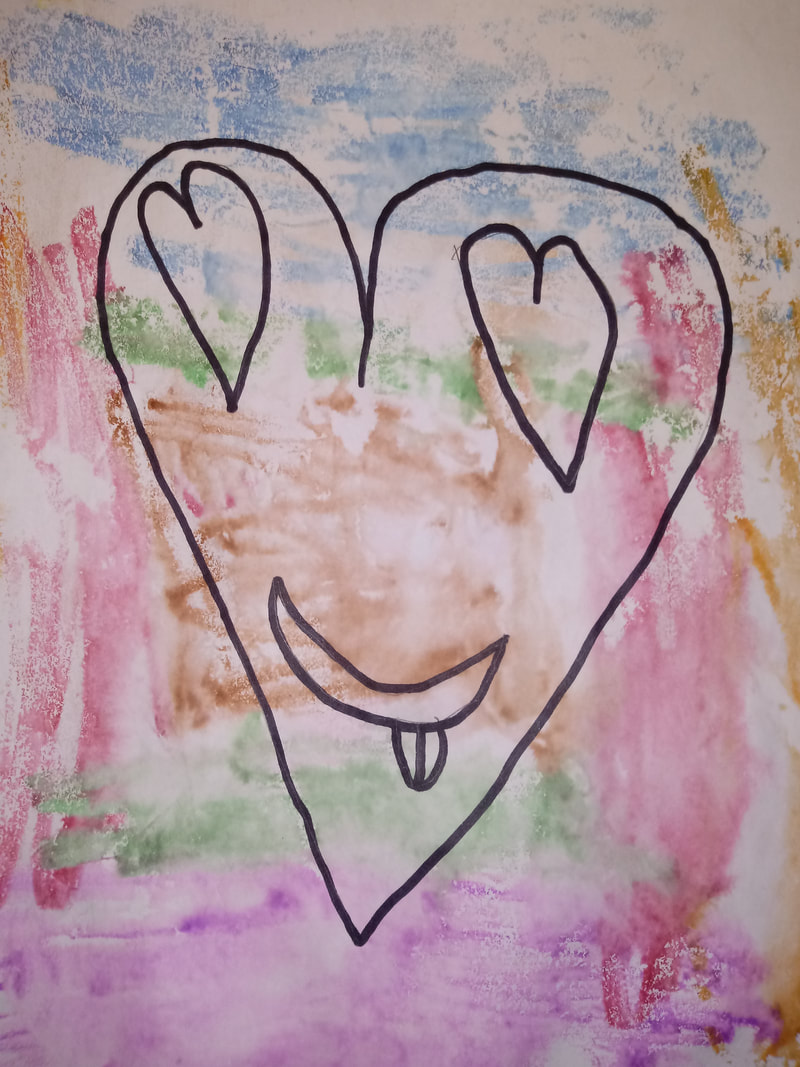
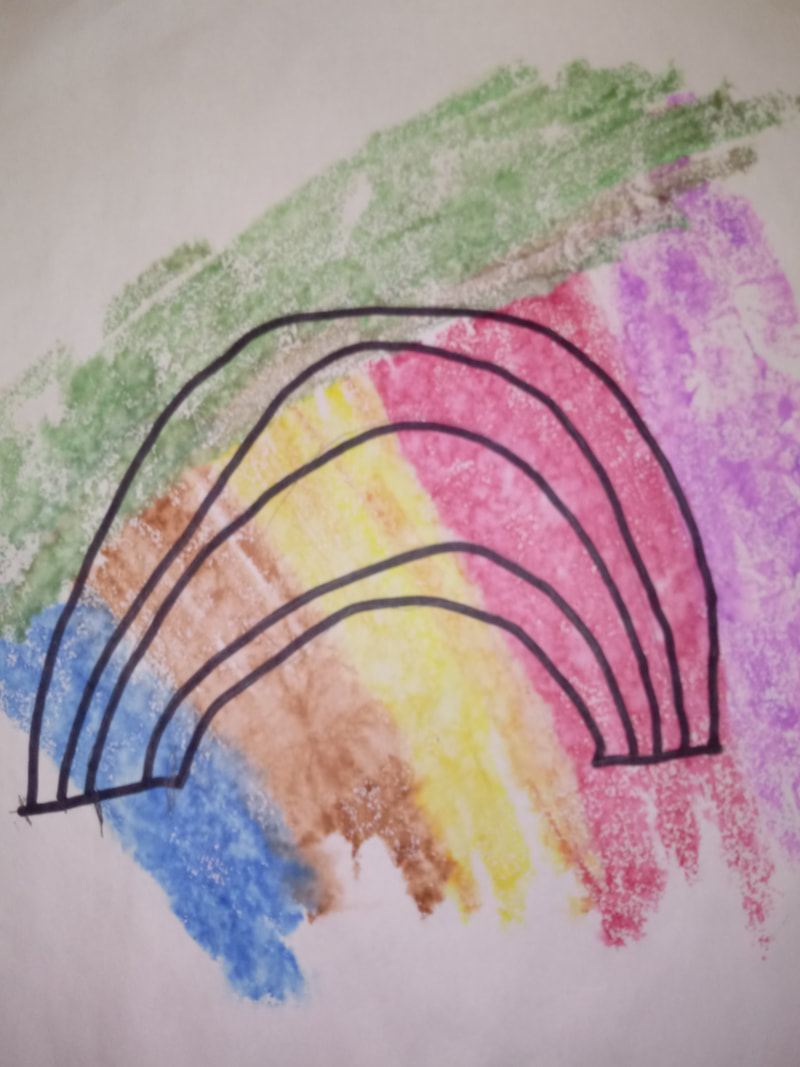
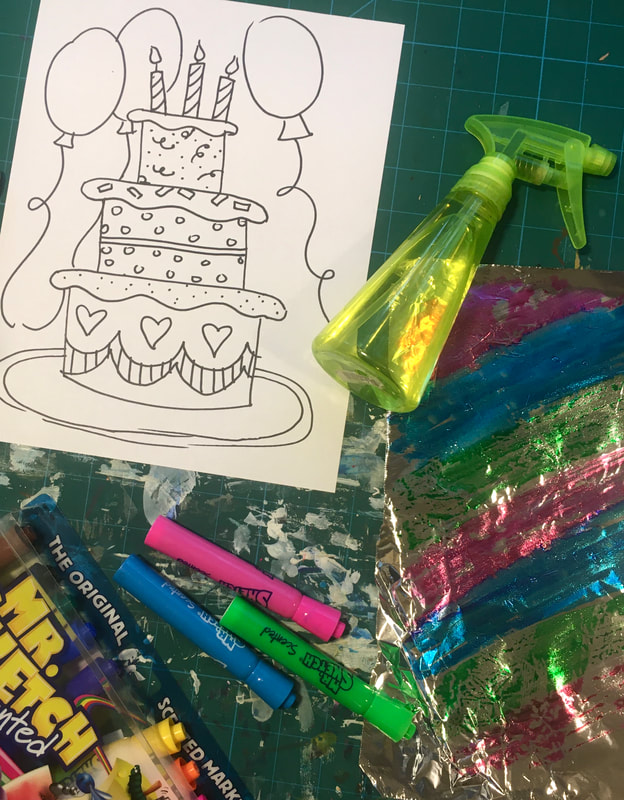
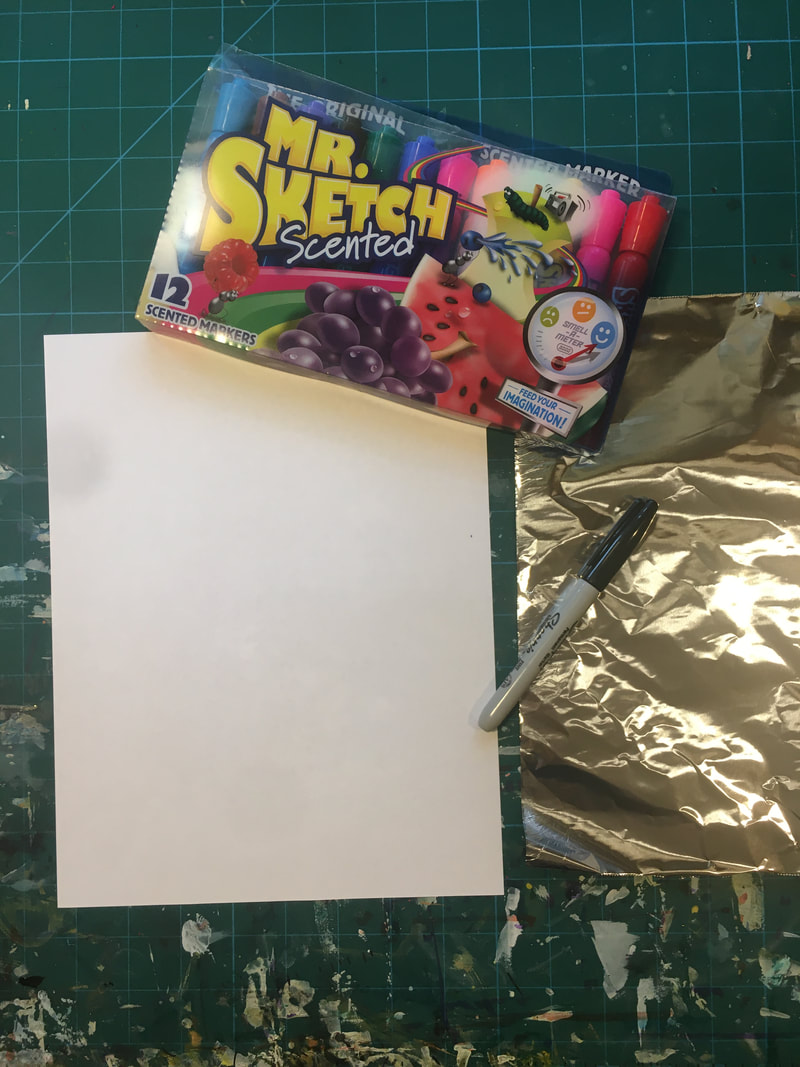
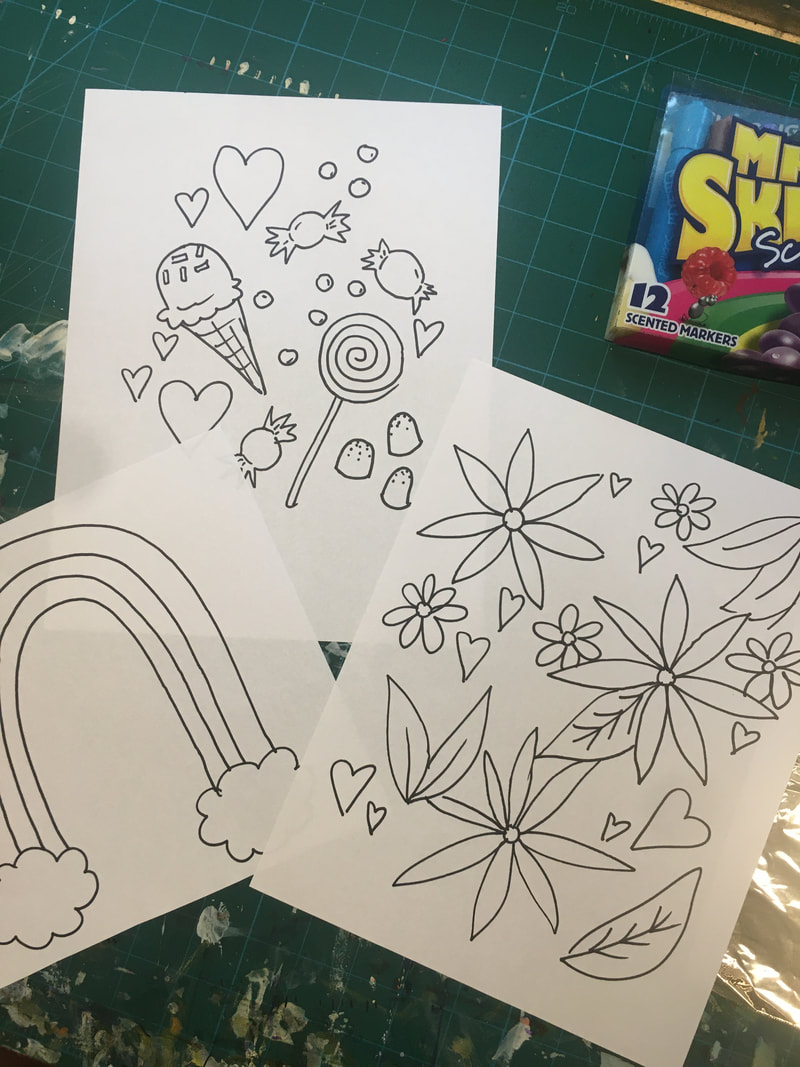
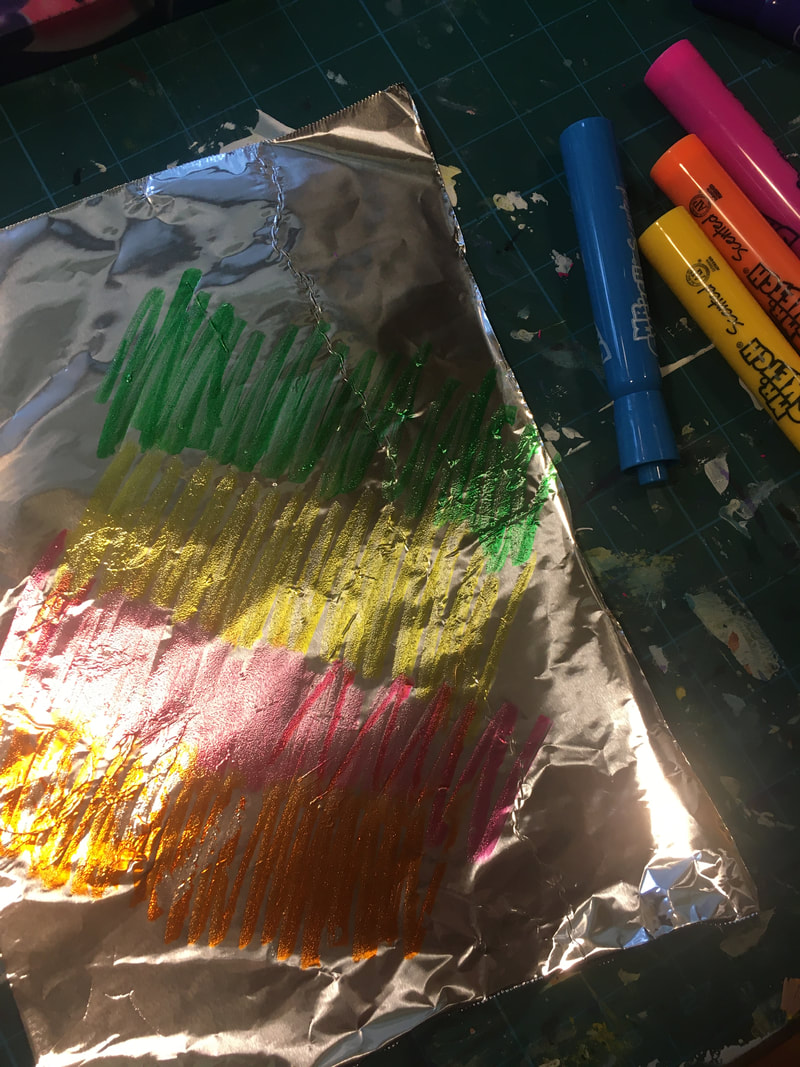
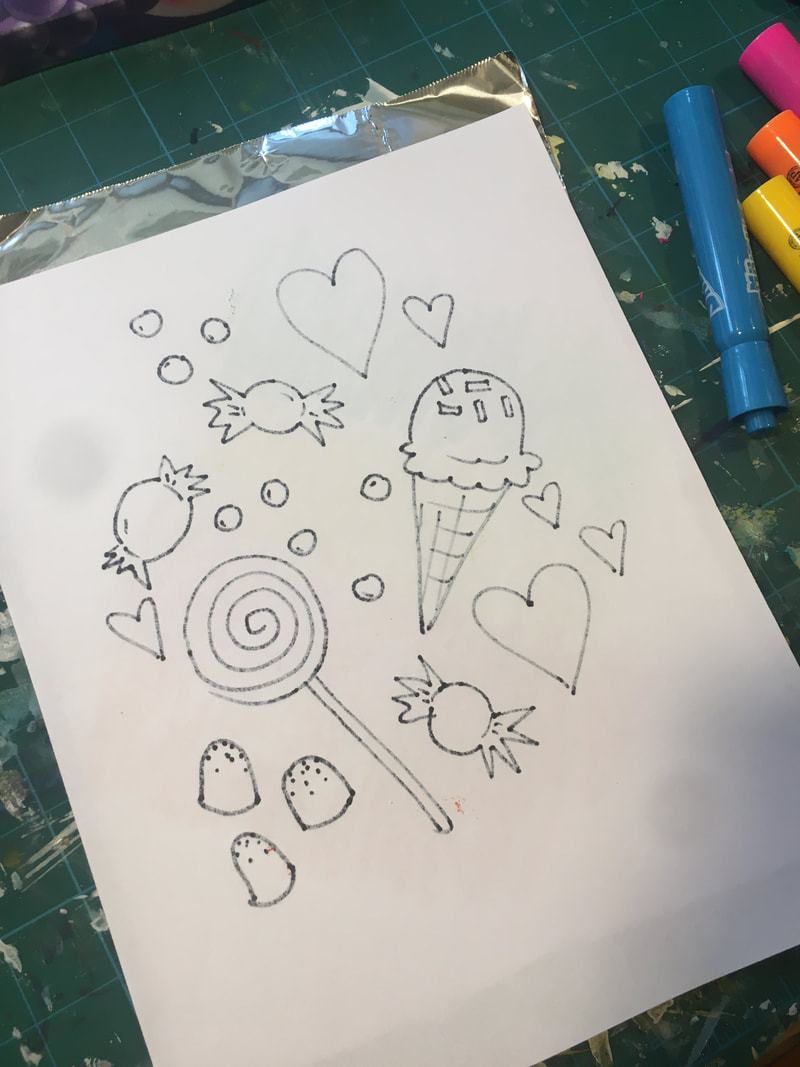
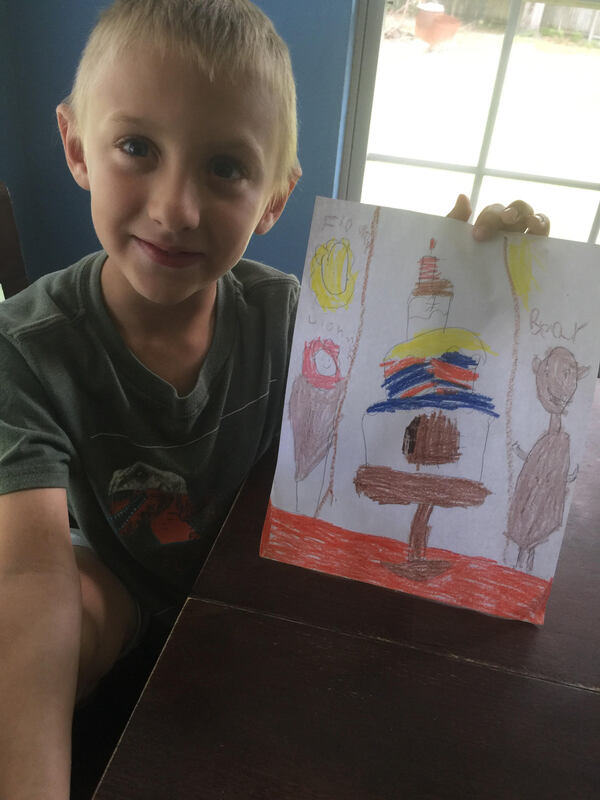
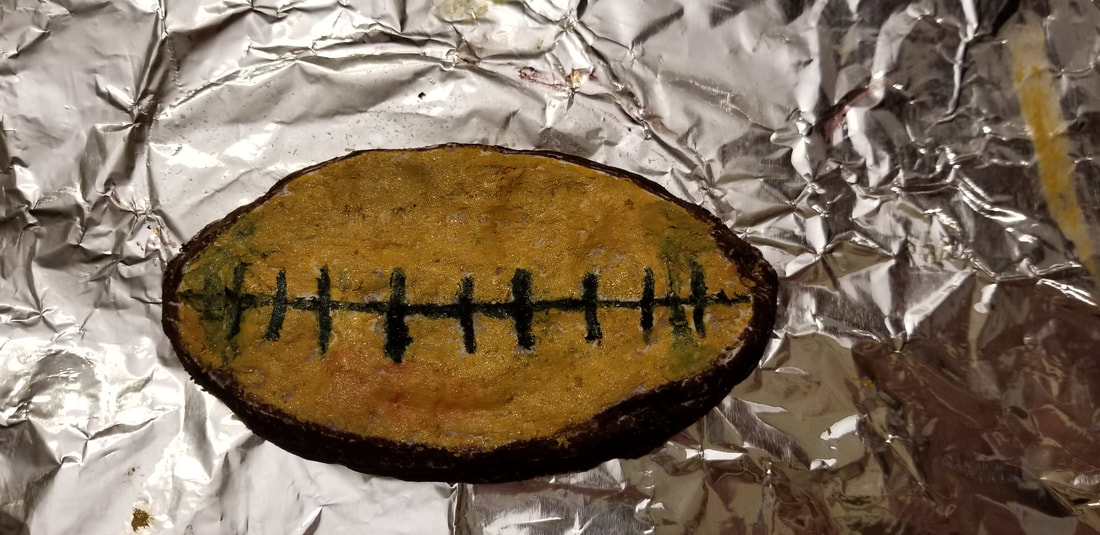
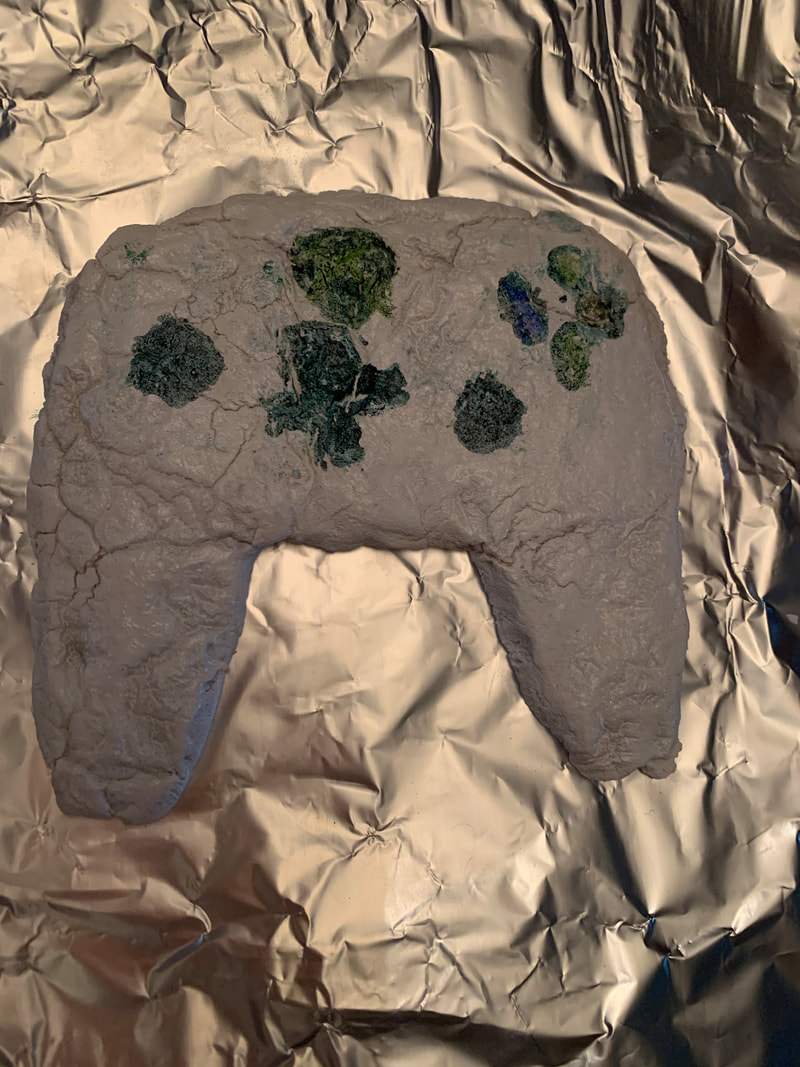
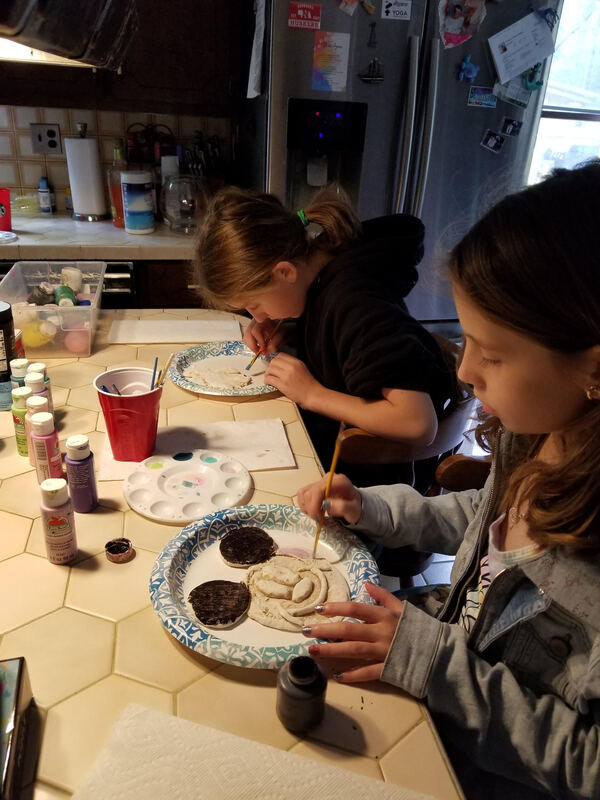
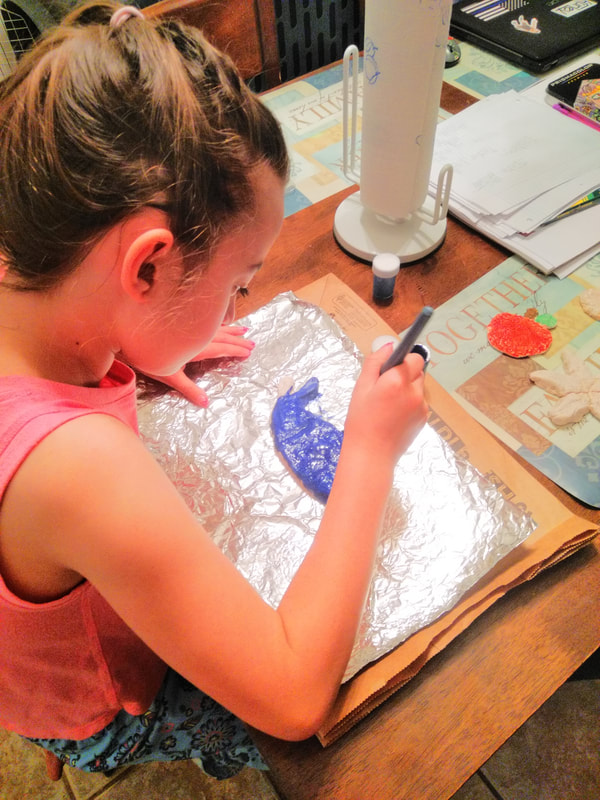
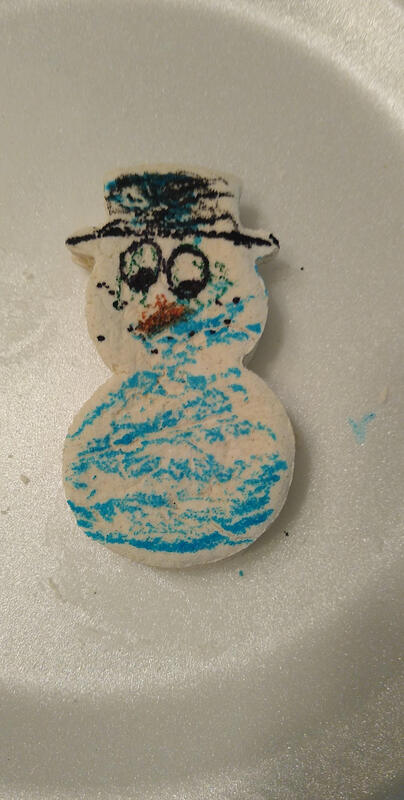
Marker printing is fun and easy! Remember, printing is the art word for stamping. With this project, you can make a variety of artworks in a short amount of time. Many of you have printed this year, but this is a printmaking method we have not done in class yet! Materials: Washable markers, permanent marker, spray bottle, paper, paper towel, one piece of aluminum foil that is about the size of your paper. You can cut paper in half if you want to make smaller artworks. You can even create cards by folding the paper in half and making the artwork on the front. Assignment: We are going to create marker prints! I want you to create at least three. First, draw a picture on the paper with a permanent black marker. Pick something you love and are good at drawing! You could also try drawing flowers, people, food, animals, a landscape, robots, palm trees, cars, or art supplies. Fill up your paper with designs and details! Next, color on the aluminum foil with washable markers, but don't use black! This color on the foil will be like your background, and you will not be coloring in the objects that you draw like normal. Spray your paper once or twice with a spray bottle and then flip the paper over onto the aluminum foil and smooth it out with your hands until you see the marker start to show through. Pick up the paper, and you have a print! You can do this without the spray bottle, but it will not have the watercolor effect. Markers that are more wet, like Mr. Sketch markers, will work best if you are not using a spray bottle. I can't wait to see the fun and colorful designs you create!
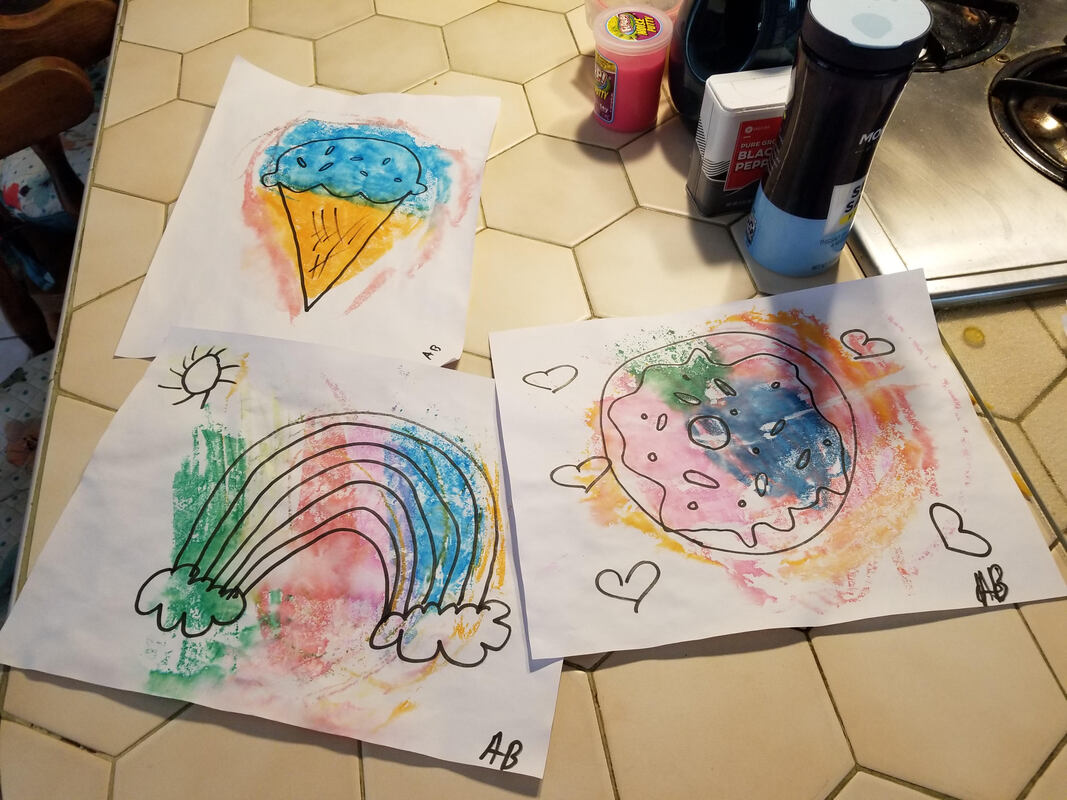
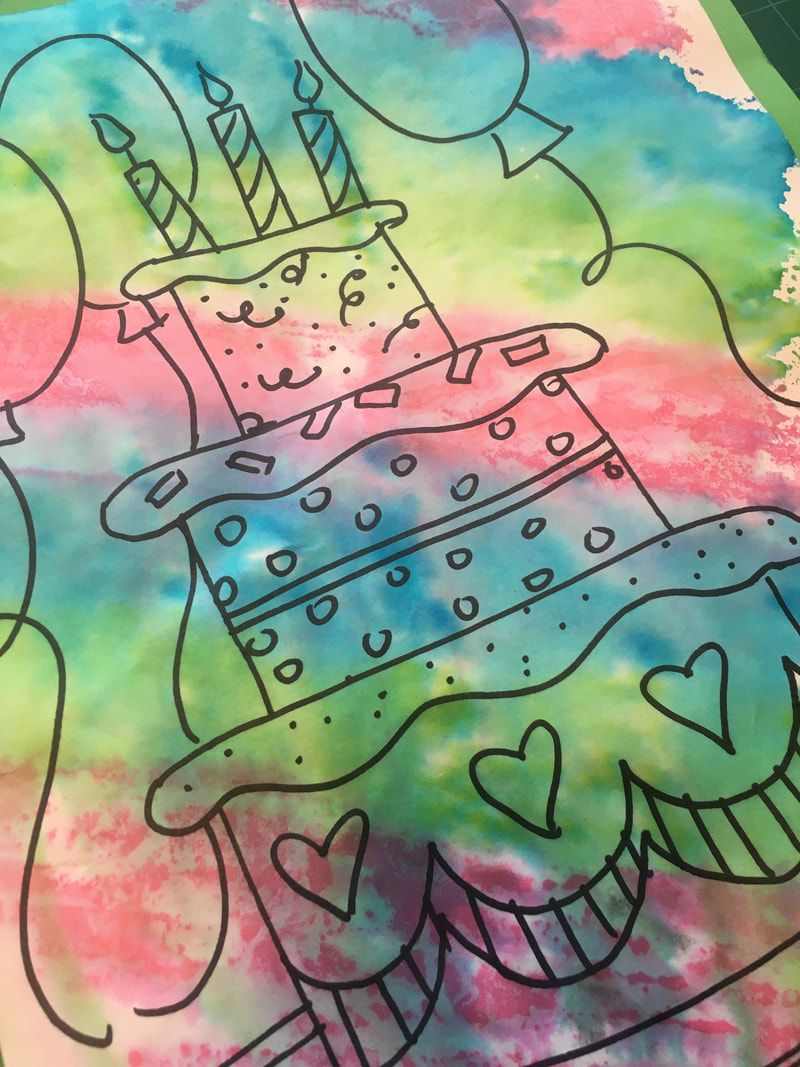
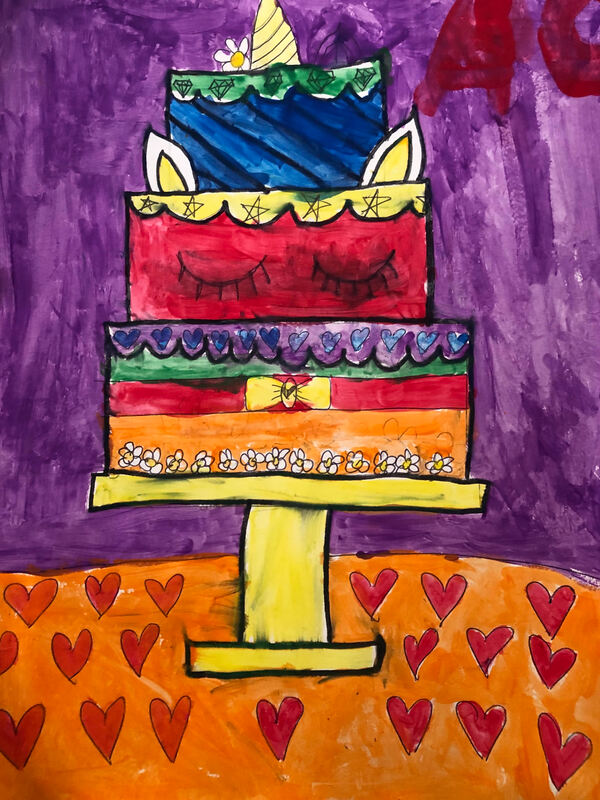
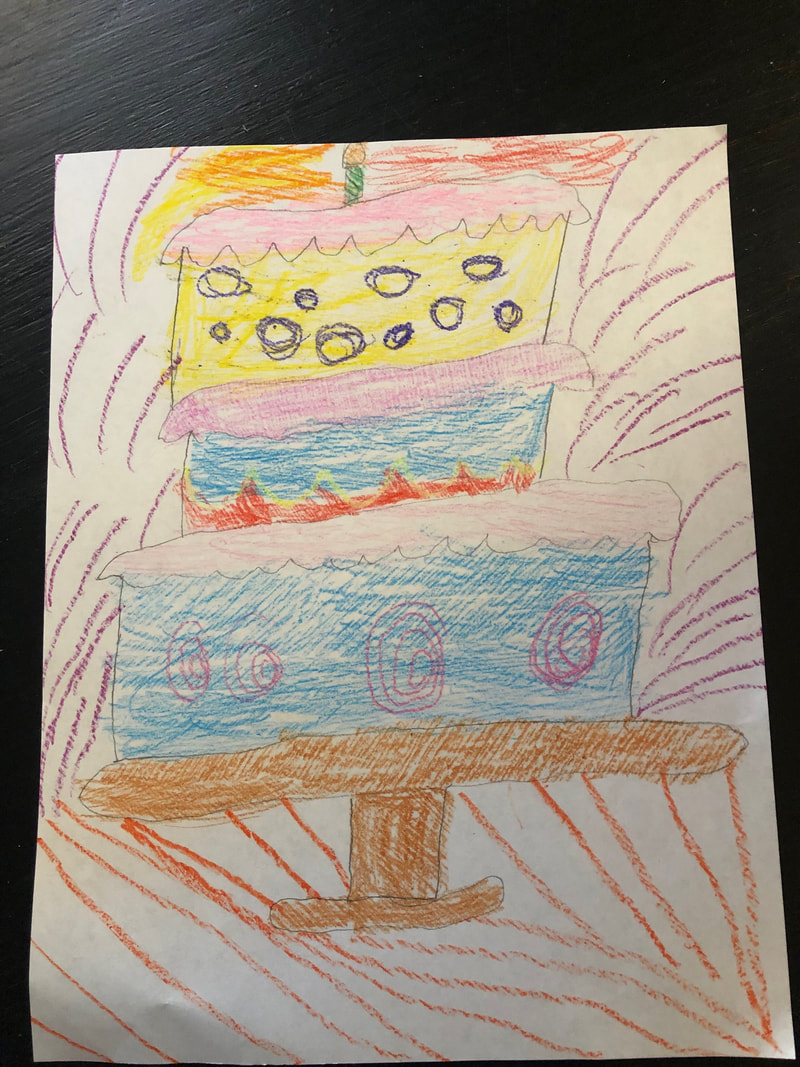
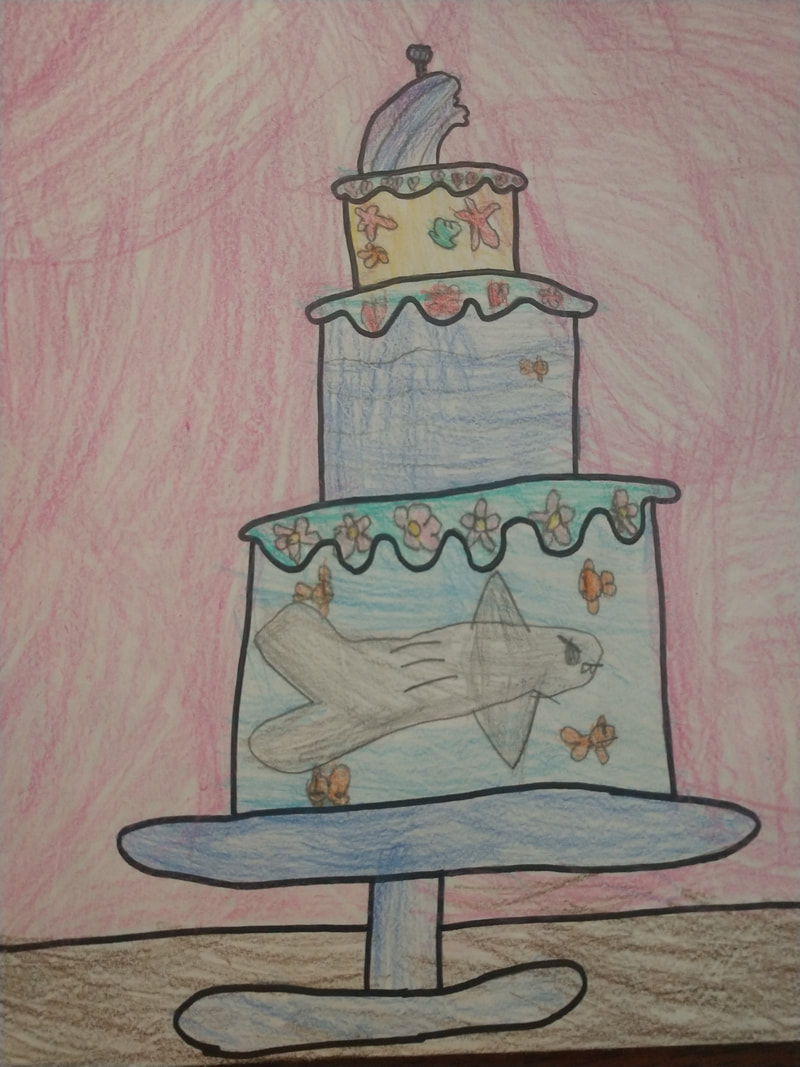
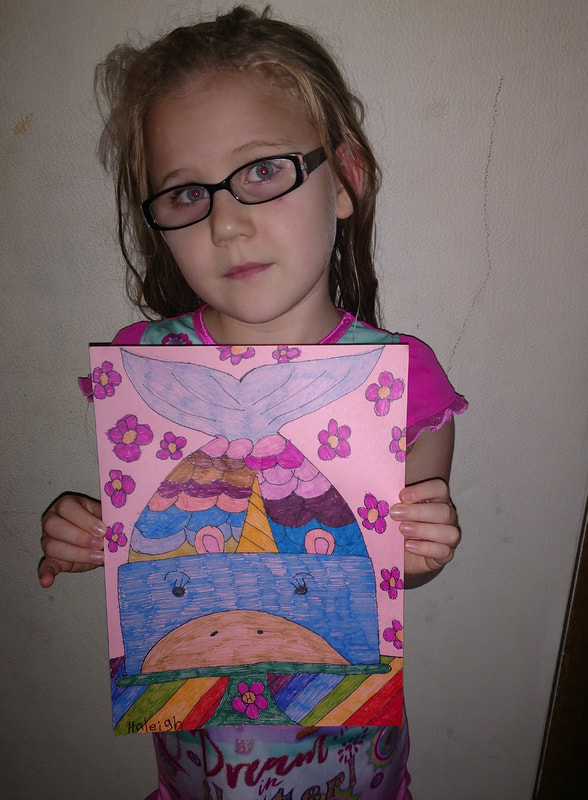
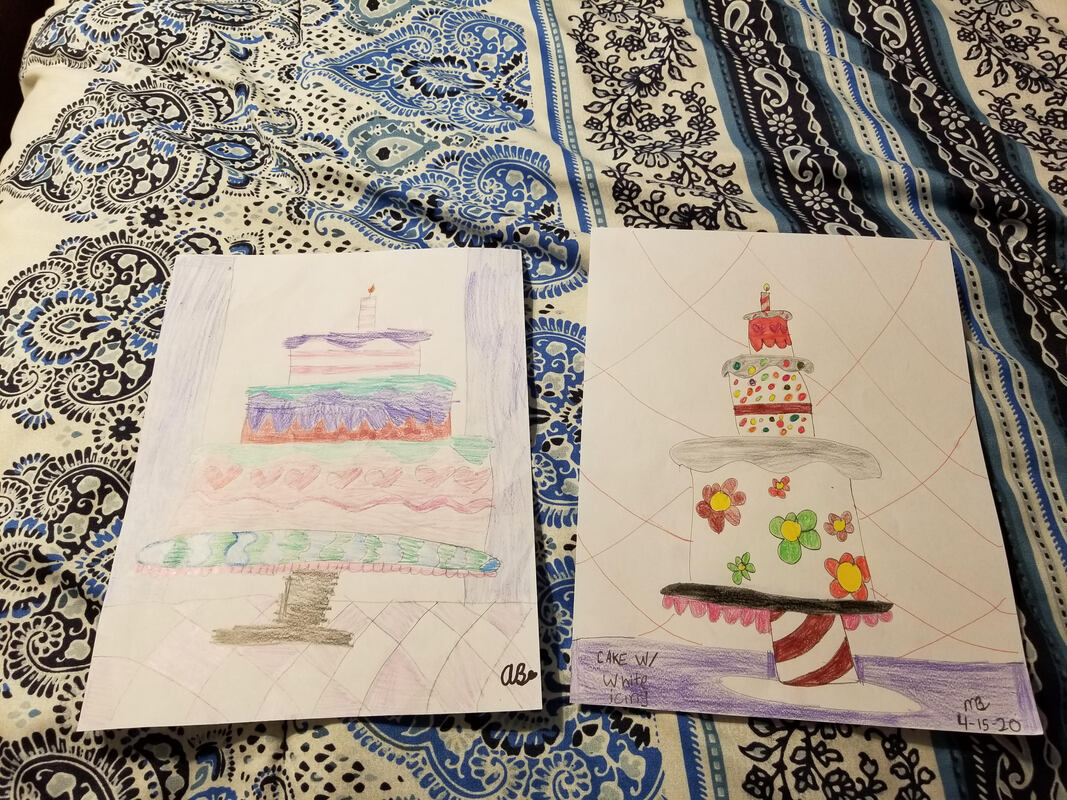
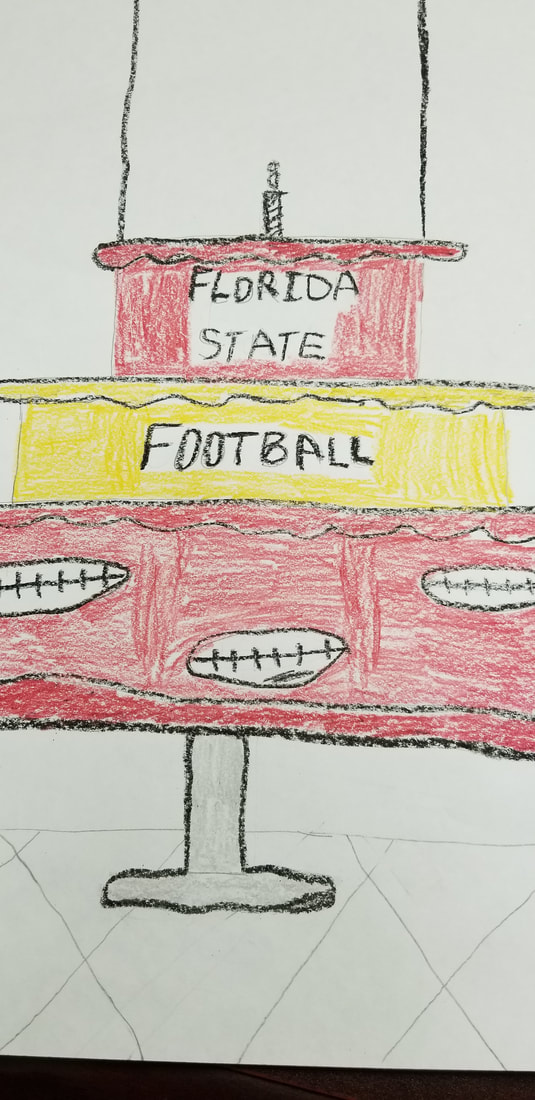
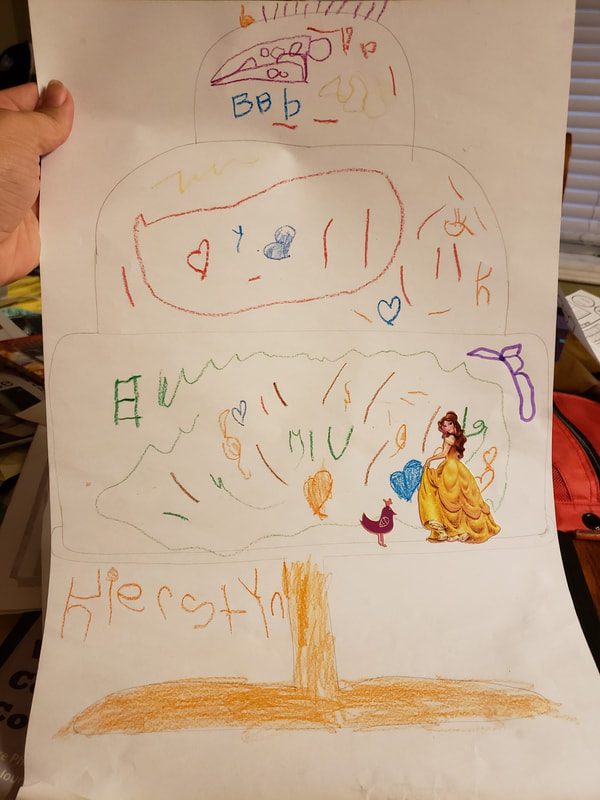
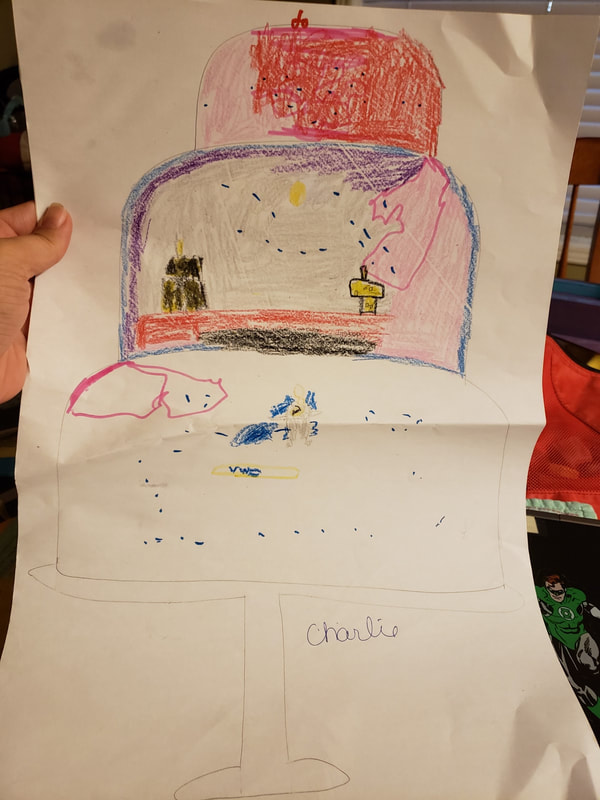
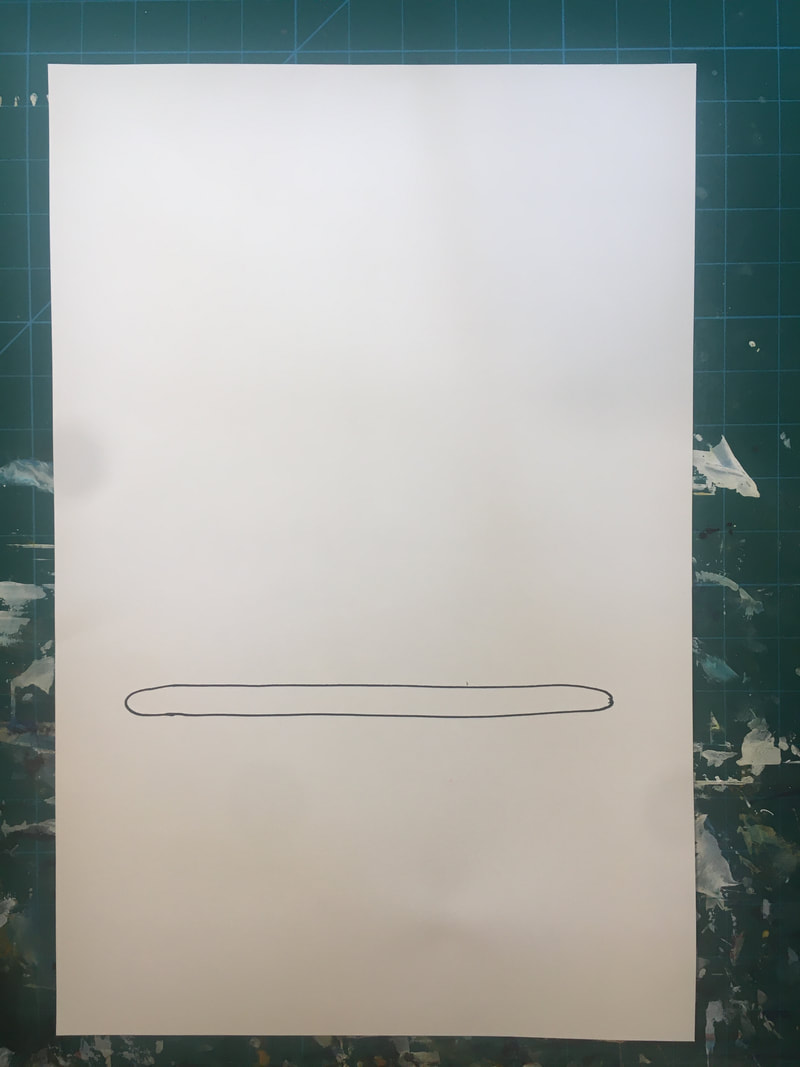
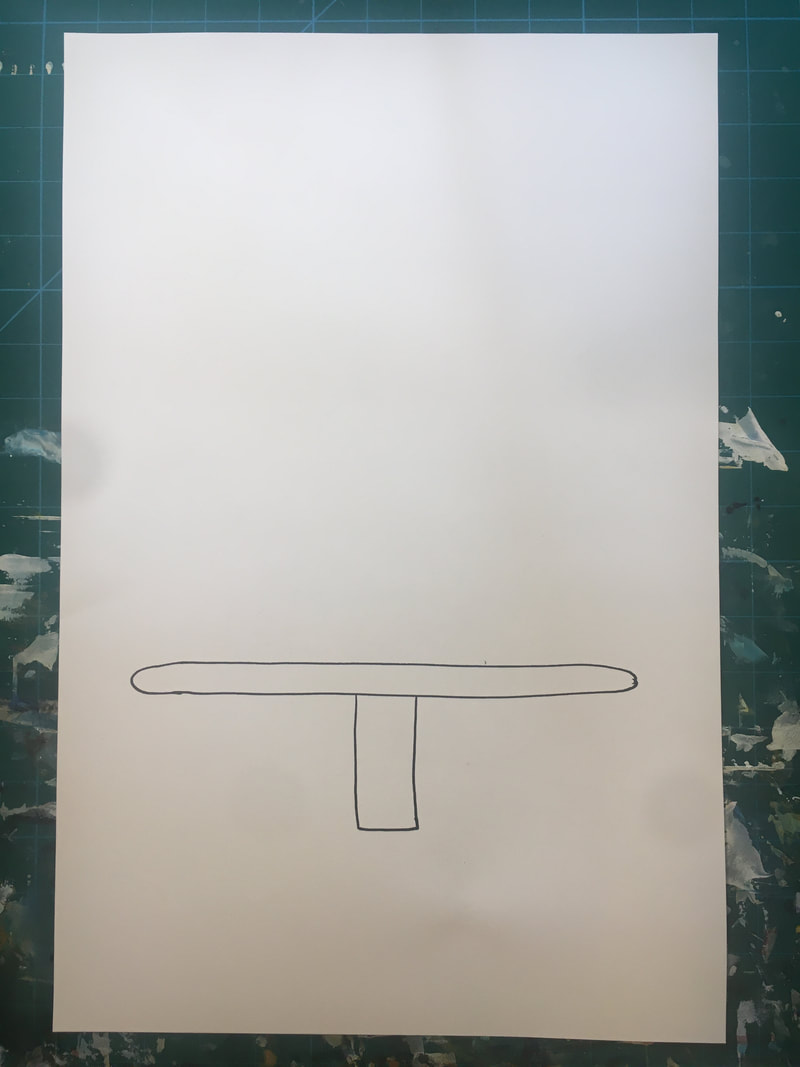
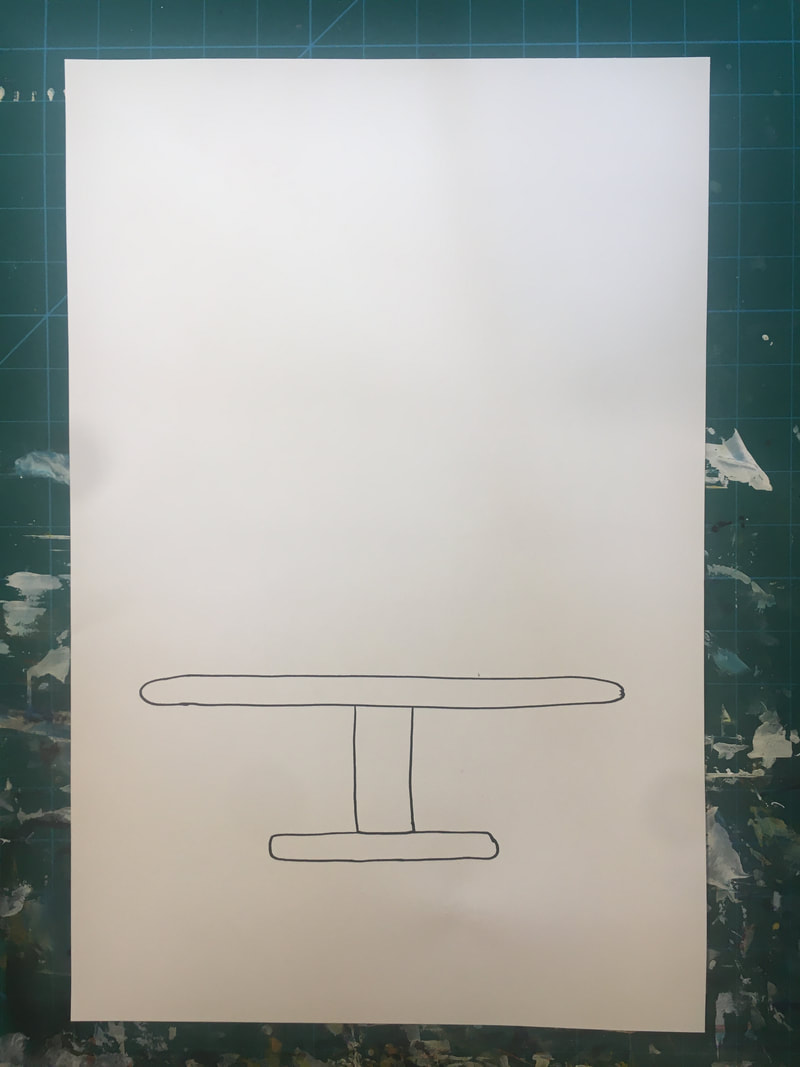
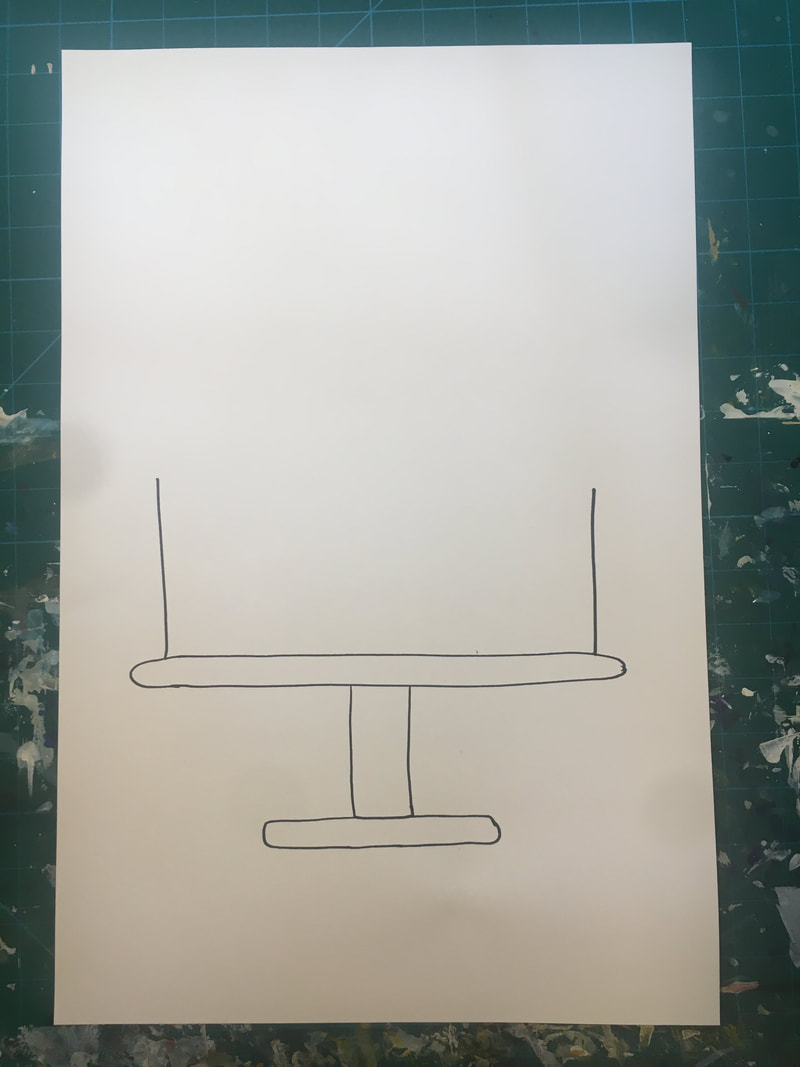
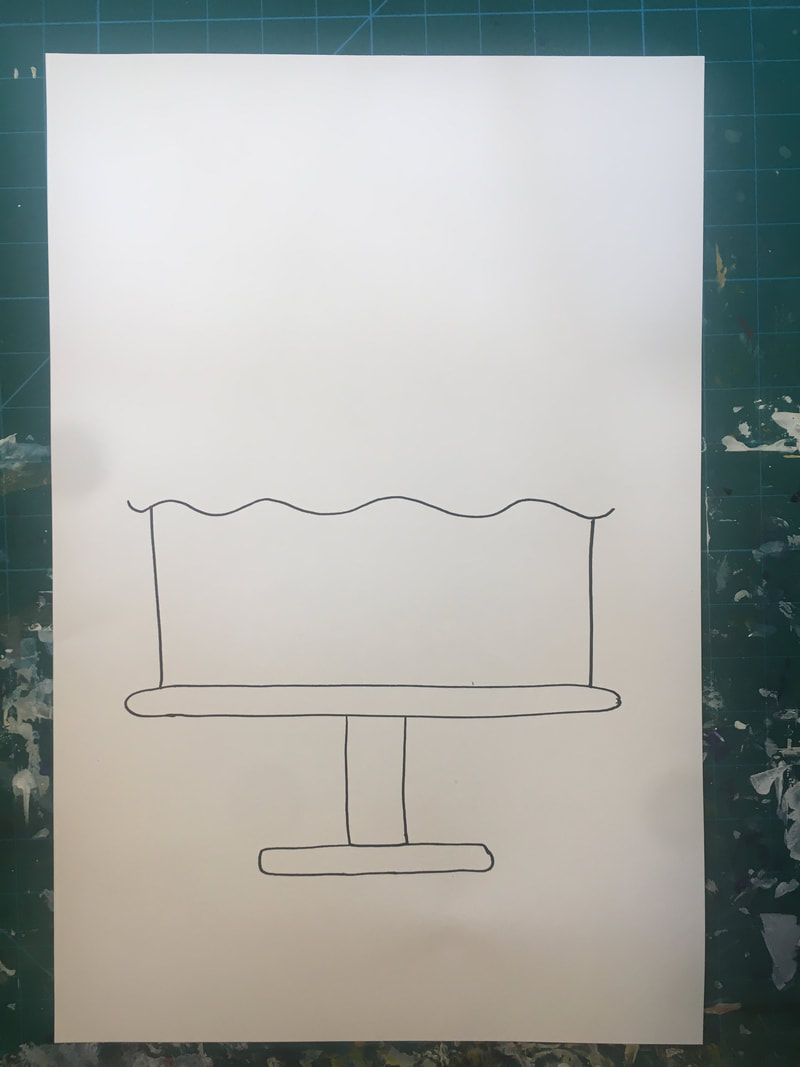
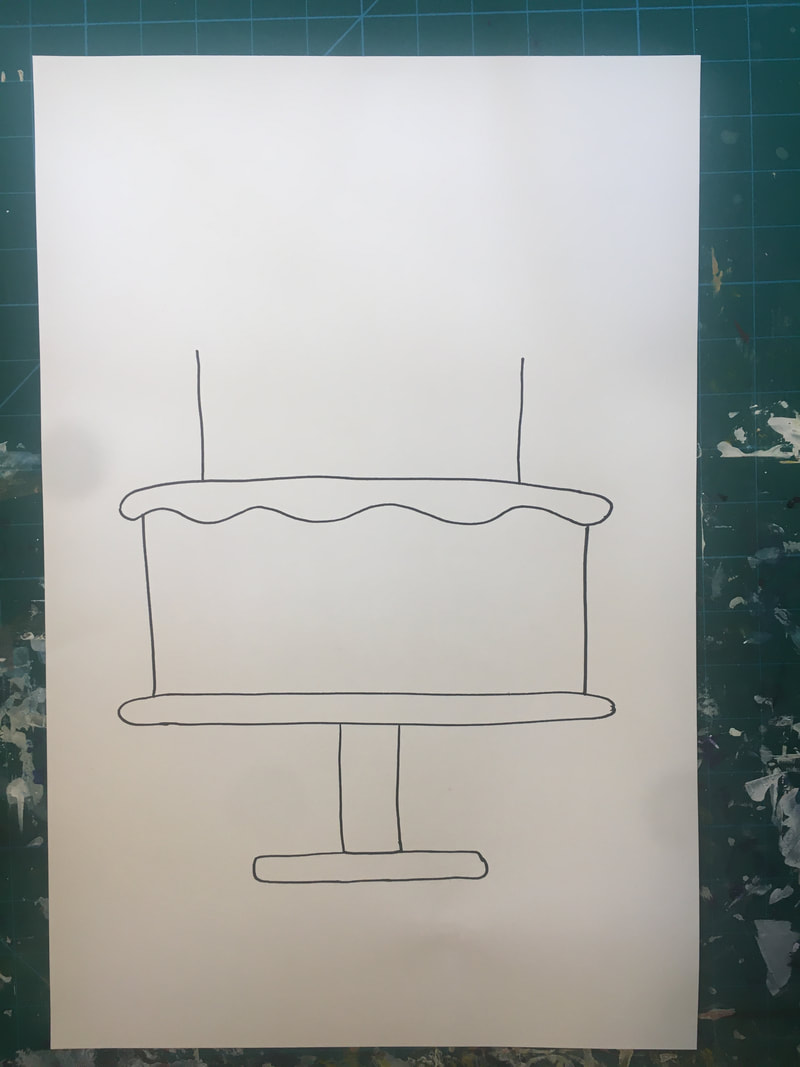
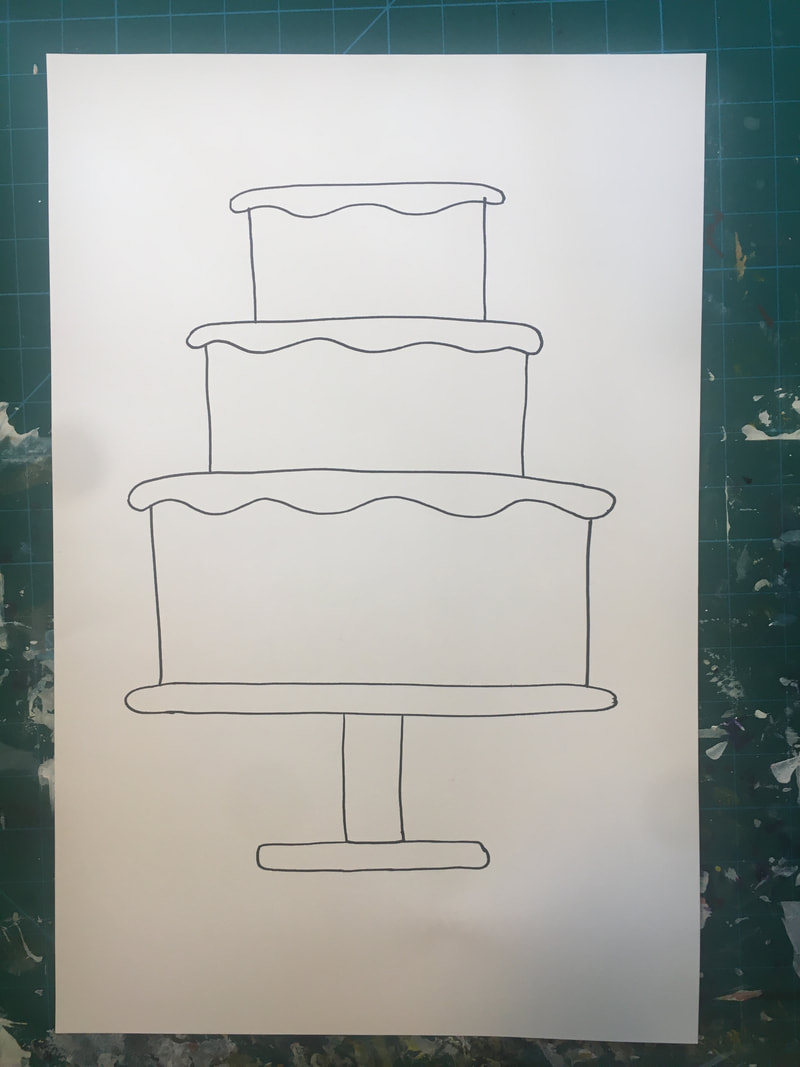
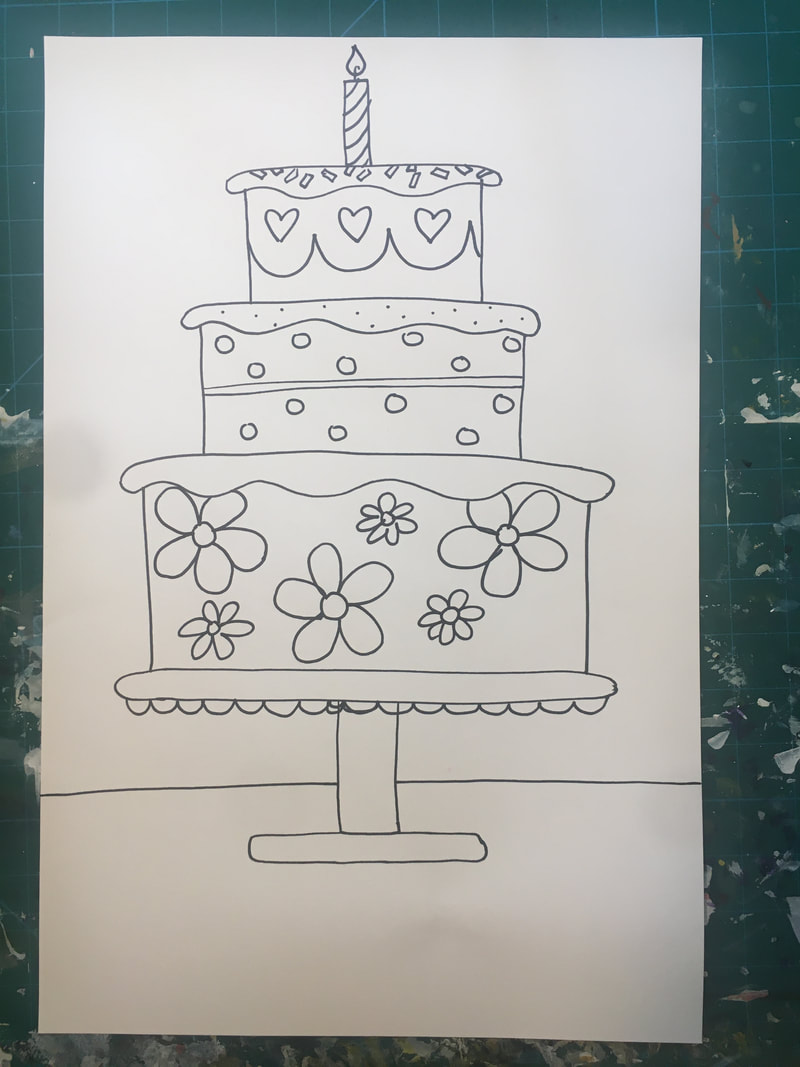
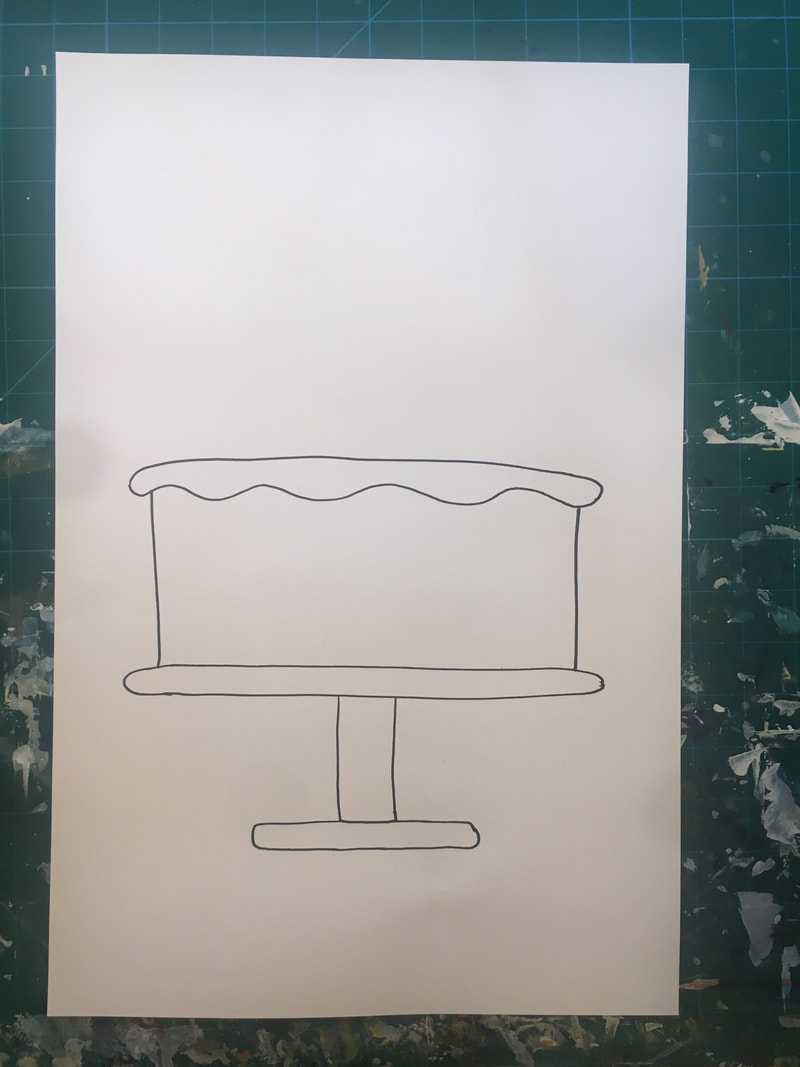
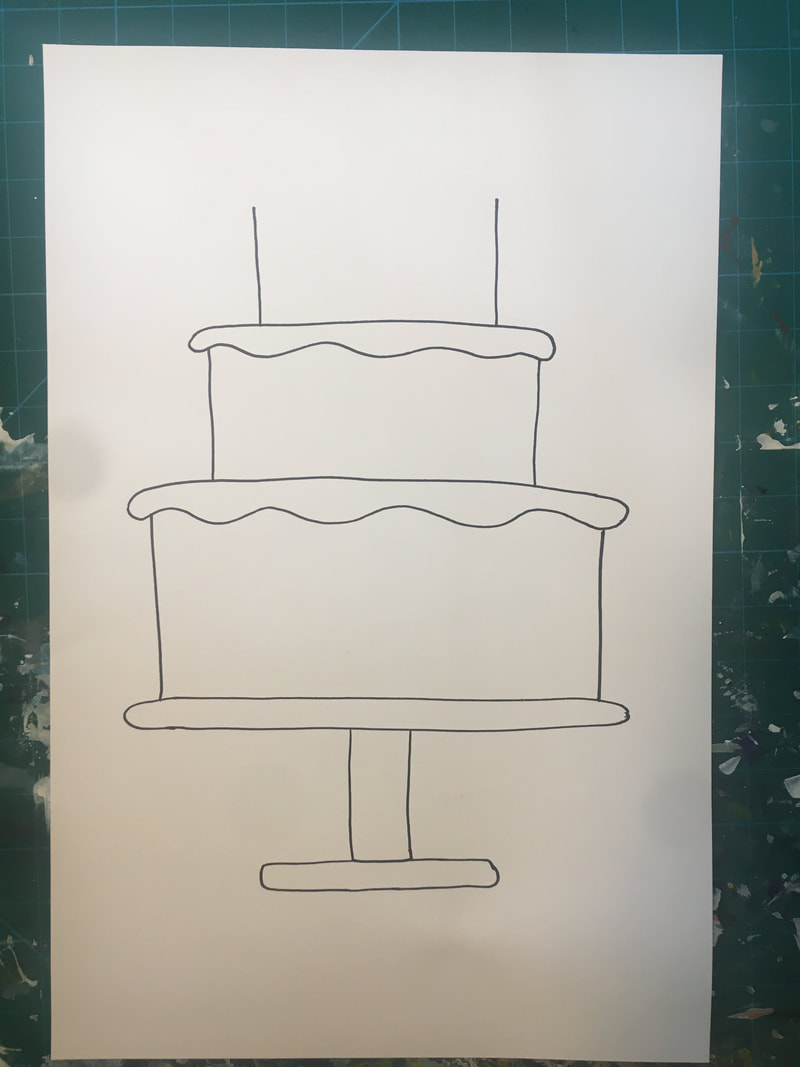
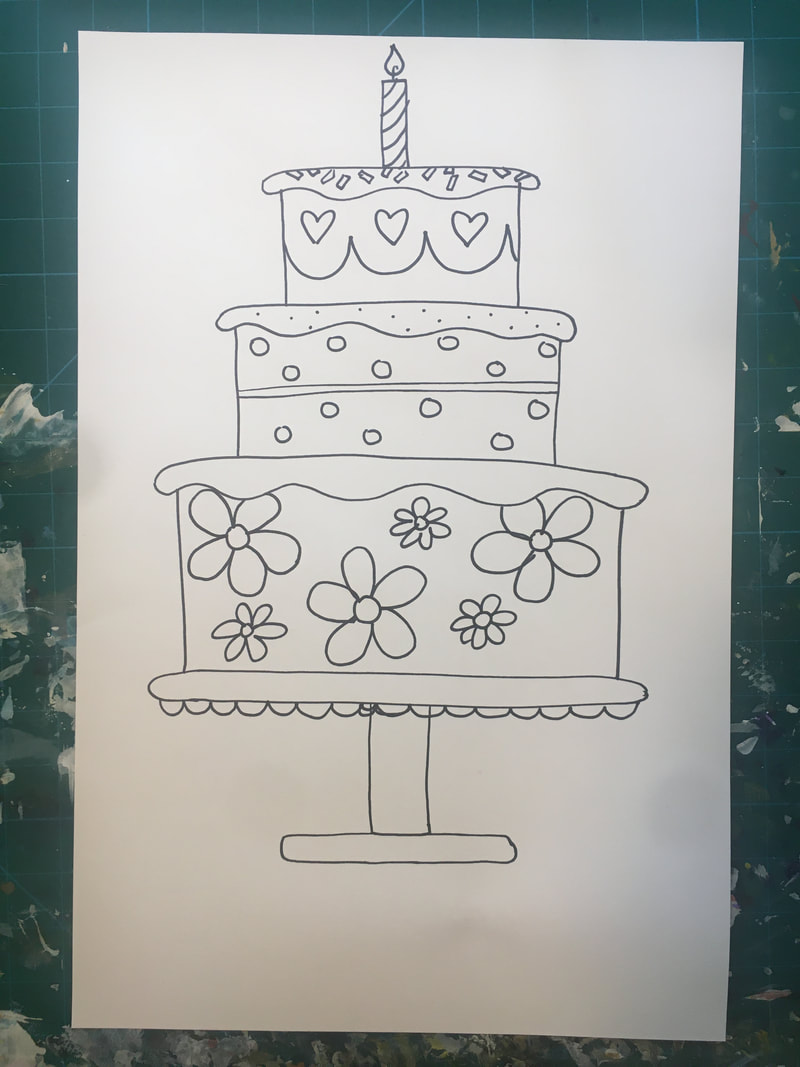
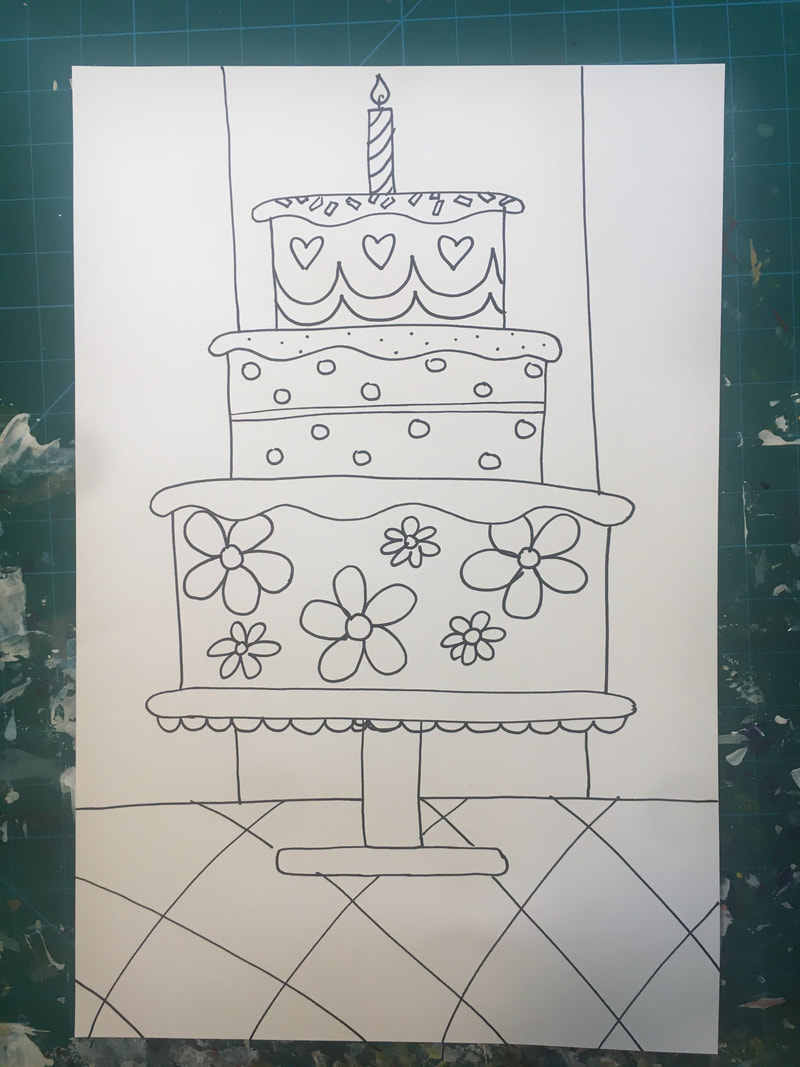
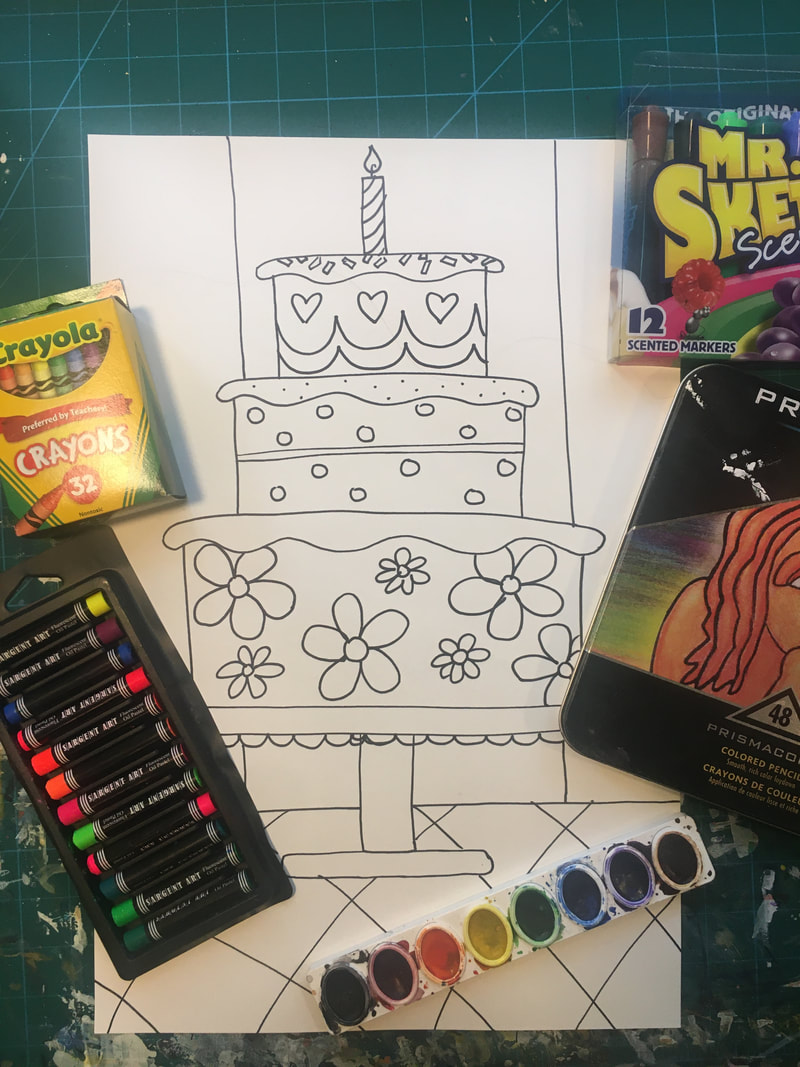
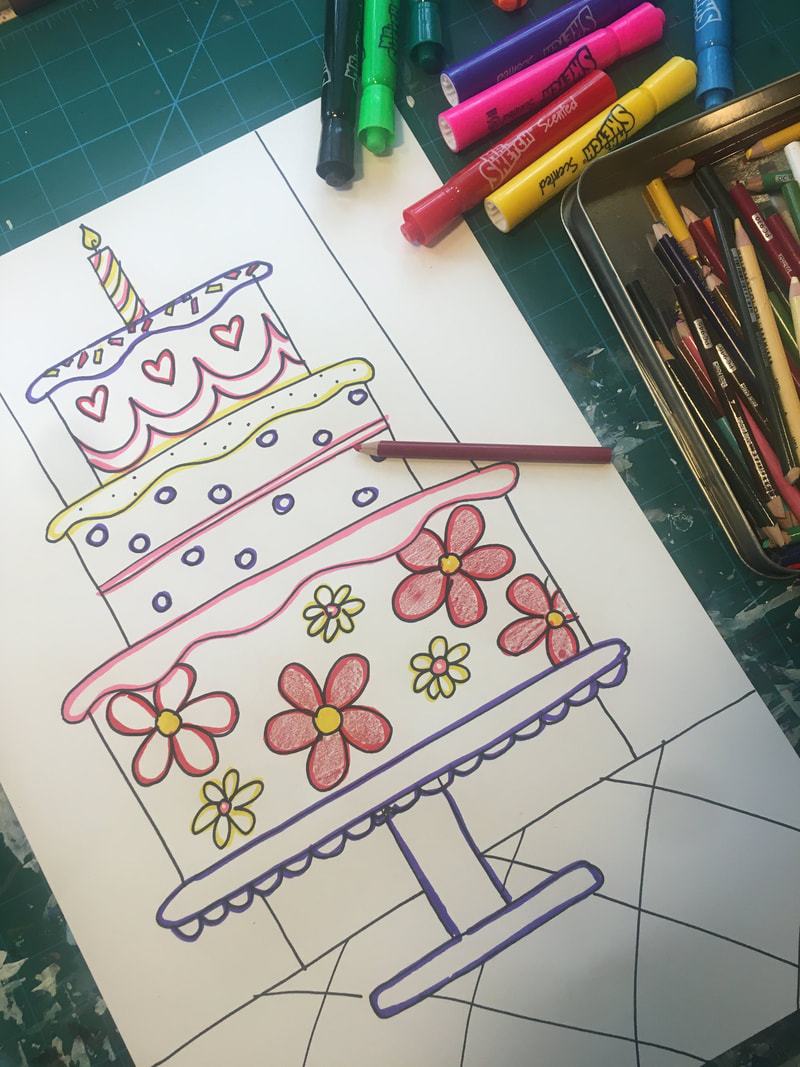
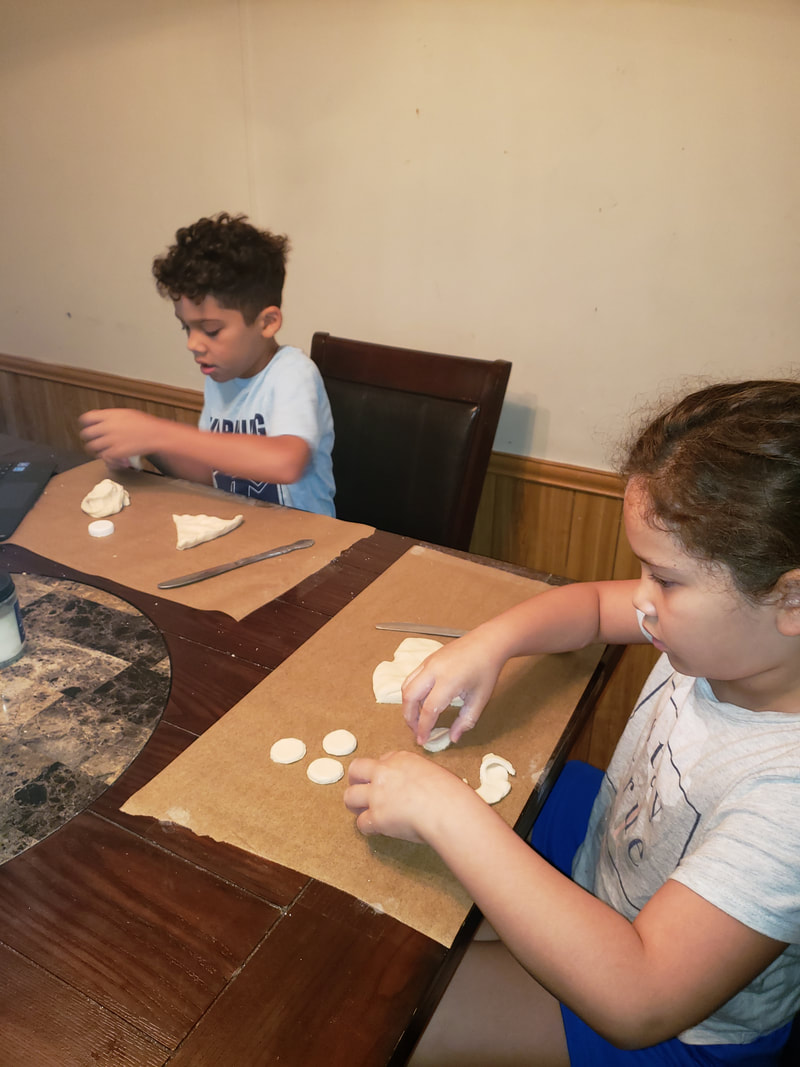
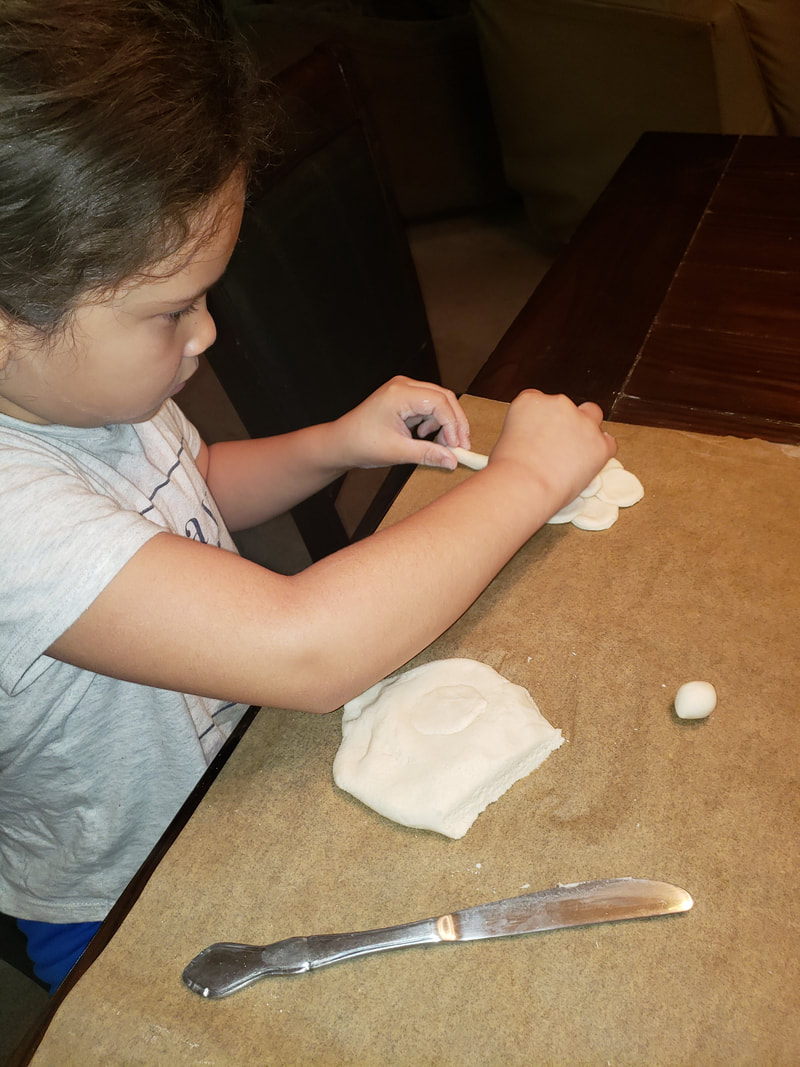
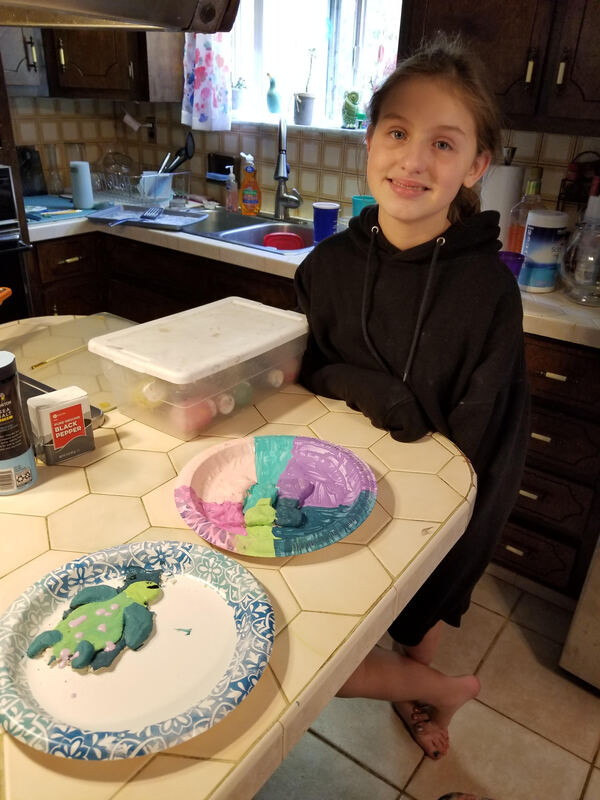
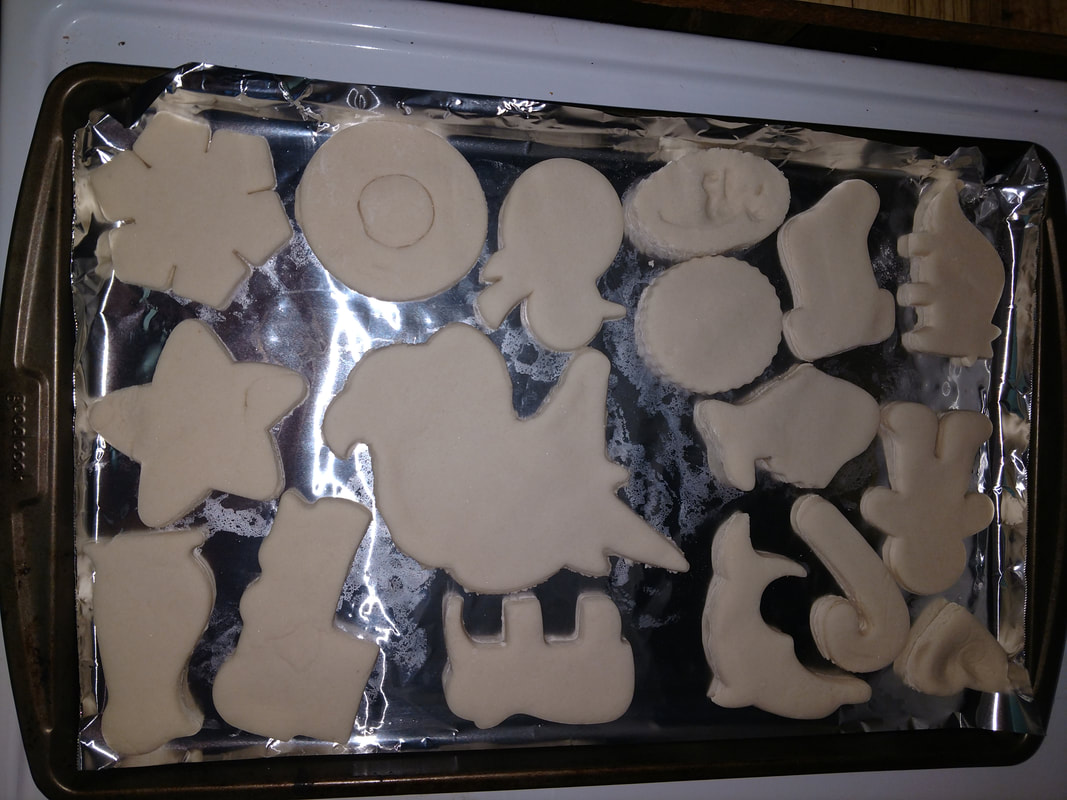
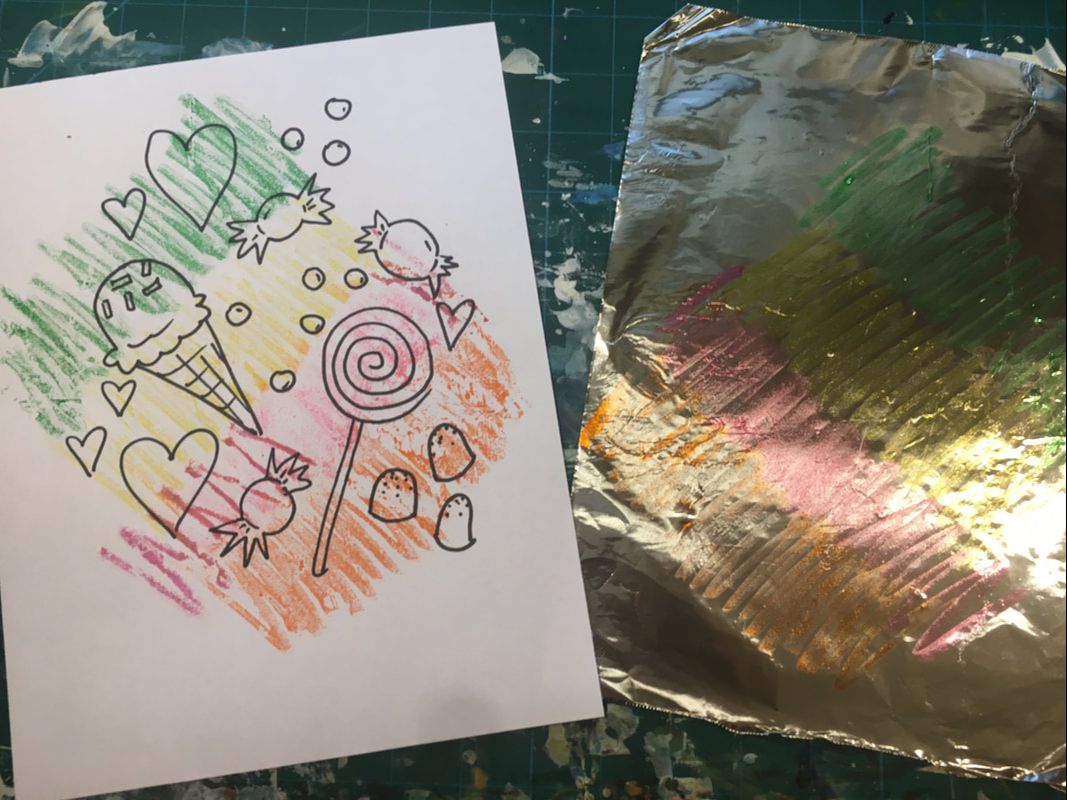 You have a print! Wipe off the extra marker on the foil with a dry paper towel and use the foil again. 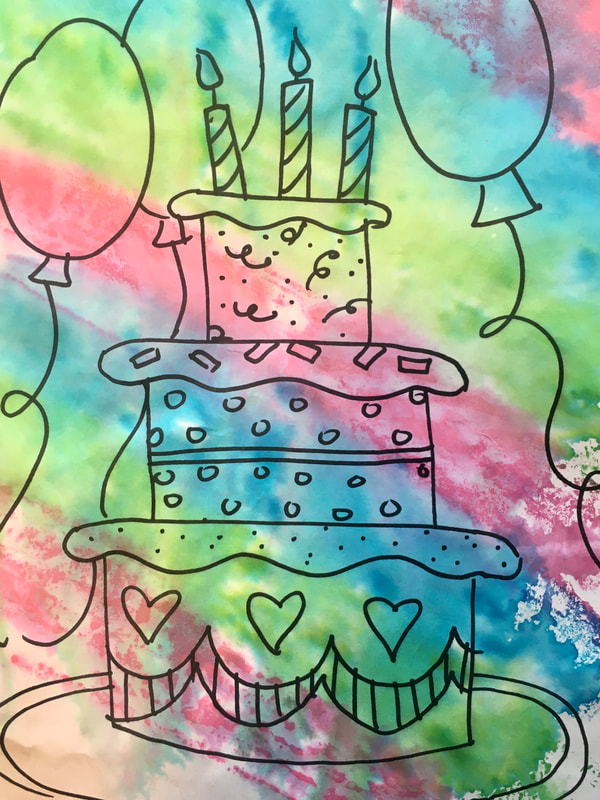 I sprayed this drawing before placing it on the foil. It has a soft watercolor look!  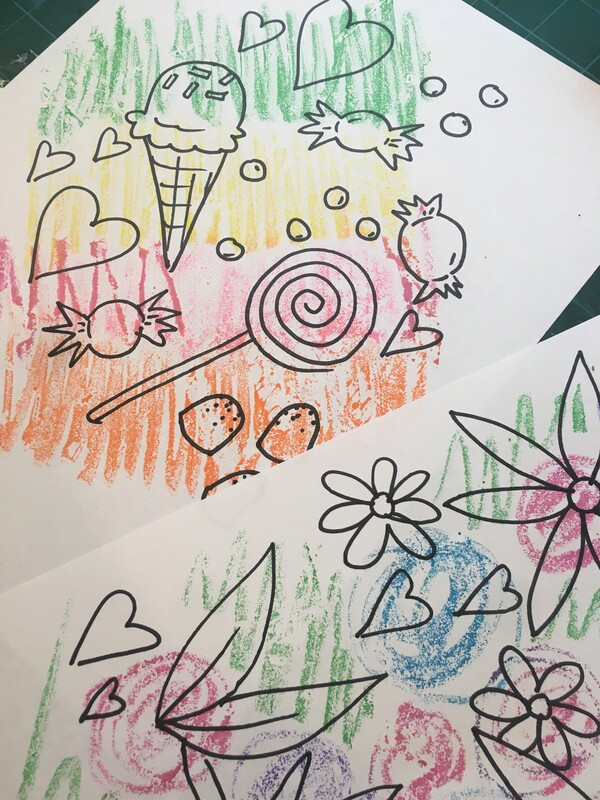 Loved seeing these colorful cakes this week! I will continue to add images as I receive them. Creative Cakes!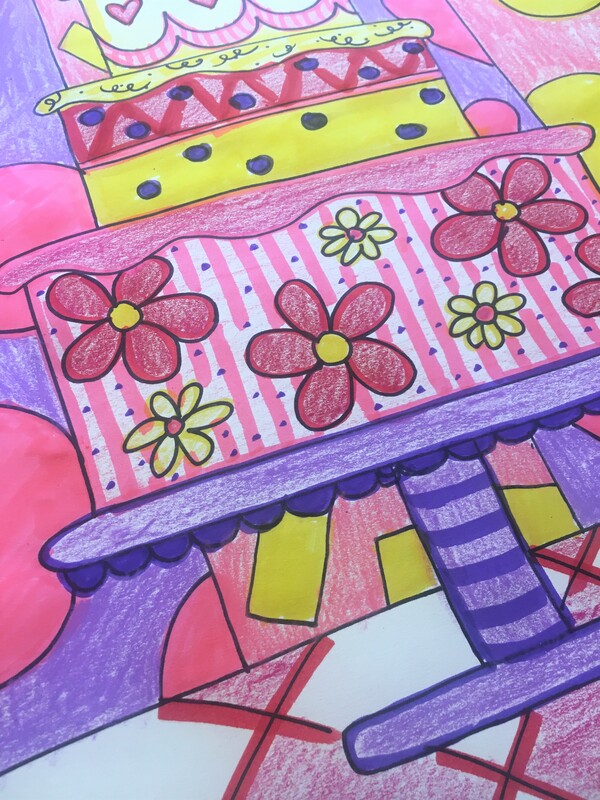 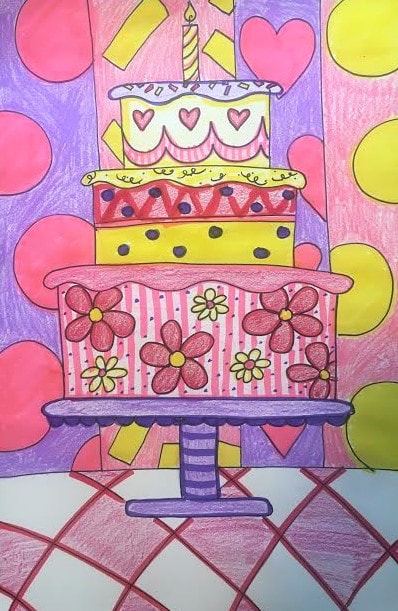 I know many of you are celebrating your birthdays while you are learning from home, so this project is especially for you! We are creating cakes this week! Your cake can be a birthday cake or you can celebrate anything. I can't wait to see all of your beautiful cakes! Assignment: Create a cake Medium: Artist's choice! We will go step by step with pictures so that you can create your own cake! Scroll through all of the pictures before you start so that you know what to expect. Remember, draw your cake nice and BIG! It should fill your whole paper! You may want to draw with marker, like I did, or use pencil first and trace with marker. It's always okay to practice on scrap paper first, but don't be afraid of making mistakes! Mistakes may turn into something even better that what you had imagined. Project inspired by Deep Space Sparkle.
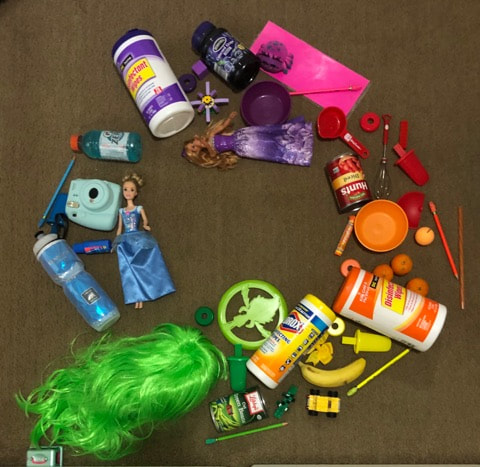
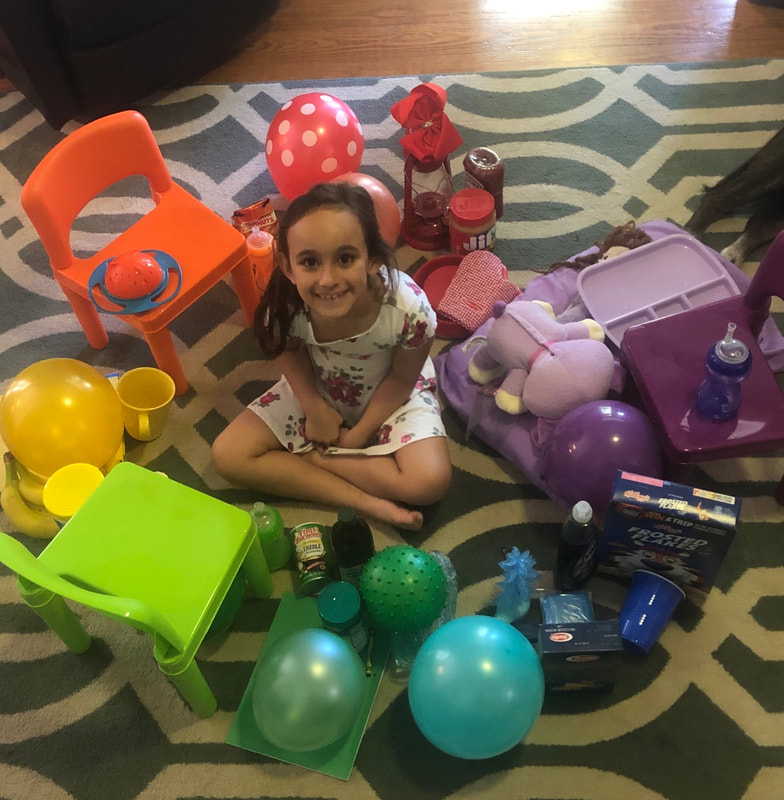
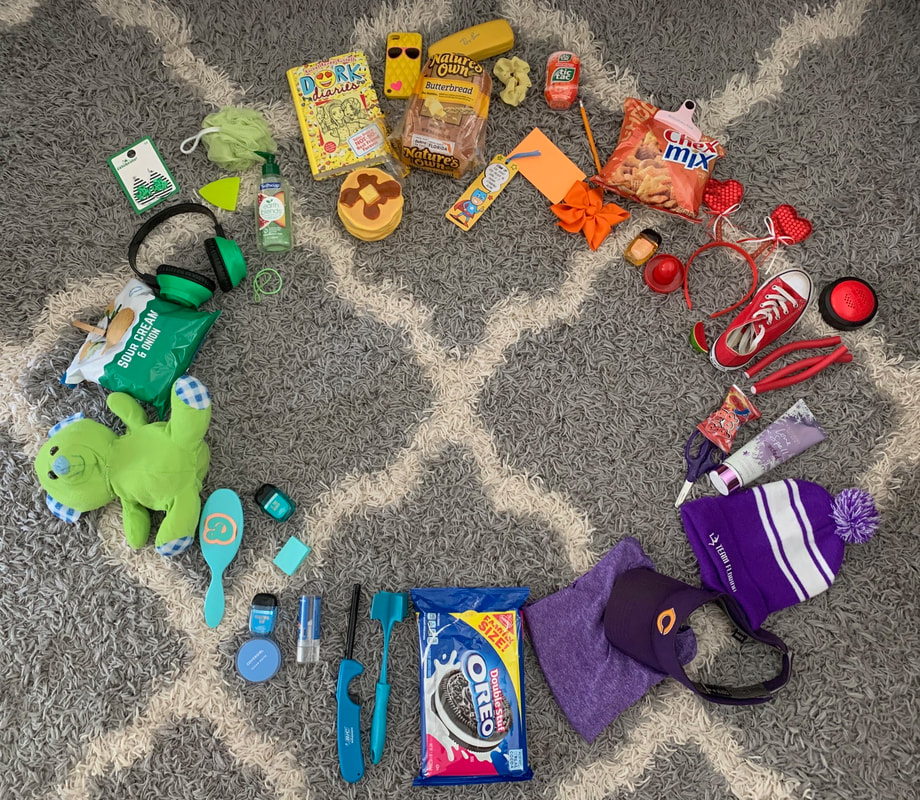
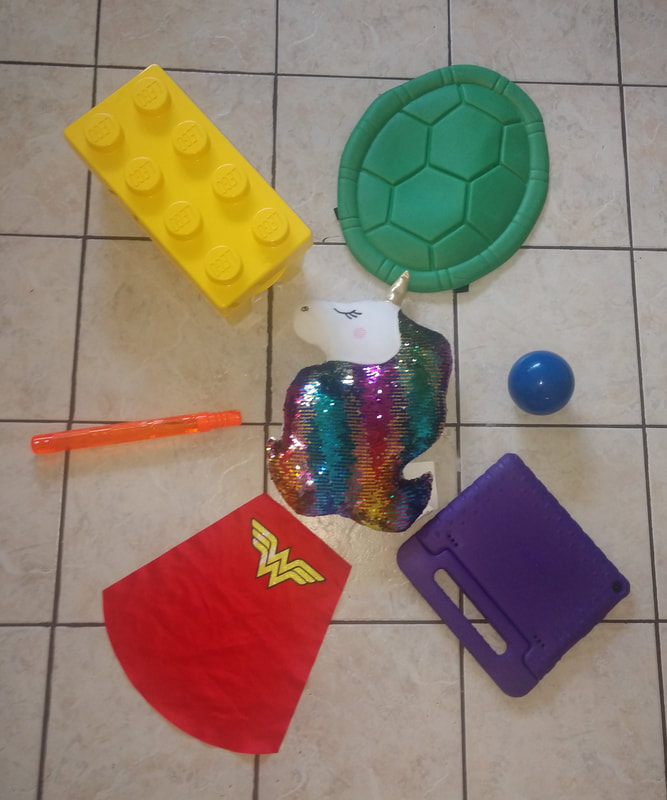
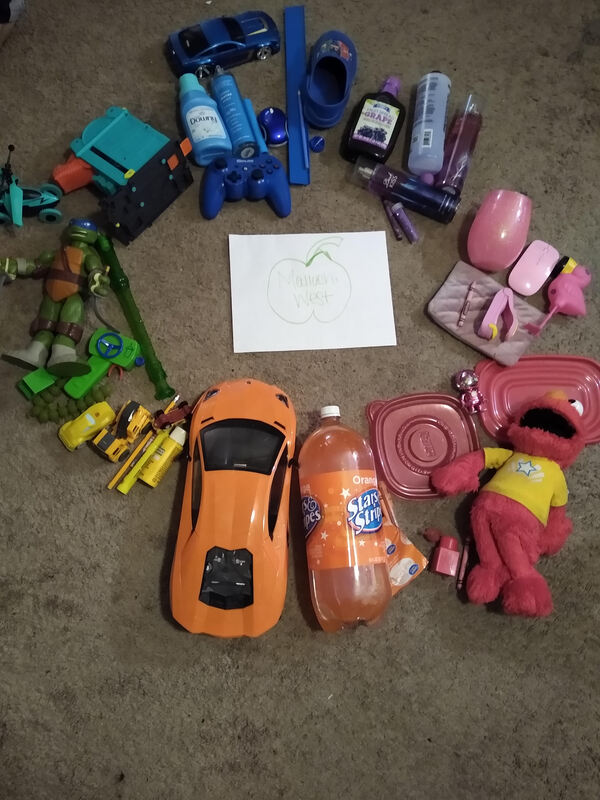
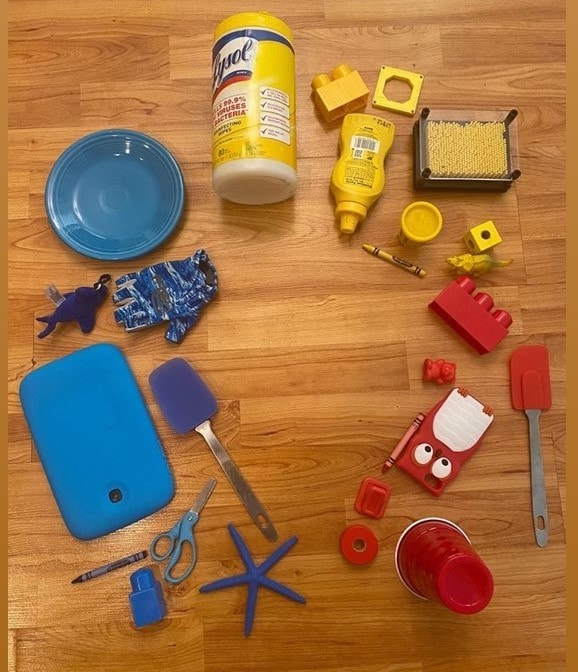
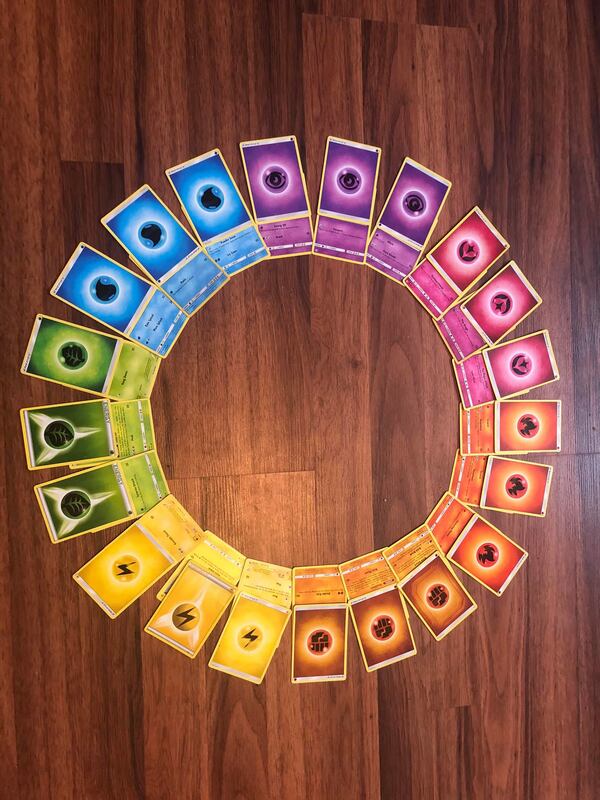
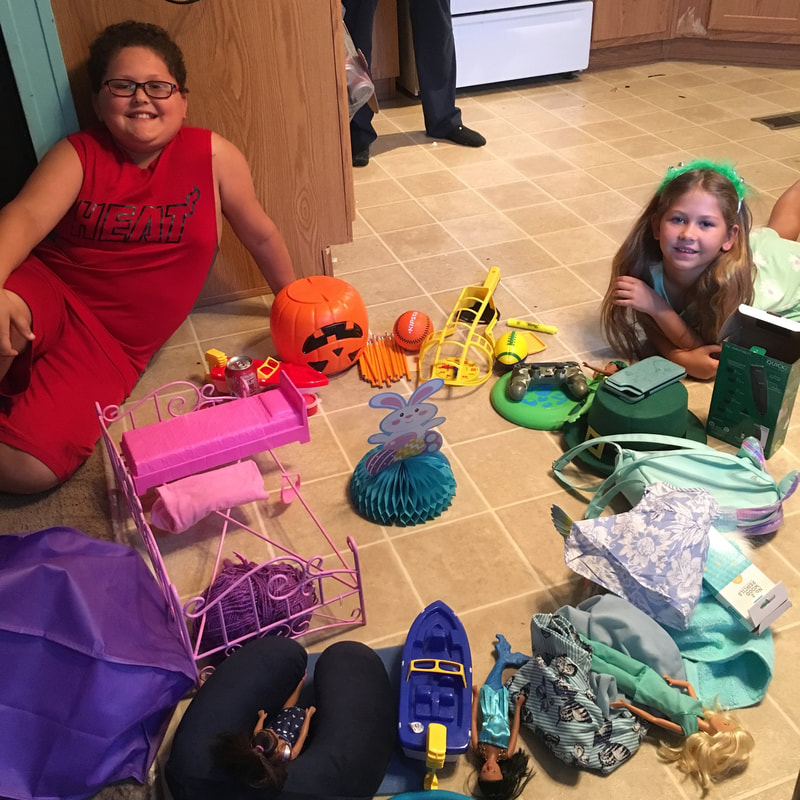
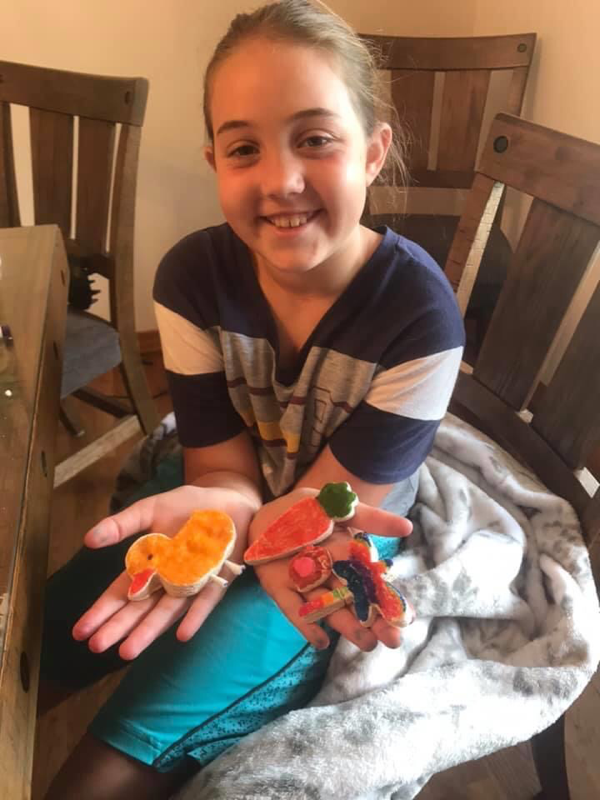
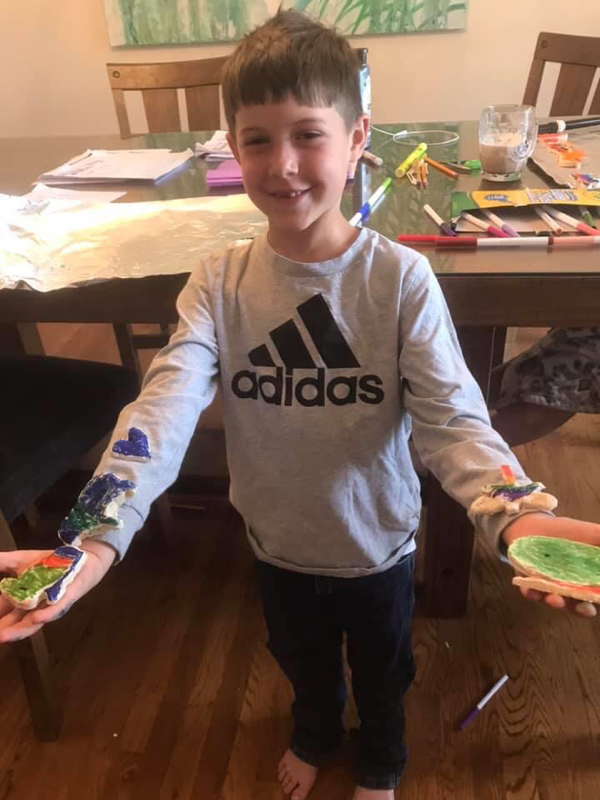
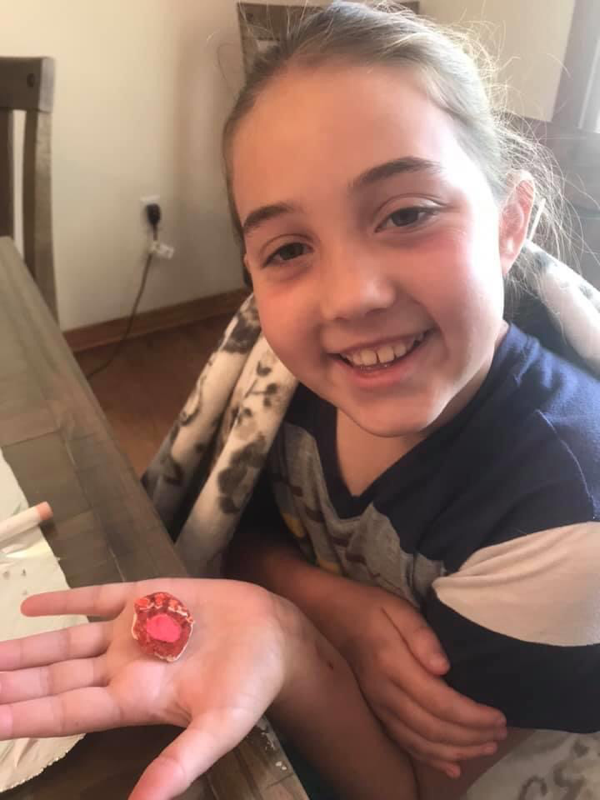
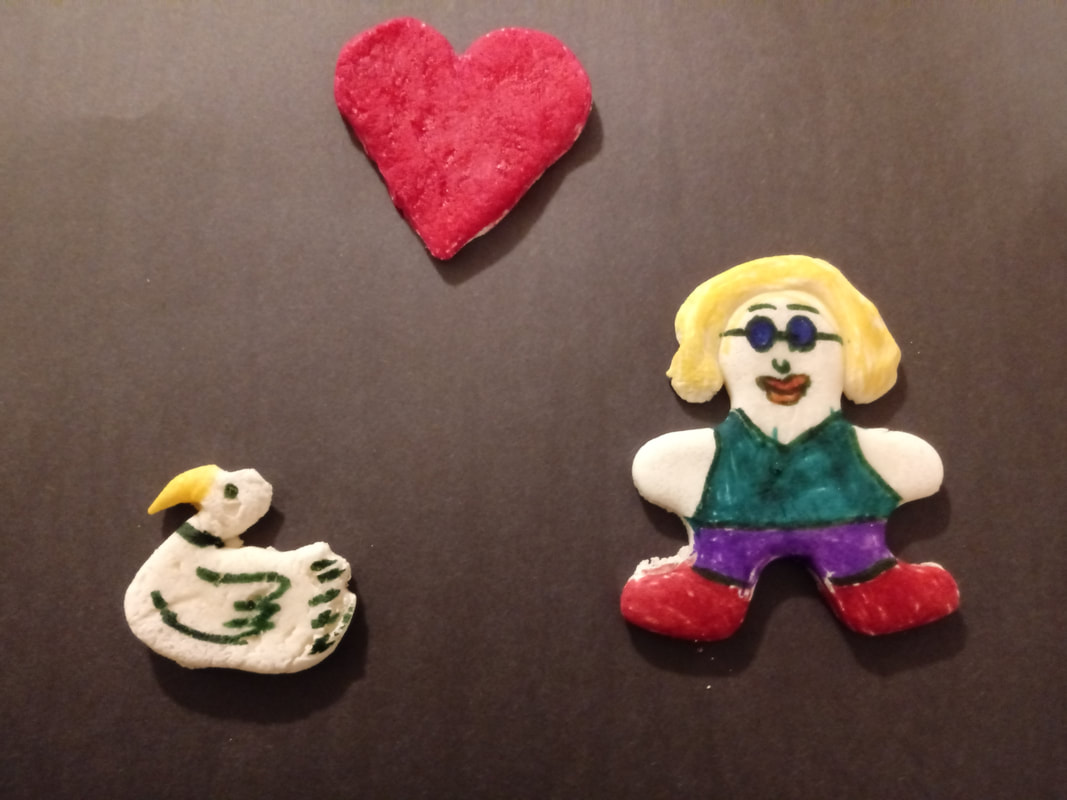
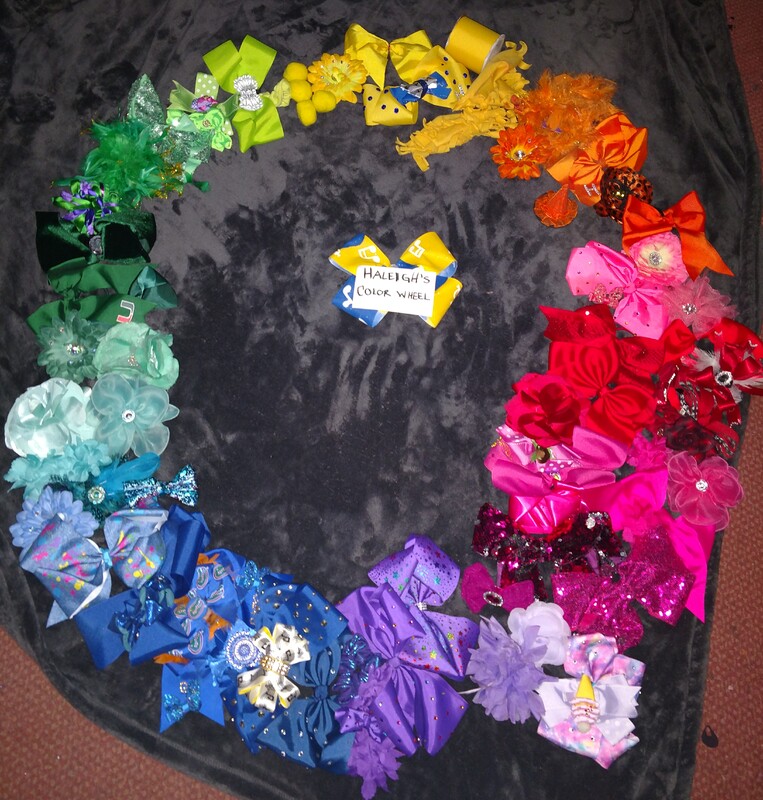
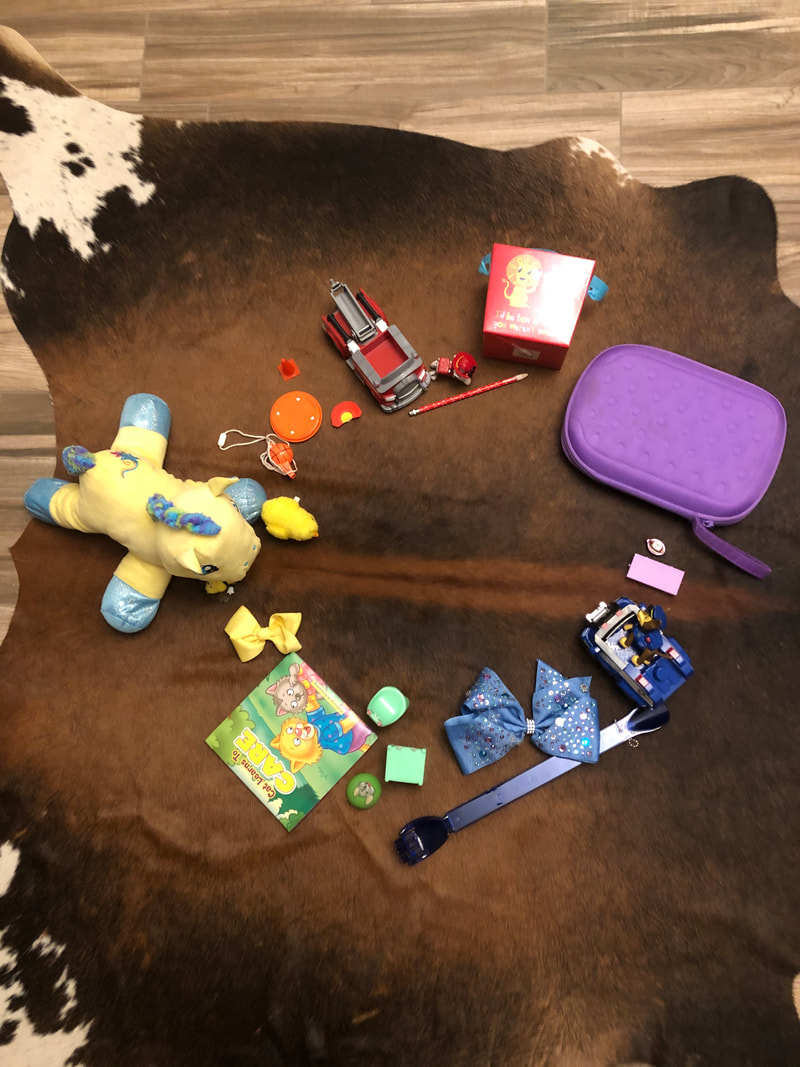
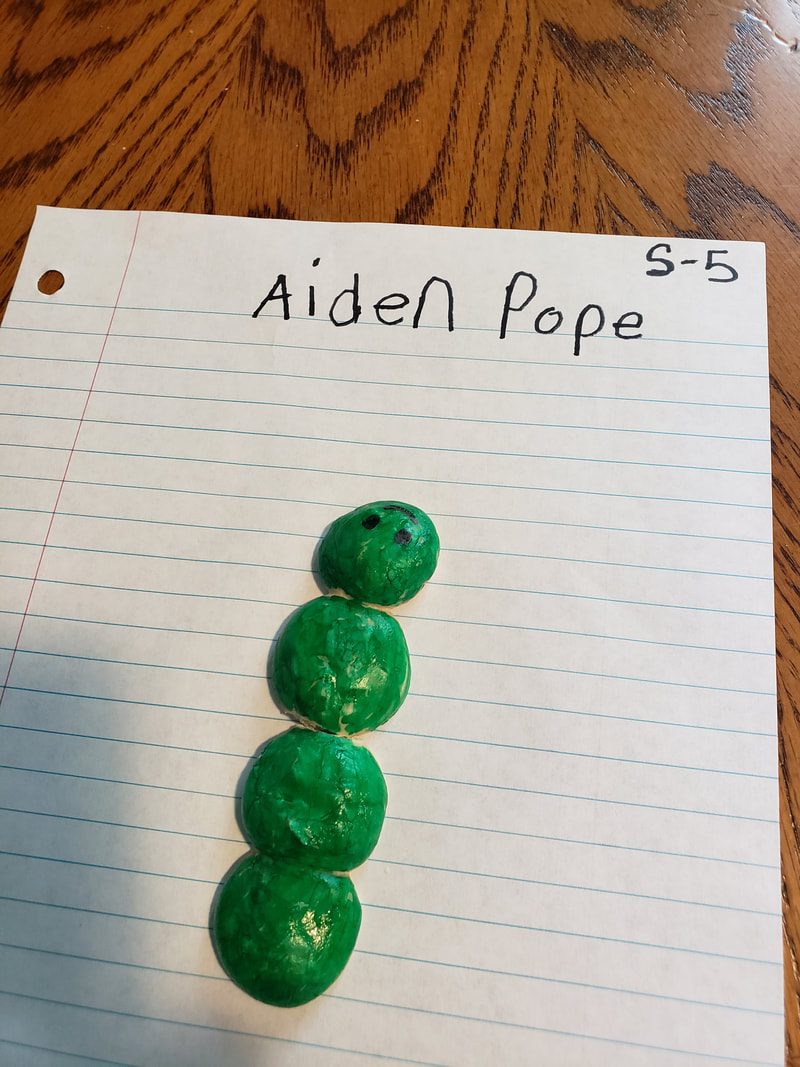
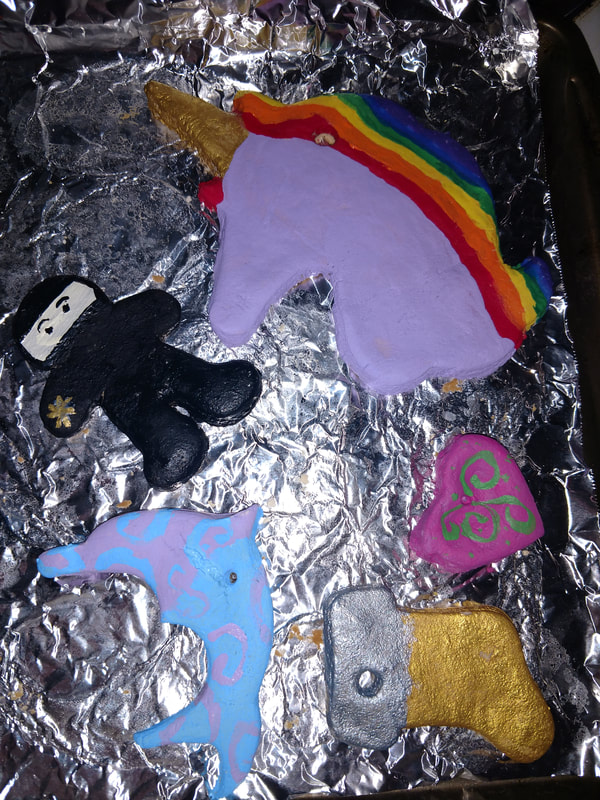
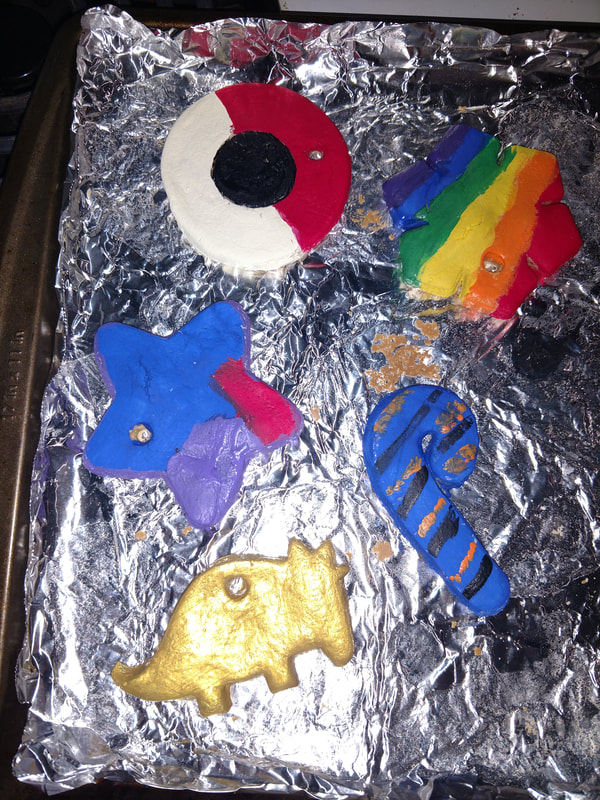
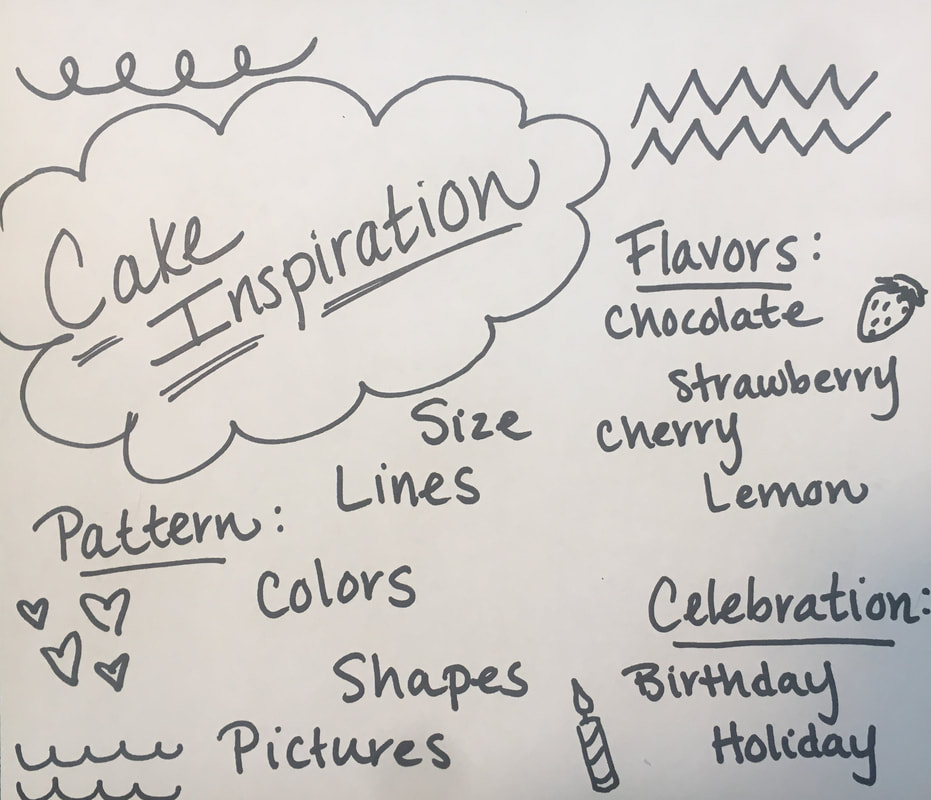 A few things to think about: Who is the cake for? What colors and shapes make sense together? What will the background look like? What details can you add to make your cake special? This week, we will be doodling with author and illustrator Mo Willems! I know you will recognize some of his books! He has many important things to say about the process of making art and how he creates. Watch a few his videos and try some doodles yourself! You can use any art materials that you have at home for your doodles. I love how Mo Willems draws with markers and doesn't erase. He isn't afraid of making mistakes! Send pictures of your artwork to my email [email protected]! How many doodles can you create? Here is our Friday Gallery for the Week Two assignment and art challenge! I loved seeing all of your color wheels and clay creations! I will continue to post images as I receive them. Create a Color Wheel from Everyday Objects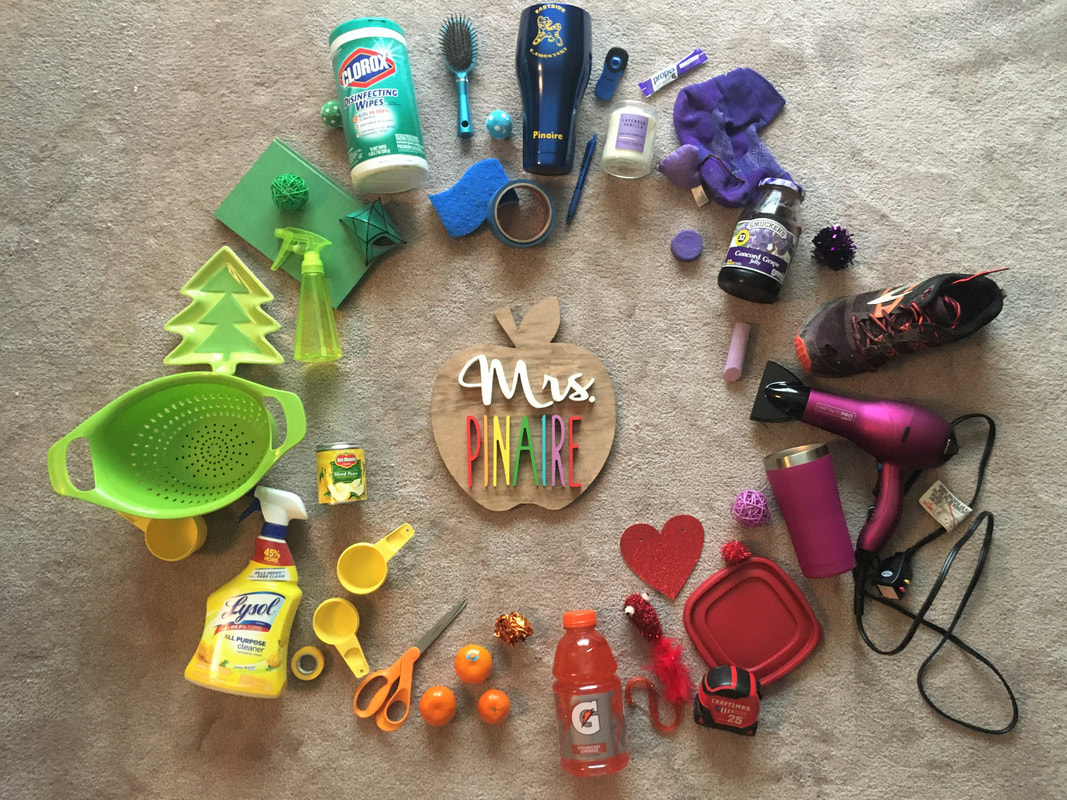 Your art assignment this week is to create a color wheel from various objects you can find around your home. This can be adapted to younger grades by using just the primary and secondary colors. I want to challenge my 2nd-5th graders to have the tertiary colors (red-violet, red-orange, blue-green, blue-violet, yellow-green, yellow-orange)! 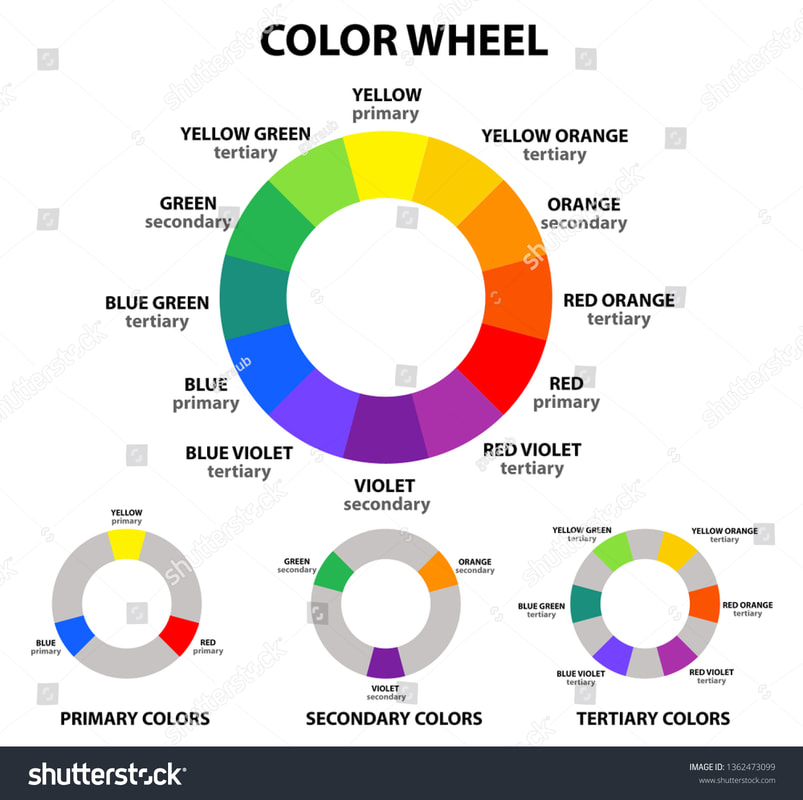 Begin your color wheel with the primary colors (red, yellow, blue) in a triangle. Then add the secondary colors between. Remember, the secondary colors go between the two primary colors that are used to make them. After you add the secondary colors, fill in the gaps with the tertiary colors. You do not need to put anything in the middle of your color wheel. The more objects around, the better! You need to include at least two of each color. I used a few cat toys in my color wheel, and my cat Dottie didn't want to share them! Here's a sweet picture of her helping. 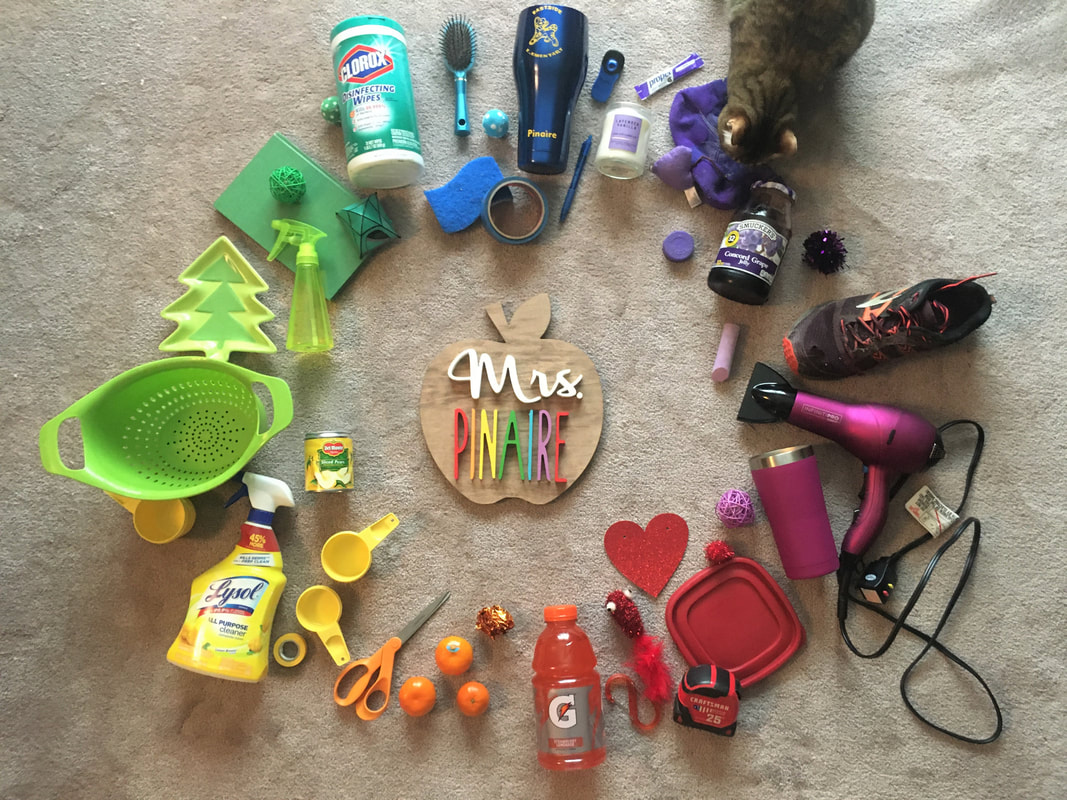 We had so much fun doing this at my house, and it was more challenging than I thought it would be!
|
From Mrs. PinaireHello, Eastside artists! This is where you will find your weekly assignments while you are learning from home. Archives
December 2020
Categories |


 RSS Feed
