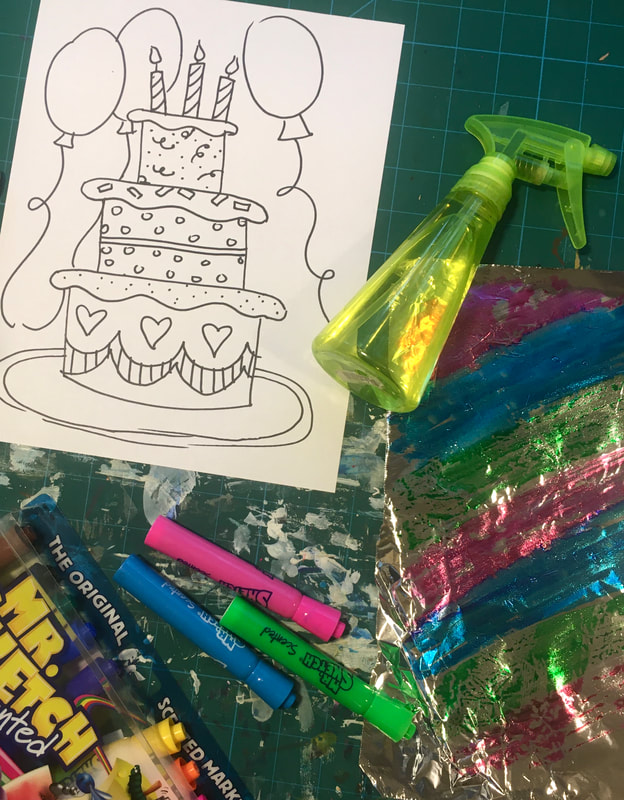
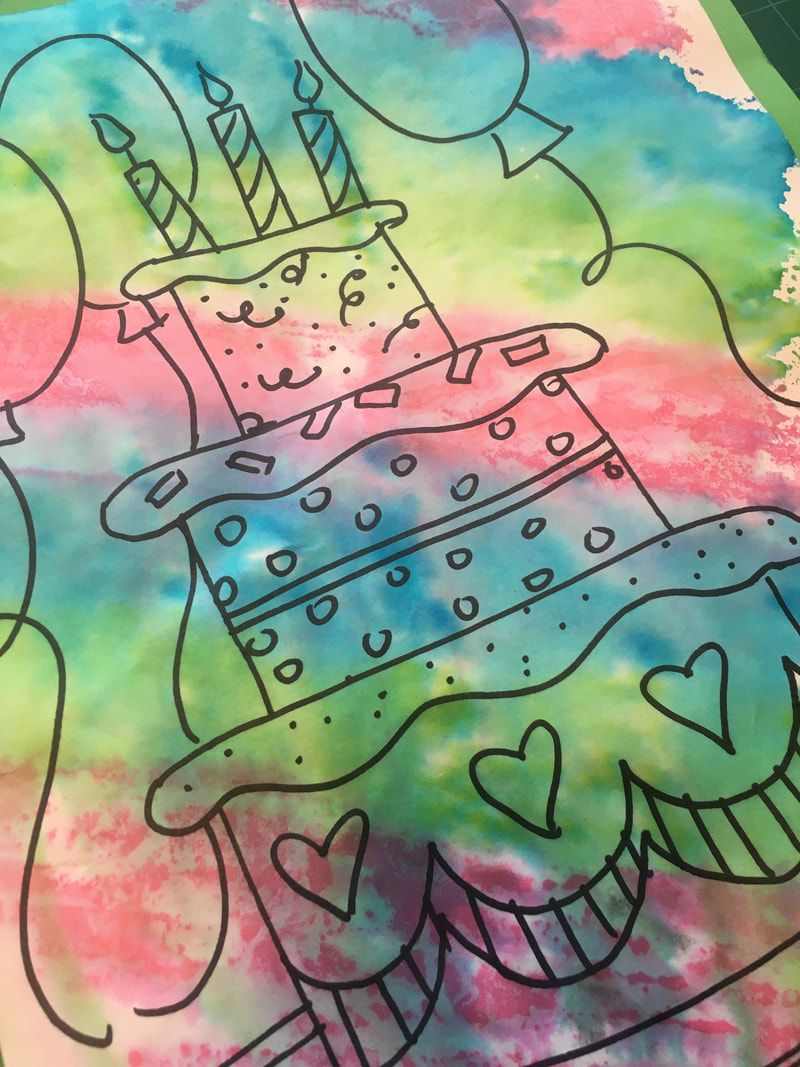
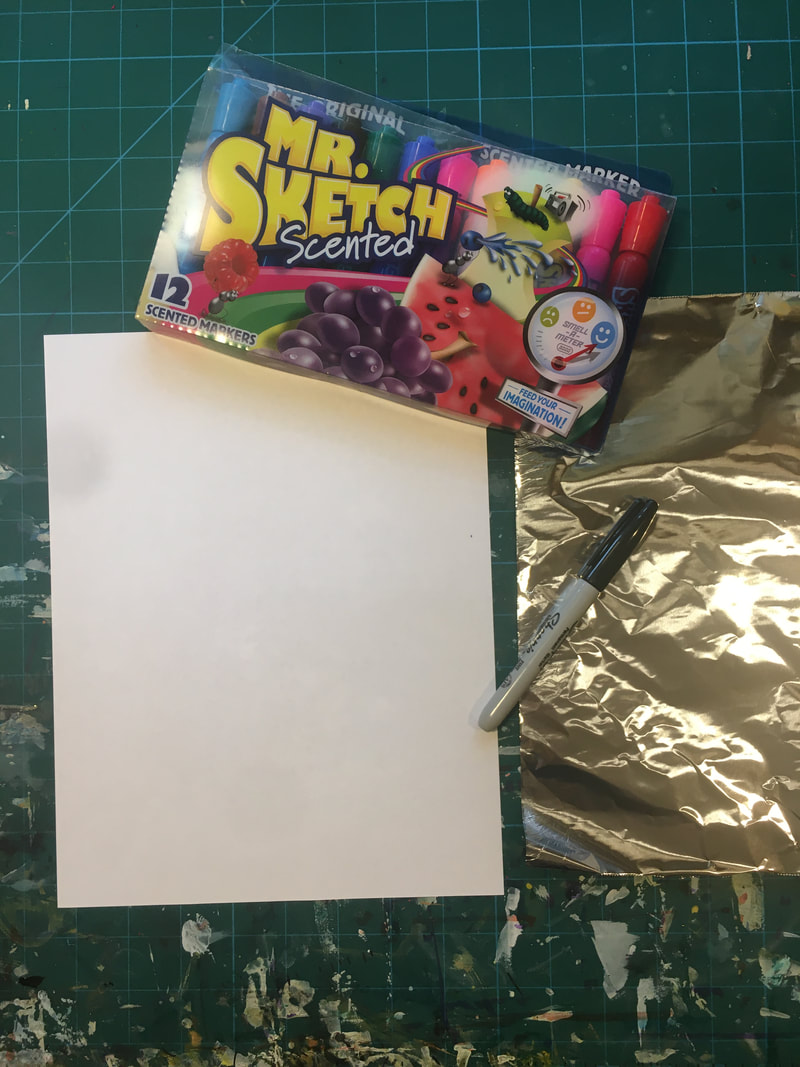
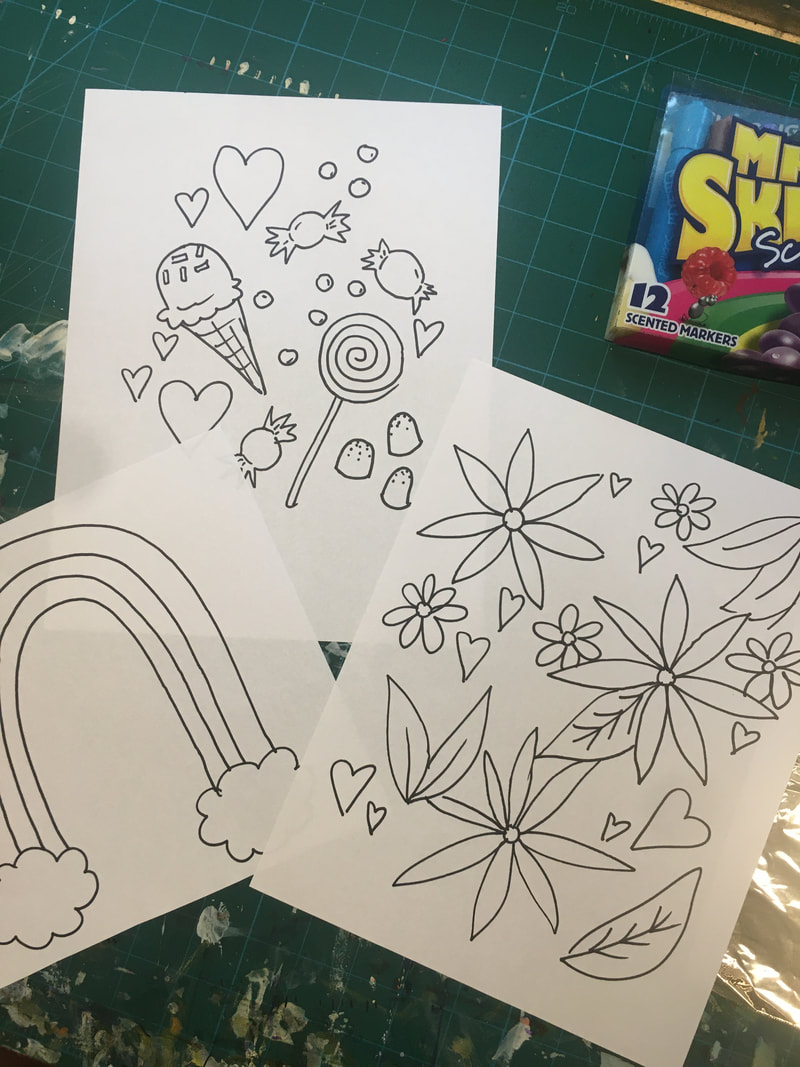
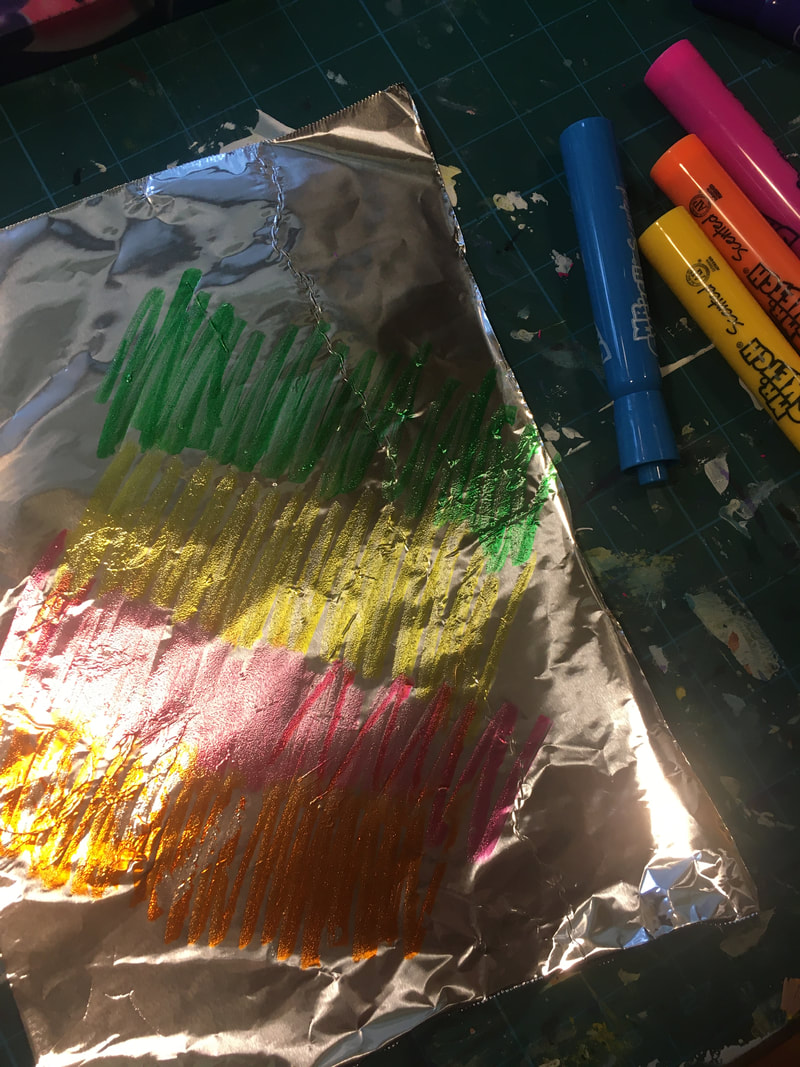
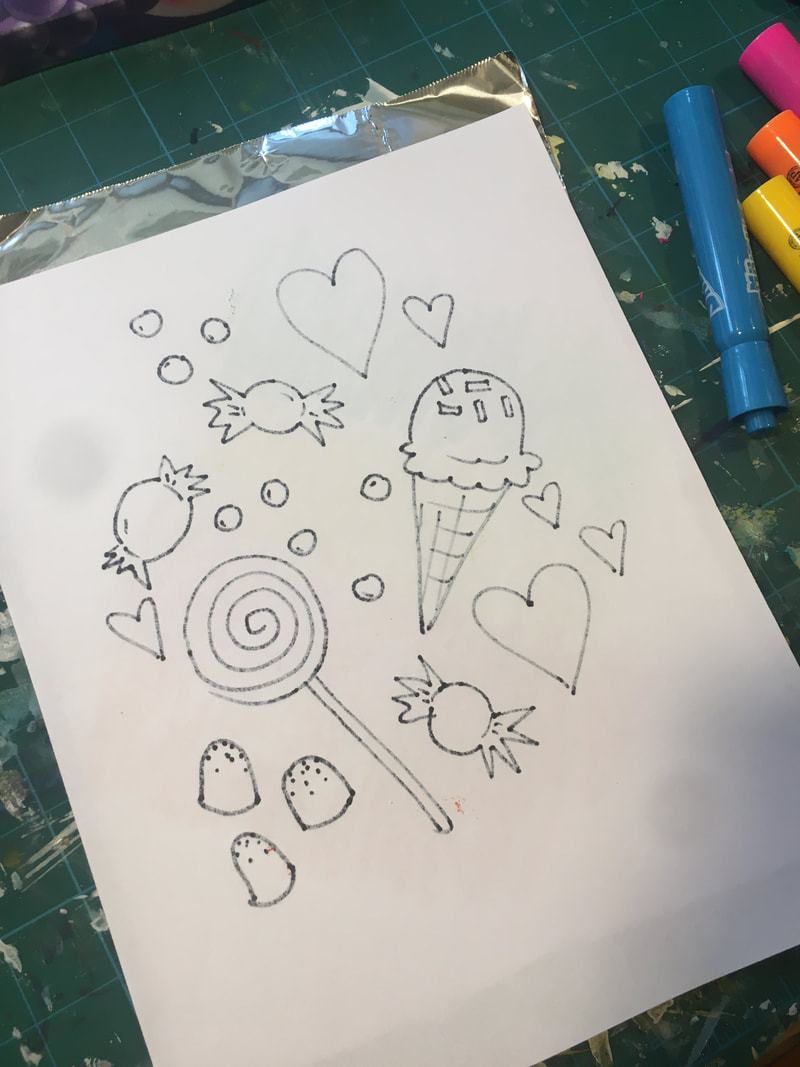
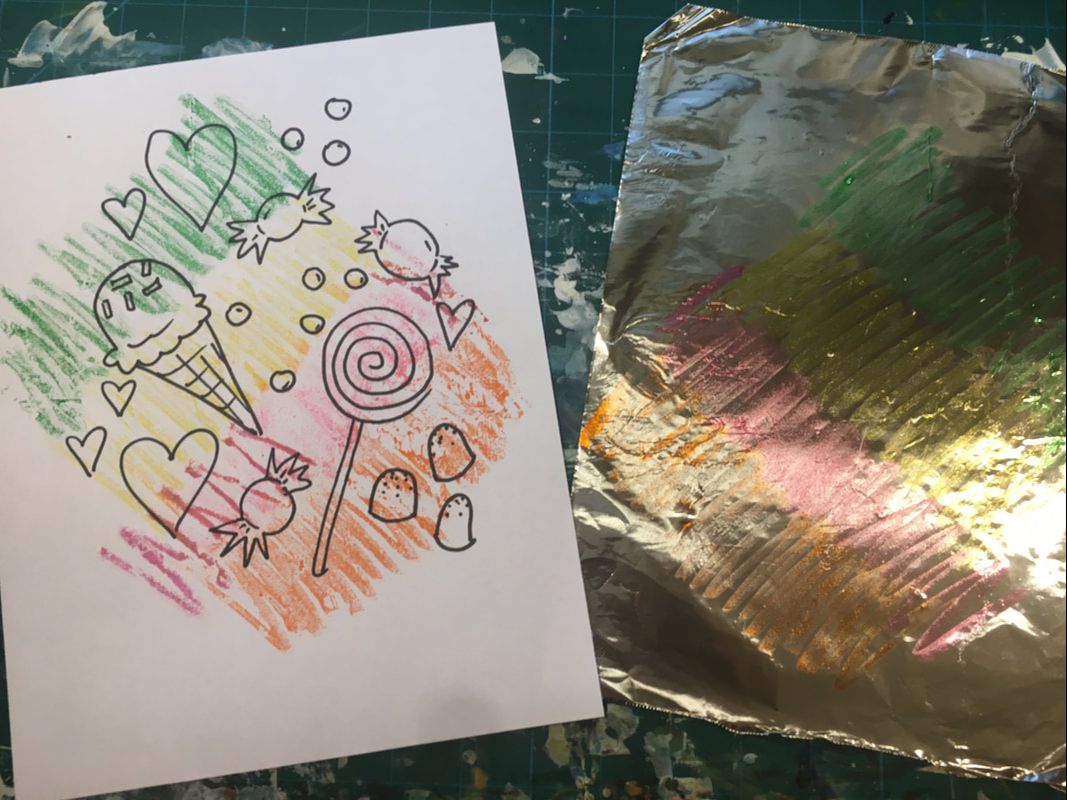
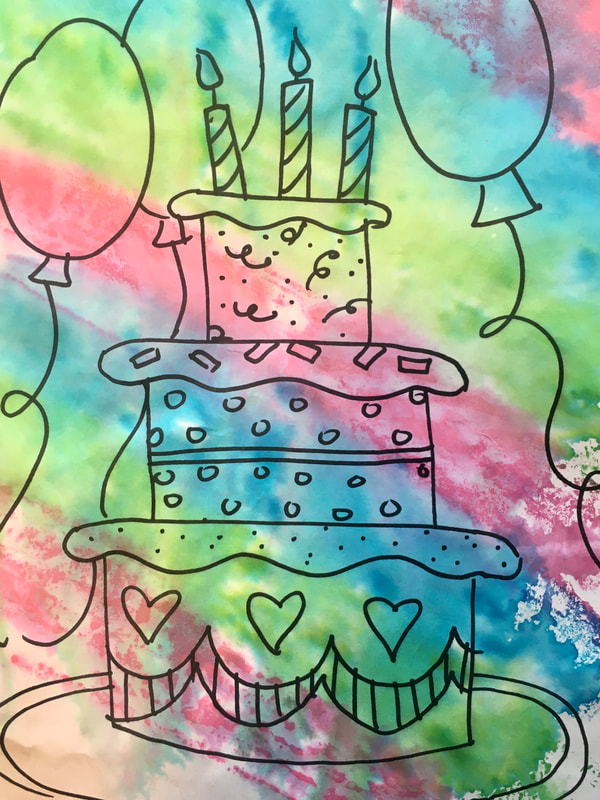
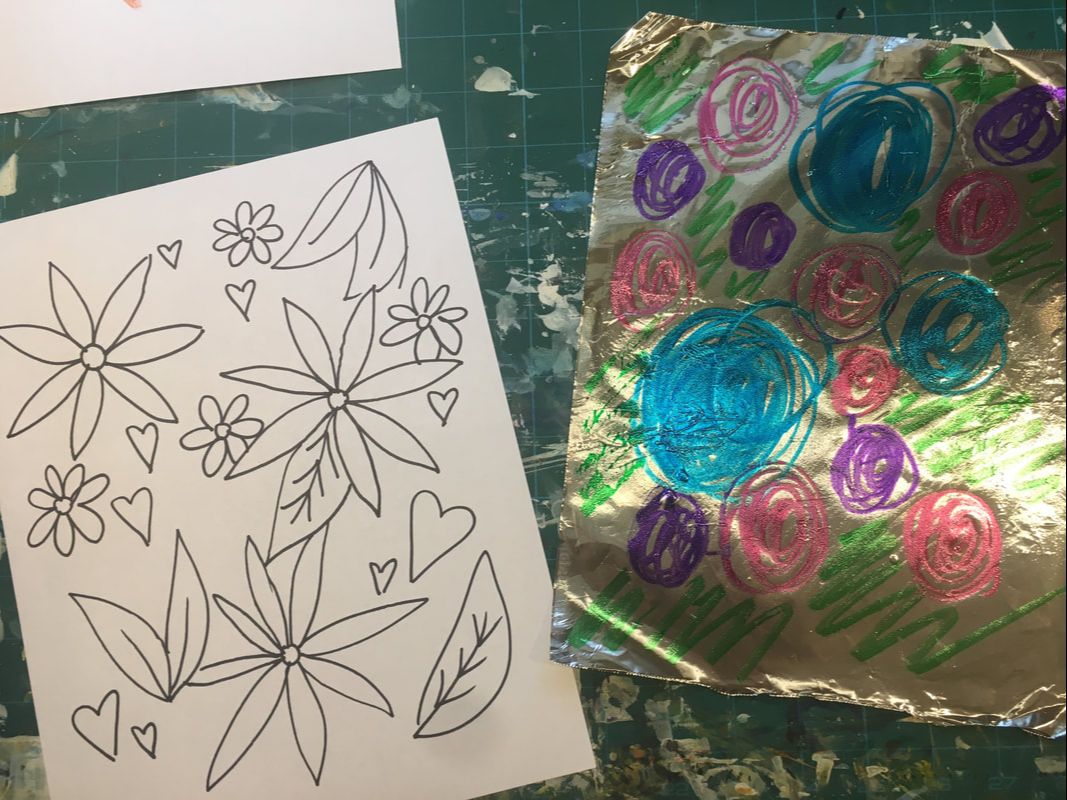
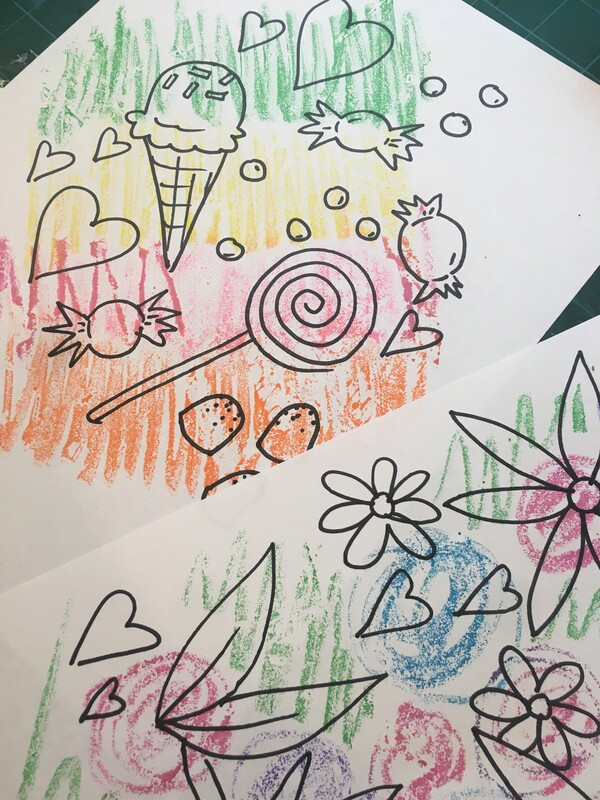
Marker Printing!Marker printing is fun and easy! Remember, printing is the art word for stamping. With this project, you can make a variety of artworks in a short amount of time. Many of you have printed this year, but this is a printmaking method we have not done in class yet! Materials: Washable markers, permanent marker, spray bottle, paper, paper towel, one piece of aluminum foil that is about the size of your paper. You can cut paper in half if you want to make smaller artworks. You can even create cards by folding the paper in half and making the artwork on the front. Assignment: We are going to create marker prints! I want you to create at least three. First, draw a picture on the paper with a permanent black marker. Pick something you love and are good at drawing! You could also try drawing flowers, people, food, animals, a landscape, robots, palm trees, cars, or art supplies. Fill up your paper with designs and details! Next, color on the aluminum foil with washable markers, but don't use black! This color on the foil will be like your background, and you will not be coloring in the objects that you draw like normal. Spray your paper once or twice with a spray bottle and then flip the paper over onto the aluminum foil and smooth it out with your hands until you see the marker start to show through. Pick up the paper, and you have a print! You can do this without the spray bottle, but it will not have the watercolor effect. Markers that are more wet, like Mr. Sketch markers, will work best if you are not using a spray bottle. I can't wait to see the fun and colorful designs you create!
0 Comments
Your comment will be posted after it is approved.
Leave a Reply. |
From Mrs. PinaireHello, Eastside artists! This is where you will find your weekly assignments while you are learning from home. Archives
December 2020
Categories |
 RSS Feed
