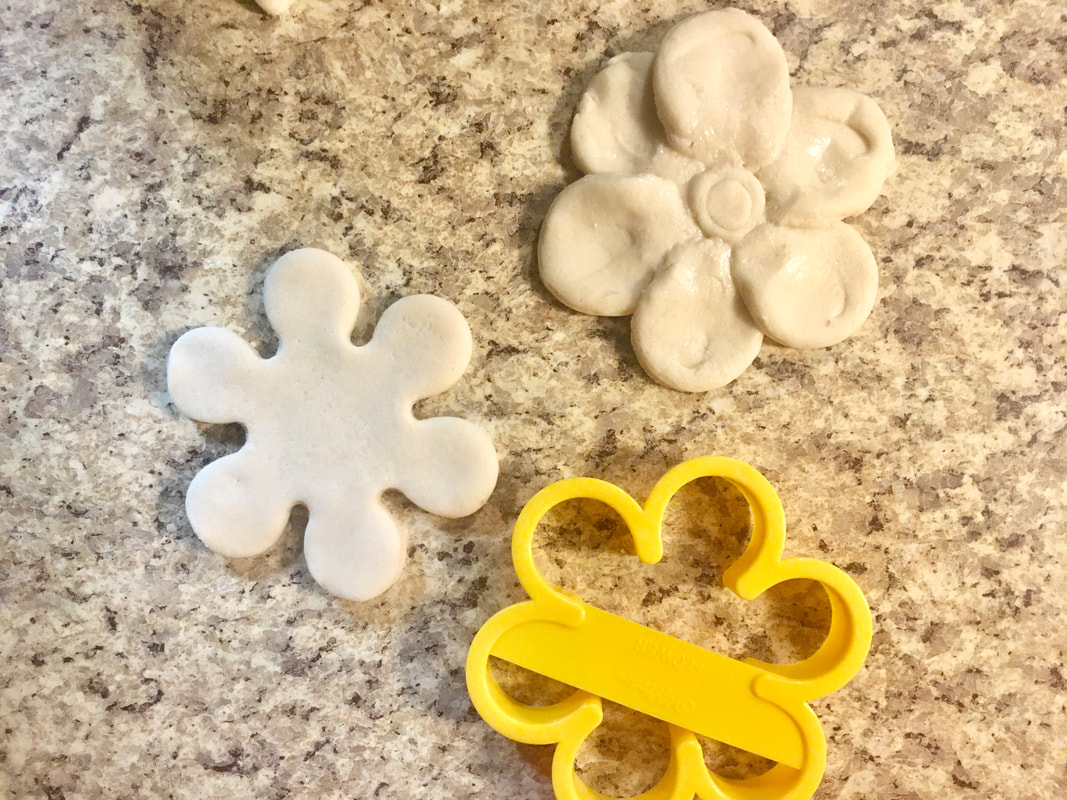
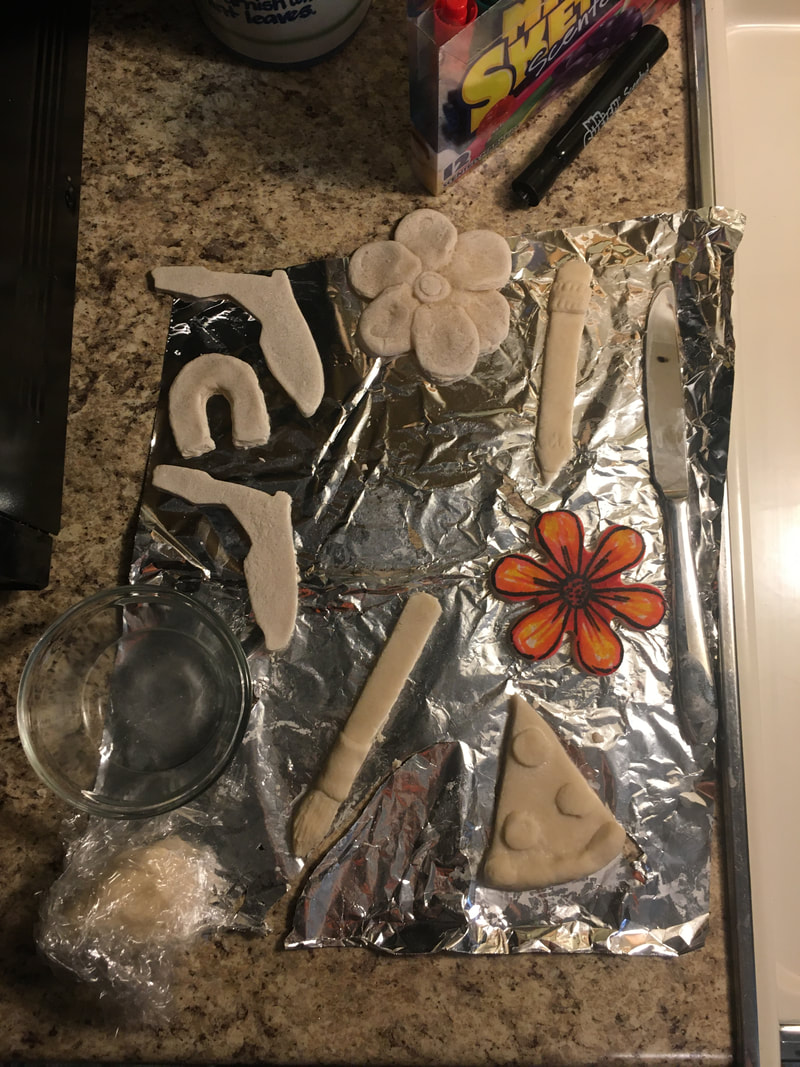
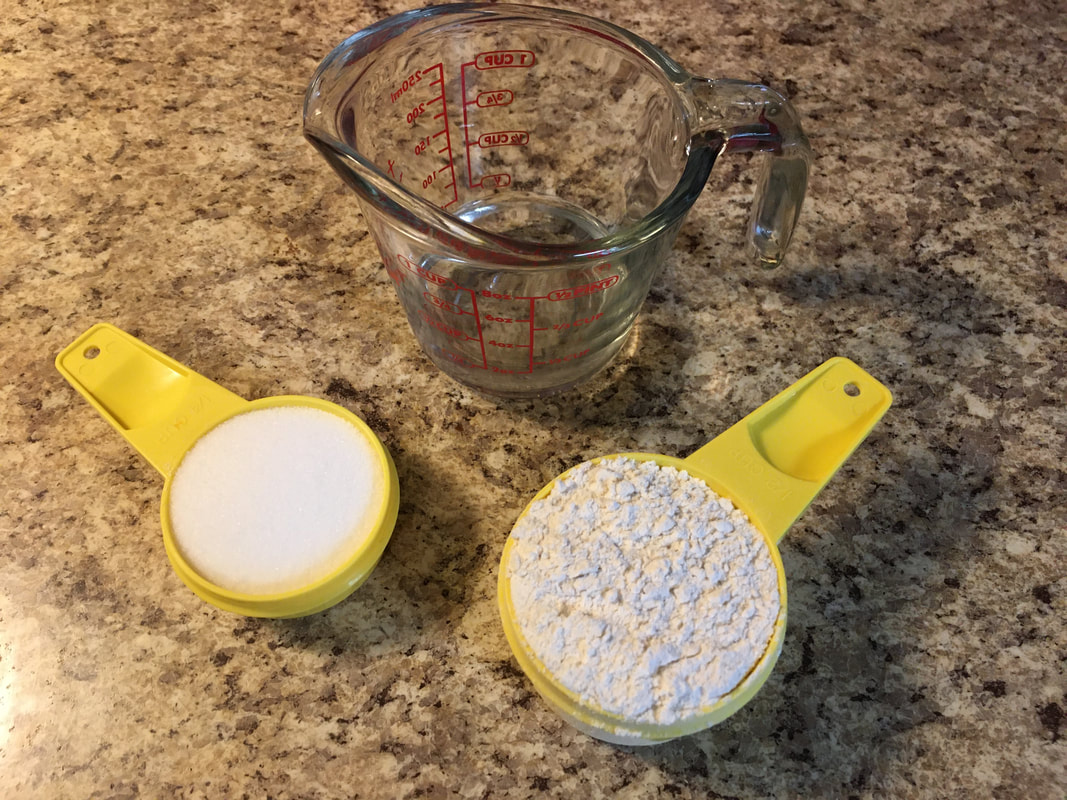
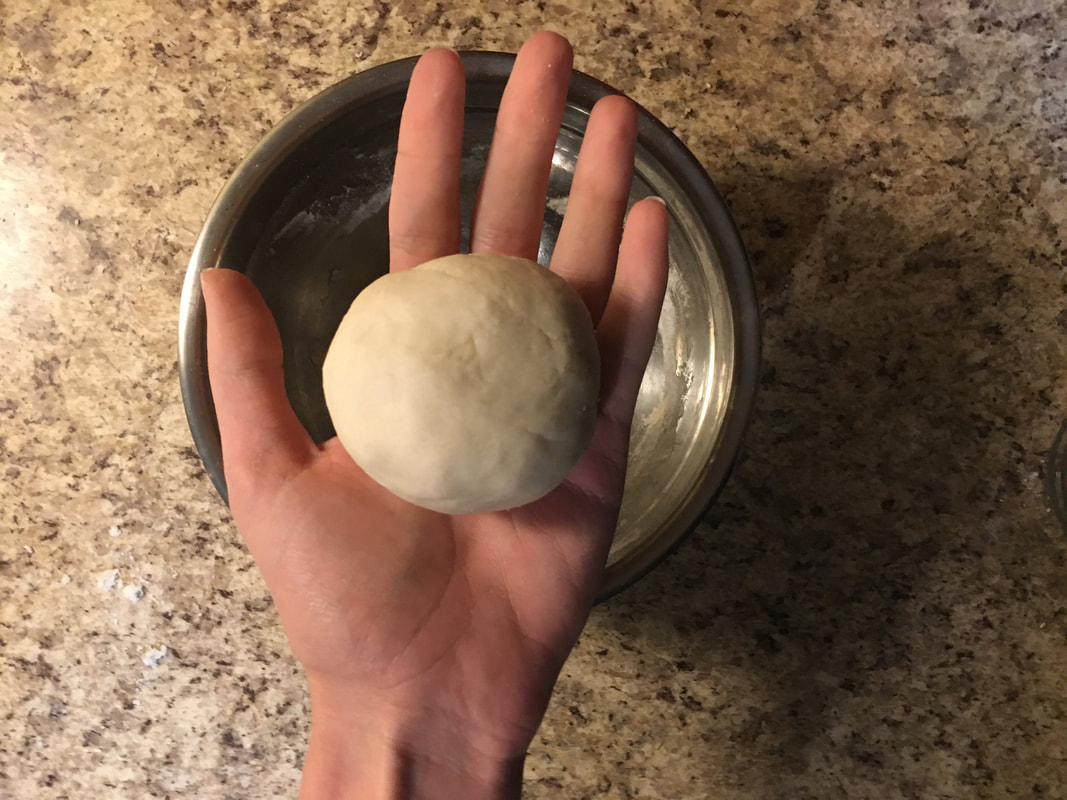
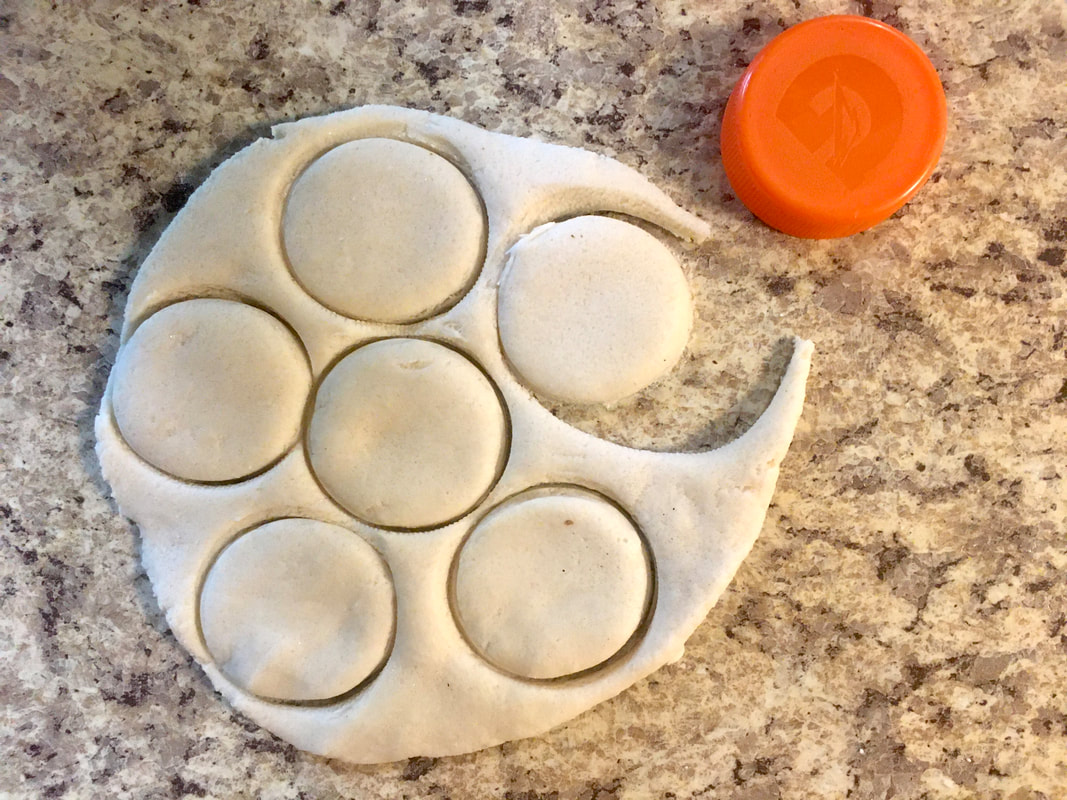
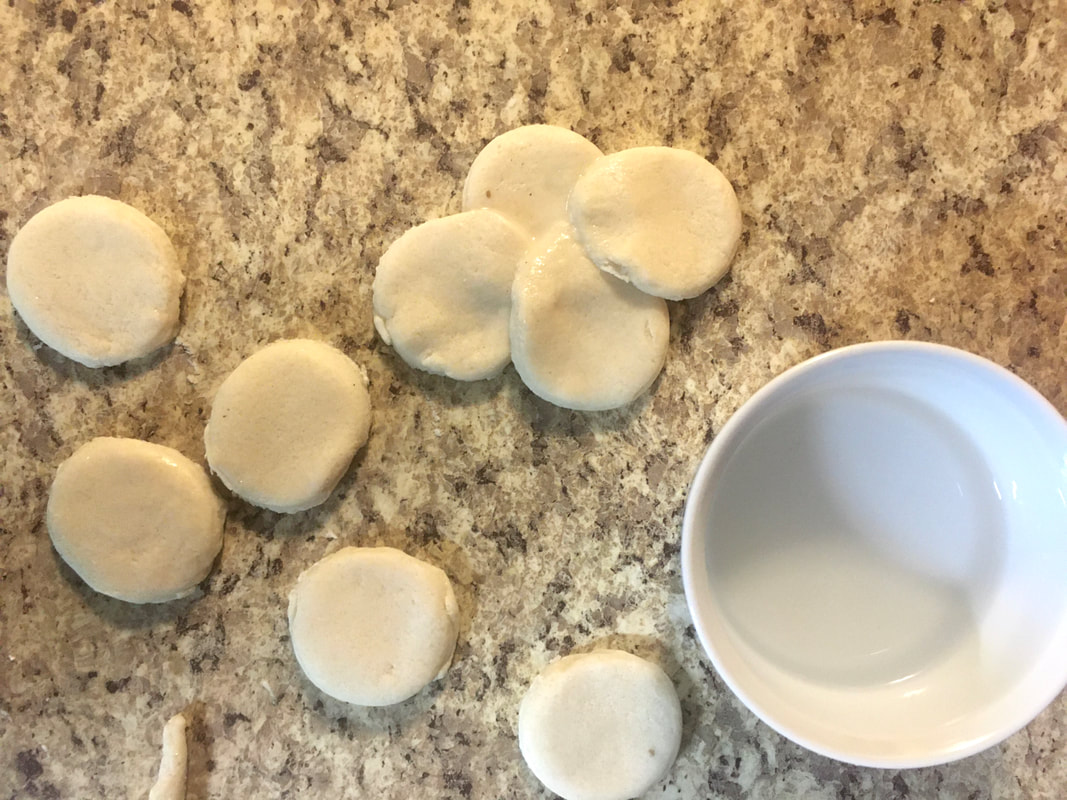
Create your own clay sculptures!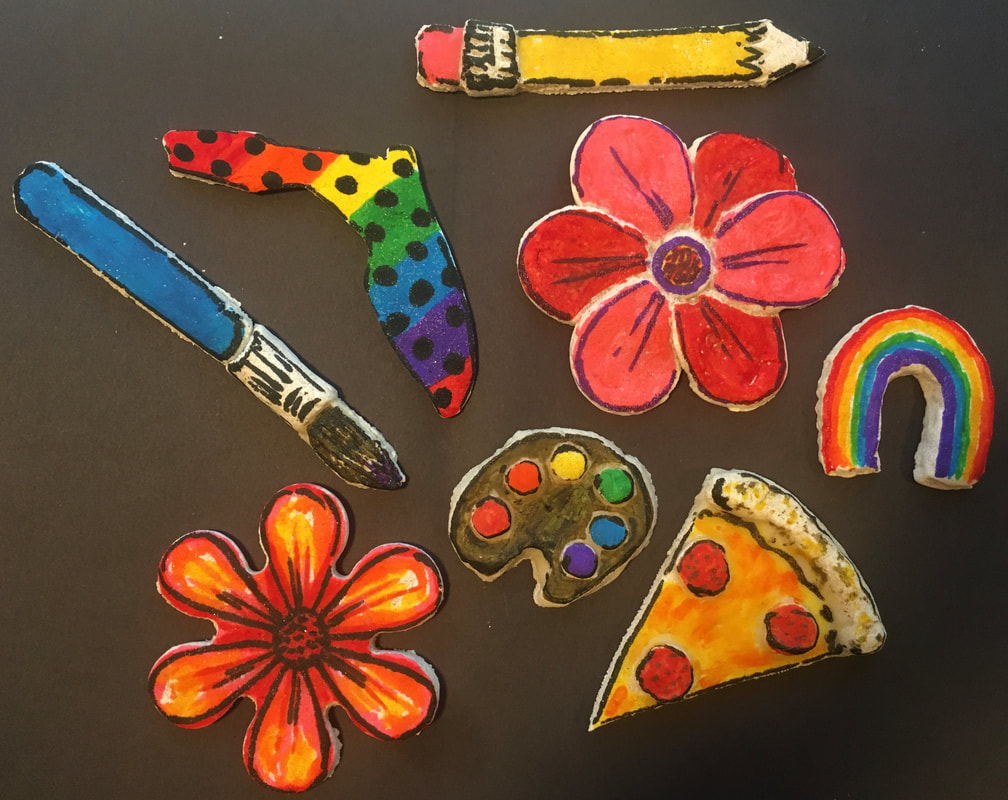 During the school year, I love to bring out modeling clay! This year, you are going to make your own clay! The clay we will be making is called salt dough. It looks like cookie dough, but don't eat it! It won't taste sweet! Medium: Clay (recipe below) Washable or permanent markers You may need tools for sculpting, like a plastic fork, spoon, or knife. When you are building, you will need a small bowl of water to act as your glue. I also use aluminum foil so that my clay doesn't stick to the counter. Clay Recipe: 1/4 cup salt 1/2 cup flour or gluten free alternative 1/4 cup water Mix all of the ingredients together in a bowl. Keep mixing and squishing it in your hands until you have a ball of clay. Sculpture Challenge: I want you to impress me with your clay creations! That's your assignment! Be creative! You should be able to make multiple things with your one batch of clay. If you need some ideas to get started, try these: 1. Create food 2. Create art supplies 3. Create a flower 4. Create an animal or an insect Younger grades might have more success with cookie cutters. My favorite piece that I made, one of the flowers, was actually cut from a cookie cutter! To connect pieces of clay, get the clay wet and gently squish the pieces together. I dip one finger into a small bowl of water and then rub it into the spot I want the new piece to go. This will keep it from popping off when it dries. A little water will also help clay that is getting dry and crumbling. The thinner the clay, the faster it will dry. I let my clay air dry for about a day and a half. After it fully dries, add color with markers. Be careful not to color on one area too much, because it can make the clay wet again and mess up your sculpture. The wet markers can also mix, so let the marker dry as you finish each color. I found success with lightly tracing the edges of my sculptures with black marker. You can try this if you want, too! Have fun sculpting!
0 Comments
Your comment will be posted after it is approved.
Leave a Reply. |
From Mrs. PinaireHello, Eastside artists! This is where you will find your weekly assignments while you are learning from home. Archives
December 2020
Categories |
 RSS Feed
