|
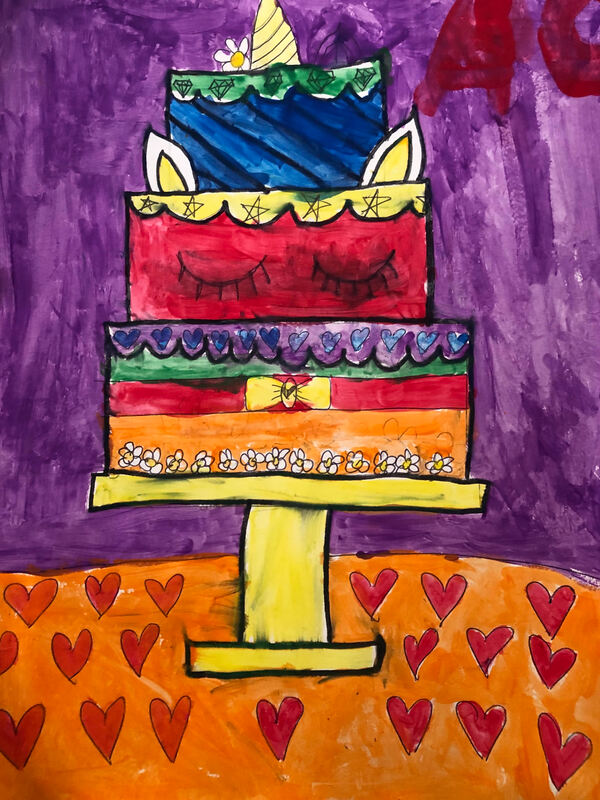
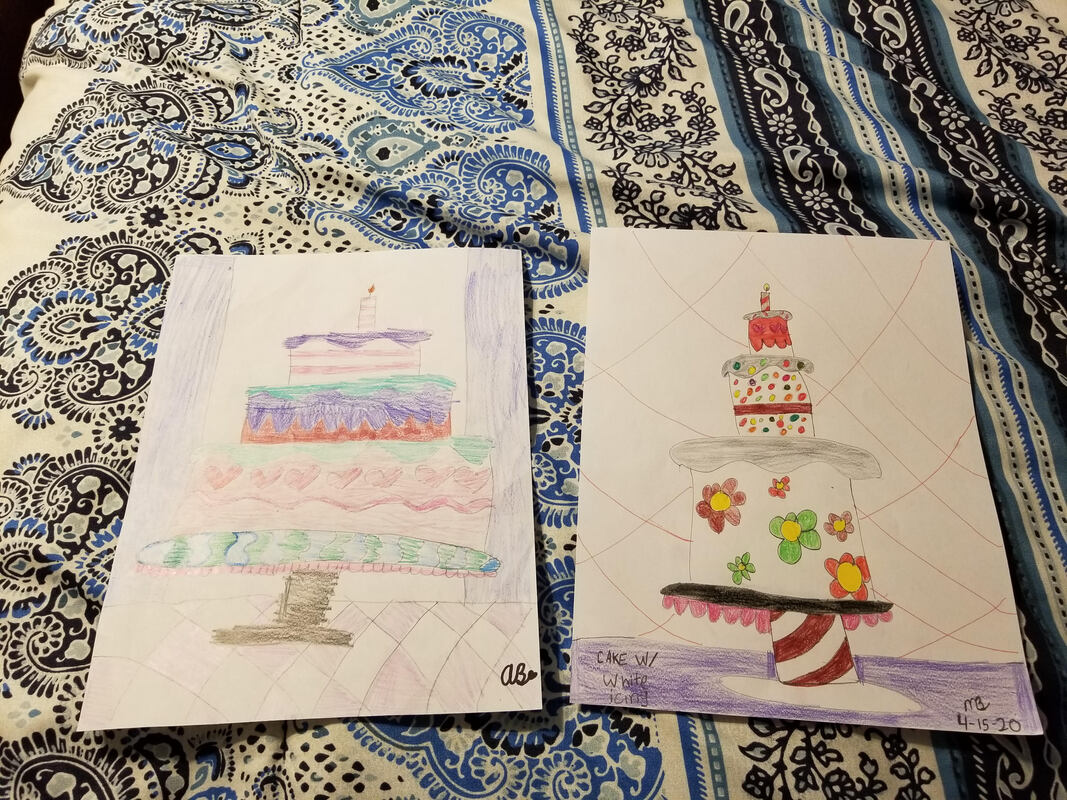
Here is our Friday Gallery for the Week Two assignment and art challenge! I loved seeing all of your color wheels and clay creations! I will continue to post images as I receive them.
0 Comments
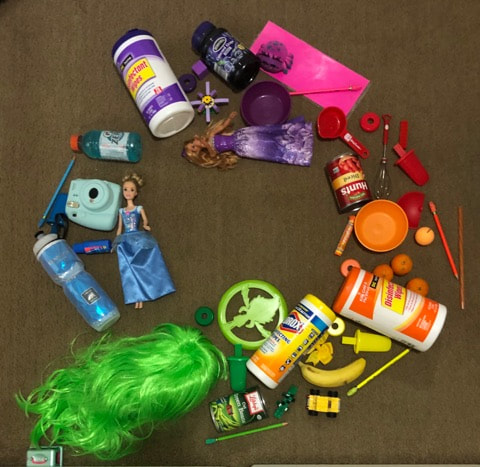
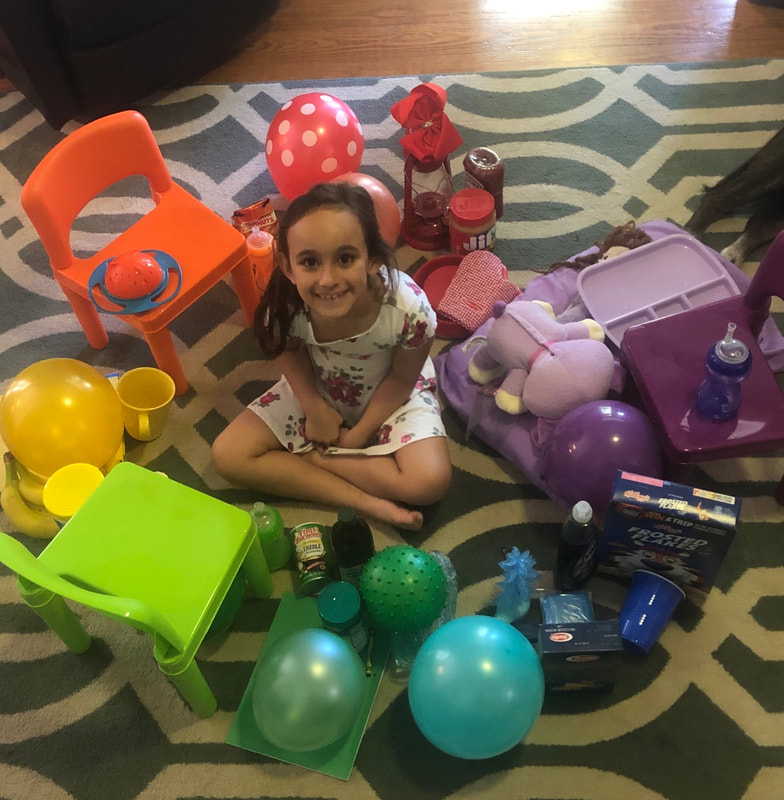
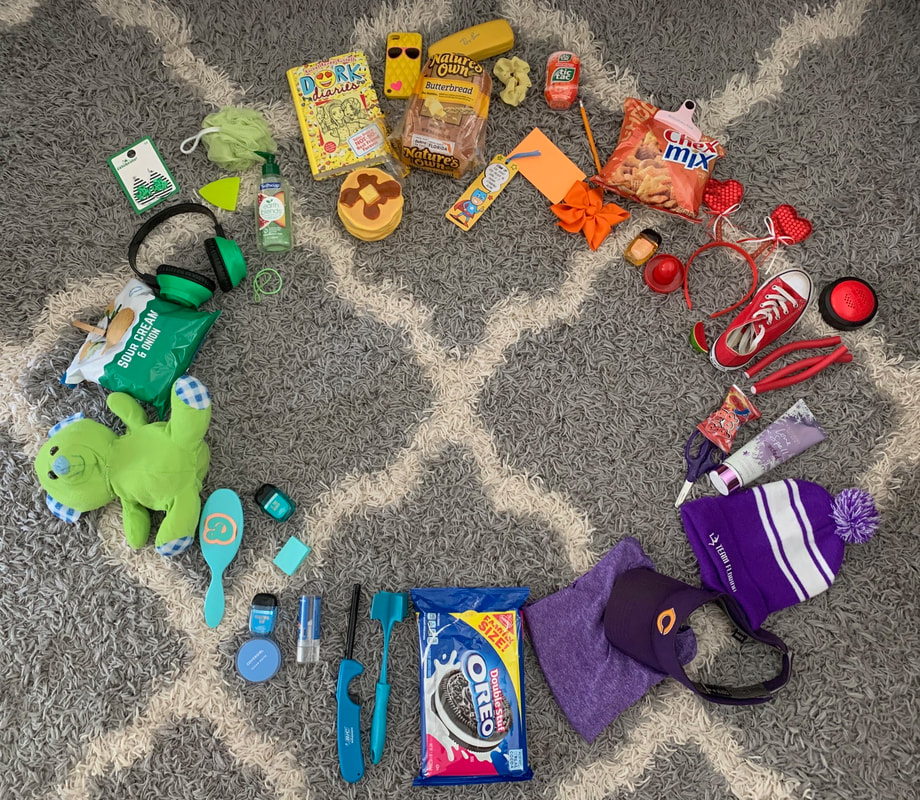
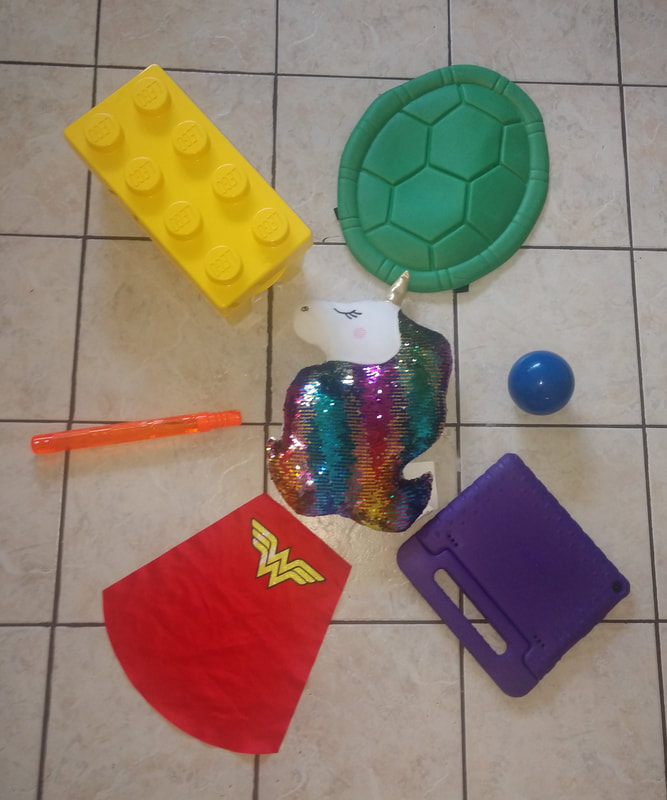
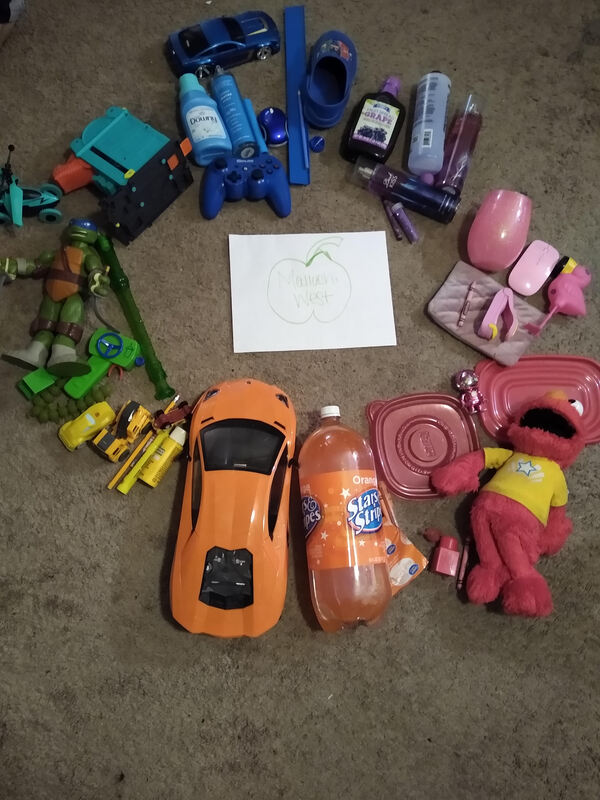
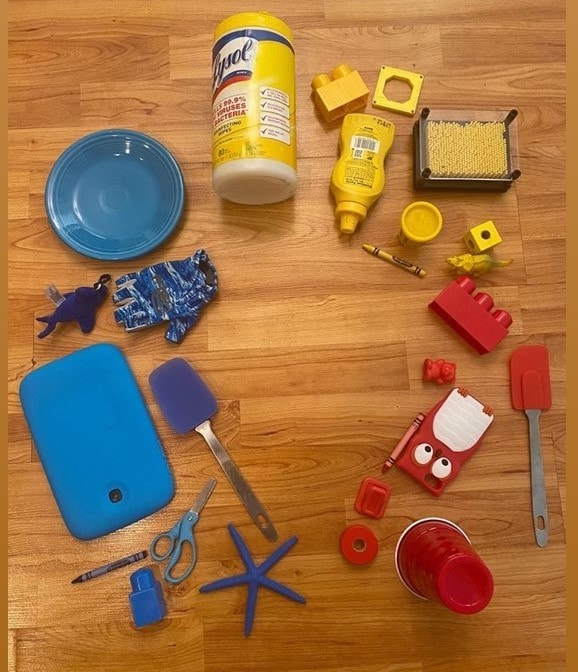
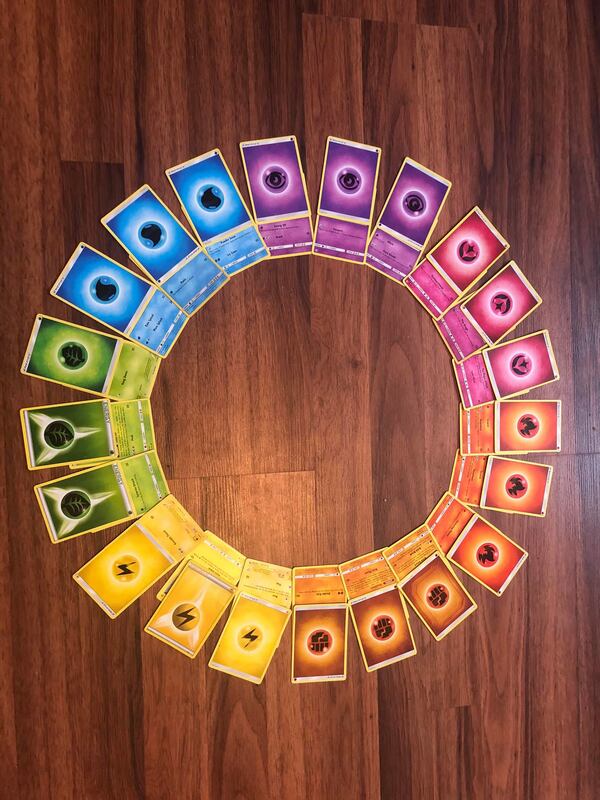
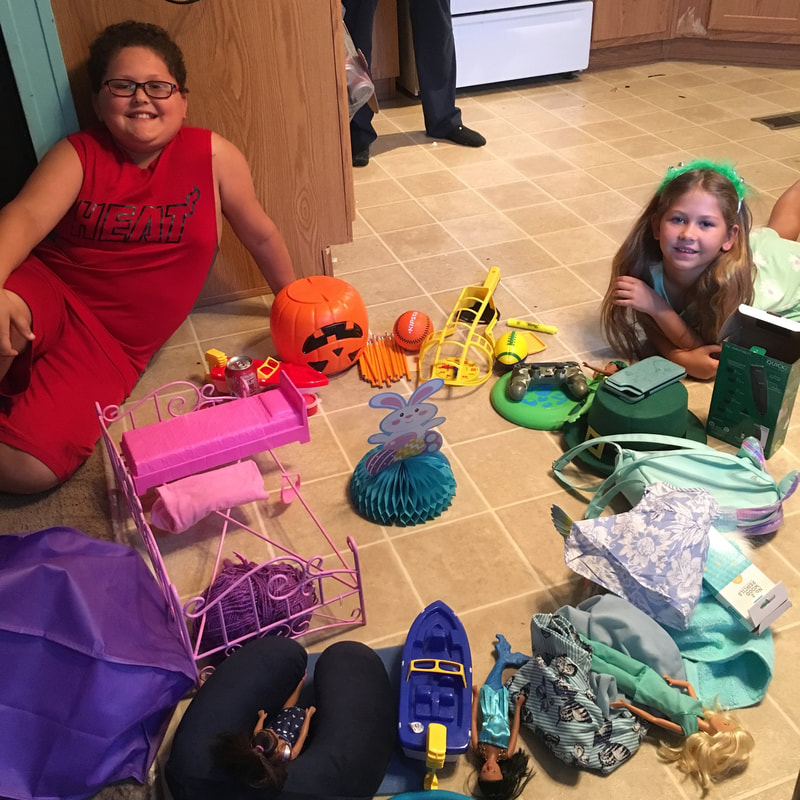
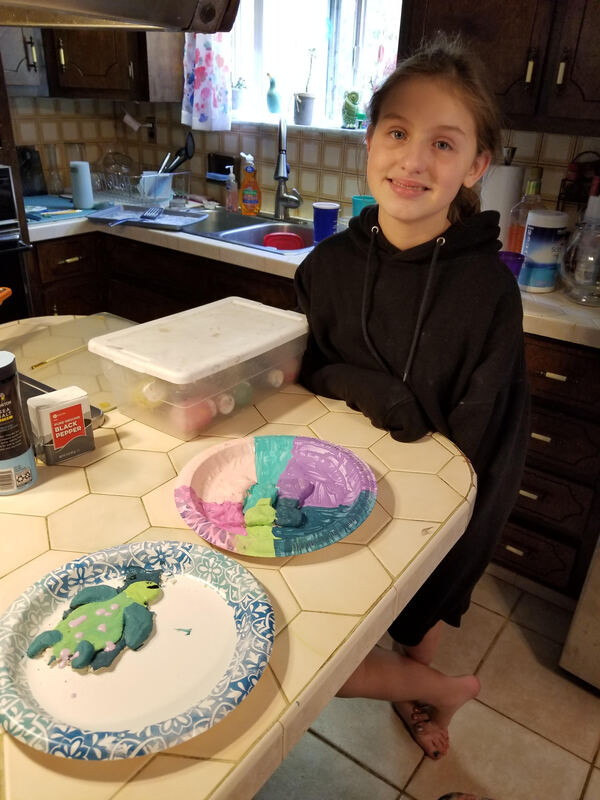
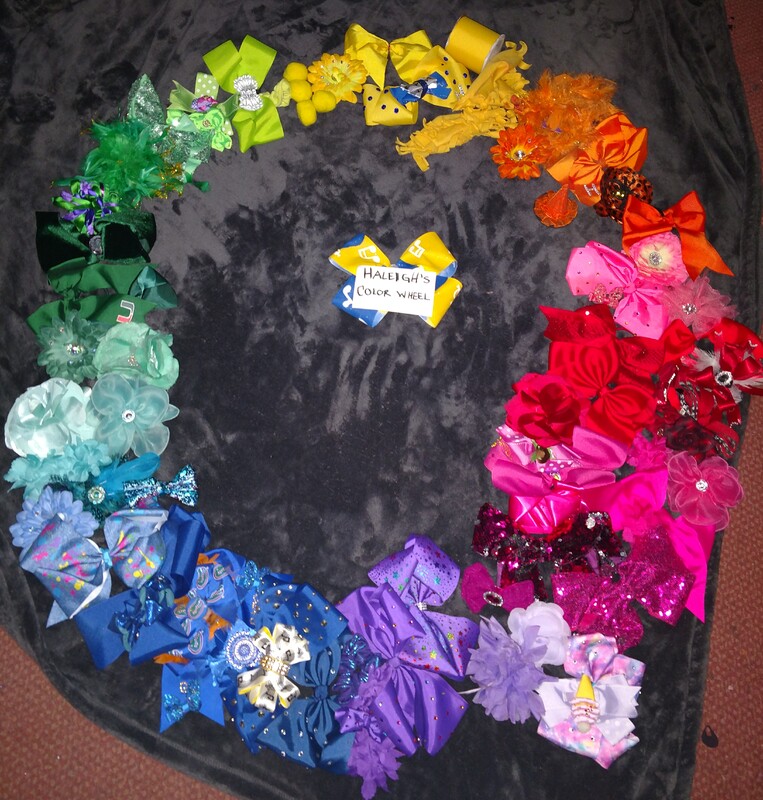
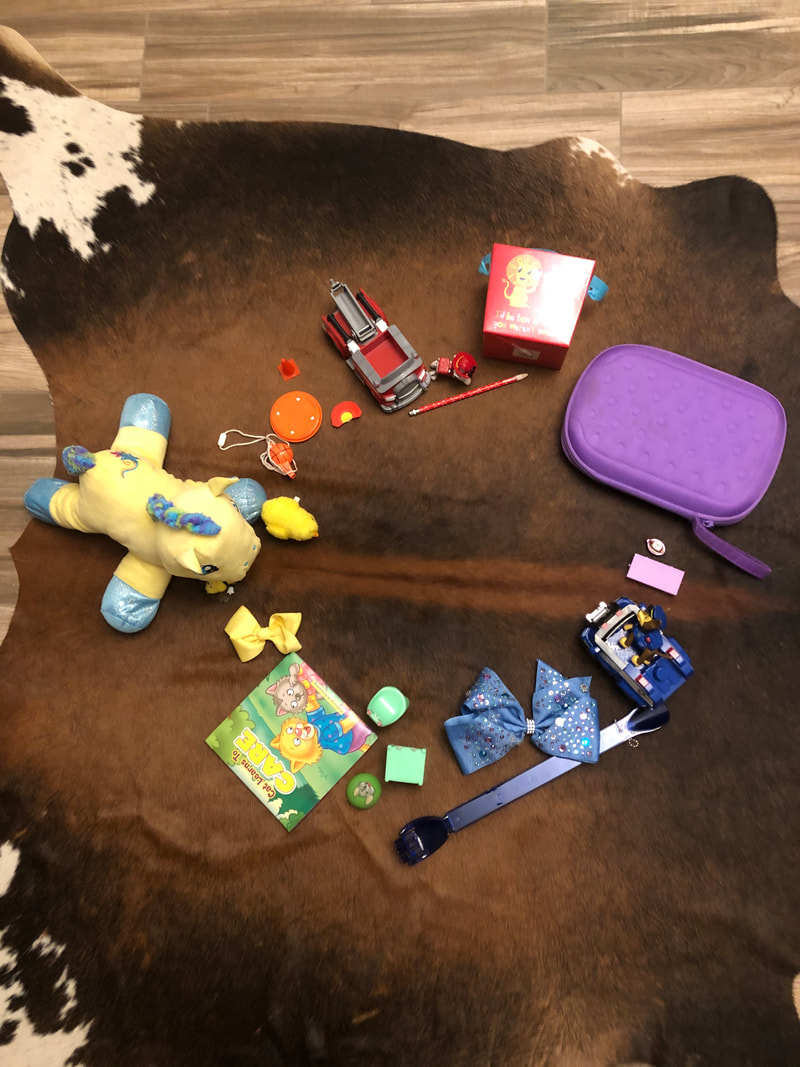
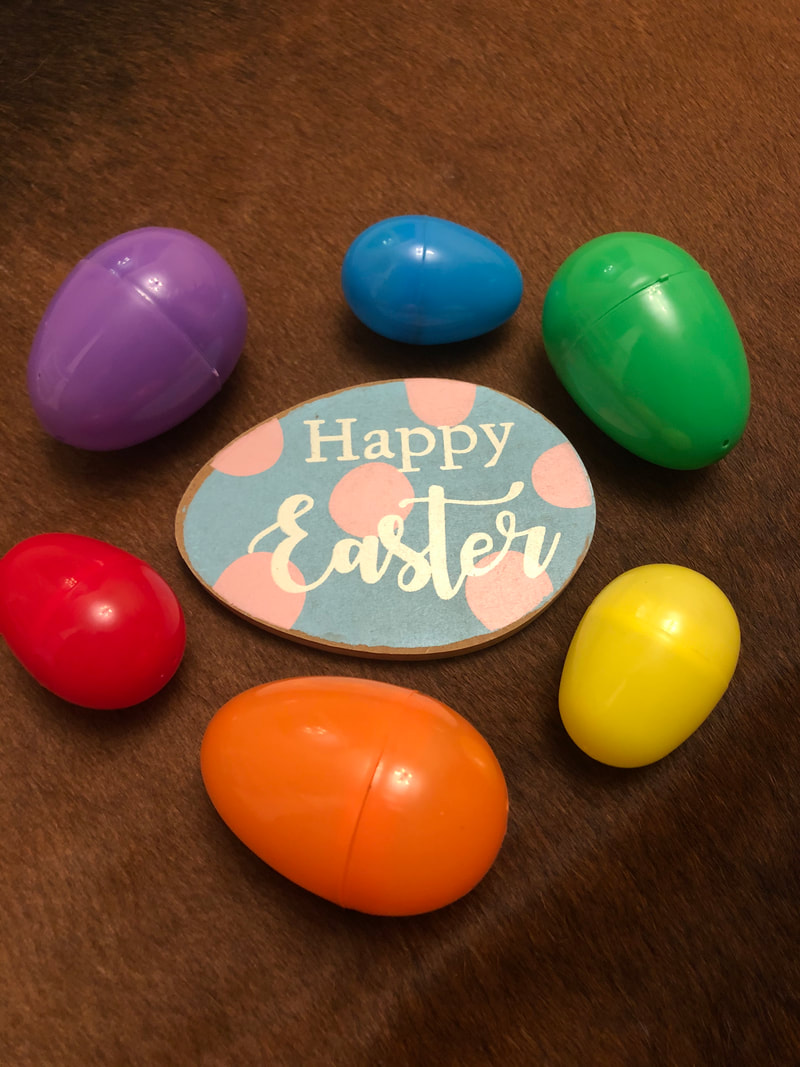
Create a Color Wheel from Everyday Objects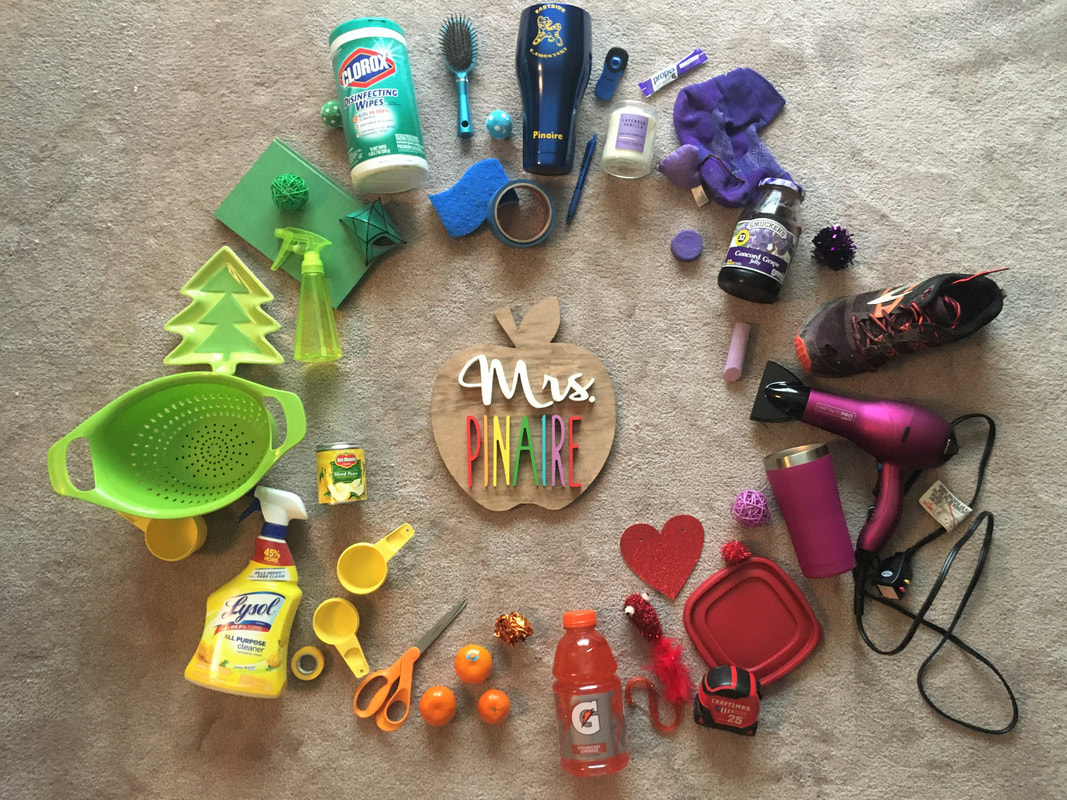 Your art assignment this week is to create a color wheel from various objects you can find around your home. This can be adapted to younger grades by using just the primary and secondary colors. I want to challenge my 2nd-5th graders to have the tertiary colors (red-violet, red-orange, blue-green, blue-violet, yellow-green, yellow-orange)! 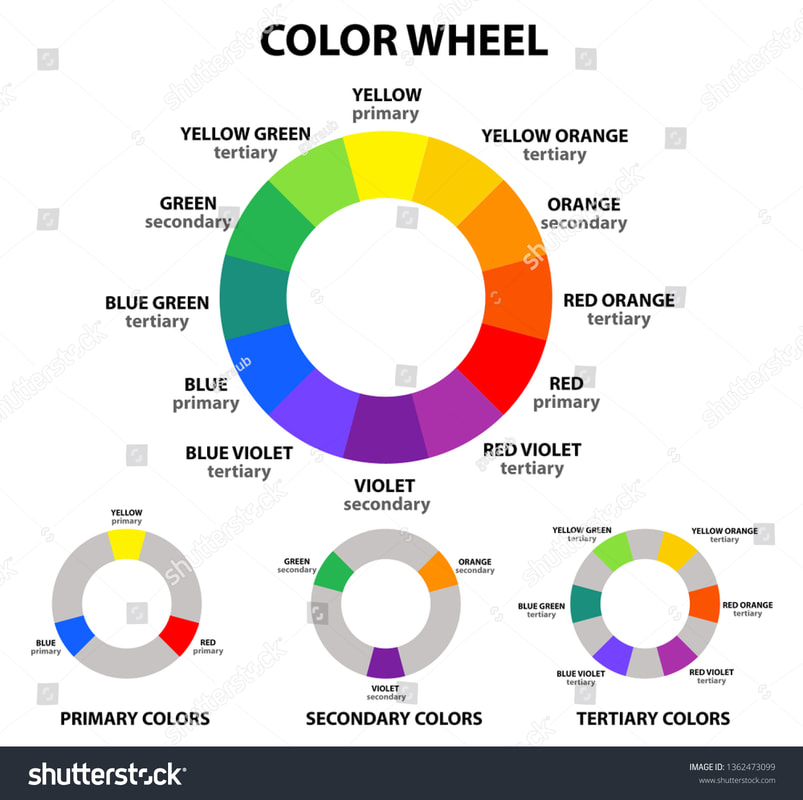 Begin your color wheel with the primary colors (red, yellow, blue) in a triangle. Then add the secondary colors between. Remember, the secondary colors go between the two primary colors that are used to make them. After you add the secondary colors, fill in the gaps with the tertiary colors. You do not need to put anything in the middle of your color wheel. The more objects around, the better! You need to include at least two of each color. I used a few cat toys in my color wheel, and my cat Dottie didn't want to share them! Here's a sweet picture of her helping. 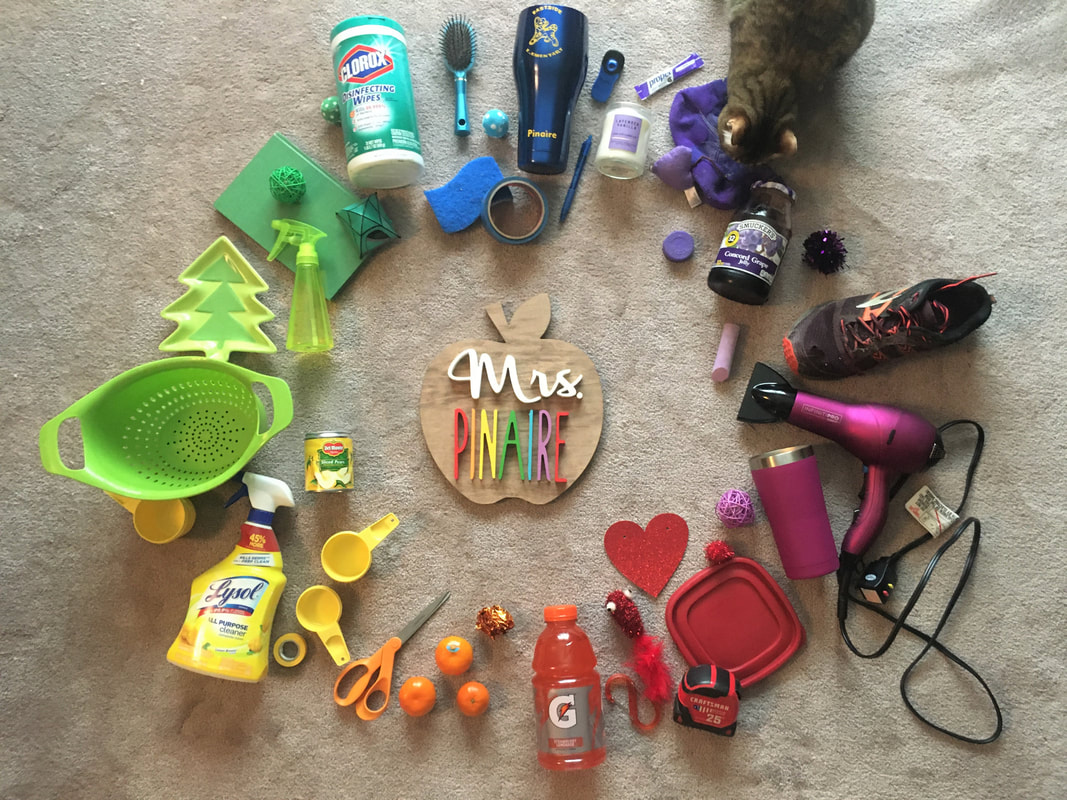 We had so much fun doing this at my house, and it was more challenging than I thought it would be!
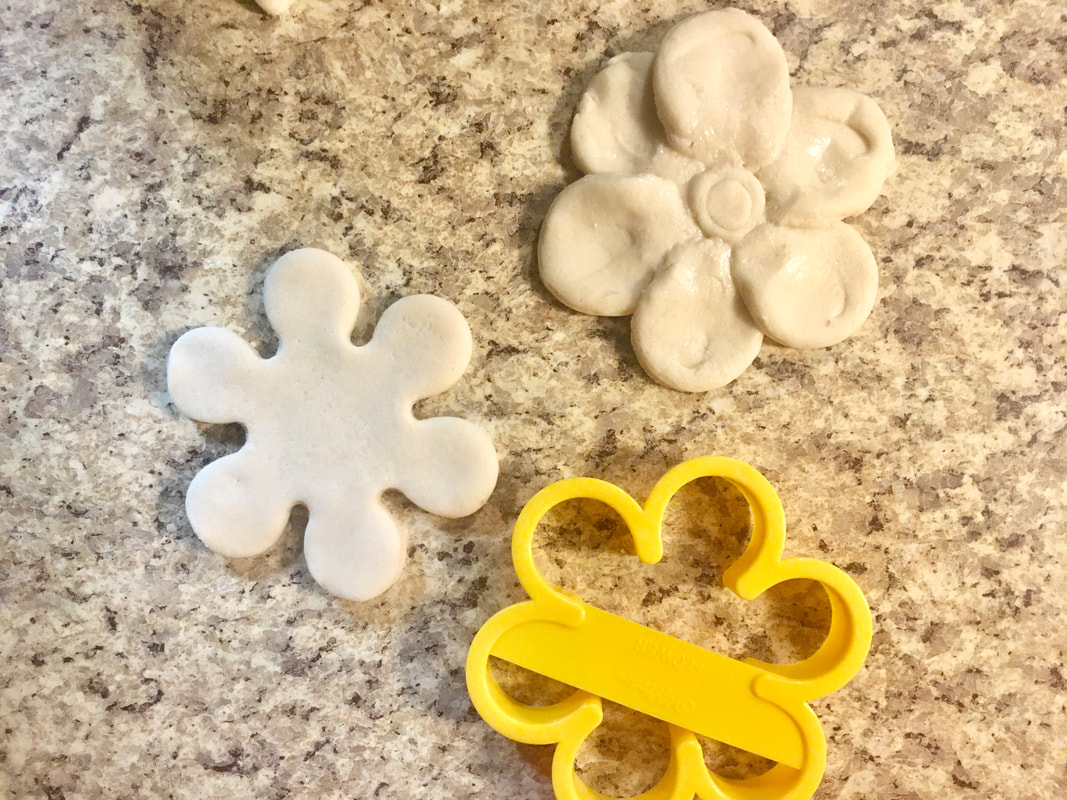
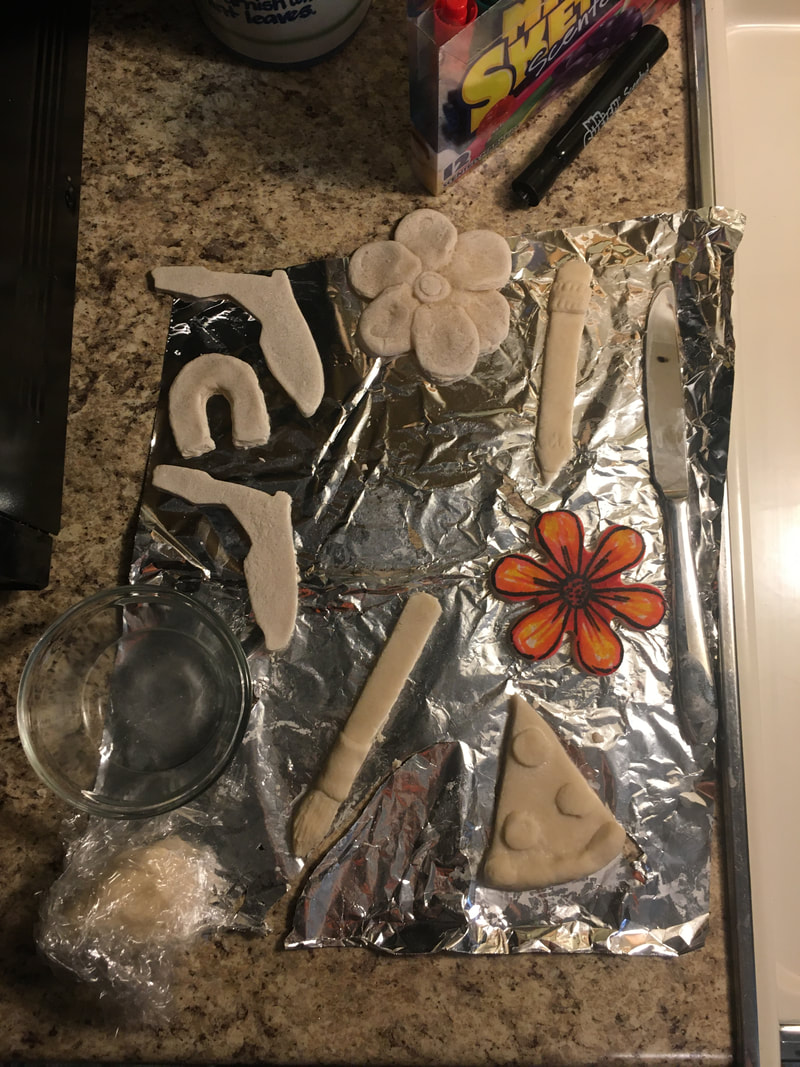
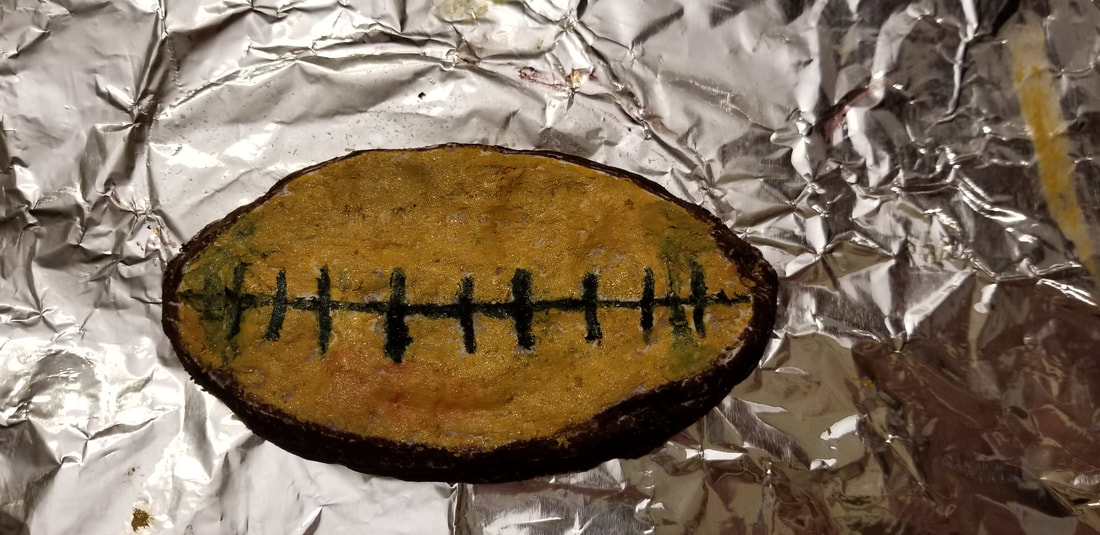
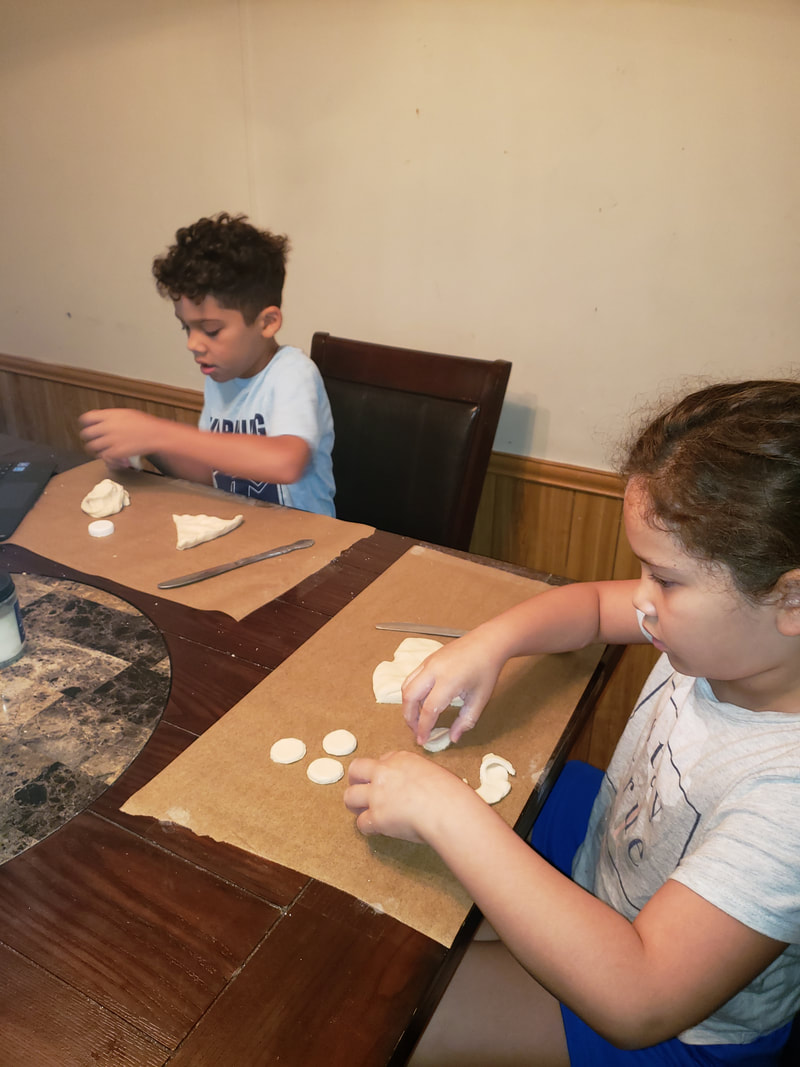
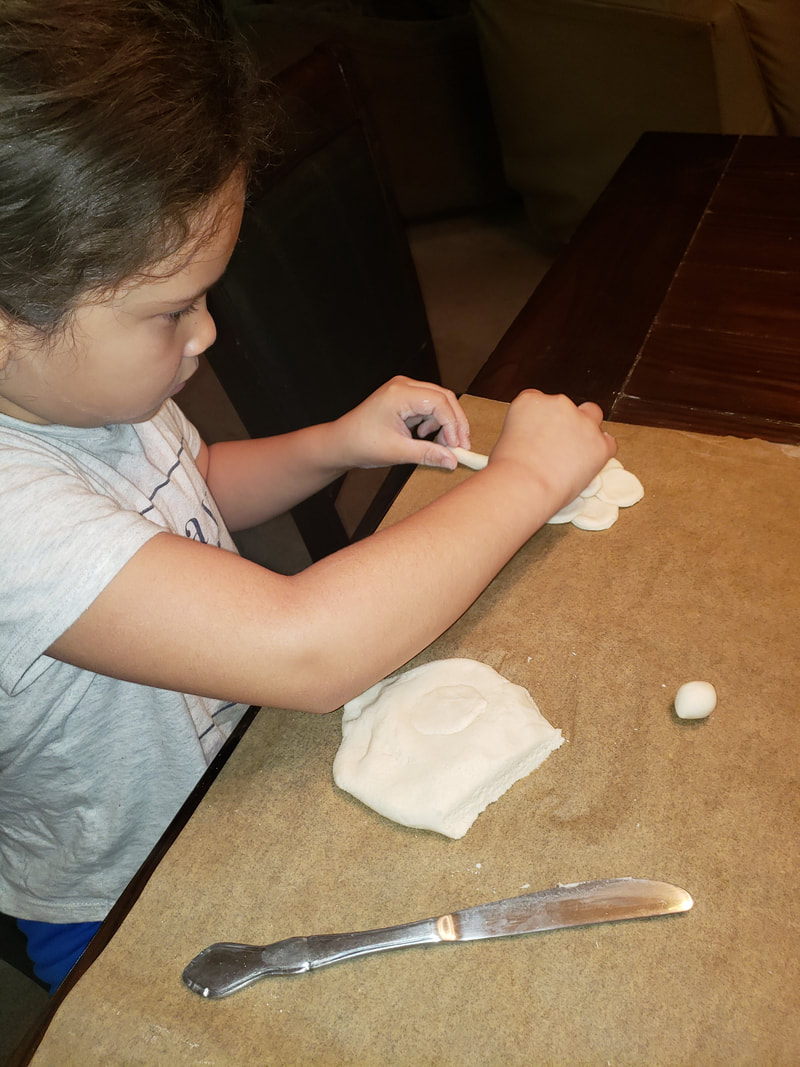
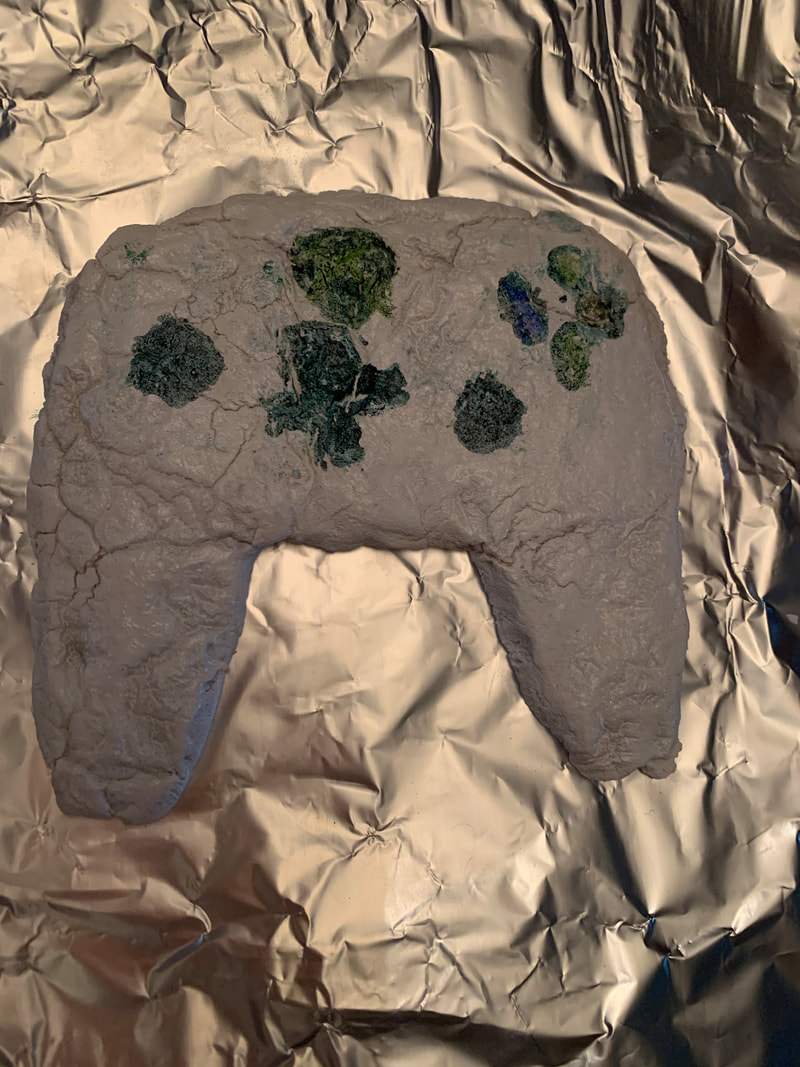
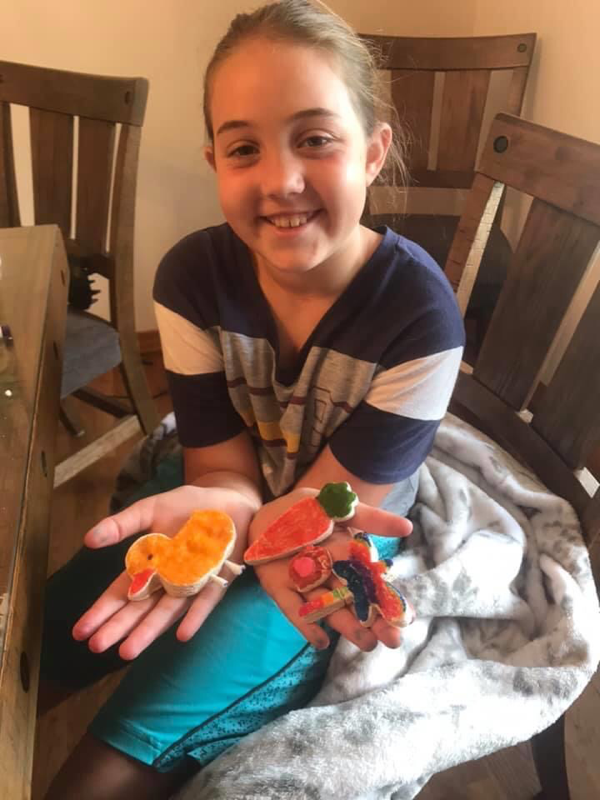
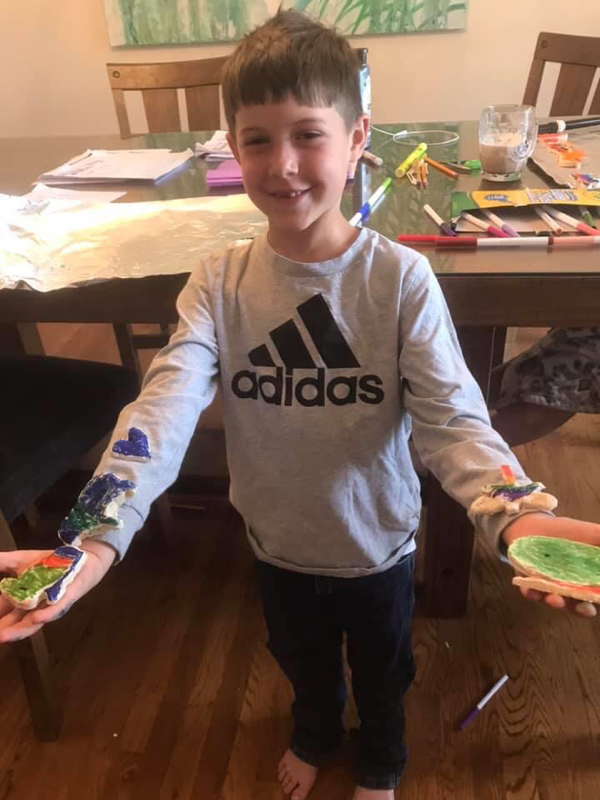
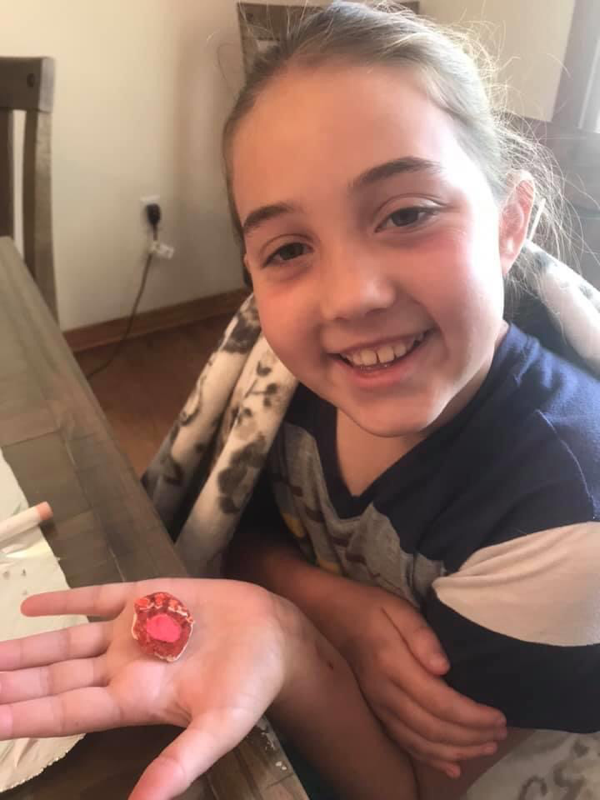
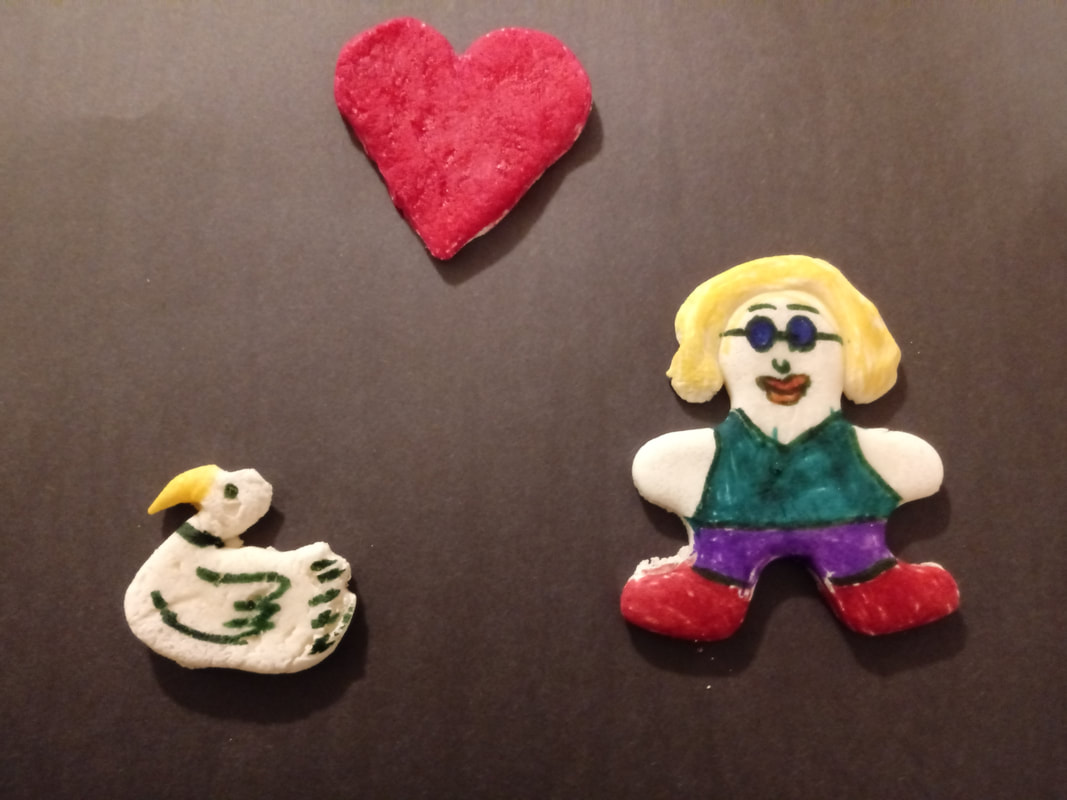
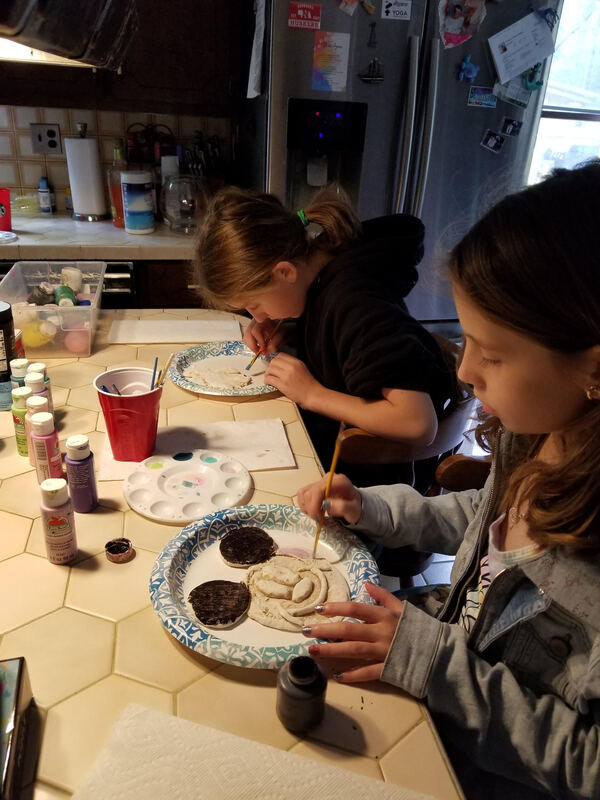
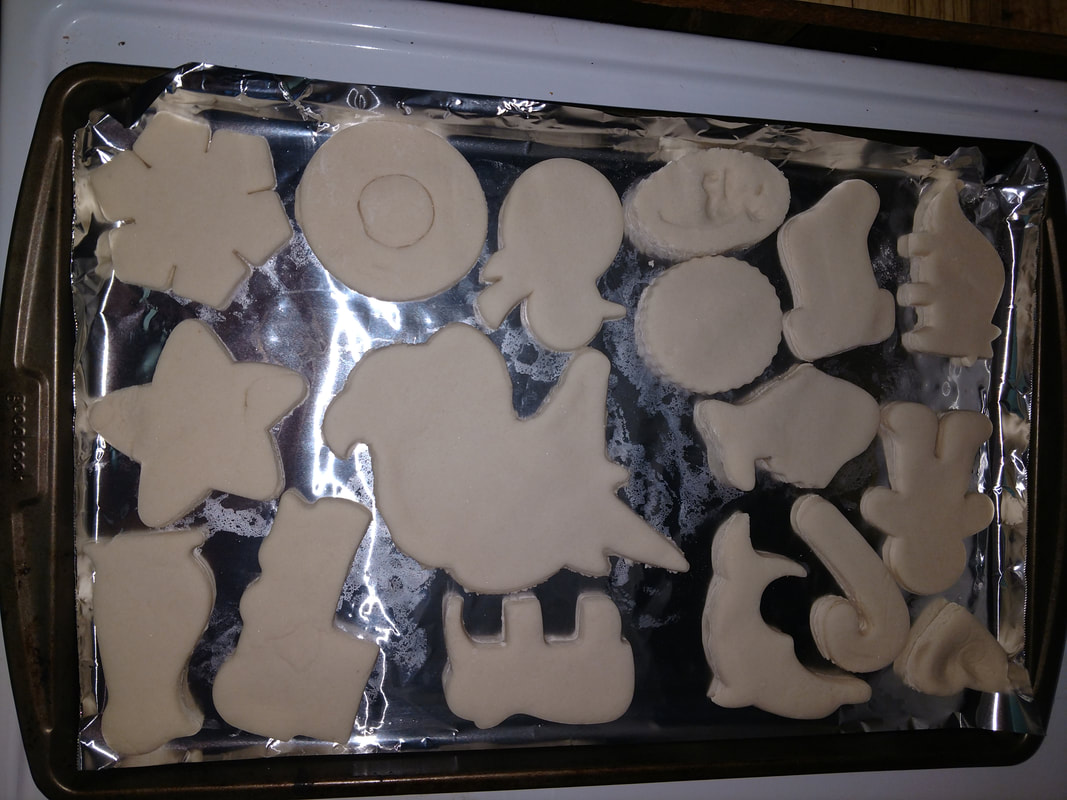
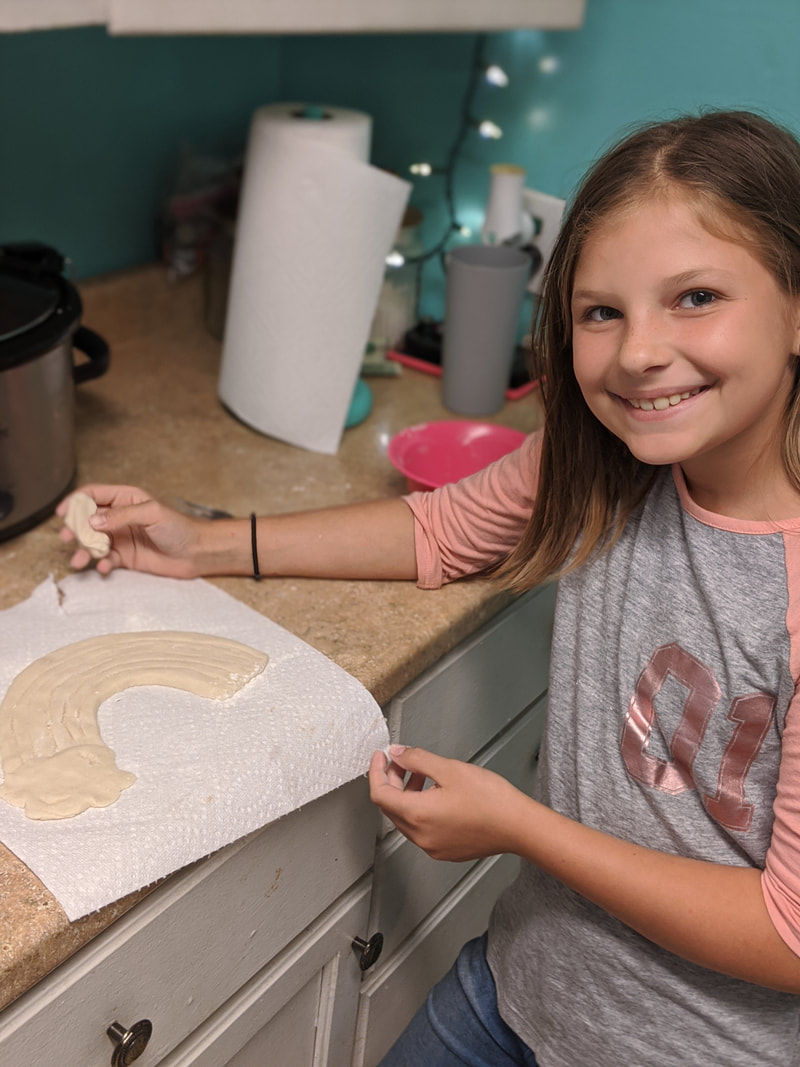
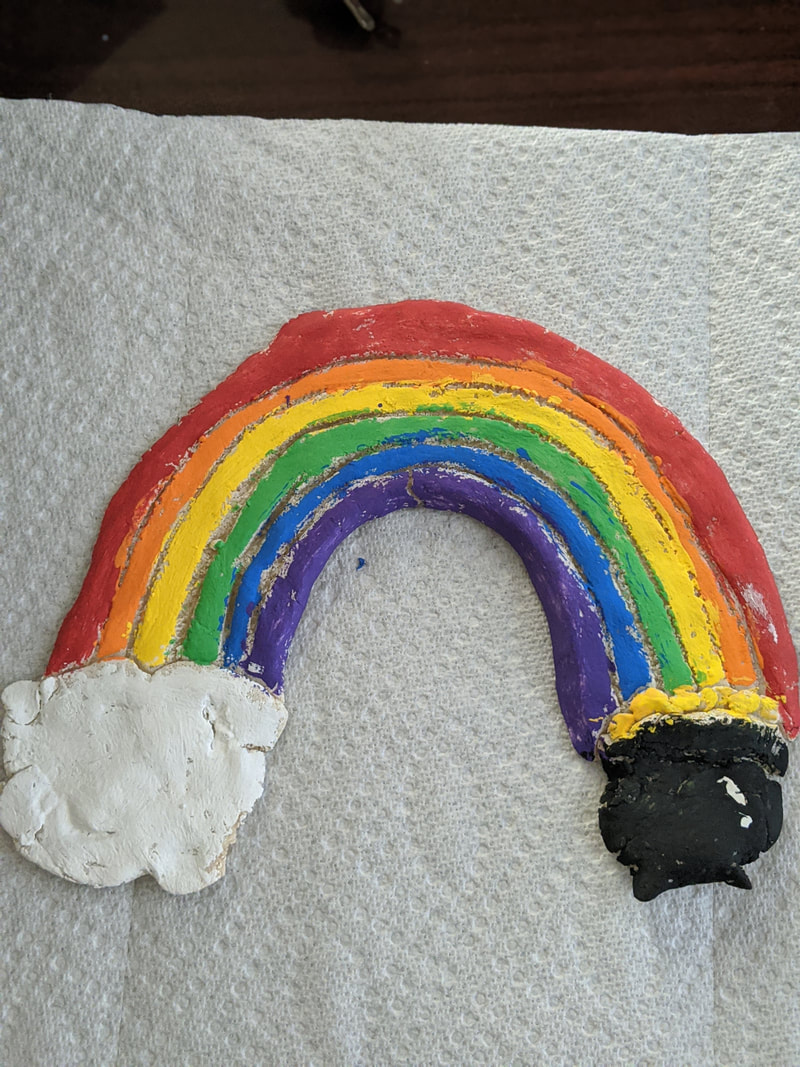
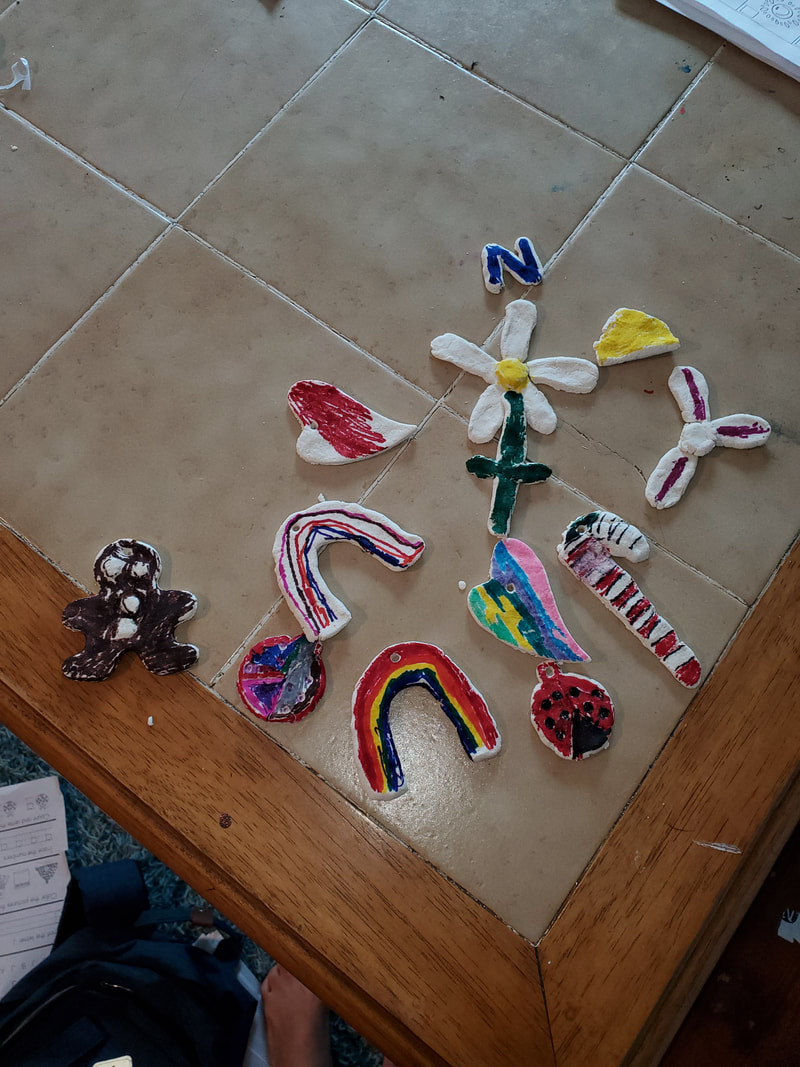
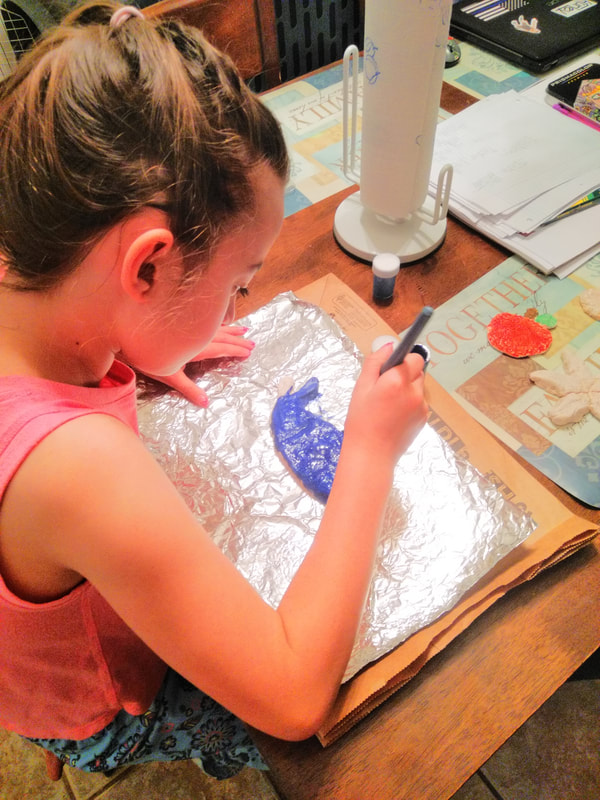
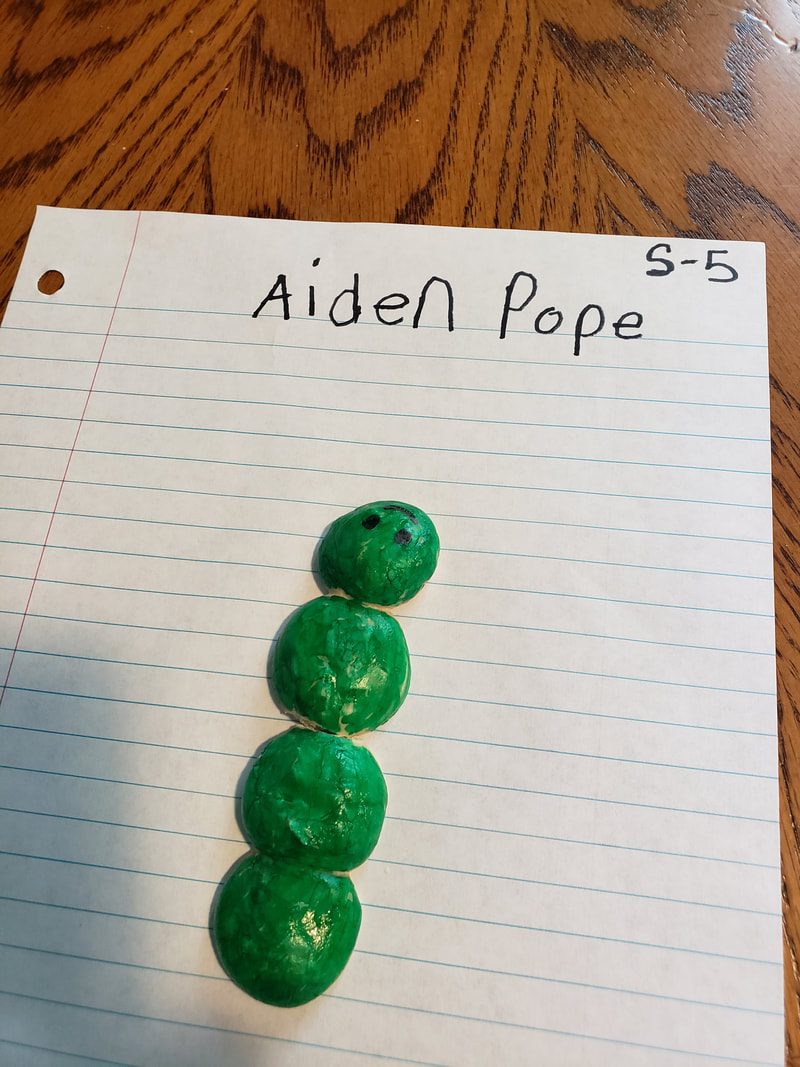
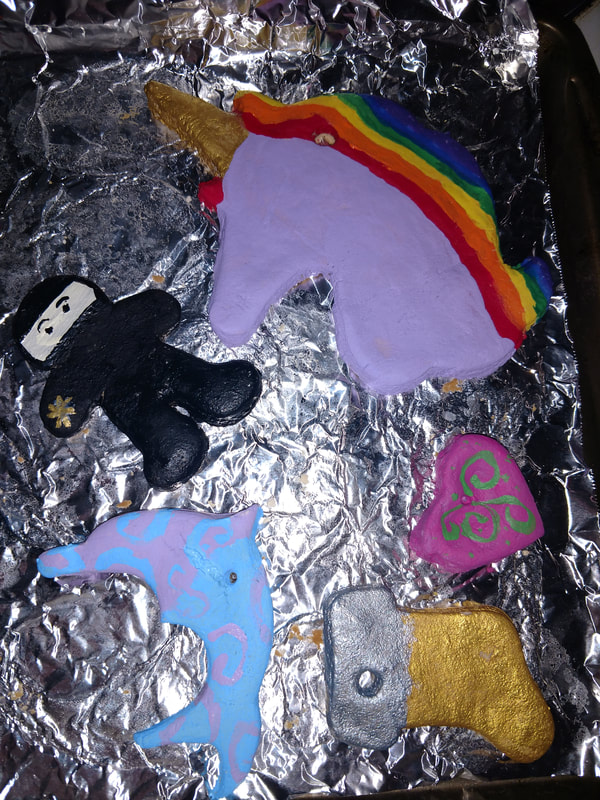
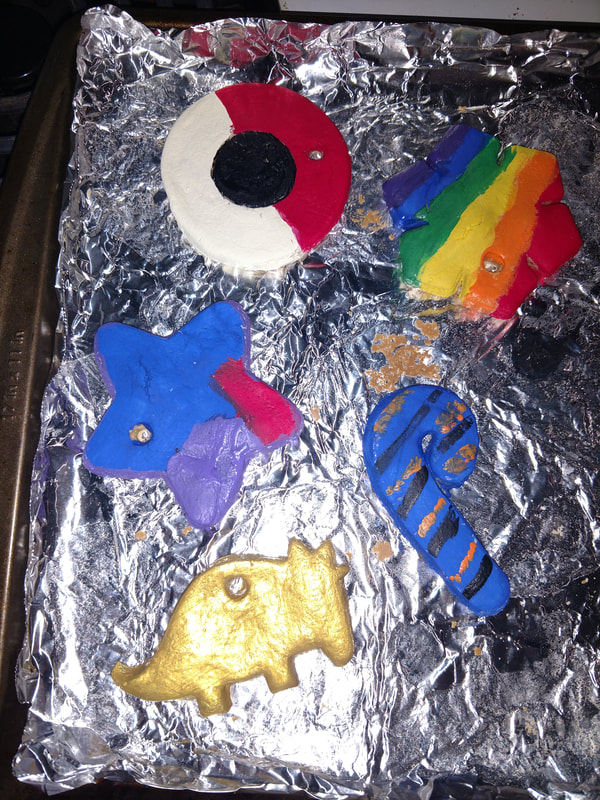
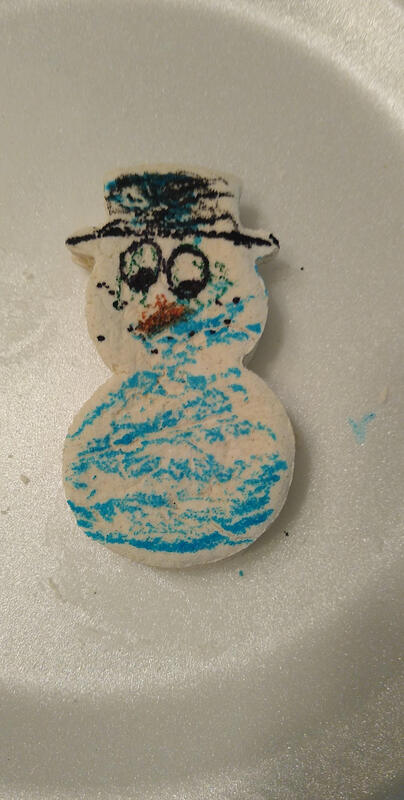
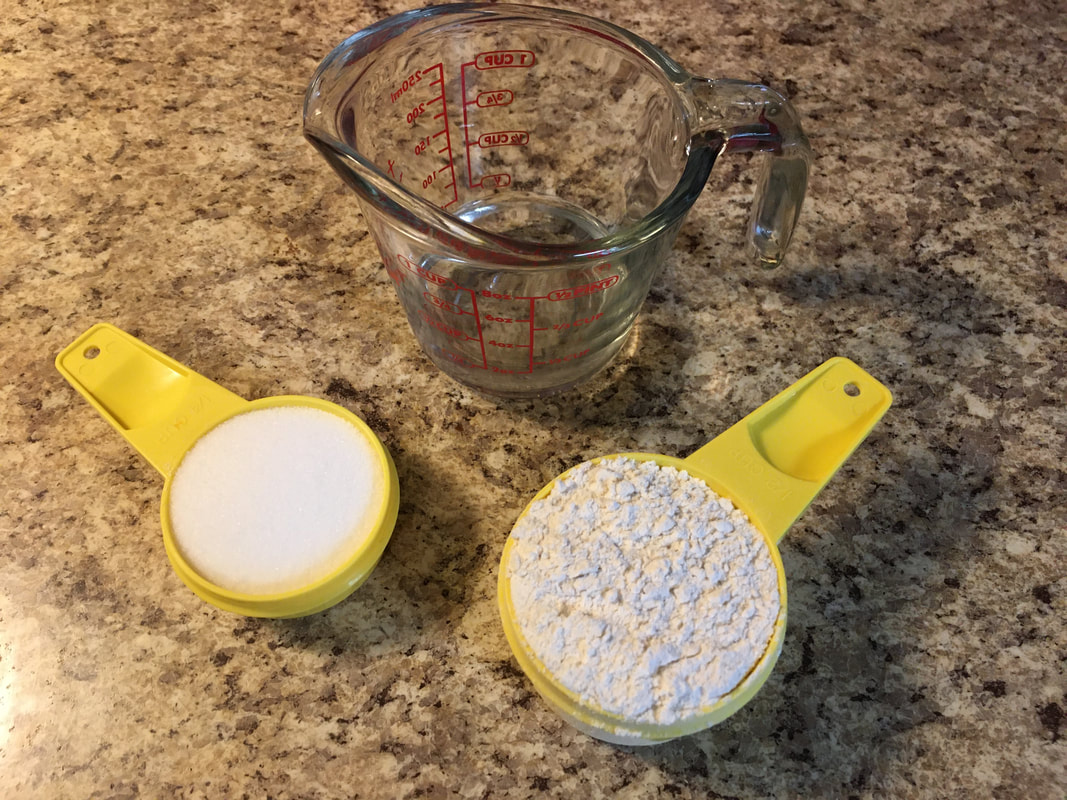
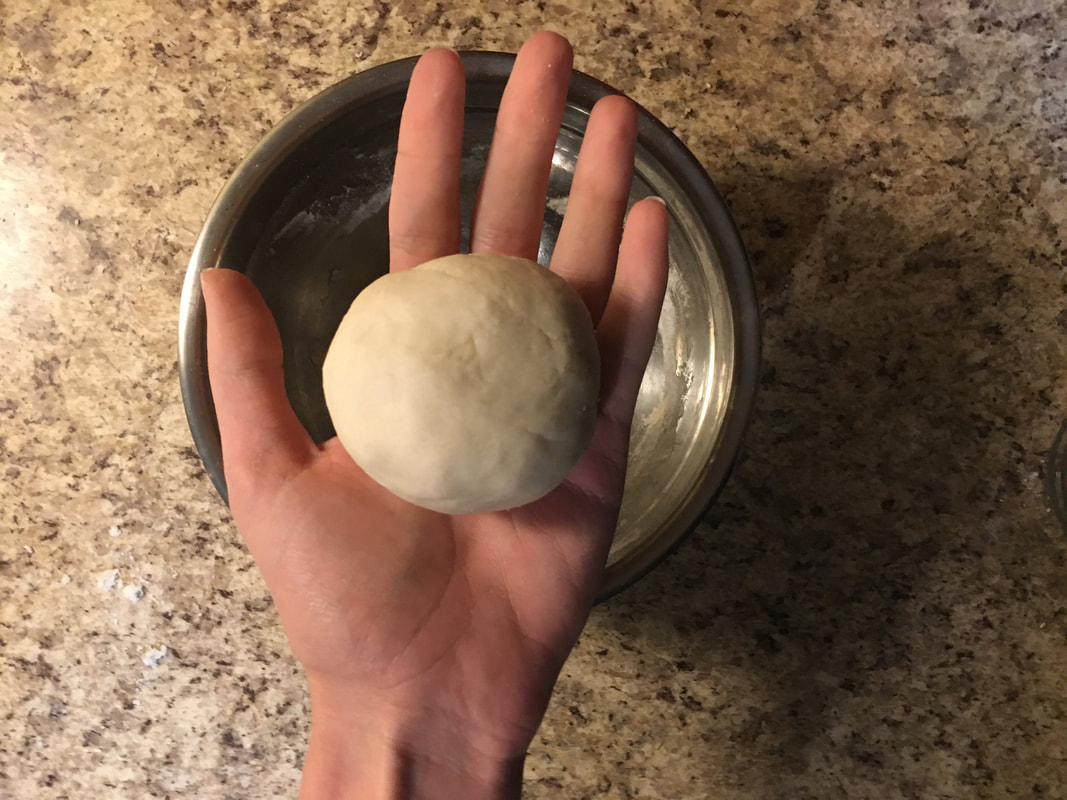
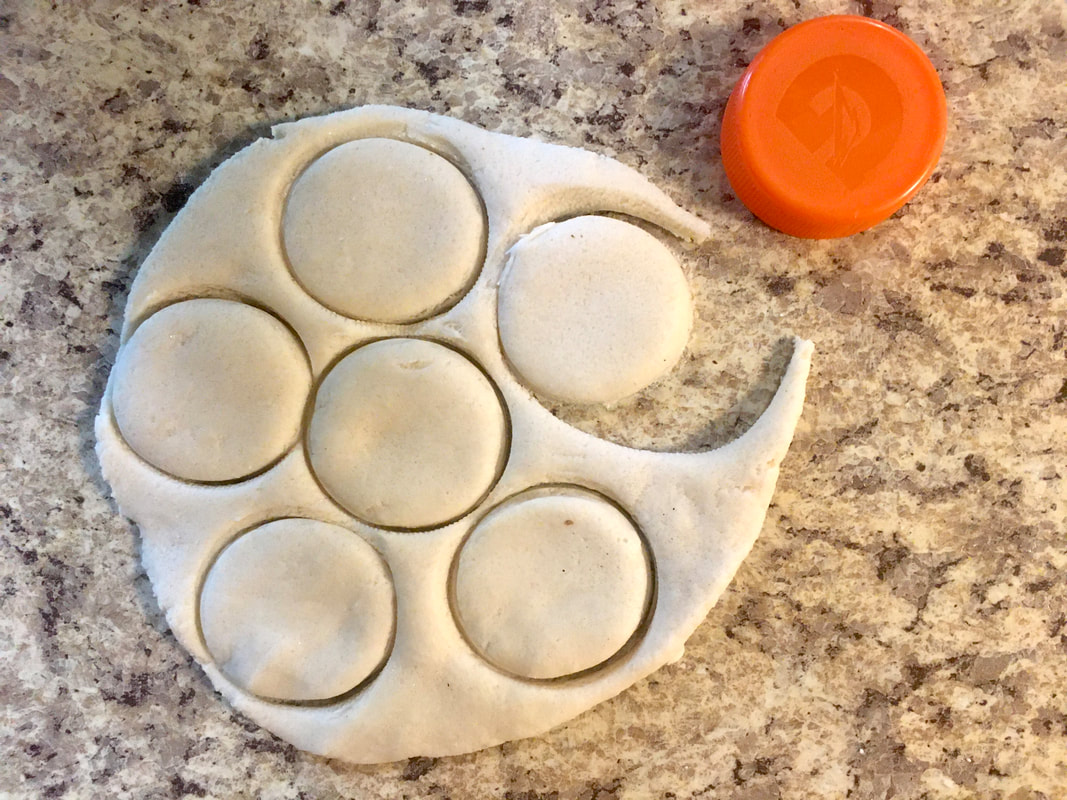
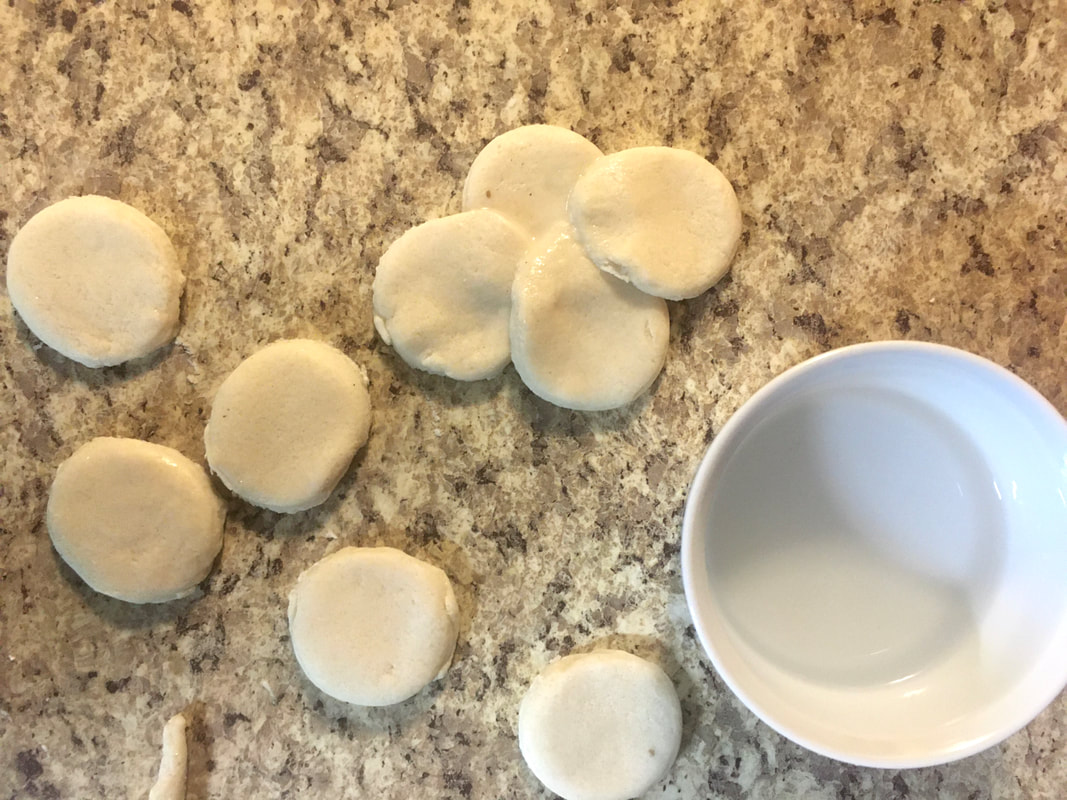
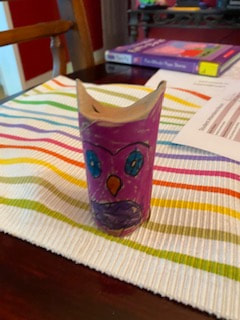
Create your own clay sculptures!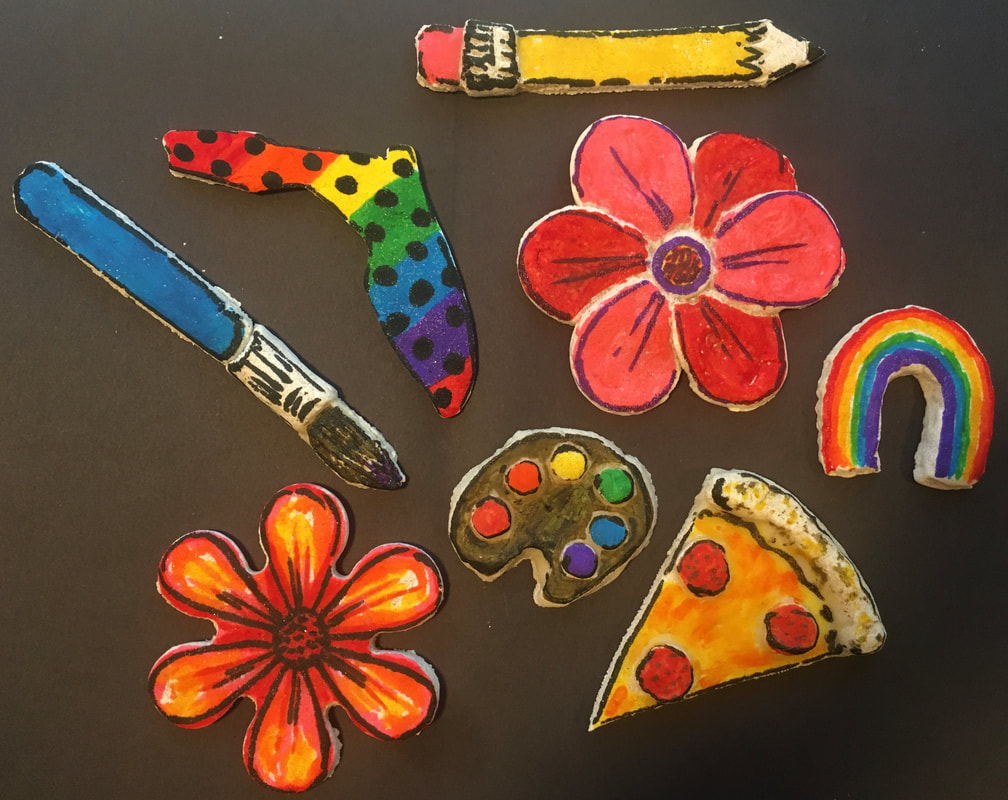 During the school year, I love to bring out modeling clay! This year, you are going to make your own clay! The clay we will be making is called salt dough. It looks like cookie dough, but don't eat it! It won't taste sweet! Medium: Clay (recipe below) Washable or permanent markers You may need tools for sculpting, like a plastic fork, spoon, or knife. When you are building, you will need a small bowl of water to act as your glue. I also use aluminum foil so that my clay doesn't stick to the counter. Clay Recipe: 1/4 cup salt 1/2 cup flour or gluten free alternative 1/4 cup water Mix all of the ingredients together in a bowl. Keep mixing and squishing it in your hands until you have a ball of clay. Sculpture Challenge: I want you to impress me with your clay creations! That's your assignment! Be creative! You should be able to make multiple things with your one batch of clay. If you need some ideas to get started, try these: 1. Create food 2. Create art supplies 3. Create a flower 4. Create an animal or an insect Younger grades might have more success with cookie cutters. My favorite piece that I made, one of the flowers, was actually cut from a cookie cutter! To connect pieces of clay, get the clay wet and gently squish the pieces together. I dip one finger into a small bowl of water and then rub it into the spot I want the new piece to go. This will keep it from popping off when it dries. A little water will also help clay that is getting dry and crumbling. The thinner the clay, the faster it will dry. I let my clay air dry for about a day and a half. After it fully dries, add color with markers. Be careful not to color on one area too much, because it can make the clay wet again and mess up your sculpture. The wet markers can also mix, so let the marker dry as you finish each color. I found success with lightly tracing the edges of my sculptures with black marker. You can try this if you want, too! Have fun sculpting!
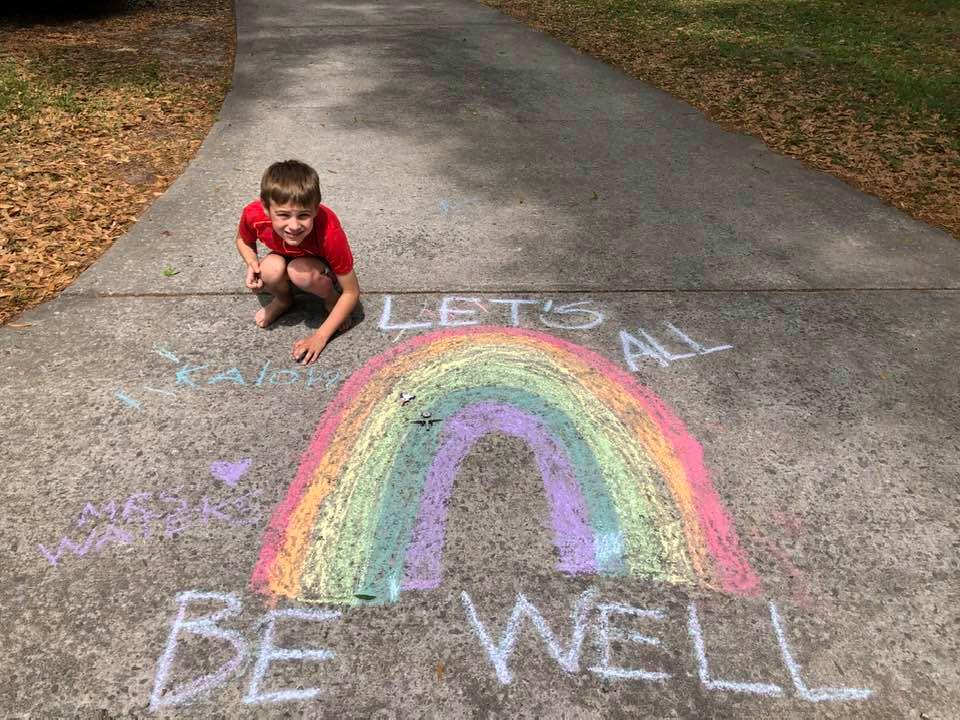
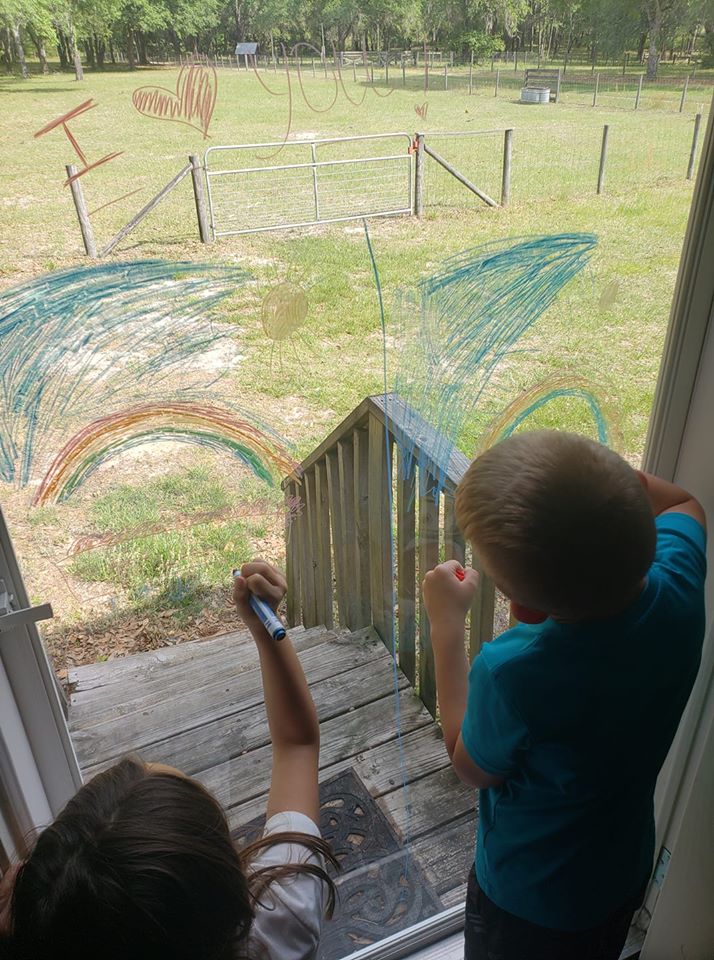
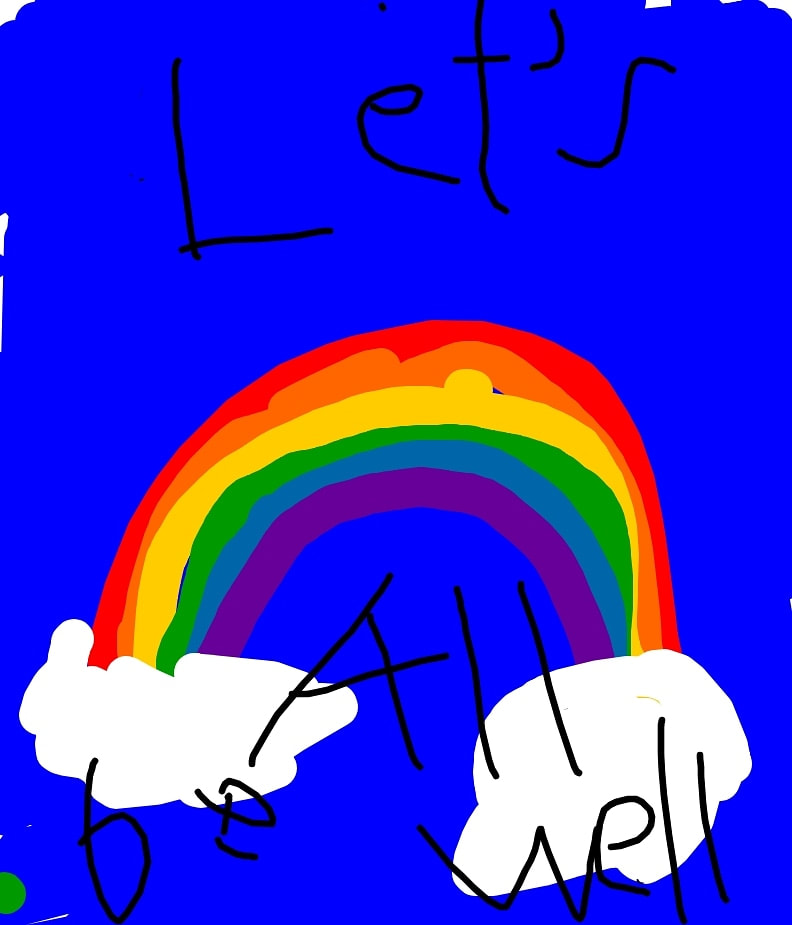
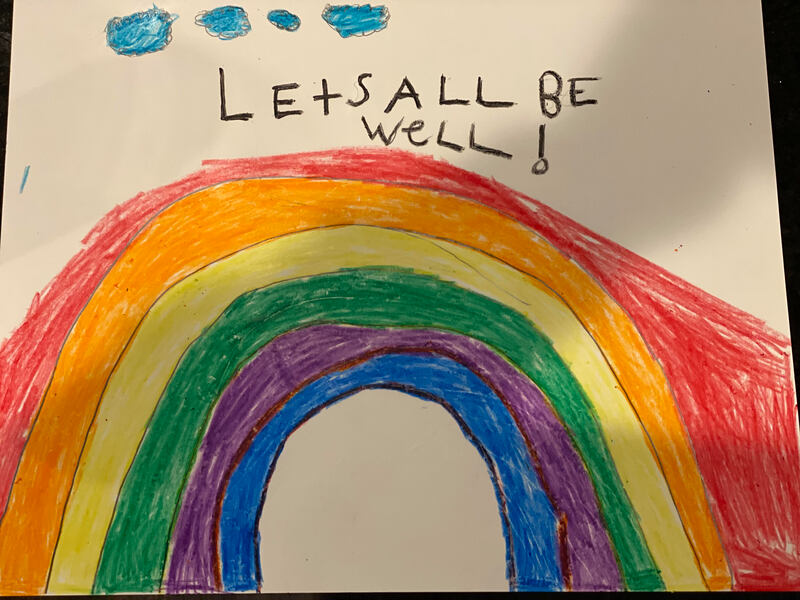
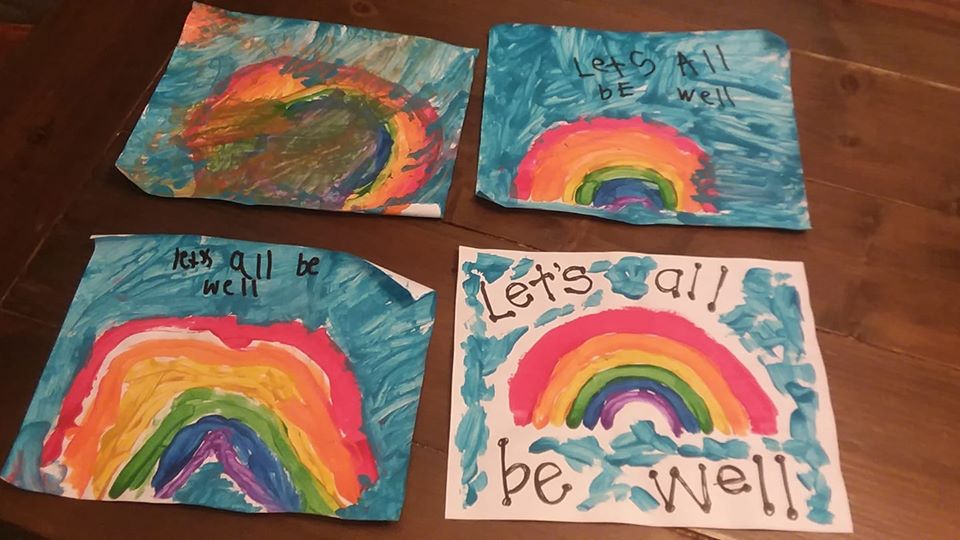
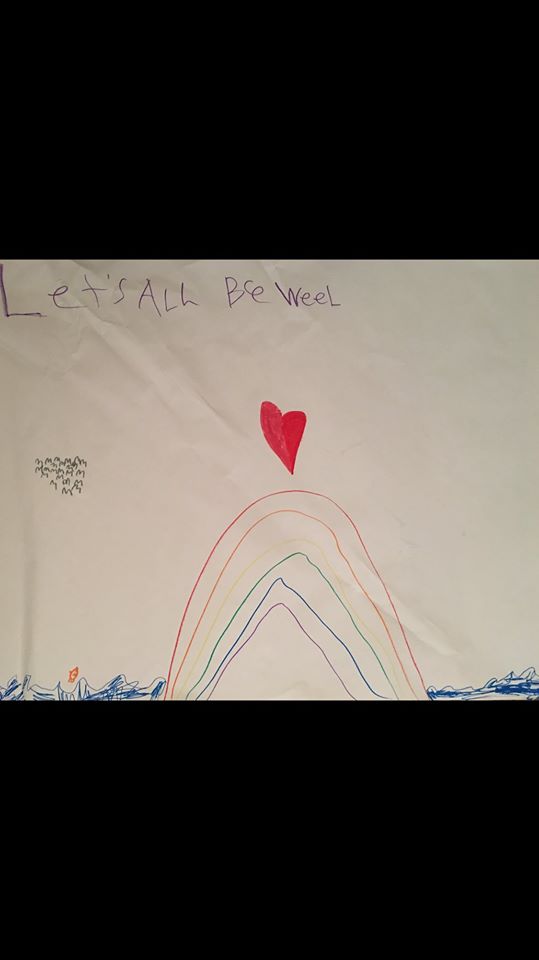
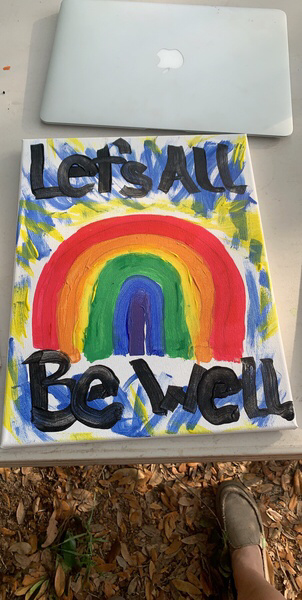
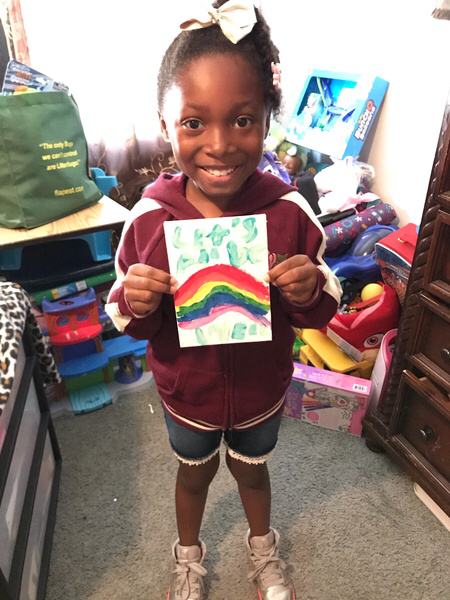
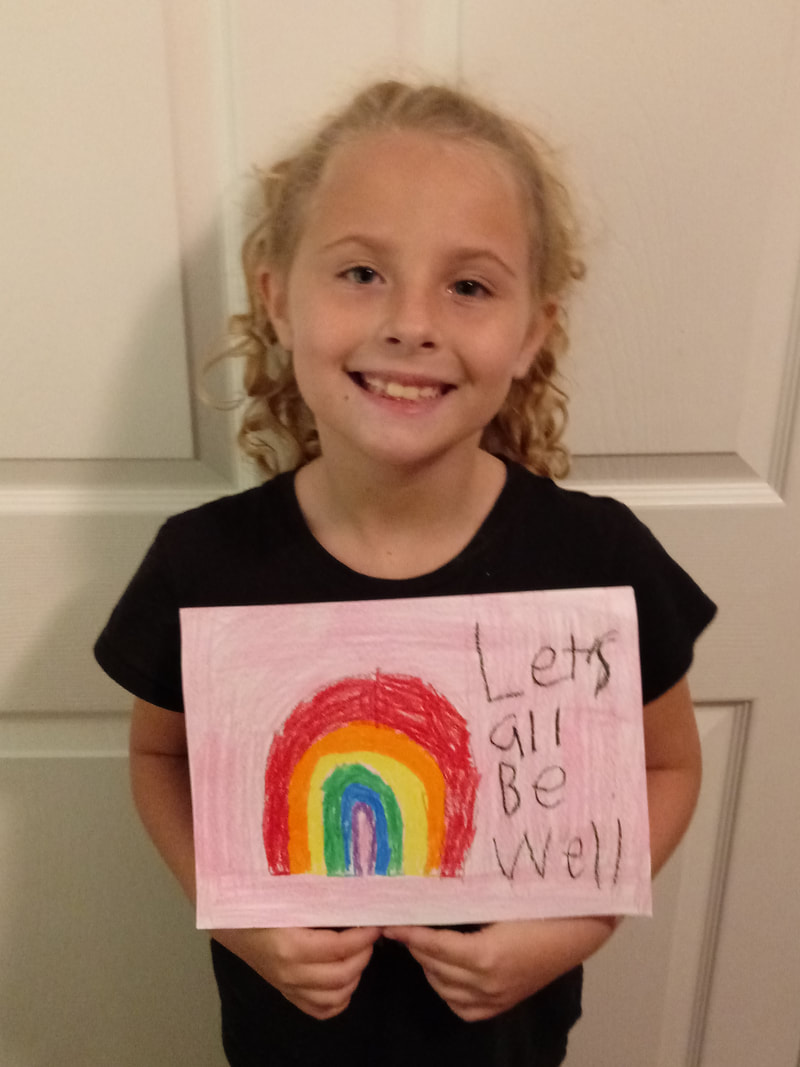
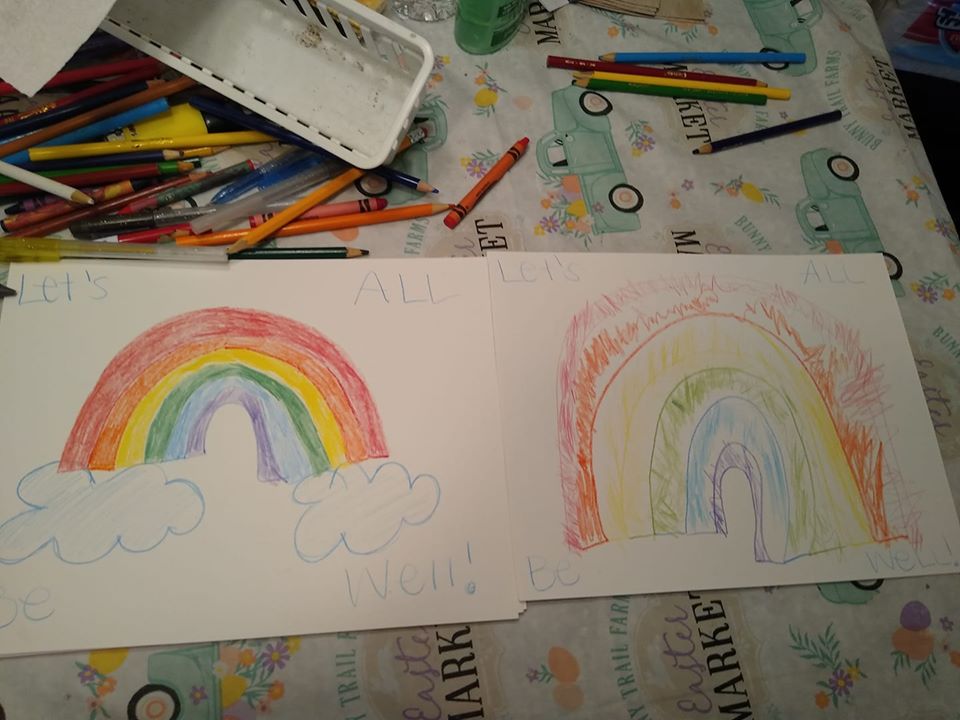
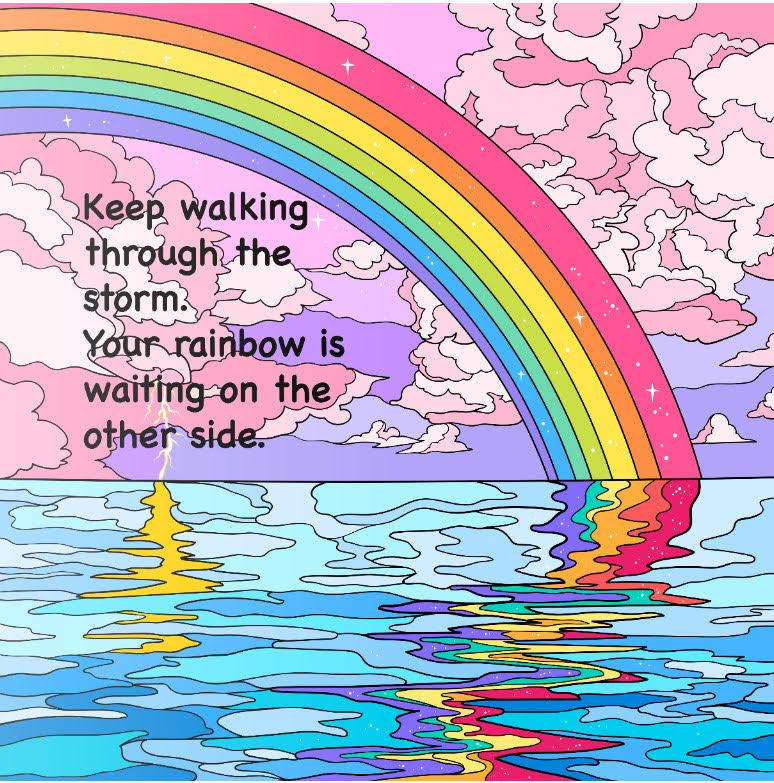
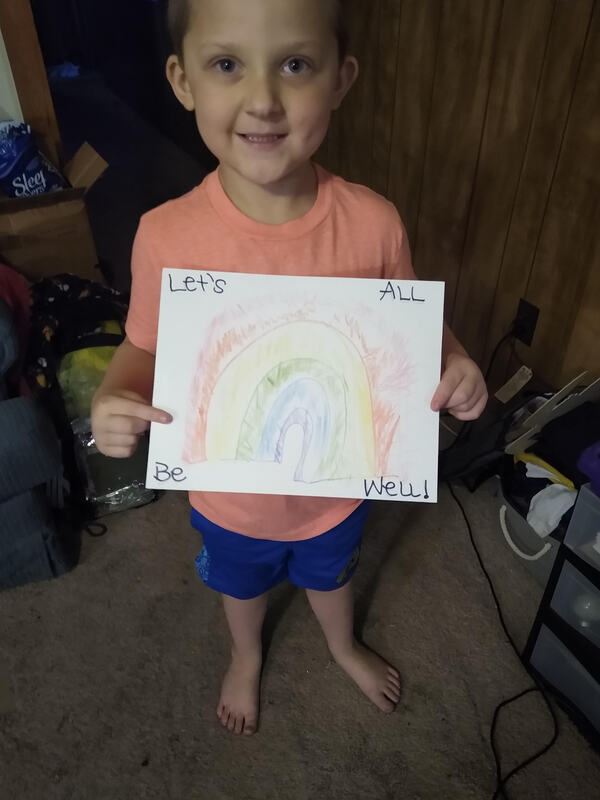
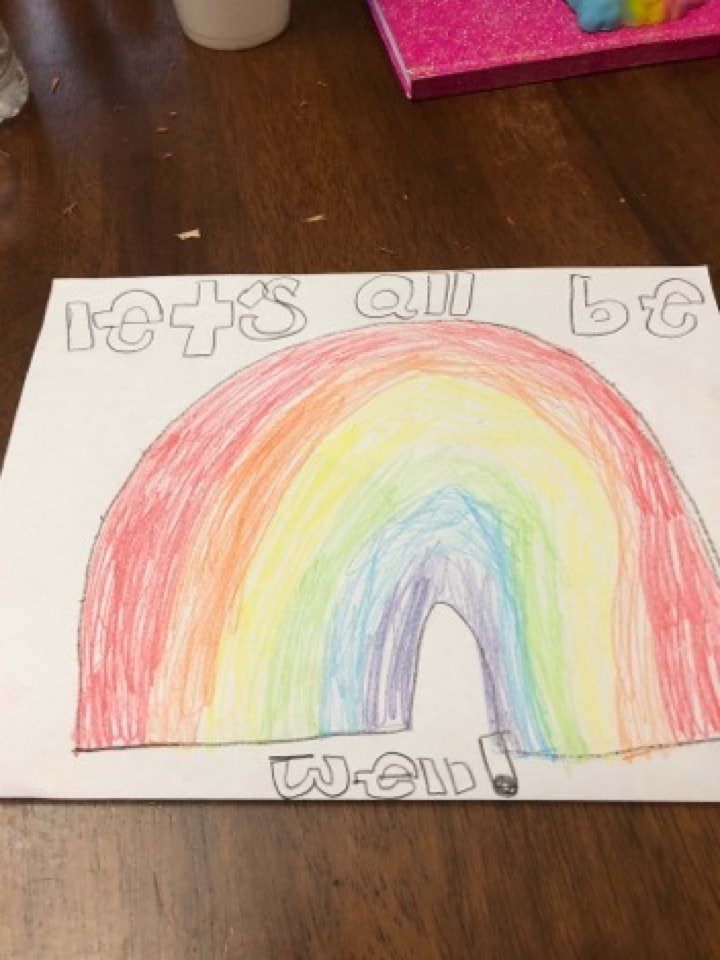
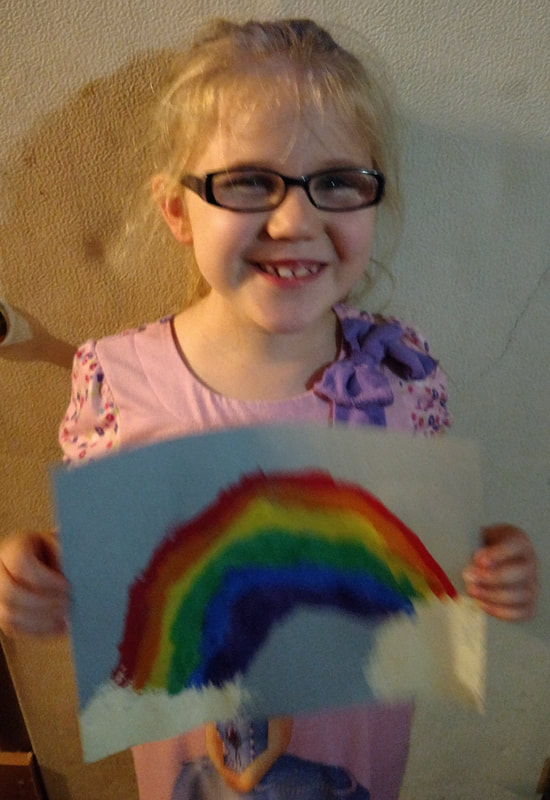
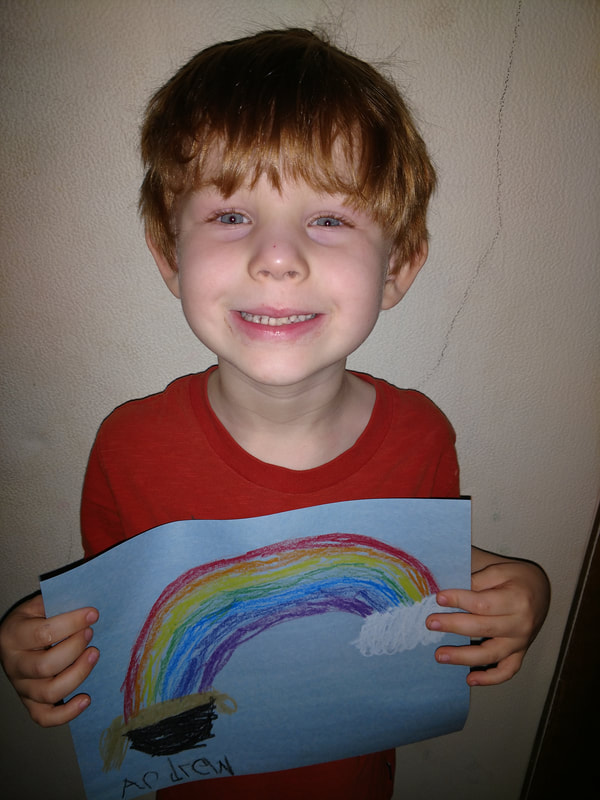
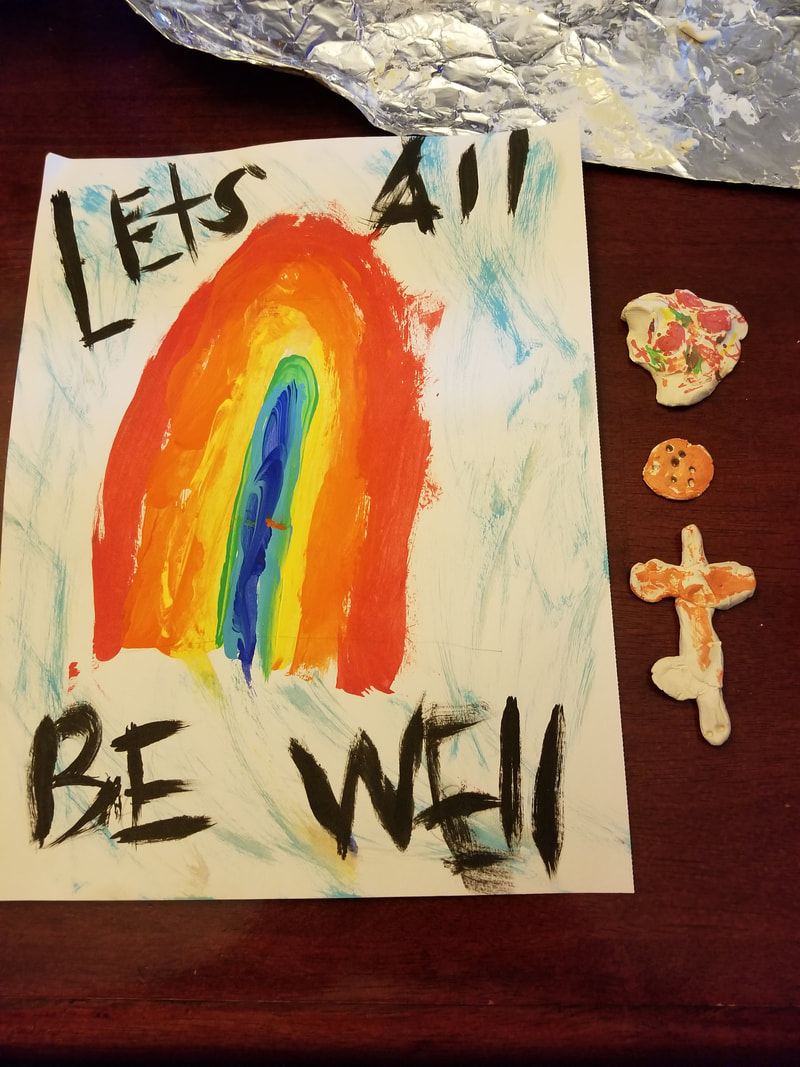
  Welcome to our first Friday Gallery! Thank you to all of these students who created rainbows and placed them where others could see them. I know you brought joy to many! You definitely brought joy to me! Here is an extra assignment this week! Can you complete the AMPT Challenge? 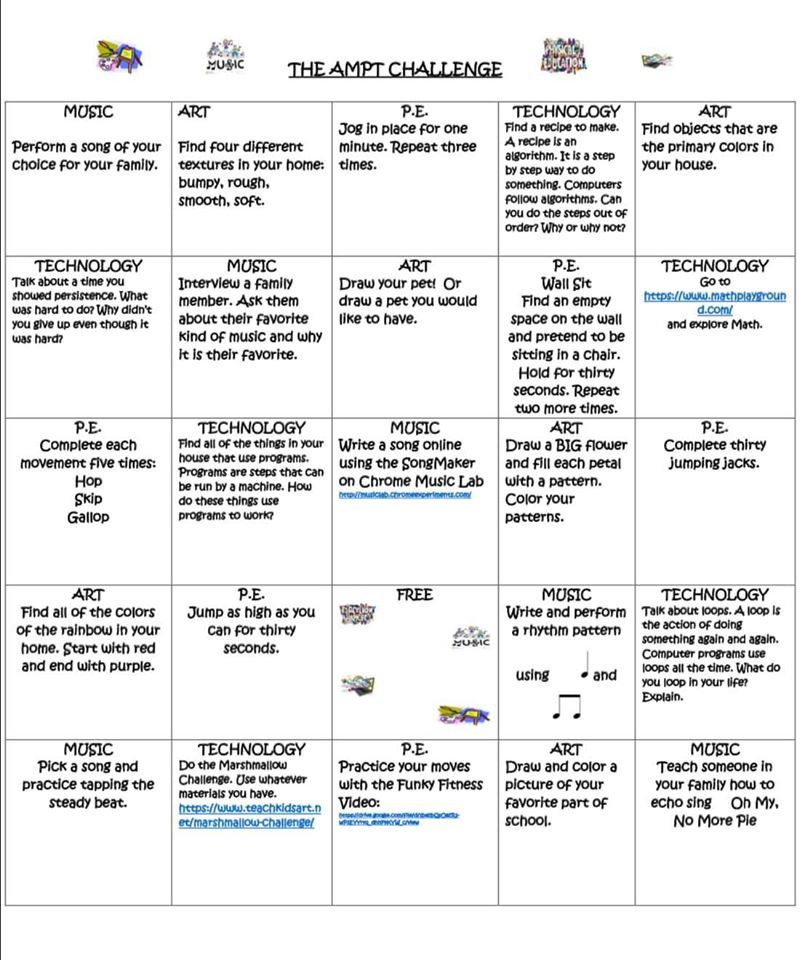 Let's All Be Well!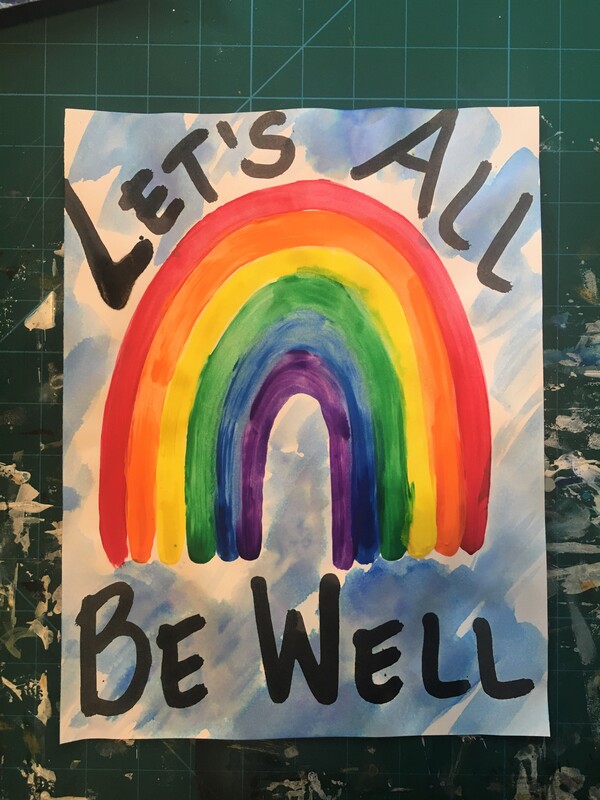 This is a project that students around the world are creating! It has become so popular in many countries, and I don't know who to credit with starting it. I will give credit to Mrs. Edington (artwithmrs.e), because I saw her post first. Art has the power to connect people and make people feel happy. Those are especially important things when we have to be far from our friends and loved ones right now. Assignment: Create a rainbow! Rainbows are a symbol of hope and peace. Make sure to have the correct rainbow order: Red, orange, yellow, green, blue, purple. The rainbow is in the same order as the color wheel! If you want an extra challenge, use the primary colors to create the secondary colors. People from around the world have written variations of "Let's all be well!" on their rainbows. Be sure to include the positive message on yours. After finishing your rainbow, place it in a window of your home so that others can see it. Your artwork will bring joy to all who see it! You may even find rainbow artworks other students have made throughout our community. Medium (the art supplies you use): Artist's choice! Use any materials you have at home. This artwork can be made with collage, paint, markers, crayons, oil pastels, etc. It can be made with multiple supplies! Any paper will work, even notebook paper. The rainbow can look like mine or you can be creative! I can't wait to see your beautiful, thoughtful, and creative rainbows! 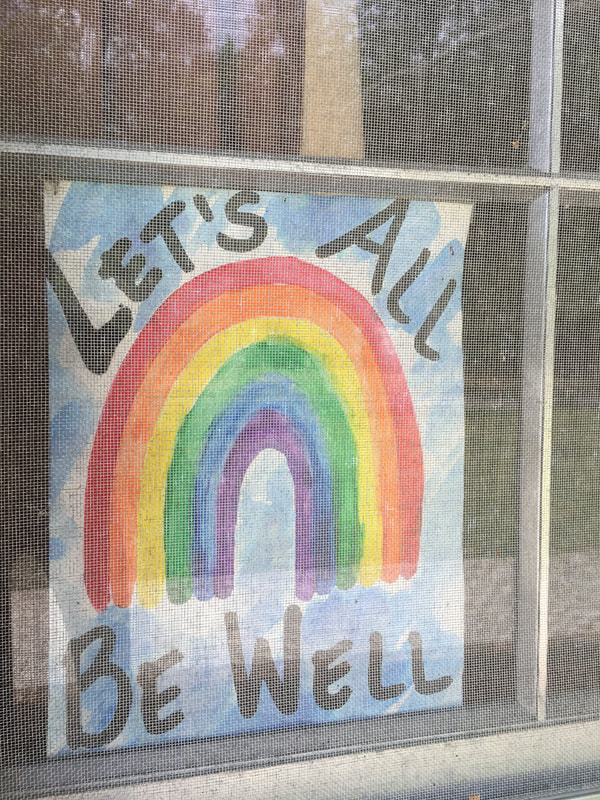 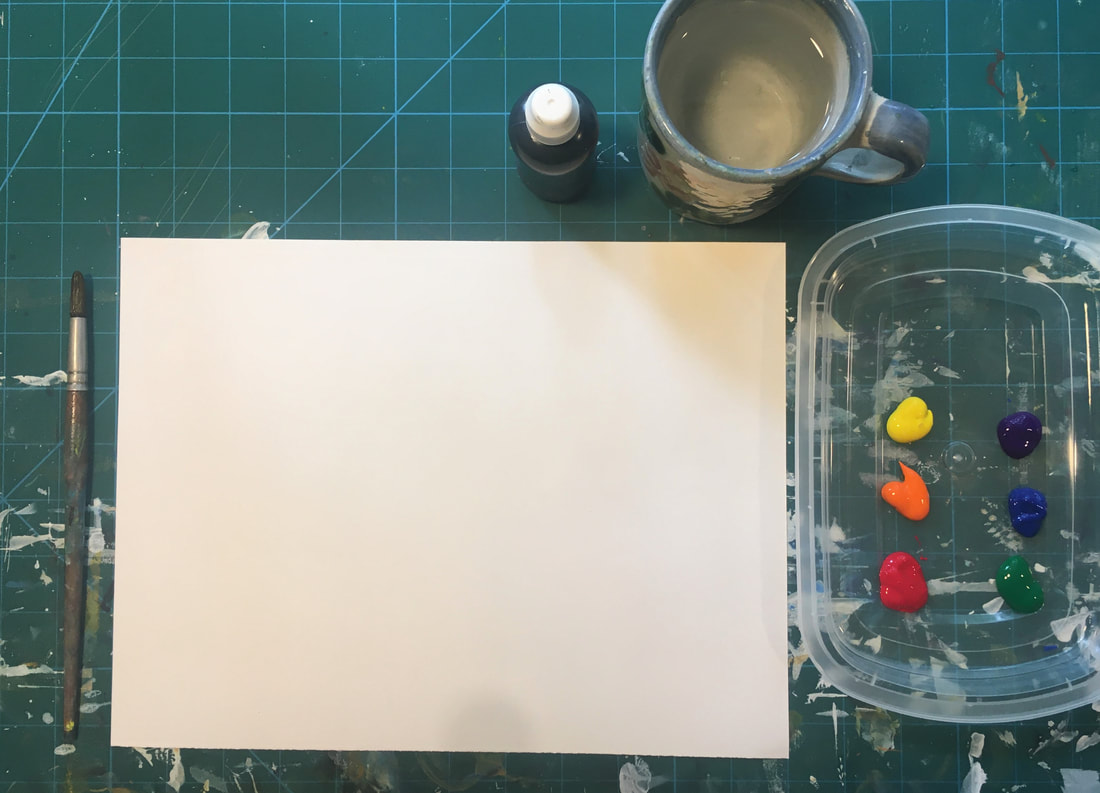 One of my favorite parts of my job is talking to kids about their artwork. I learn so much about them through their creations. I love watching them work through problems to find creative solutions.
Children's art should not look like an adult completed it. It should reflect the abilities and thought process of the child. Here are a few tips to help you talk with your child about their artwork: 1. Ask your child to tell about their artwork. Let them explain the imagery or process. 2. Compliment effort and focus instead of simply saying "good job" or "it looks beautiful!" 3. Respond to specific parts of the work, like the use of line, creative colors, detailed background, etc. 4. Guide your child in reworking mistakes. Help them to see that mistakes are opportunities to make the artwork even better. This is where I will be posting your art lessons until I get to see you in the art room! Please check back on Mondays for your weekly assignment. Save all artwork until the end of the school year.
I will also post a Friday Gallery each week to highlight your work! Please send pictures of your assignments to my school email [email protected]. Those images may be posted to social media, so make sure you have permission from your parents before sending them. This is an exciting time because you get to work like a real artist. Working artists have to find time and space to create. They don't have a teacher to give them feedback throughout class. It will be different to work at home, but you can do it! If you need help, please reach out and contact me. I am here for you and I love you! Keep art in your heart! Mrs. Pinaire |
From Mrs. PinaireHello, Eastside artists! This is where you will find your weekly assignments while you are learning from home. Archives
December 2020
Categories |


 RSS Feed
